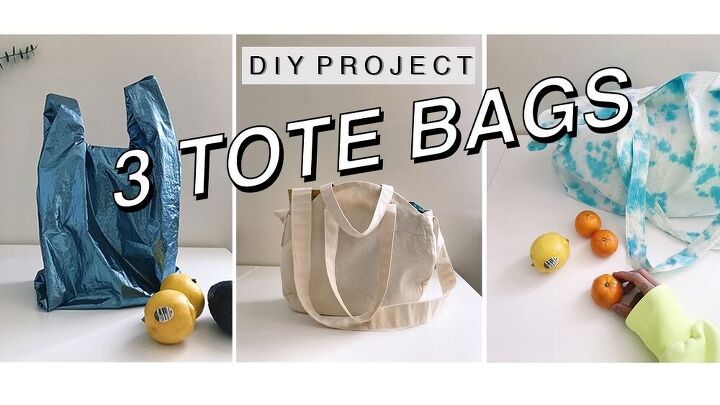
3 Easy DIY Tote Bag Designs That Are Cute & Really Practical

What's better than an easy DIY tote bag? Three easy DIY tote bag designs, of course! In this DIY tote bag tutorial, I'll show you how to make tote bags in three different ways, so you can choose the style that suits your needs.
All three are easy and quick to make, too. So, you can try out different DIY tote bag ideas for the beach, shopping at a market, or simply carrying everyday items.
Tools and materials:
DIY tote bag design 1
- 1.5 yards of cotton canvas or muslin
- Ruler
- Scissors
- Pencil
- pins/weights
- Sewing machine
- Fabric dye
DIY tote bag design 2
- 1.75 yards of cotton canvas or muslin
- Drafting paper
- A 14x14 inch circle
- Pencil
DIY tote bag design 3
- 1 yard of metallic nylon fabric
- Drafting paper
- Plastic bag
- Ruler
- Scissors
- Sewing machine
DIY tote bag design 1
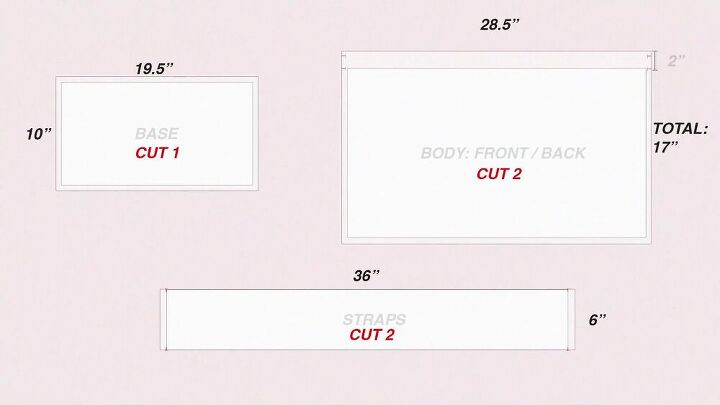
1. Make the pattern
For this easy DIY tote bag design, you’ll need to make a pattern. Cut out pieces with these measurements to start. An inch seam allowance is already included.
2. Assemble the DIY tote bag
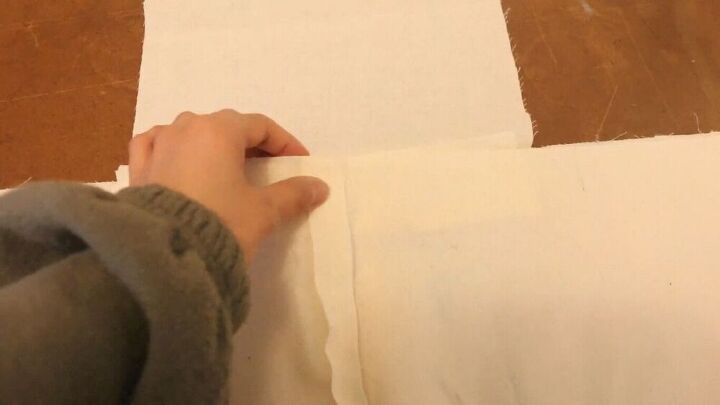
Sew along the side seams of the two biggest pieces and attach the bottom base to the body.
Sew all around until you get your basic tote bag shape.
3. Hem the edges
Fold over the top edges by half an inch, press, and fold over again by 1.5 inches. Then, press and sew.
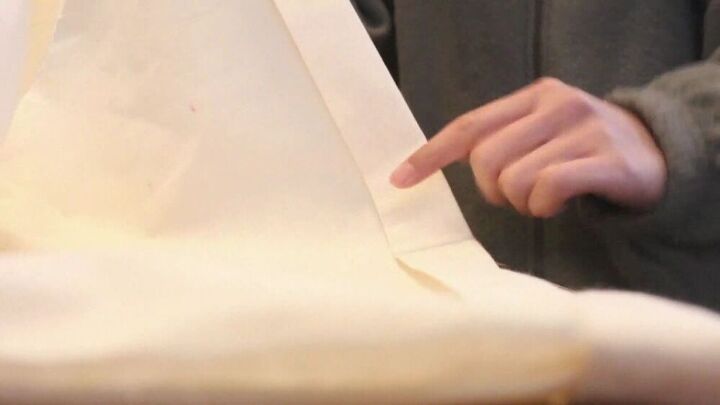
The edges should look like this.
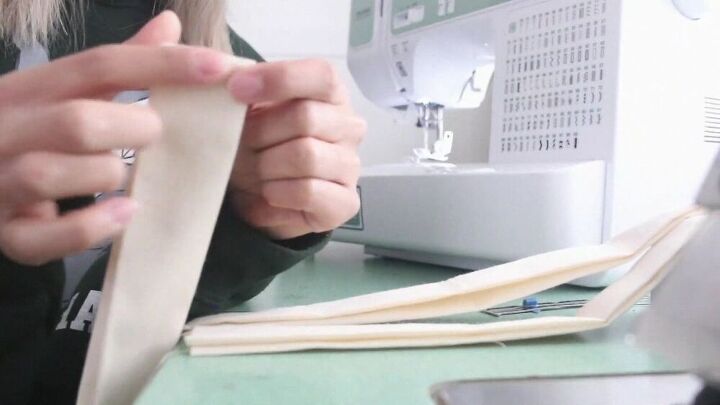
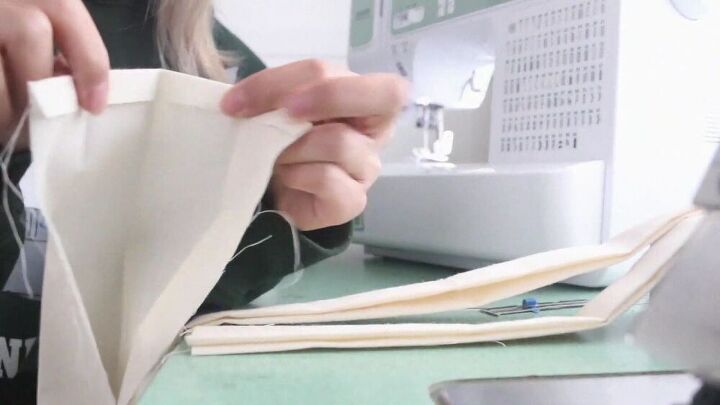
4. Attach the straps
Take the ends of the straps and fold them half an inch down. Then fold the strap width-wise. When the straps are folded in place, edgestitch along the length of the strap. The width should now be 1.5 inches.
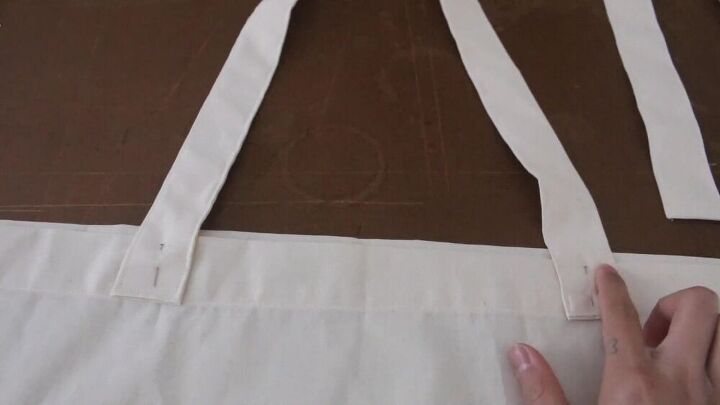
Place and center your straps, as shown. Use pins so that the fabric or the straps don't move out of place. Then, secure the straps to the bag with an “X” stitch.
5. Tie-dye your DIY tote bag
Now it’s time to add some fun and flair to your basic DIY tote bag design. This part varies depending on what kind of tie-dye style you like.
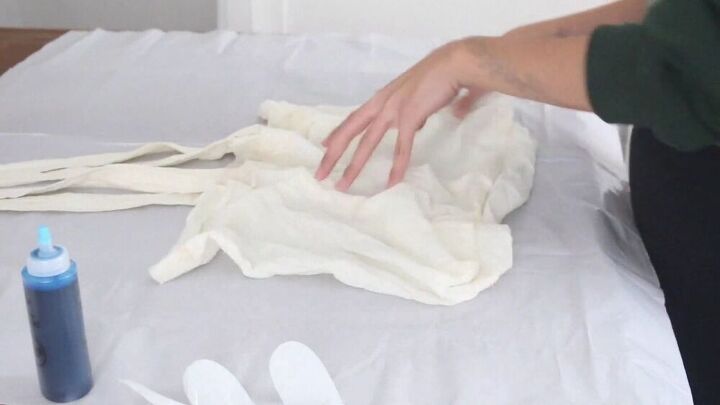
I used muslin fabric to make my tote bag, which has a yellow tint, so I bleached my bag first.
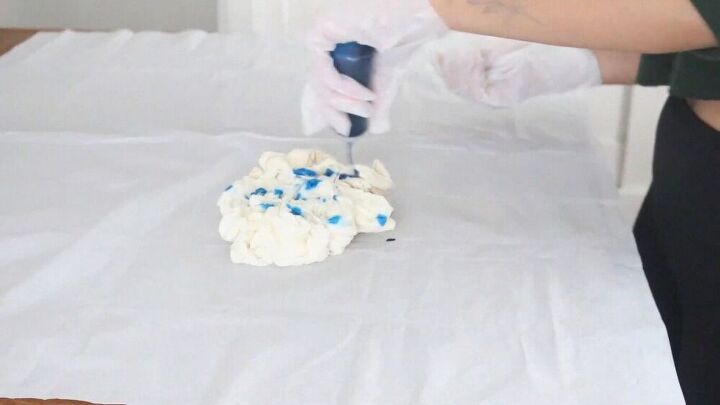
Next, I scrunched it up, fixed rubber bands in place, and dropped blue fabric dye onto the material. You can play around with what you like. It's up to you.
Once you're happy, place the bag in a plastic bag for six to eight hours. Then, toss it in the washer and dryer, and finally, press it out.
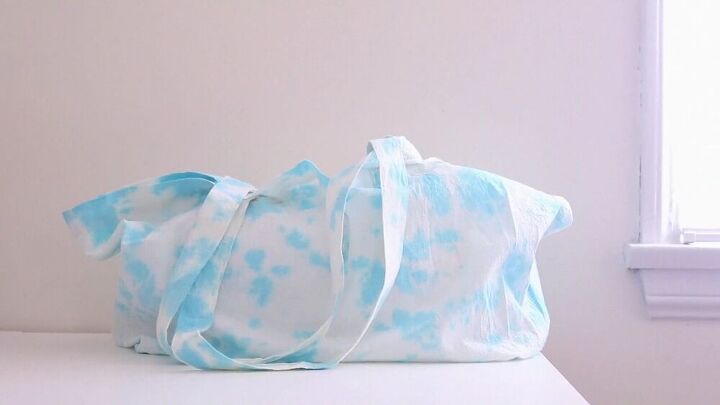
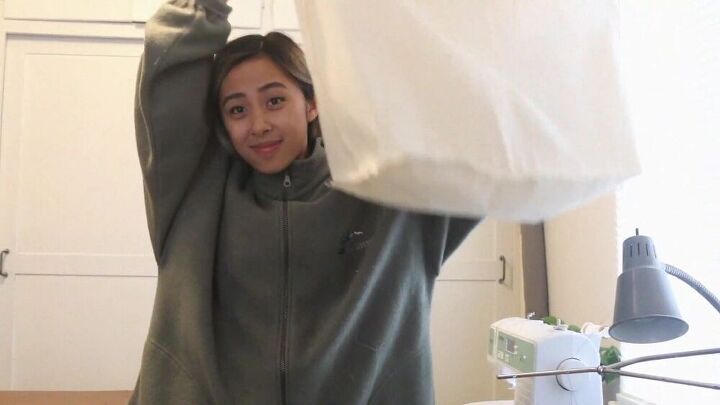
Tada! I love the tie-dye design! I think this basic DIY tote bag is perfect for groceries or for any time you need to carry many items.
DIY tote bag design 2
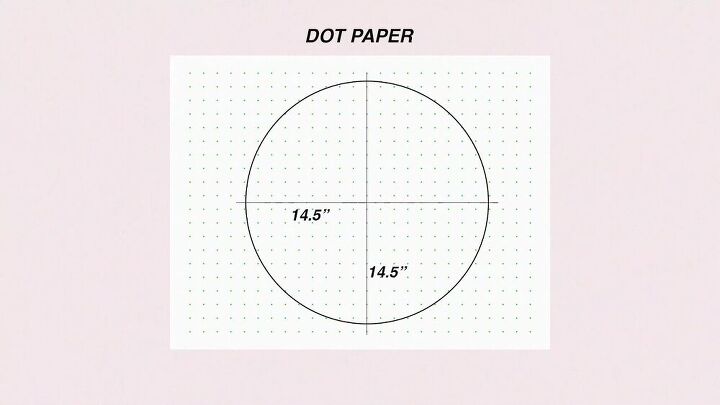
1. Make the pattern
Draw a circle on a piece of draft paper. I used this tabletop as a guide. If you don’t have a guide, you can simply draw a perfect square and shape it out into a circle of 14.5 x 14.5 inches.
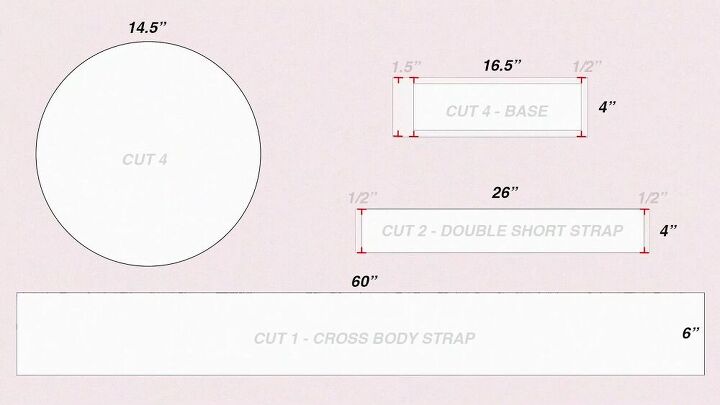
Use the draft paper to cut out the fabric pieces. You're making two bags, as one will become the interior lining of the tote bag. Remember, these measurements already have seam allowance.

Prefold the corresponding pieces to make the seams.
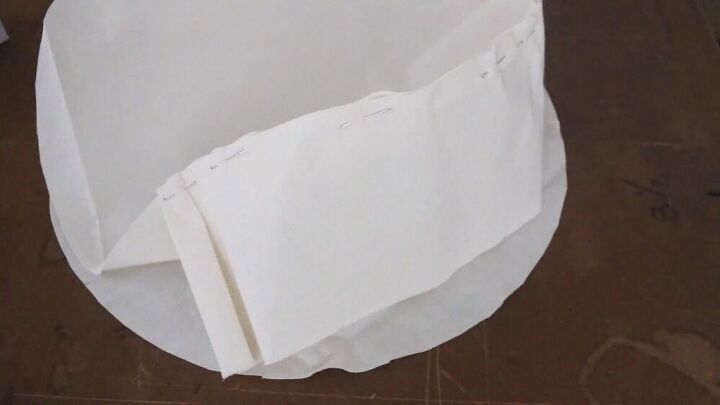
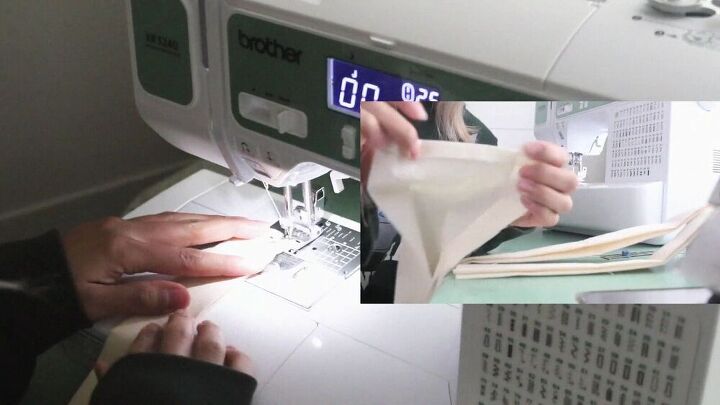
2. Sew the tote bag pieces
Start by sewing the middle section of the two longer pieces. Then, attach it to the rim of the circle piece. Pin in place and sew. Then repeat for the other circle.
3. Make and attach the straps
For the straps, it’s going to be the same process as the first DIY tote bag.
4. Assemble the tote bag
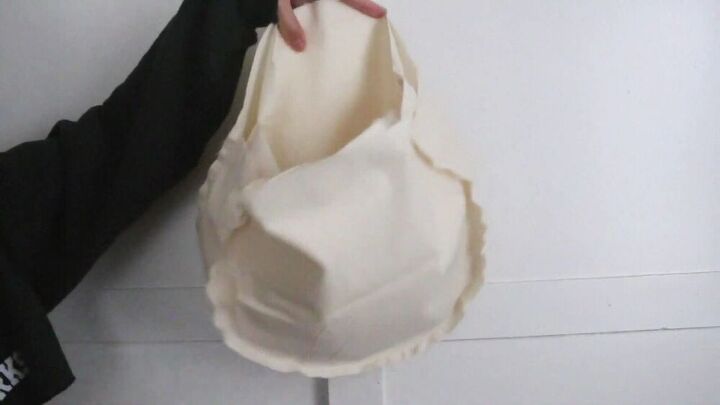
Flip one of the bags inside out, then place it inside the second bag. Stitch together the edges of the circle part only. Do not stitch the straight sides.
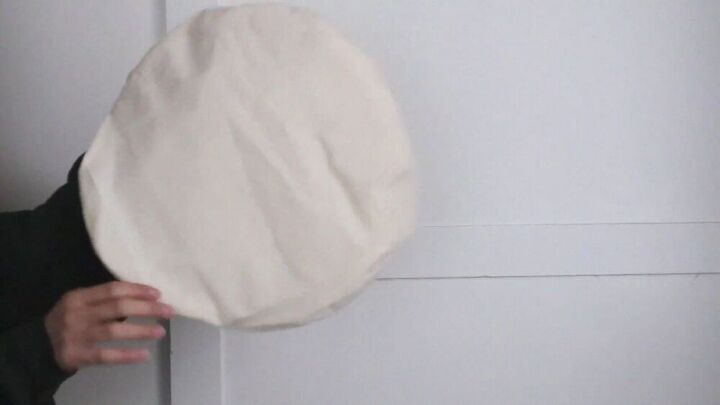
Using the gap from the open side, flip it inside out, so the right sides show. Then, sew the side panels closed. Finally, sew on the straps, and you are done!
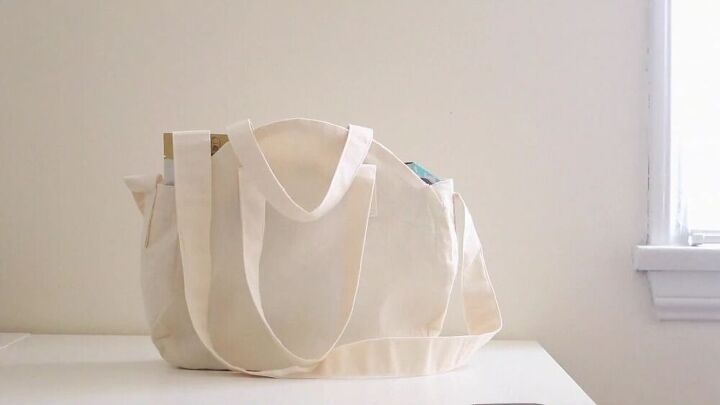
I love how this easy DIY tote bag design turned out! Perfect for work or a fun day out in town!
DIY tote bag design 3
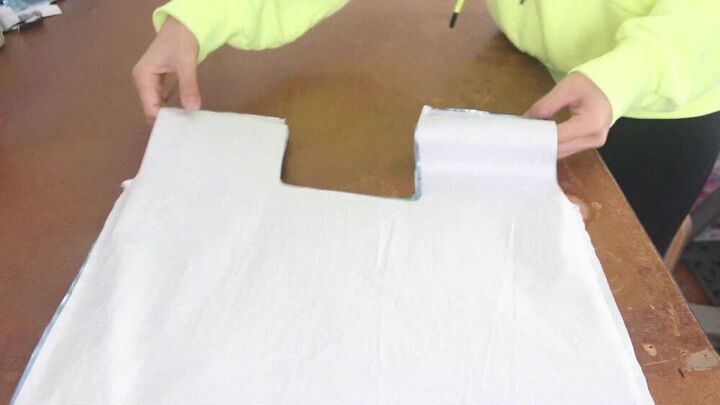
1. Make the pattern
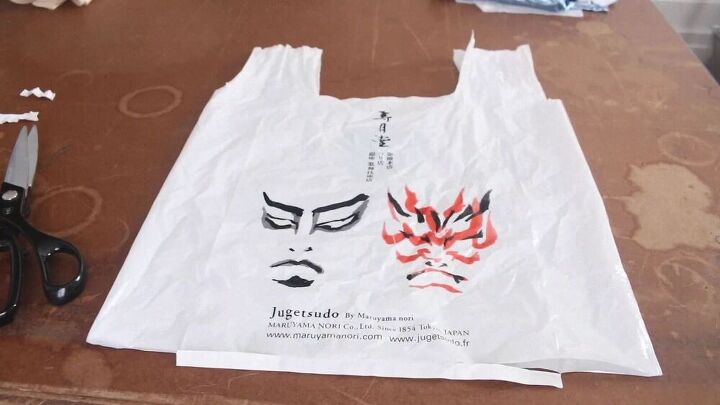
This tote bag design bag is inspired by a standard plastic bag! To make this easy DIY tote bag, grab a grocery bag and snip the bottom ends. Then, release the fold. Do the same for the top handles.
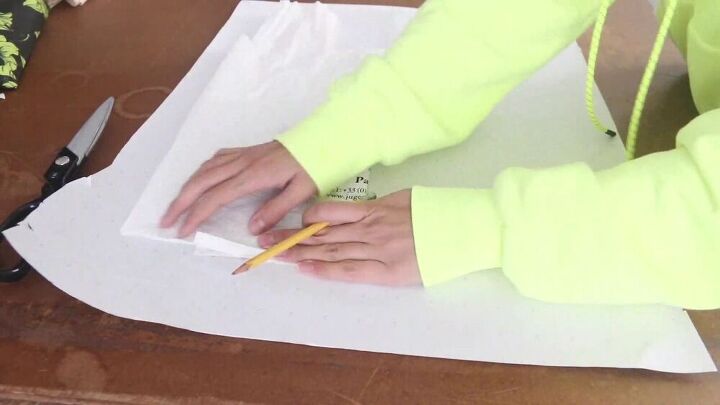
Fold the bag in half, lay it on your paper, and trace.

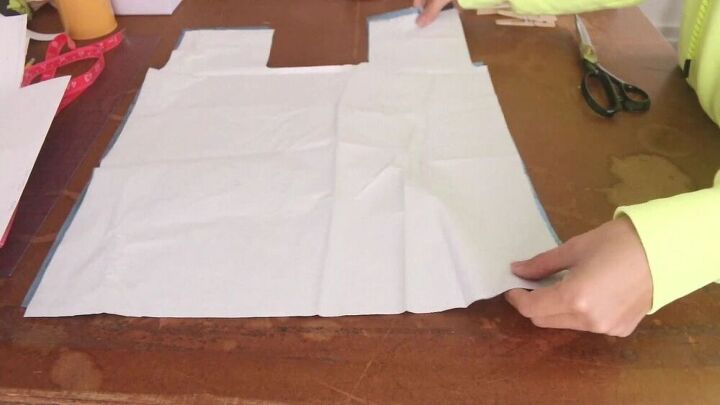
For accurate measurements, you can follow this diagram. Like the second tote bag design, you'll be making two bags: one for the exterior and one for the lining.
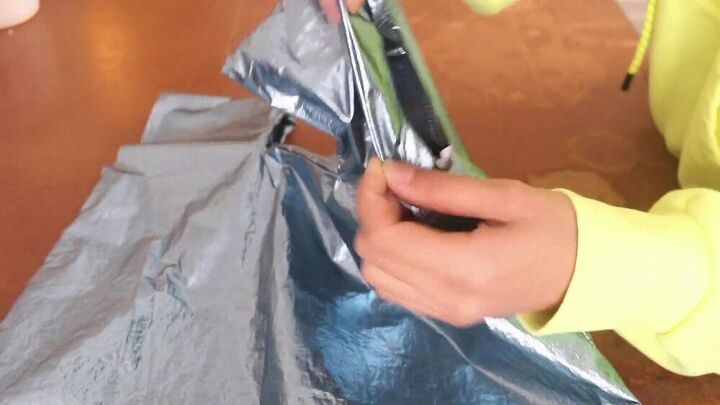
2. Assemble the bag
Now that you have your pieces, place them on top of each other, with the exterior parts facing inwards. Sew along the side seams and the bottom seam. Repeat this step for the second bag.
Insert one bag that's right sides out into the second bag that’s right sides in. Sew along the opening.
Flip the DIY tote bag right sides out and fold the sides inwards. It should be folded by a quarter inch. Then, stitch all around the openings.
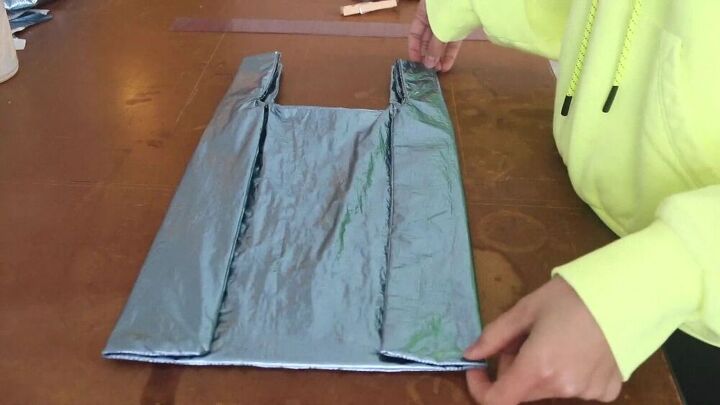
Straighten out your bag and fold your bag in half. Then, stitch the folded sides at the bottom and the top.
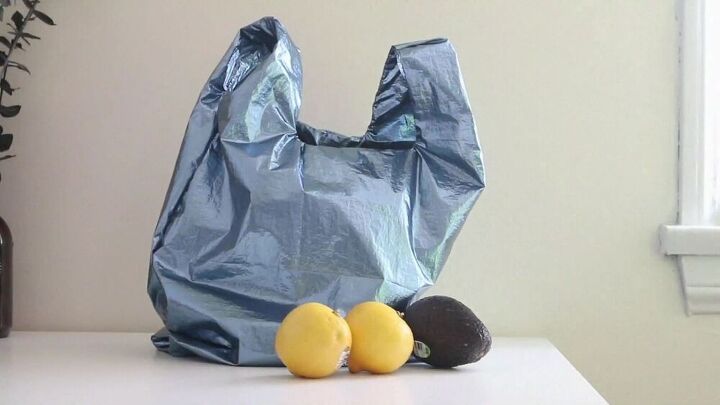
There you have it! I love this easy DIY tote bag design. It’s truly unique, and the metallic fabric puts it on another level.
3 Easy DIY tote bag designs
Which DIY tote bag tutorial was your favorite? Let me know in the comments. I hope these three basic DIY tote bag ideas inspire you to make your own reusable and sustainable bags.
The author may collect a small share of sales from the links on this page.


Comments
Join the conversation
LOVE the detail in this tutorial!