How to DIY a Quick and Easy Credit Card Holder

These DIY credit card holders are quick and easy to make, for yourself, as gifts, or for sale.
They take very little fabric so you can make them from scraps.
You can even sew them by hand if you don’t have a sewing machine and your hand sewing is neat.
Tools and materials:
- Scraps of main and contrast fabric
- Light to medium weight fusible interfacing
- 0.5 inch (1 cm) wide high density elastic
- Scissors
- Pins or fabric clips
- Ruler
- Fabric marker
- Knitting needle or similar
- Iron
- Sewing machine
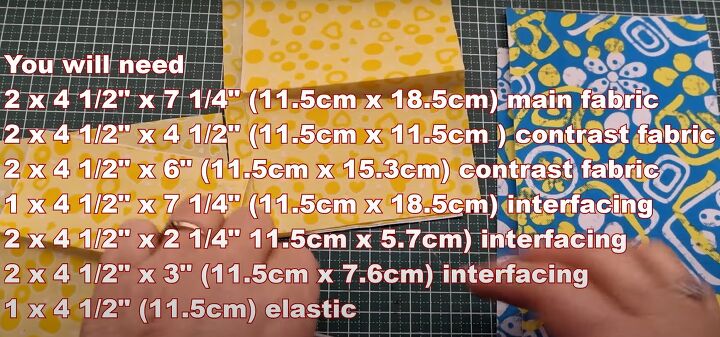
1. Cut and prepare the fabric
Cut 2 pieces from the main fabric, each 4 1/2" x 7 1/4" (11.5cm x 18.5cm).
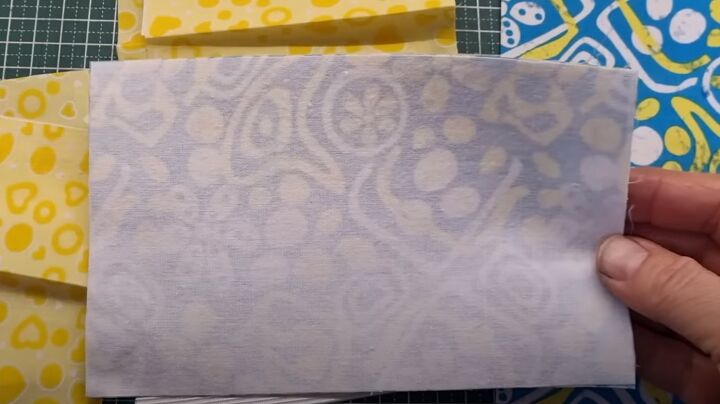
Line the wrong side of one of them with fusible interfacing cut to the same size.
From the contrast fabric, cut two 4 1/2" (11.5cm) squares.
Cut two pieces of interfacing, each 4 1/2" x 2 1/4" 11.5cm x 5.7cm).
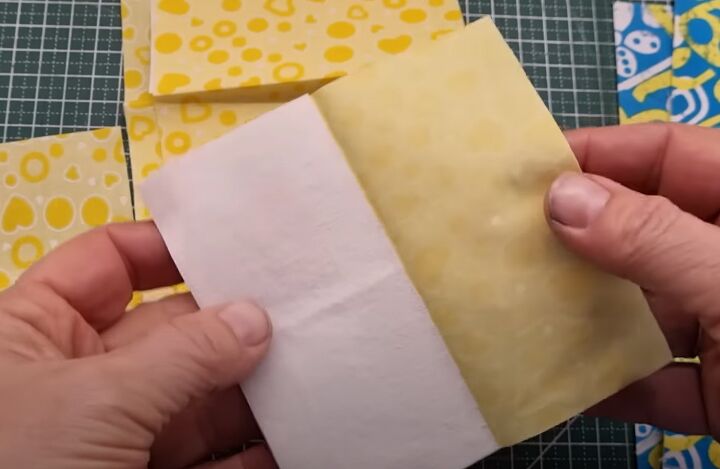
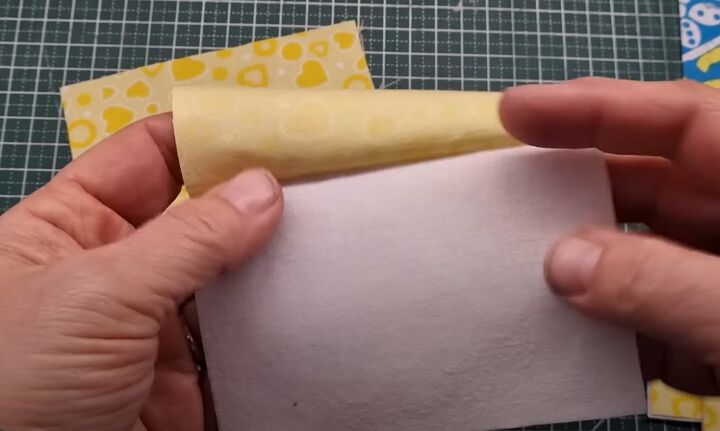
Fold the fabric in half and attach the interfacing to the wrong side of half of each piece.
Cut another two pieces from the contrast fabric, each 4 1/2" x 6" (11.5cm x 15.3cm). Fold them in half and attach fusible interfacing cut to 4 1/2" x 3" (11.5cm x 7.6cm) to the wrong side of each.
Press the contrast fabric pieces in half to get a sharp fold.
You will also need a 4 1/2" (11.5cm) length of elastic.
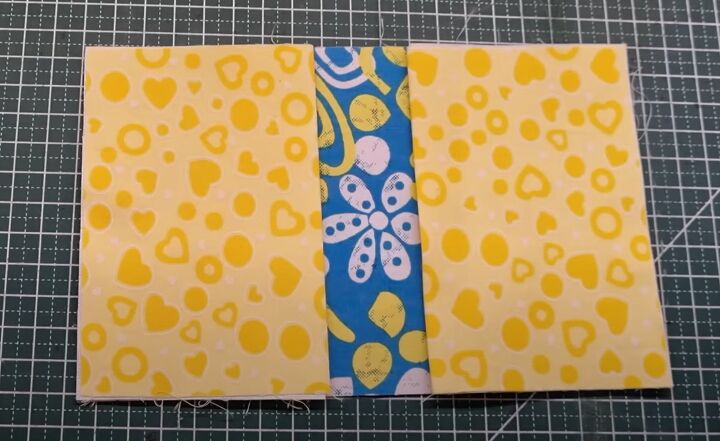
2. Assemble the card holder
Lay the main fabric piece without the interfacing face up on your table.
Place the two larger folded pieces of contrast fabric on top, lining up the raw edges on each side and with the folded edges towards the inside.
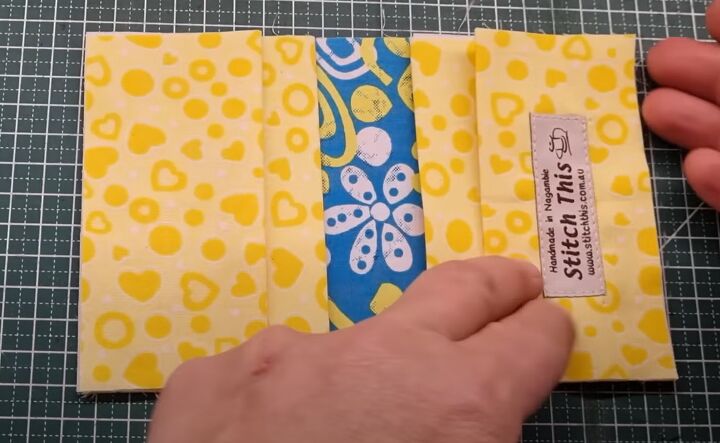
Add the two smaller pieces of contrast fabric on top, again lining up the raw edges on each side.
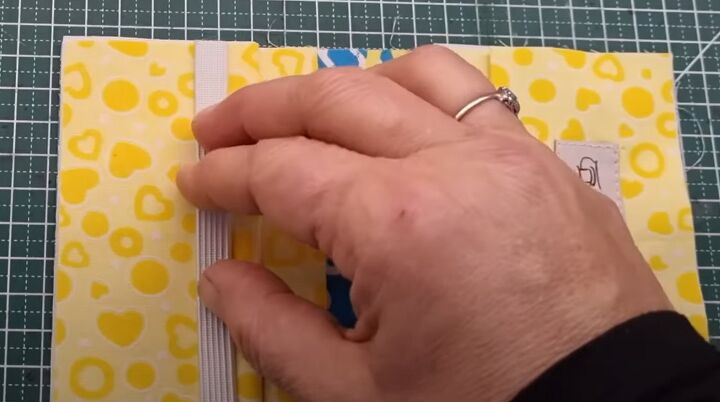
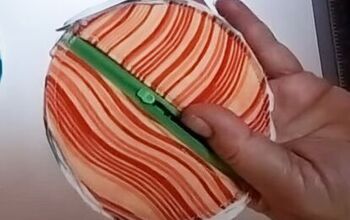
Place the piece of elastic vertically over the pockets on one side, 1 1/2” (3 cm) from the edge.
Finally, lay the interfaced piece of main fabric on top, with the wrong side uppermost.
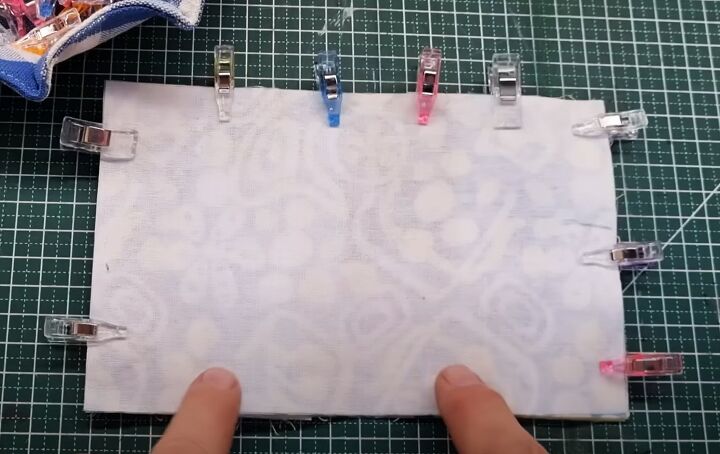
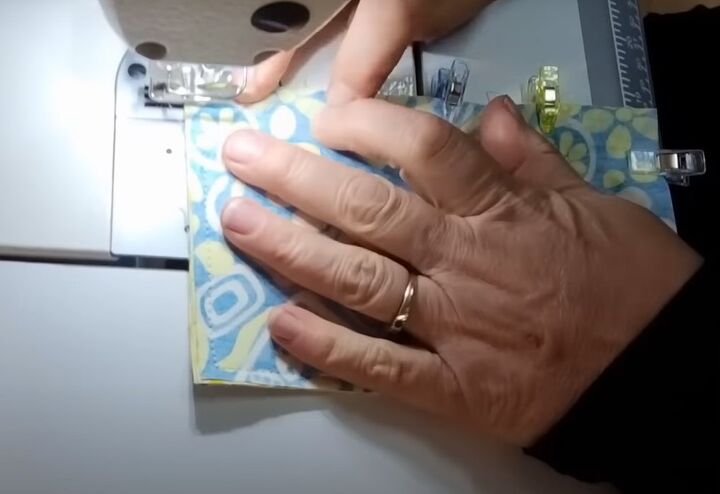
Pin or clip the layers in place, leaving a 2 inch (4 cm) gap on one of the long edges.
Because of the number of layers, I found fabric clips easier to use than pins for this project.
3. Sewing the card holder
Starting and ending with a few backstitches, sew around the edges taking a quarter inch (half cm) seam allowance.
Don’t forget to leave an opening on one of the long edges.
I also like to reinforce my stitches at the corners.
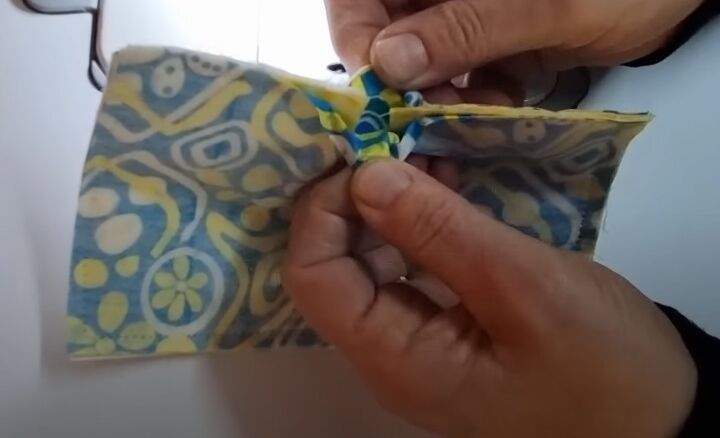
Snip the corners. Turn the card holder right side out through the opening.
Use a knitting needle to push out the corners and make them nice and sharp.
Press the holder well, but avoid putting your iron directly over the elastic.
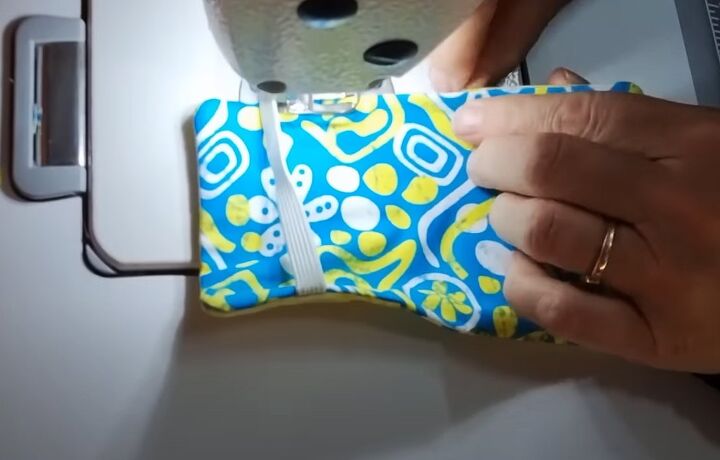
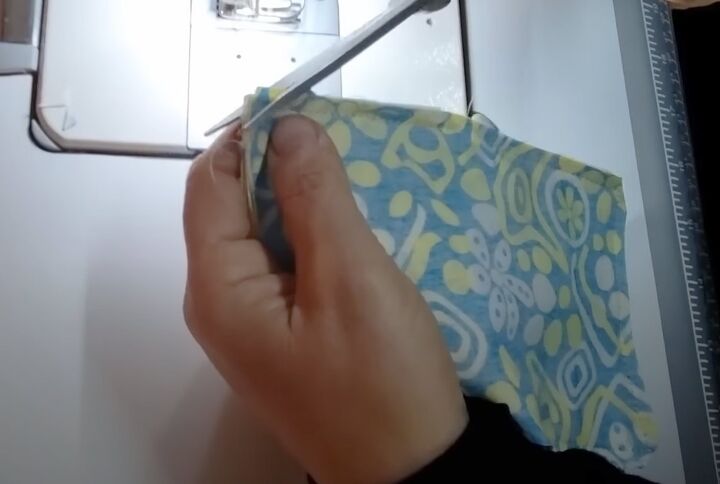
Keeping the elastic out of the way so you don’t sew through it, topstitch around the holder close to the edge from the outside.
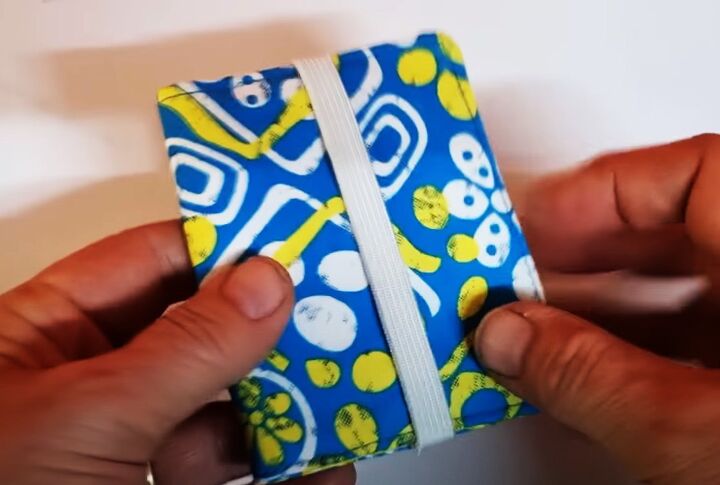
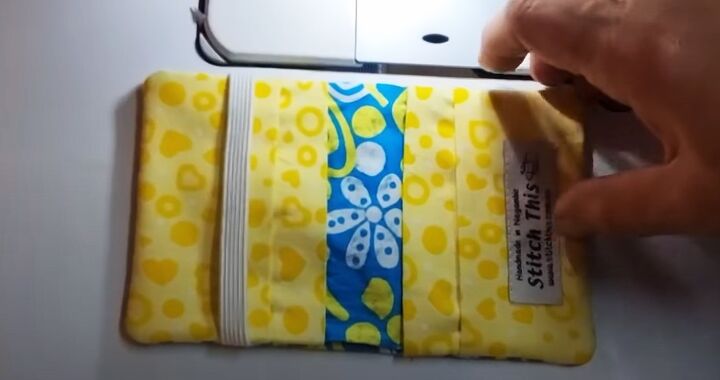
DIY credit card holder
Most of the making time for this card holder sewing pattern is in cutting the fabric. There are only two rows of stitching in the whole thing!
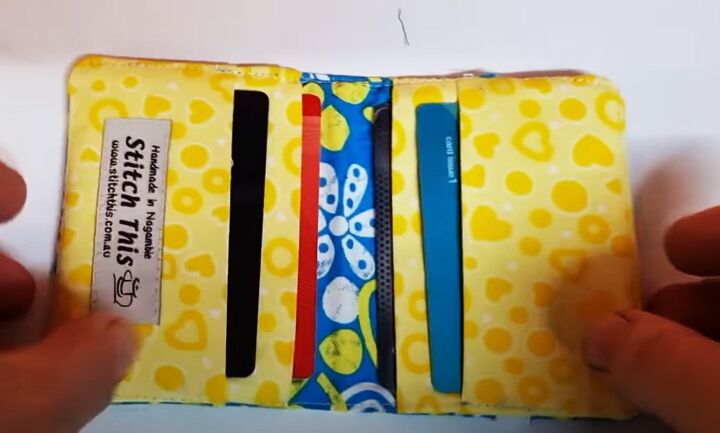
You can easily add another pocket layer to take even more cards if you need to, but I found this DIY credit card holder will take at least two cards per pocket.
It’s a great way to sell projects for a beginner. I’d love to know how you get on with it - please drop me a comment below and tell me what you think.
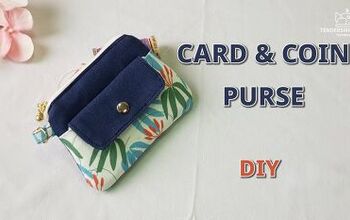
Next, check out my Easy Drawstring Coin Pouch Pattern Tutorial.
The author may collect a small share of sales from the links on this page.


Comments
Join the conversation