How to Make a Cute DIY Card & Coin Purse: Easy Quick-Sew Gift Idea

In this tutorial, I'll show you how to make a DIY coin purse. Change is inevitable, especially in your purse! If you often find quarters or other coins wandering in your bag, you probably need to make your own coin purse.
This one isn’t just for change; it’s large enough to hold a few credit cards or your driver’s license. Perfect for yourself or perfect for a gift! Here’s how to make a DIY card and coin purse!
Tools and materials:
- Fabric
- Lining fabric
- Fusible fleece
- Clips/pins
- Ruler
- Marking chalk
- 4 inch zipper
- Snap button
- Snap button installation tool kit/mallet
- Iron
- Sewing machine
- Needle and thread
- D ring
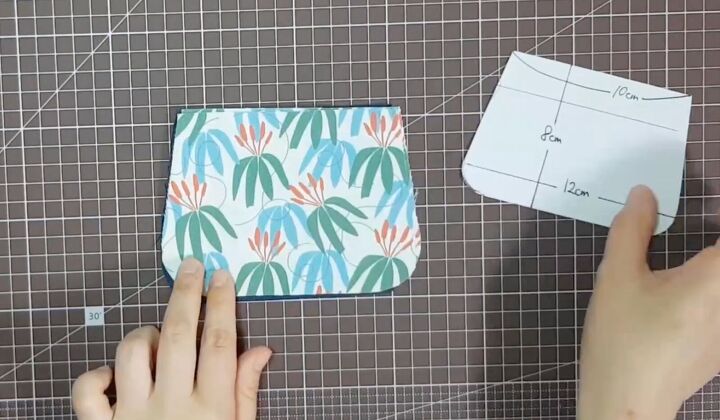
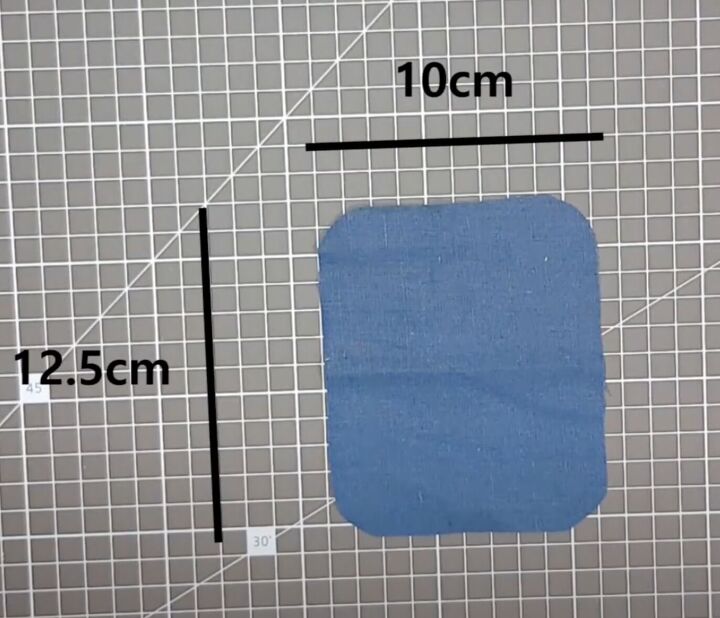
1. Cut the fabric
Make a paper pattern with these measurements for the body of the coin purse:
- Width 5 inches
- Height 3 inches
Lay the pattern on the fabric and cut. You’ll need 4 pieces of fabric:
- 2 Lining pieces
- 2 Exterior pieces
Cut a piece of fabric for the flap top 5 inches by 4 inches.
Cut a piece for the small tab that is 2 inches by 1½ inches.

Fold the paper pattern on a folded piece of lining fabric and cut.
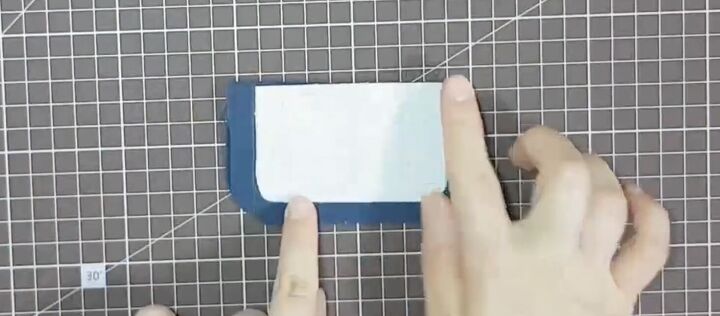
2. Attach fusible fleece
Iron fusible fleece onto the exterior pieces. Attach ½ the size of fusible fleece to the flap piece.
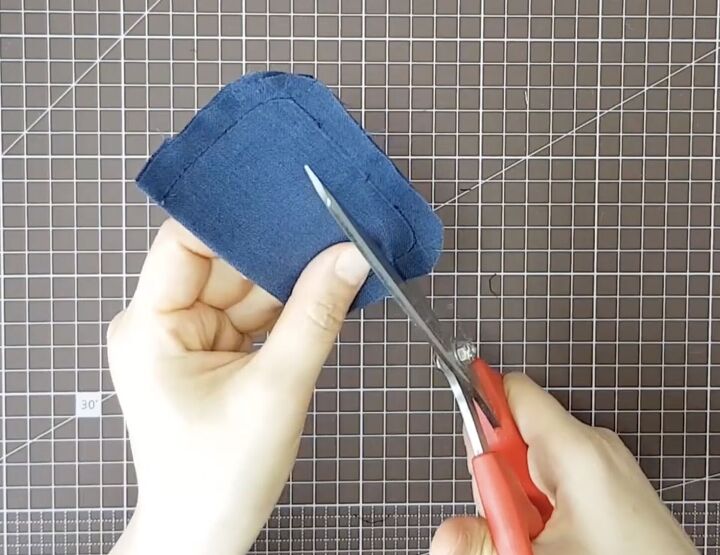
3. Make the flap
Fold the flap piece in half. Sew all around, leaving about 2 inches unsewn. Make tiny snips in the seam allowance. Then, use your thumbs to turn it inside out. Press.
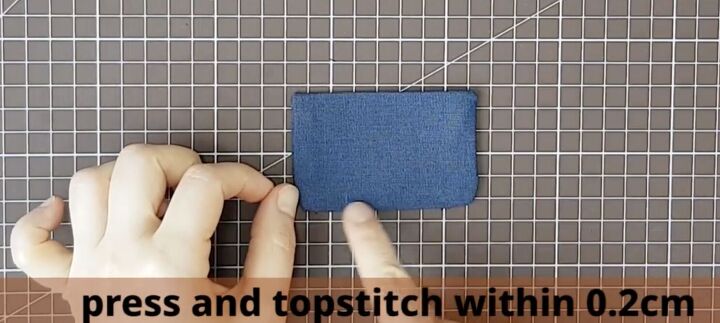
Then topstitch at the very edge.

4. Add the flap to the coin purse
On the exterior fabric of the body, measure 1½ inches down from the top. Mark. Lay the flap directly in the center on this mark. Pin in place. Sew to the piece using a straight stitch.
5. Finish the front of the coin purse
Open the double lining piece. Attach a piece of fusible fleece on the wrong side and then fold it in half.
Place it directly beneath the flap. Clip and then stitch it into place all around at ⅛ of an inch. Sew only this piece to the front panel.
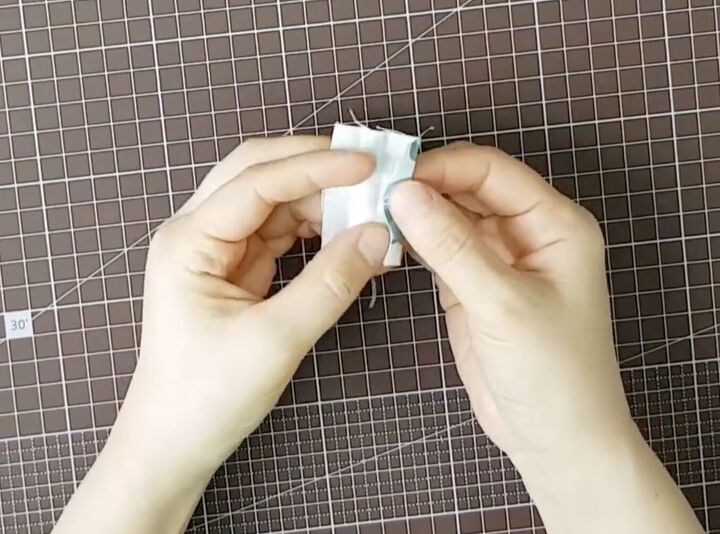
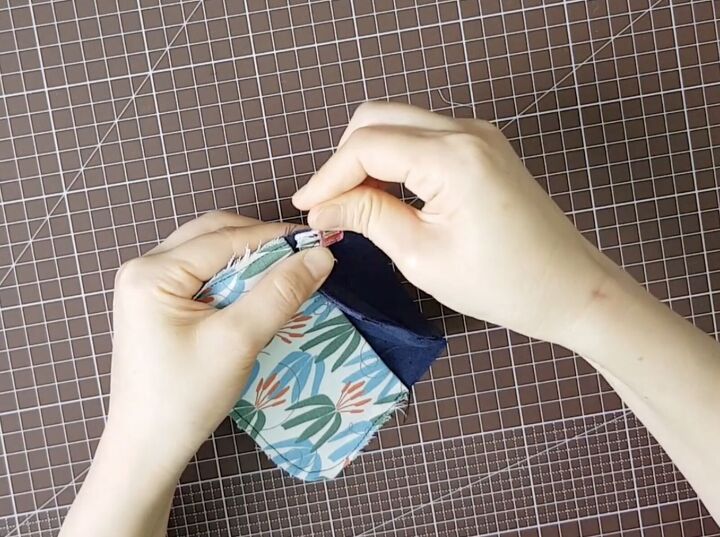
6. Make the tab
Use the small piece of fabric and fold it into quarters and those quarters into a half. Sew this small tab lengthwise down by both sides. Insert the tab into the D-ring. Fold the tab in half.
7. Attach the tab
Lay the tab on the left side of the front panel of the coin purse with the open ends right at the edge. Clip and then sew into place with a straight stitch right at the edge.
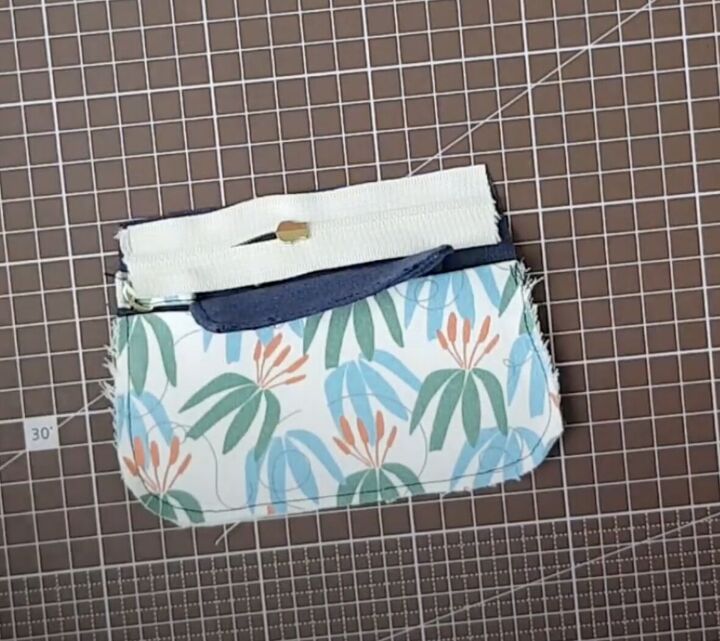
8. Attach the zipper
Lay the zipper right at the top of the front panel so that the teeth and zipper pull are right sides touching by the flap.

Lay one piece with of the lining with the fusible fleece directly on top of this, right sides together. Make sure the top edges of the front panel, zipper tape, and exterior piece are aligned. Pin into place. Stitch within ¼ of an inch right at the top.
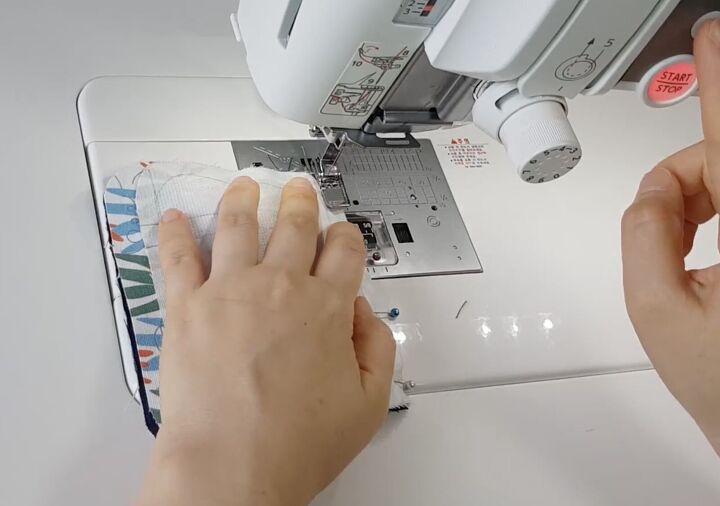
Flip the exterior fabric to the other side. Topstitch at the zipper’s edge.
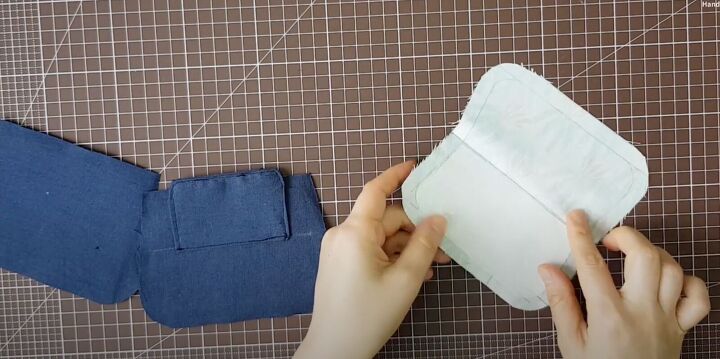
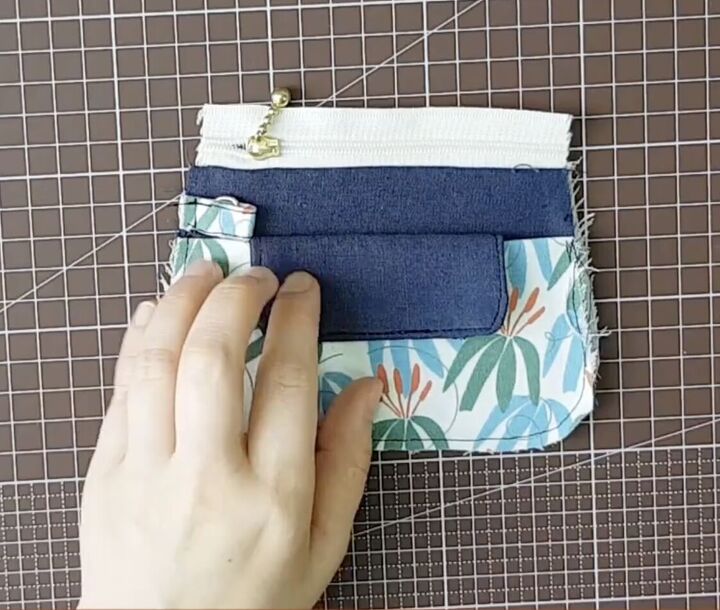
9. Make the back of the coin purse
Take the other piece of fabric and lay it on the front of the coin purse right sides together.
Line up the top of the fabric with the open edge of the zipper. Then, lay the other piece of fabric, also right sides together, sandwiching the sewn coin purse inside.
Line up the top edges together including the zip tape, and pin in place. Sew with a straight stitch right at the edge.
Open up the purse. The zipper should be completely installed.
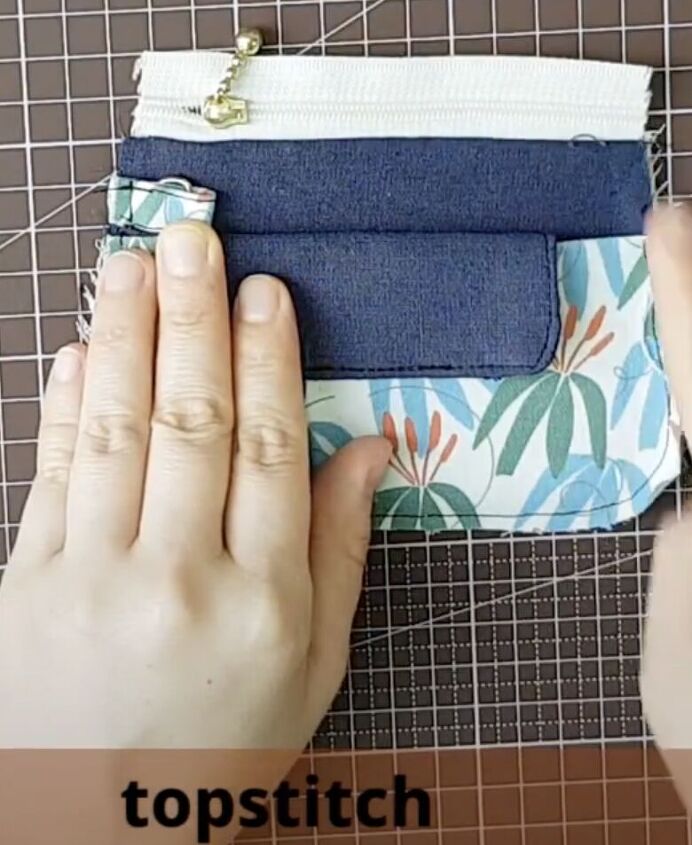
Topstitch the zipper in place for extra security.

10. Finish sewing up the coin purse
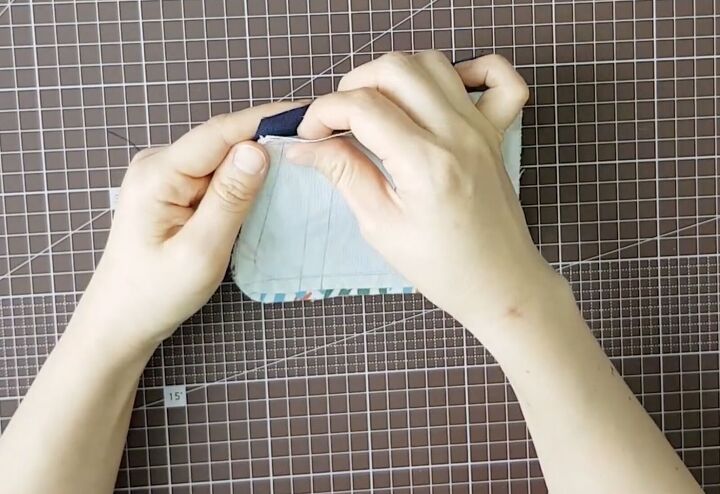
Fold the inner part of the coin purse together and the lining fabric in the opposite direction. Tuck in all the sewn parts.
Pin and clip all the sides in place. Stitch all around both of the “wings” at ¼ inch all around but leave a 1½-inch opening.
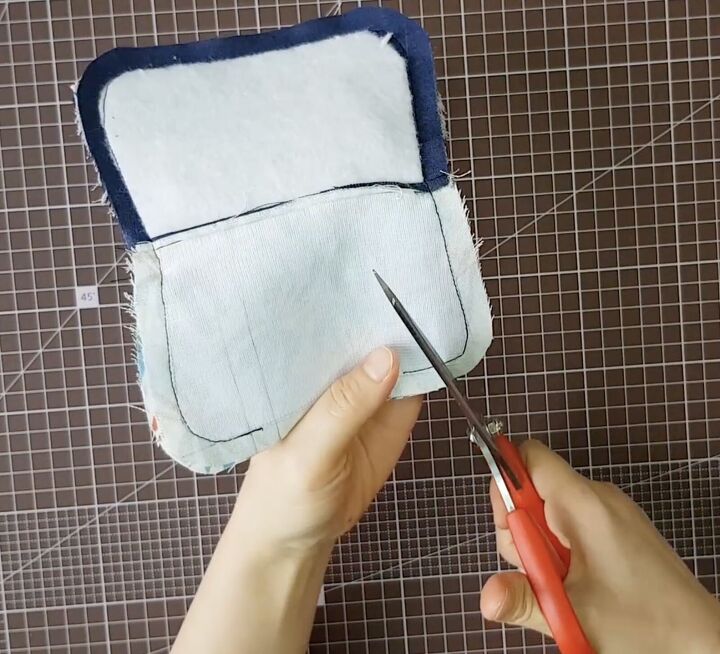
Snip the seam allowance. Use your thumbs to turn the coin purse inside out.
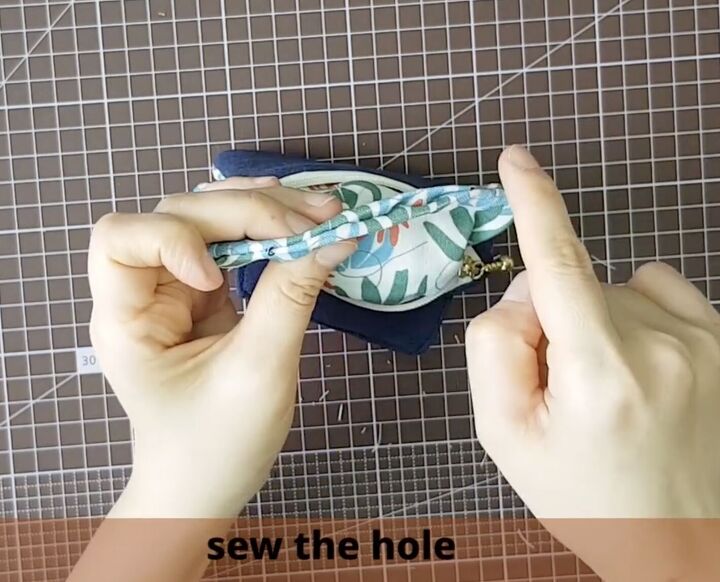
Sew the 1½-inch hole in the lining closed by hand using a needle and thread.
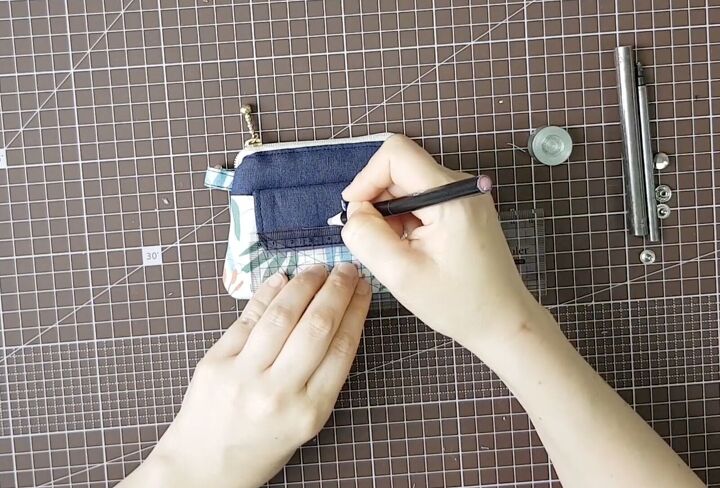
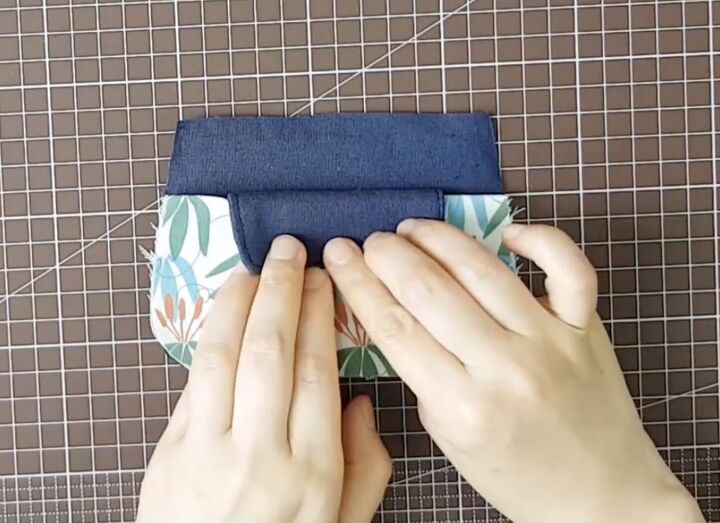
11. Add the snap button
Mark the center in the flap where you want to place the snap button. Make a hole, insert the snap. Use a snap tool installer kit and a mallet to secure the top of the snap button in place.
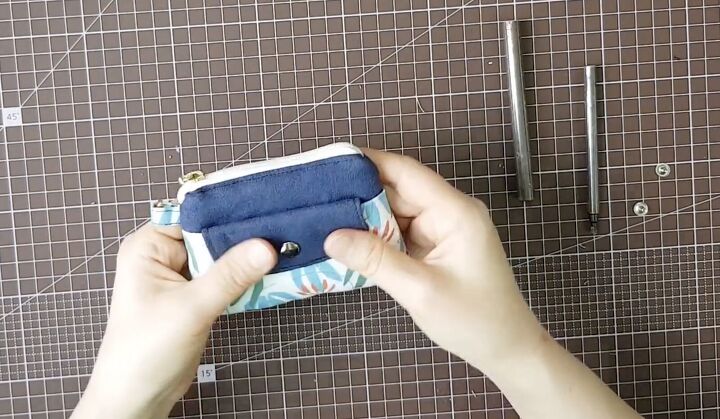
Mark the spot on the body of the coin purse for the snap button pin. Make the hole, insert the snap pin, and use the installer kit.
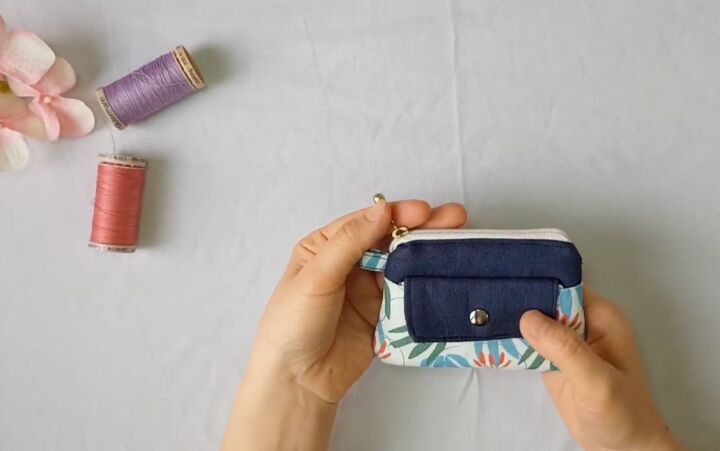
DIY coin purse tutorial
You’re done with an adorable coin purse that is so cute and makes for an excellent gift for someone as well. I hope you enjoyed making this DIY coin purse pattern.
Let me know in the comments if you made it for yourself or as a gift for a special someone!
The author may collect a small share of sales from the links on this page.


Comments
Join the conversation