How to Make a Cute DIY Reversible Tote Bag: Easy-Sew Gift Idea

Don’t you love it when you can flaunt your style in two different ways? Let’s make a cute DIY reversible tote bag so you can choose what pattern you want! Grab your scissors, two favorite printed fabrics, get your sewing machine out, and let me show you how to sew a reversible bag!
Tools and materials:
- 2 fabric pieces (different prints)
- Sewing machine
- Chalk
- Scissors
- Matching thread
- Iron
- Fabric clips or pins
1. Cut the pattern
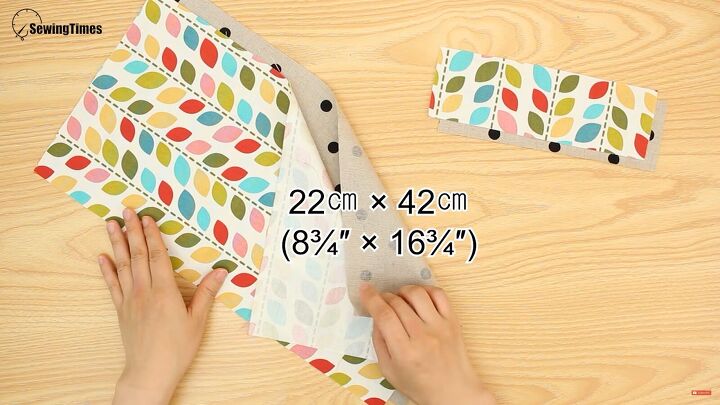
Take two of your favorite printed fabric pieces and cut them to size; you’ll need
- Two large pieces that measure 8 ¾ x 16 ¾ inches each
- Two small pieces that measure 9 ½ x 5 ¾ inches each.
2. Assemble the DIY reversible tote bag
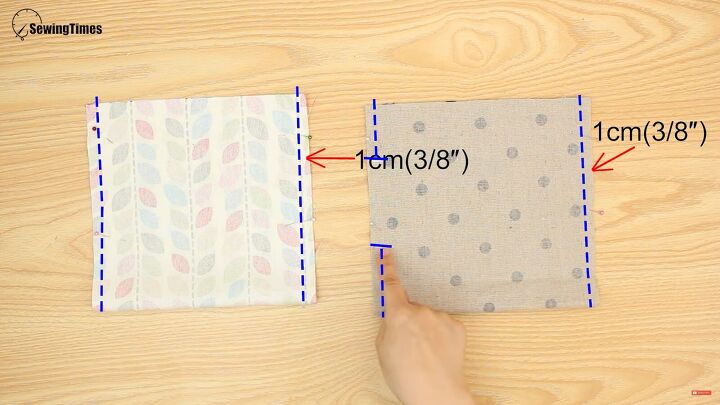
Fold each of the larger fabric pieces lengthwise and mark one of the sides (around 2 inches). Then, go ahead and sew the side seams with a ⅜-inch seam allowance. However, do not sew in between the gap you just marked.
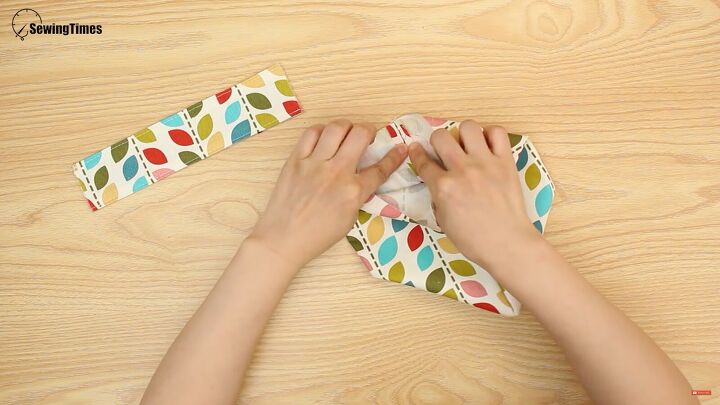
Next, lay the smaller pieces on top of each other, right sides facing. Then, sew along the longer side seams with the same ⅜-inch seam allowance.
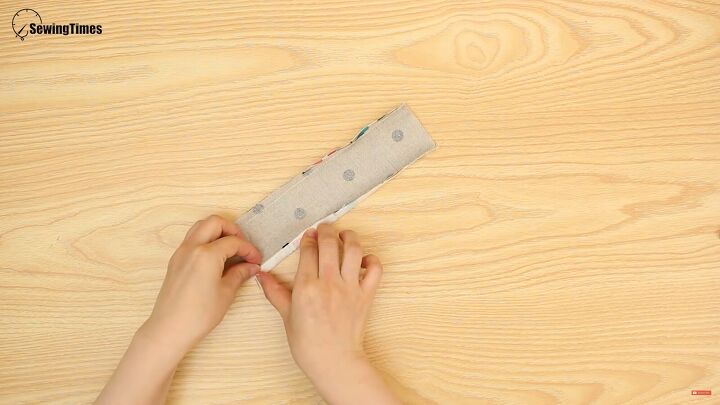
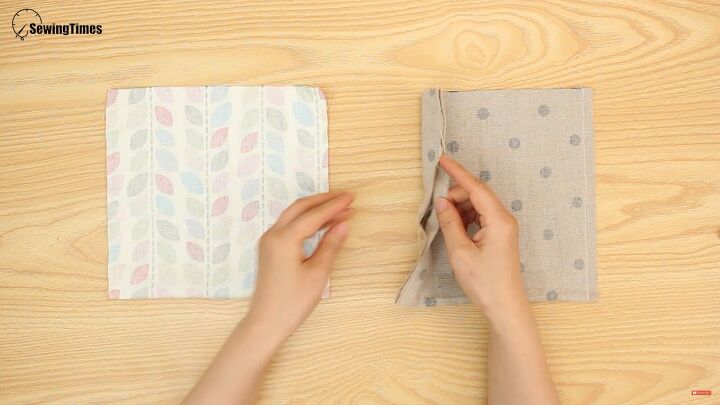
Fold in the seam allowance and turn the small fabric piece inside out.
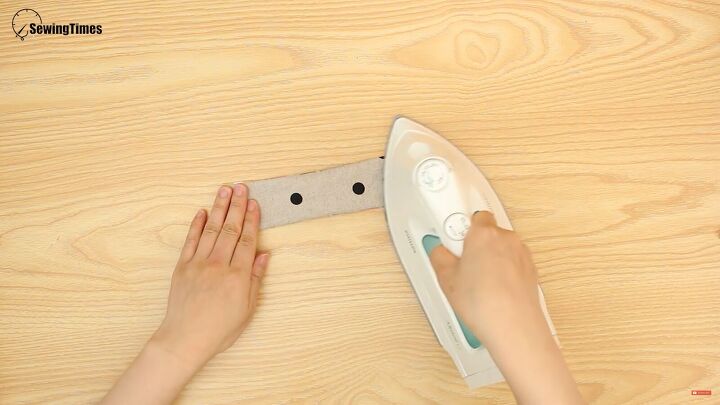
Press the fabric piece, so it lays flat.
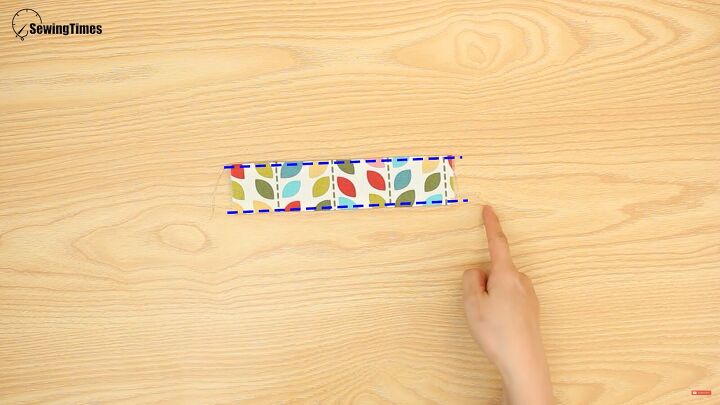
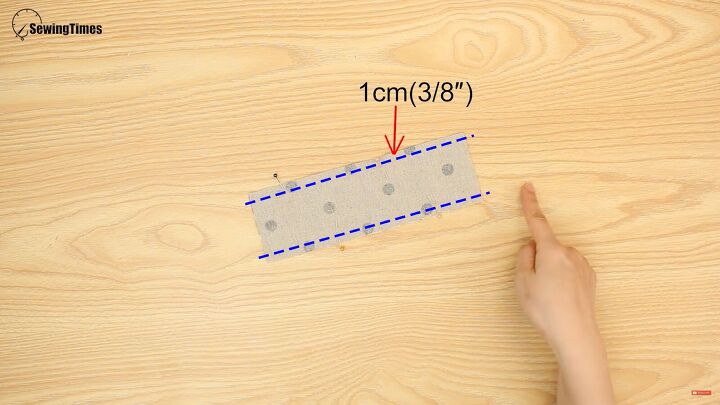
Now, topstitch along the edges, as shown.
3. Add the handles
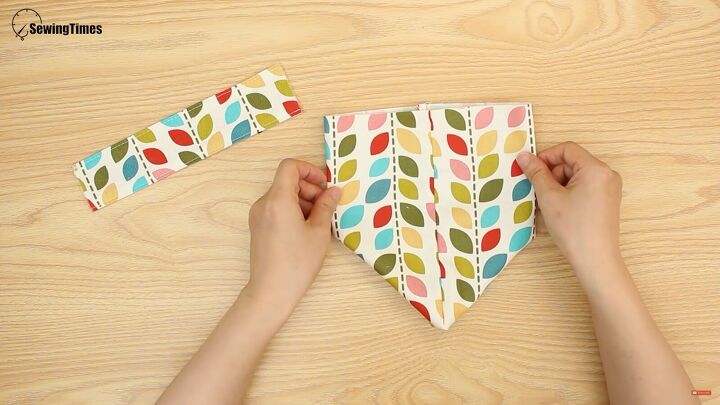
Fold your bag in such a way that the side seams lay on top of each other.
Then, open the seams.
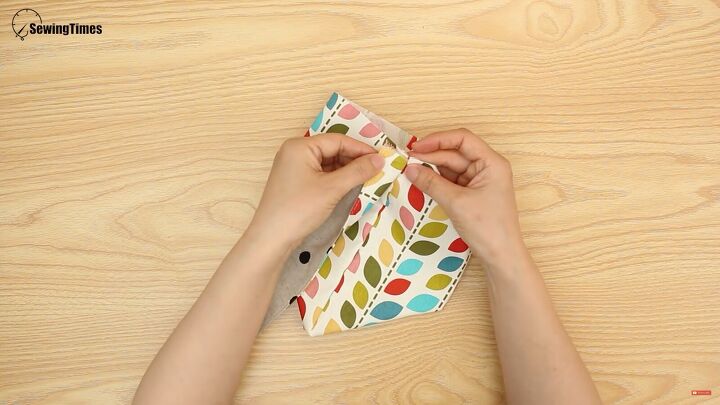
Fold the handle in half, and align its center point to the side seam of the tote bag.
Pin with fabric clips to secure. Make sure the matching printed sides are facing each other.
Switch sides, and fold your bag from the bottom up, then wrap the tote bag’s handle around the bag from underneath.

Before pinning, make sure to align the center points. Now, stitch across the pinned areas.

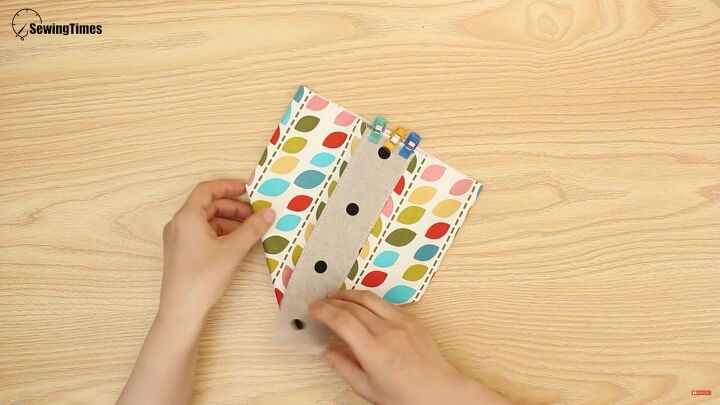
4. Add the second tote bag piece
Now, fold the second piece the same way as the first so that the side seams touch. Open the seams, so they lay flat.
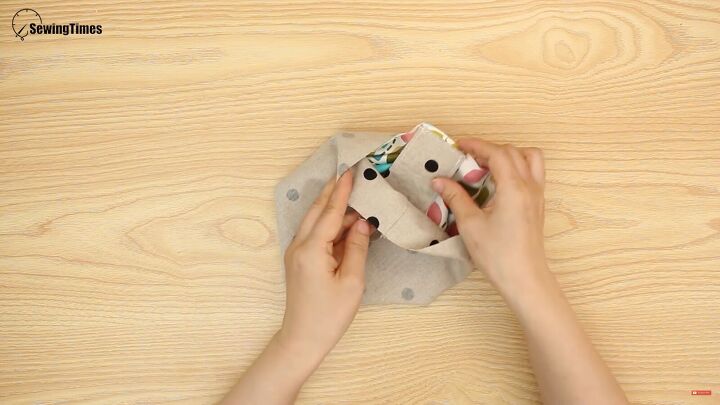
Next, insert the bag with the handles inside the second piece, as shown. Ensure the side seams are aligned.
Basically, the handle should be sandwiched in the middle.
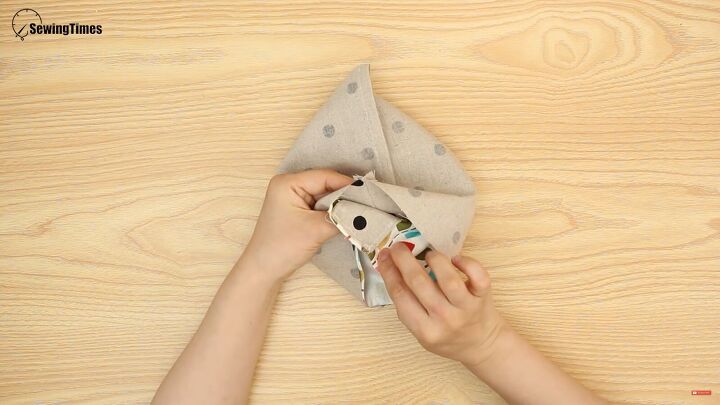
Now, pin the layers all around the upper edge.
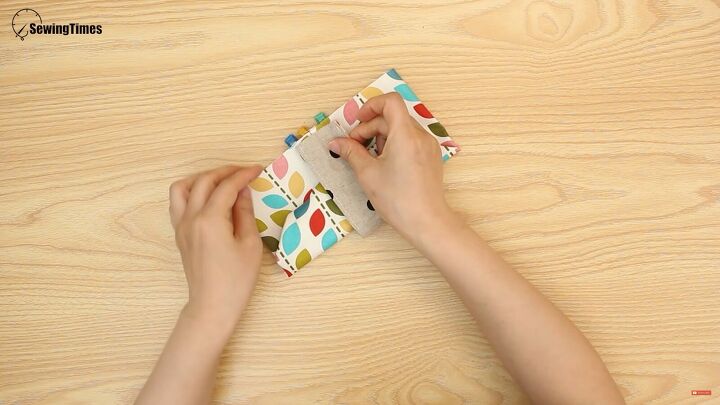
Then, sew the layers together with a ⅜-inch seam allowance.

Turn the fabric inside out through the side gap.
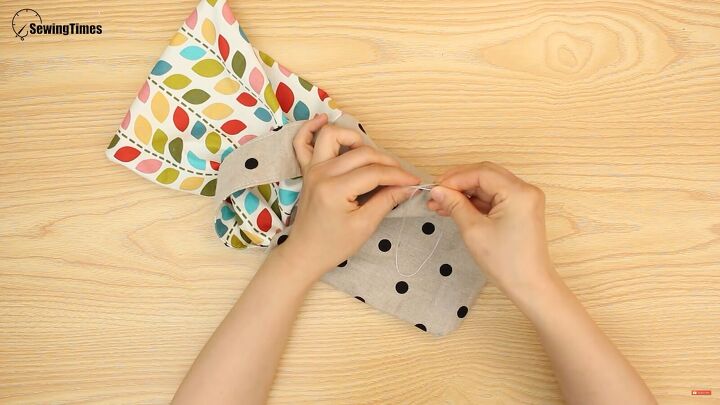
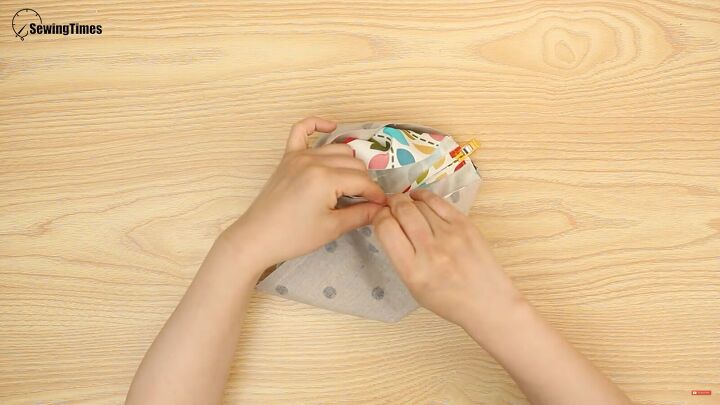
5. Close the gap
Now, carefully fold the fabric inward and hand stitch the gap closed.
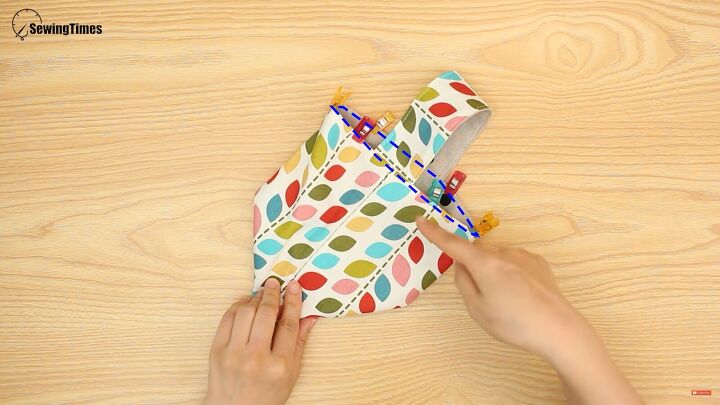
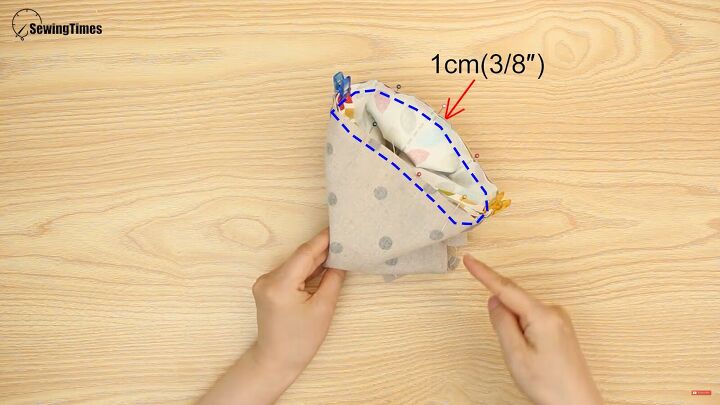
6. Topstitch
Now, insert the fabric that had the open gap into the other piece. Then, pin the fabric all around (on the upper edge).

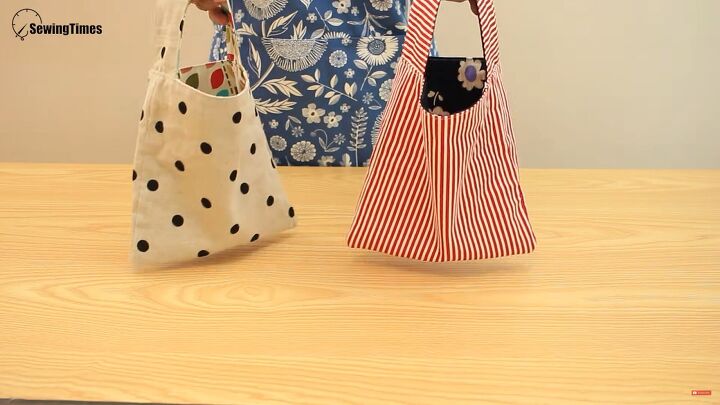
DIY reversible tote bag tutorial
Your DIY reversible tote bag is complete! Now you know how to make a reversible bag! I love how these tote bags look, and I also love how easy and beginner-friendly this reversible bag sewing tutorial is. These bags would make for great gifts this holiday season.
Thanks for tuning in!
The author may collect a small share of sales from the links on this page.


Comments
Join the conversation
It’s amazing and so easy to understand the instructions and video! I will give it a try, this comes handy with a project I started. I am making totes for my daughters, so they can carry baby clothes. Thanks. God bless all you do!
Super easy to follow instructions! I'll be making these for Christmas gifts!