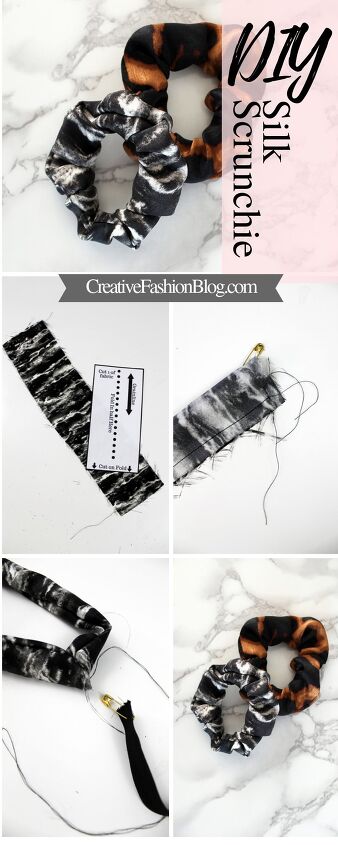
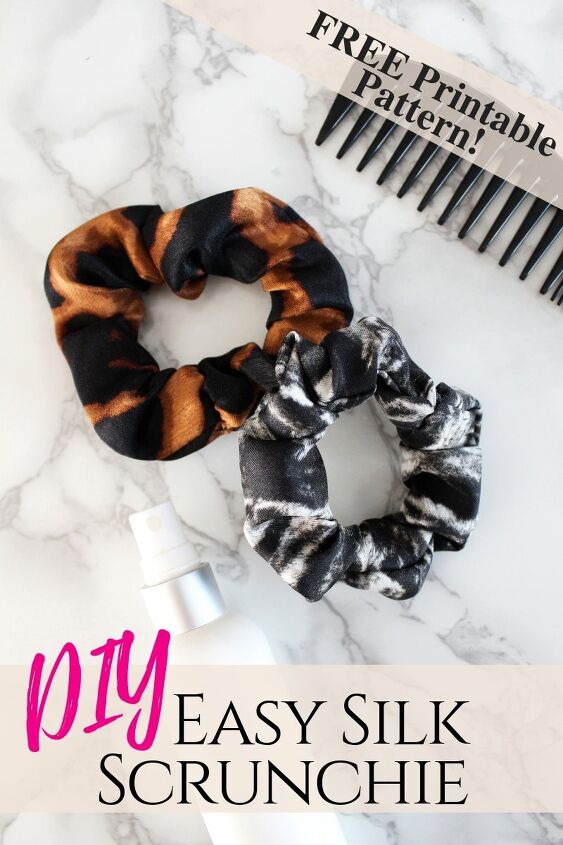
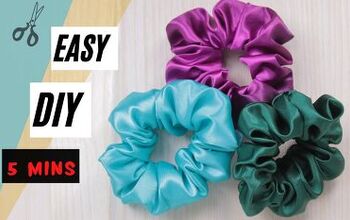
Easy DIY Scrunchie
This post may contain affiliate links for products I love and recommend.
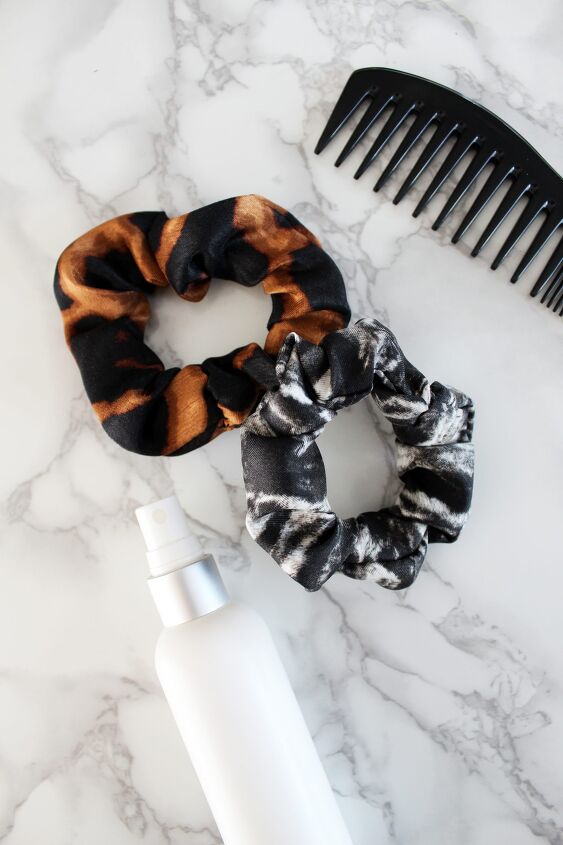
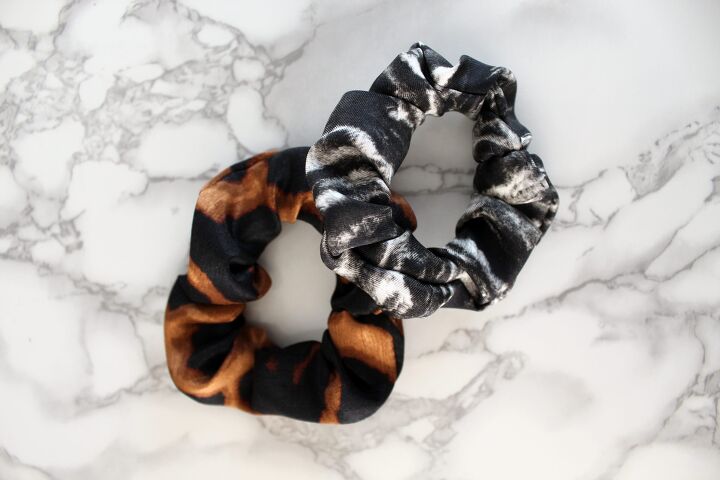
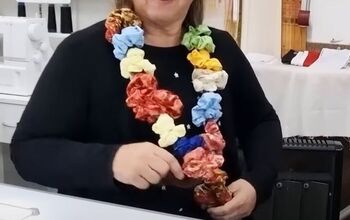
Today’s DIY scrunchie is my favorite way to use up scraps of fabric, save your hair, and sleep more comfortably.
I know… that’s a bold statement to make about a hair tie. But hear me out.
I’m always looking for ways to tweak my hair care routine and make it easier and more effective. You wouldn’t believe how many things I have tried that won’t make it onto Creative Fashion Blog! This tutorial however, is amazing.
Just like sleeping on the silk pillowcase we made last year has been proven to smooth your strands and make your night cream more effective, a silk scrunchie will not break or damage your hair in your sleep.
The reason? Since silk won’t wick moisture away, your hair will be softer, healthier, and stronger. The wide band also helps prevent ugly kinks when you take your hair out and isn’t nearly as damaging as a rubber hair tie. Bonus!
Softer, stronger hair without the kinks!
The even-better part? Making your own DIY scrunchie is a super simple sewing project. You honestly could do it all with a hand sewing needle if you wanted to. Ready to begin?
How To Make A DIY Scrunchie
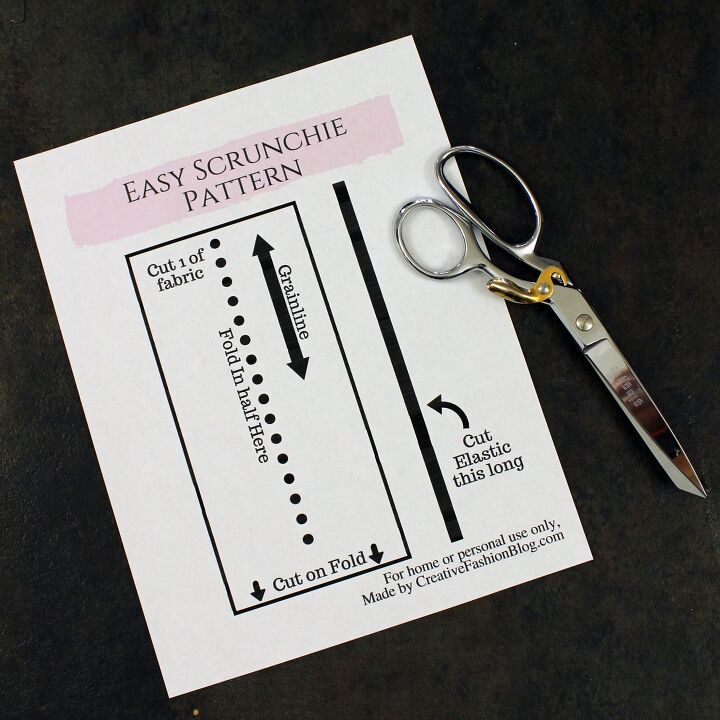
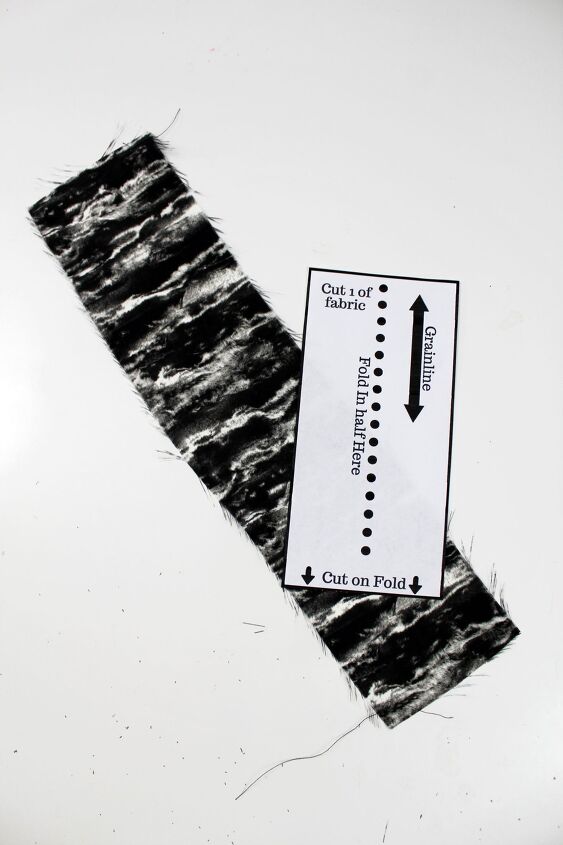
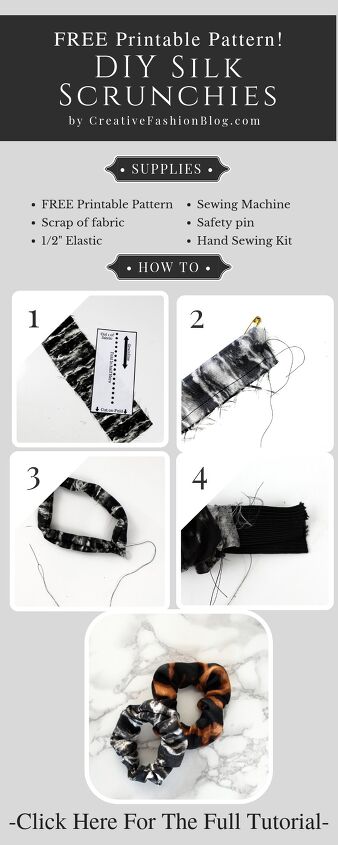
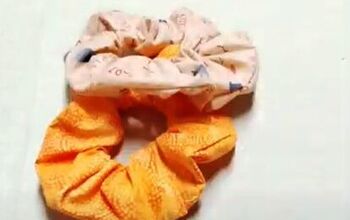
Find a scrap piece of silky fabric , fold it in half, and cut out your pattern piece. You should have a long, skinny rectangular piece of fabric.
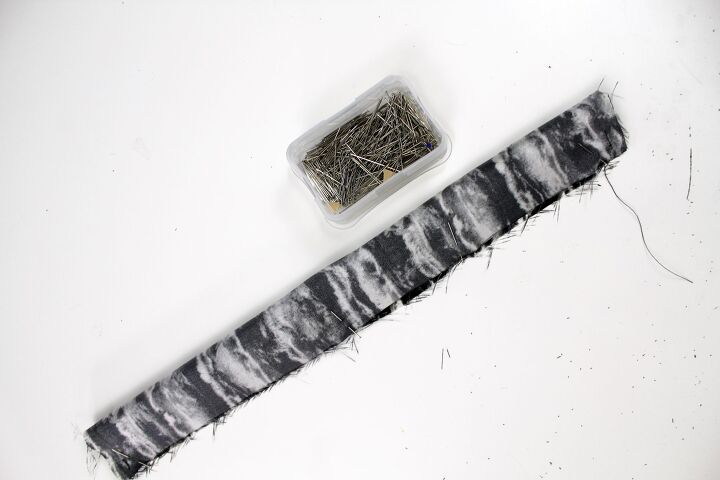
Now fold your fabric in half hot dog style and use sewing pins to pin it all into place. Sew it shut to create a long tube. You can either use a hand sewing needle or a standard sewing machine for this step.
Next, it’s time to flip the entire thing inside out. Take a safety pin and attach it to the outside of one end. Close your safety pin. Then, gently feed your safety pin back through your tube of fabric and out the other side. The closed safety pin makes it SO much easier to complete this step than trying it with your fingers.
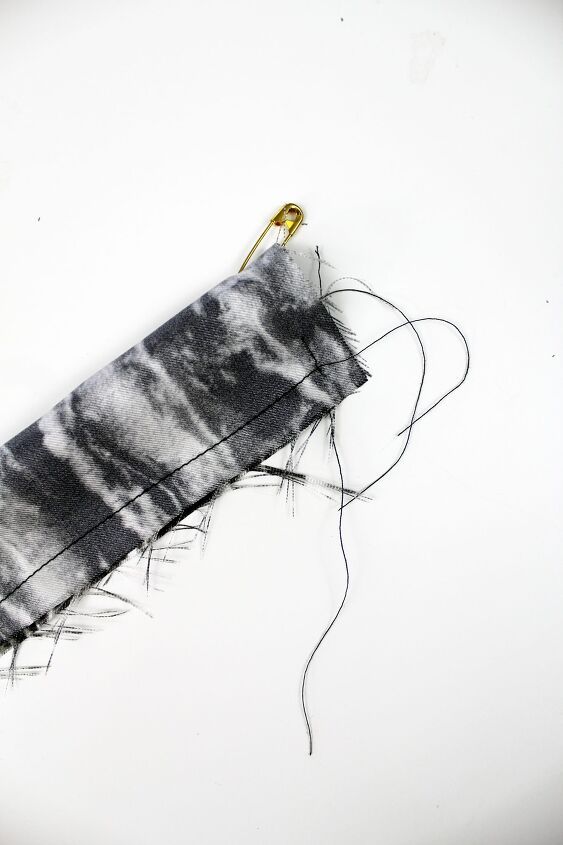
Now, your DIY scrunchie looks more like a fancy snake of fabric. Remove the safety pin.
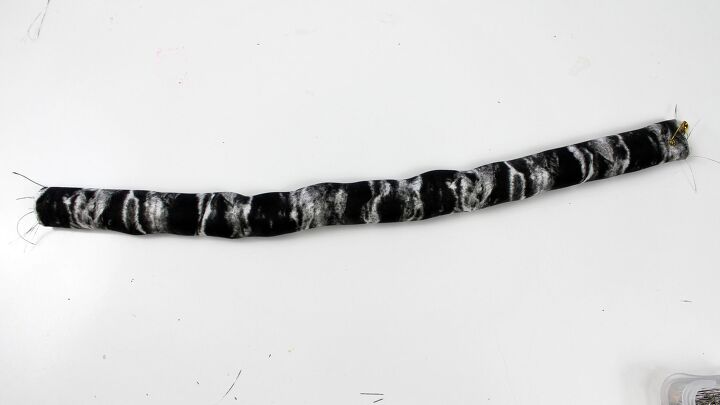
If you haven't yet, break out your hand sewing needle and begin sewing the two raw edges together. I like to use a ladder stitch but you can sew it together however you like. Once the opening is about 1″ total, take a break.
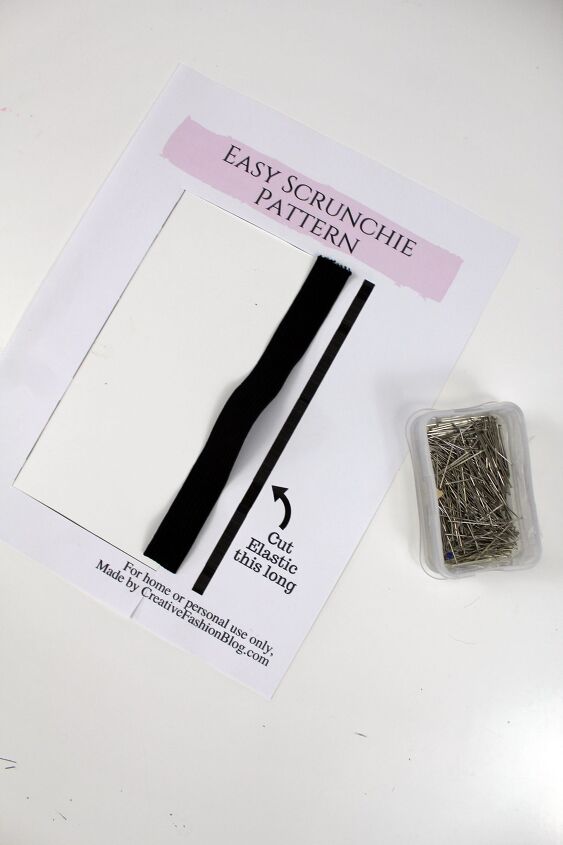
On the right side of your printable DIY scrunchie pattern, you should see a handy little elastic guide. This guide is perfect for lining an elastic up next to and trimming to size. (Wrap and elastic around your wrist just in case you’ve thrown your pattern away.)
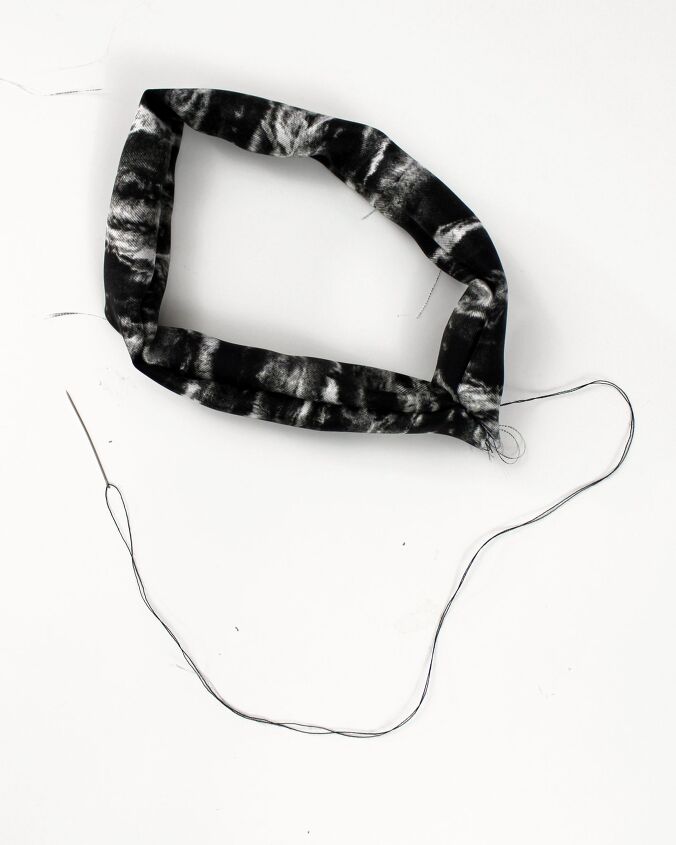
Now it’s time to turn your elastic into a DIY scrunchie! Place another safety pin through one end of your elastic. Then, hold one end of the elastic between your fingers while you feed the other end through the silk tube.
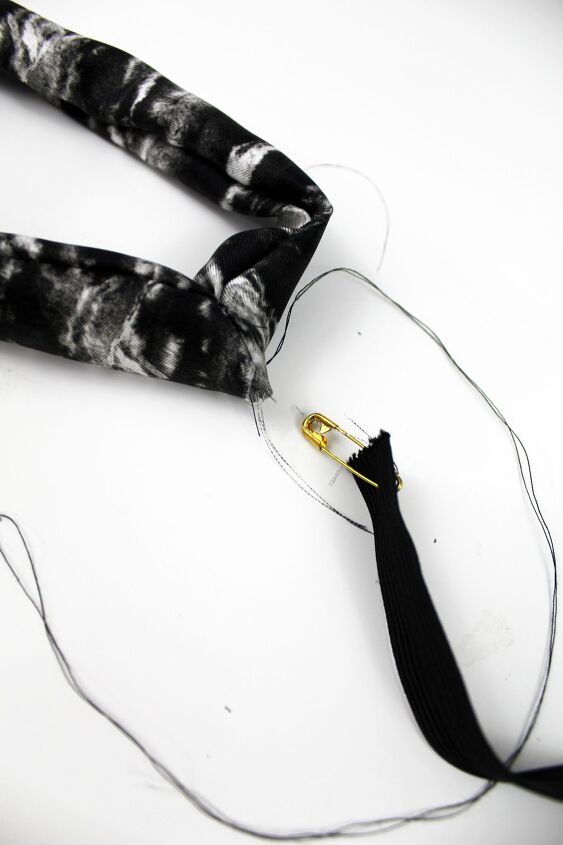
Once your elastic comes out the other side, pull it enough to sew the two ends together…. or even tie them in a knot. (The scrap elastic I used on this particular DIY scrunchie was way too thick to tie!)
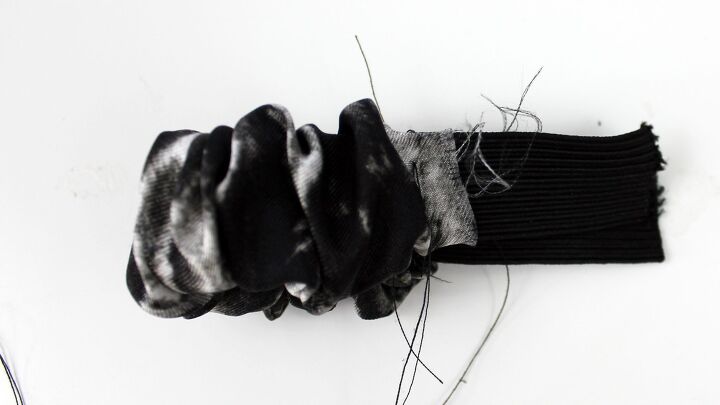
Use your hand sewing needle to finish sewing up the hole in your silk fabric. Trim any excess thread and you my friend are done!
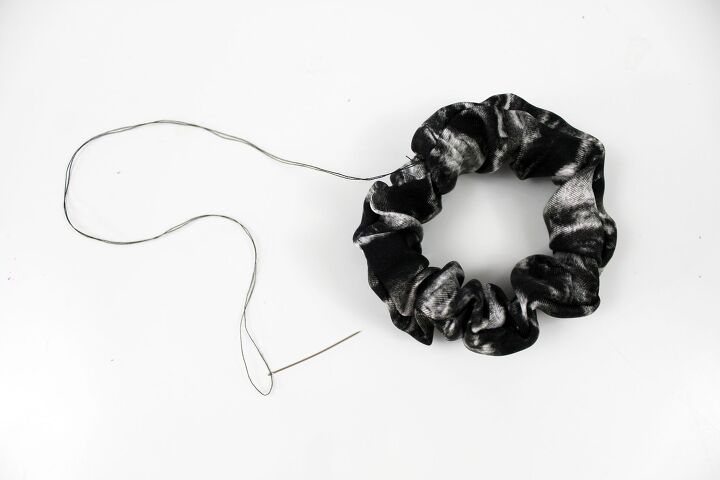
Wasn’t that easy? This project is absolutely perfect if you are just getting started sewing or wanting to create something with your kids! My eight year old wants to make matching ones and I’m excited to show her how!
Loved The Tutorial? Please Share It!
The author may collect a small share of sales from the links on this page.


Comments
Join the conversation
I have some really cute fabric that was used for making masks that will be perfect for this. Thanks!