This Really Easy DIY Scrunchie Tutorial is Perfect for Beginners

In this tutorial, I'm going to be showing you how to make a DIY scrunchie. This DIY hair scrunchie is an excellent first project if you are a complete beginner at sewing because it's so easy. But even if you are a sewing expert, every girl can do with some funky hair scrunchies, so this is for you as well.
Ready, set, sew!
Tools and materials:
- Fabric
- Pins
- Elastic
- Safety pin
- Sewing machine
- Needle and thread
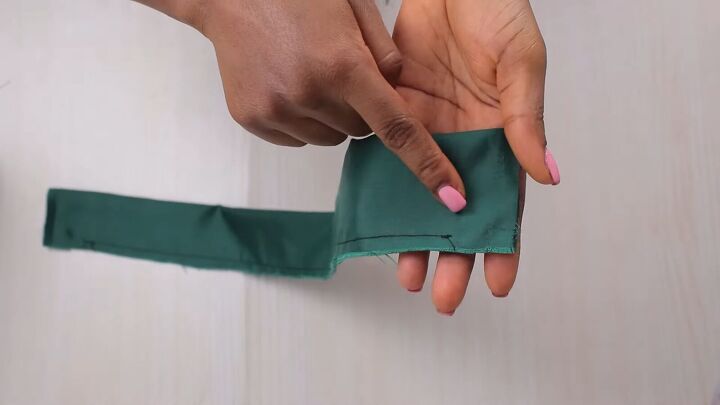
1. Sew the long side
Take a piece of fabric that measures 26x5 inches (66x13cm). I am using a satin fabric, but you can really use any type of fabric that you want.
Start by folding your fabric in half lengthways and pin the sides down. Next, sew the strip of fabric down, leaving 1 inch (2.5cm) at both ends.
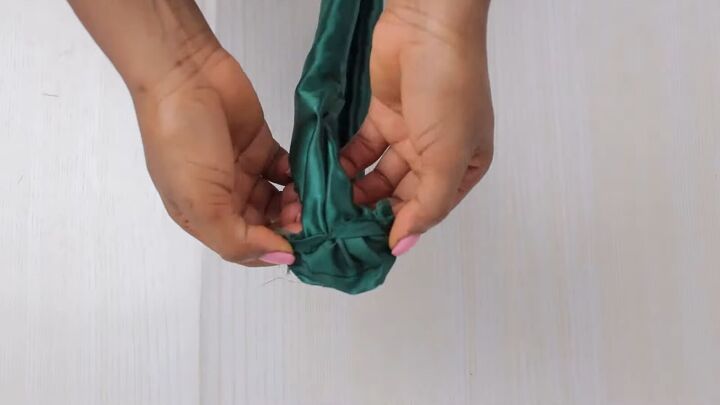
2. Sew the ends
Turn the fabric right side out so that you can no longer see the stitching.
Holding the two sides together, you will have in total four layers of fabric. Pin down one layer from each side and then sew them with a ½-inch (1.25cm) seam allowance. It's important that you don't sew all of the material on each side as you still need to insert the elastic.
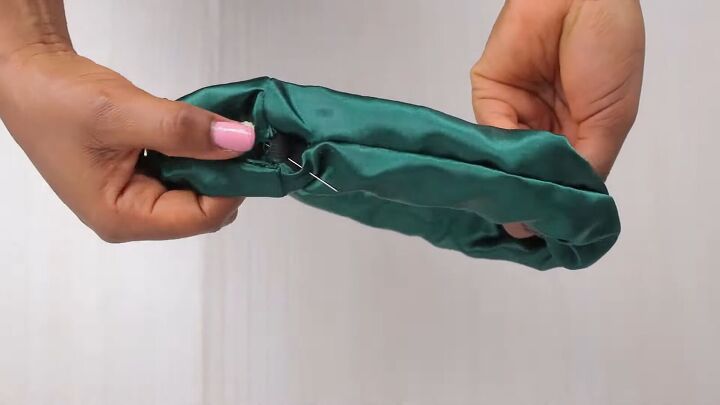
3. Insert the elastic
Stretch the material out and then insert the elastic through the opening. Your elastic should measure 7 inches (18cm). Attach a safety pin to one end of your elastic and use it to pull the elastic through the hairband.
Once the elastic comes out on the other side, remove the safety pin, pull the two elastic ends together, and stitch.
Tip: While bringing the elastic all the way around, I used a pin to hold the other end of the elastic in place so that it didn't fall into the scrunchie.
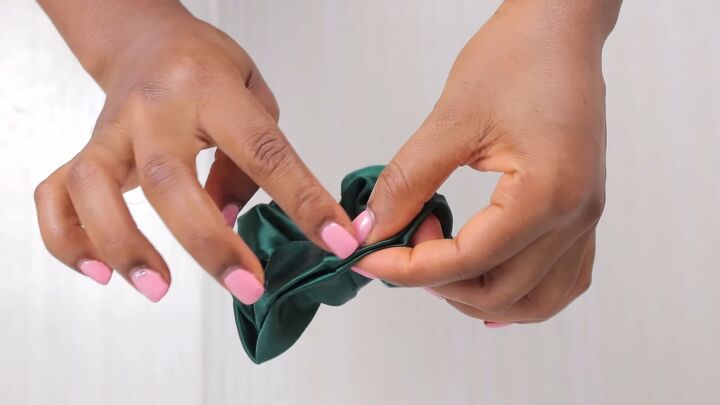
4. Sew up the opening
Then, let the elastic go in, and now all you need to do is close up the opening. You can either topstitch it or hand stitch it. I recommend that you hand stitch it because that way, it comes out clean.
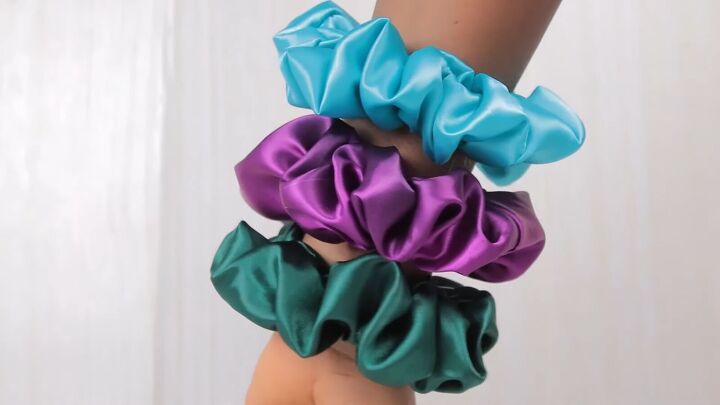
DIY scrunchie tutorial
That is how you can make a DIY scrunchie in four simple steps. Here is the finished scrunchie, and as you can see, I made myself some more cute colorful ones to keep my hair looking fly.
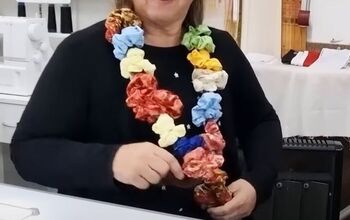
The scrunchies also make great gifts to give to friends. This DIY is so easy; you really can't go wrong with it.
The author may collect a small share of sales from the links on this page.


Comments
Join the conversation
What is the width of the elastic that you used?
If you mentioned it I must have missed it.