This Easy Summer Ruffle Top Tutorial Is Perfect for Sewing Beginners

I recently saw a stunning, summery ruffle top on Pinterest. I decided to recreate the design and make a ruffle top tutorial of my own. I have to tell you, the process is really simple, plus anyone can pull off this look.
If you’re looking for an easy DIY sewing project, or if you're a beginner when it comes to sewing, then try out this guide to how to make a ruffle top. You’ll thank me later.
Are you ready to make this summer ruffle top? Let’s get to it!
Tools and materials:
- Cotton fabric
- Elastic
- Sewing machine
- Pins
- Measuring tape
- Thread
- Chopstick
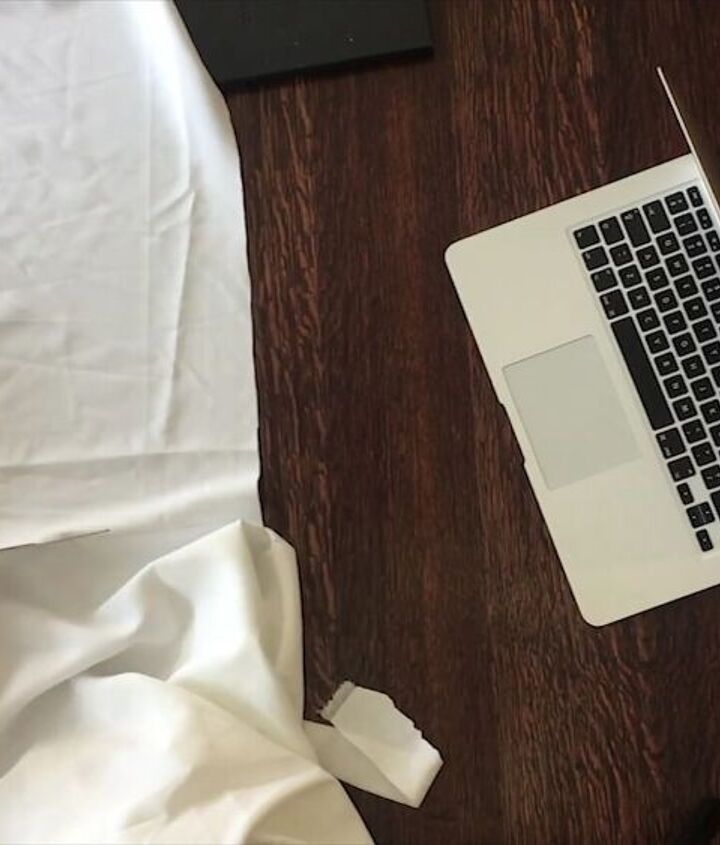
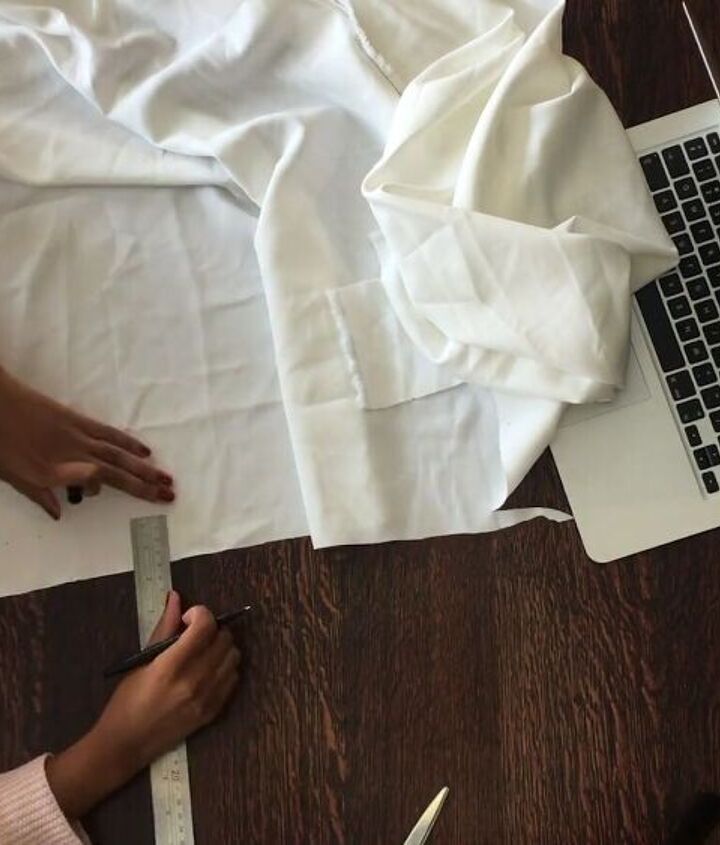
1. Make the ruffle top pattern
I made this ruffle top without a formal pattern, as it's very floaty - I just used my body measurements.
Start with the width of your bust, then double it. In my case, my bust is around 76cm (29.9 inches). Doubled, that’s 152cm (59.84 inches).
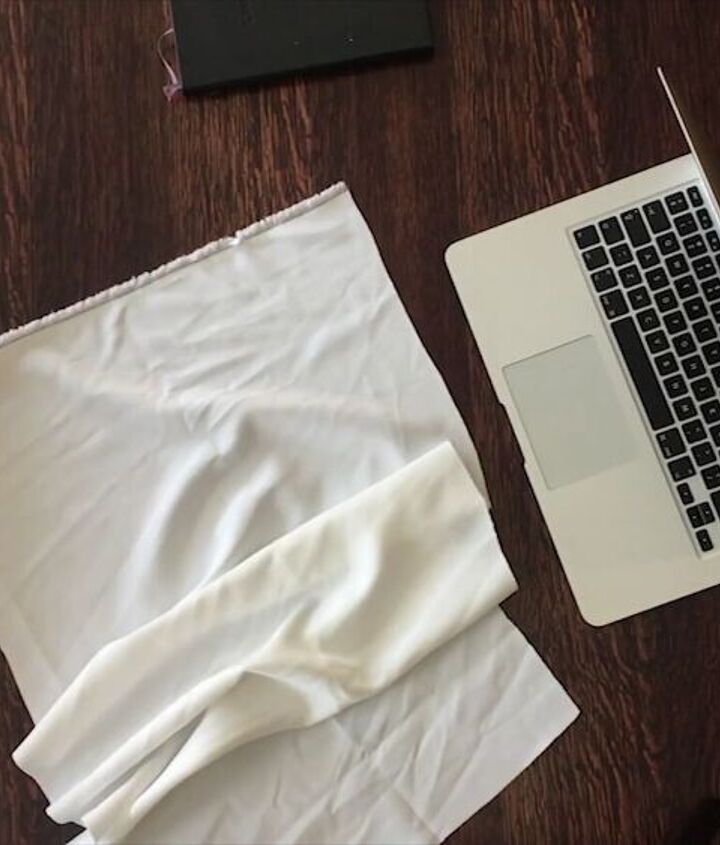
Next, cut out the desired length of the ruffle top. I didn’t want mine to be too long, so I stuck with 38cm (14.9 inches). If you want more of a crop top feel, go ahead and make the length shorter.
I basically cut out a piece that’s 152cm (59.84 inches) x 38cm (14.9 inches). I cut two pieces, then sewed them together, but I recommend cutting one long tube of fabric to make this step even easier.
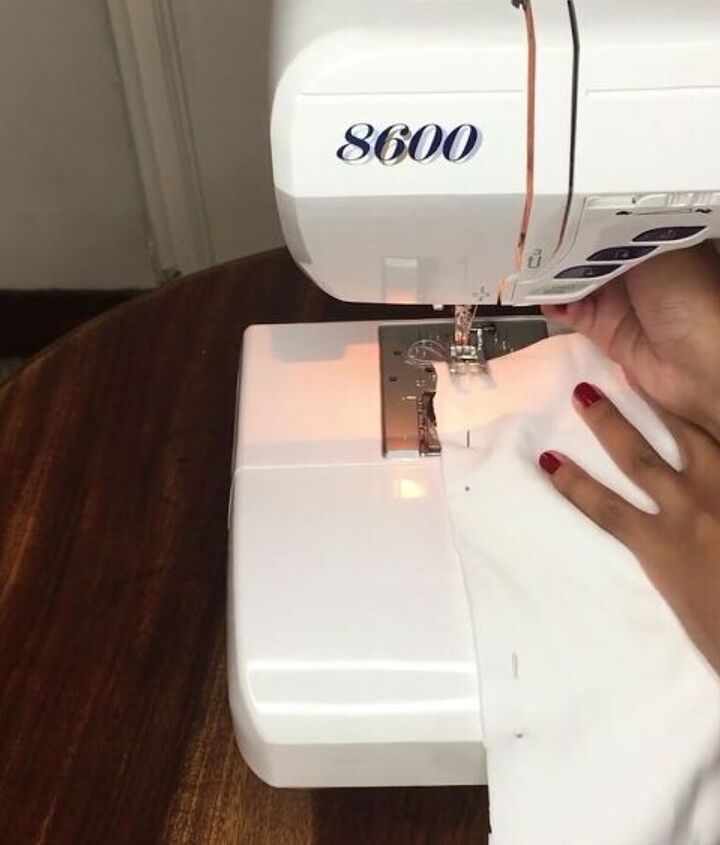
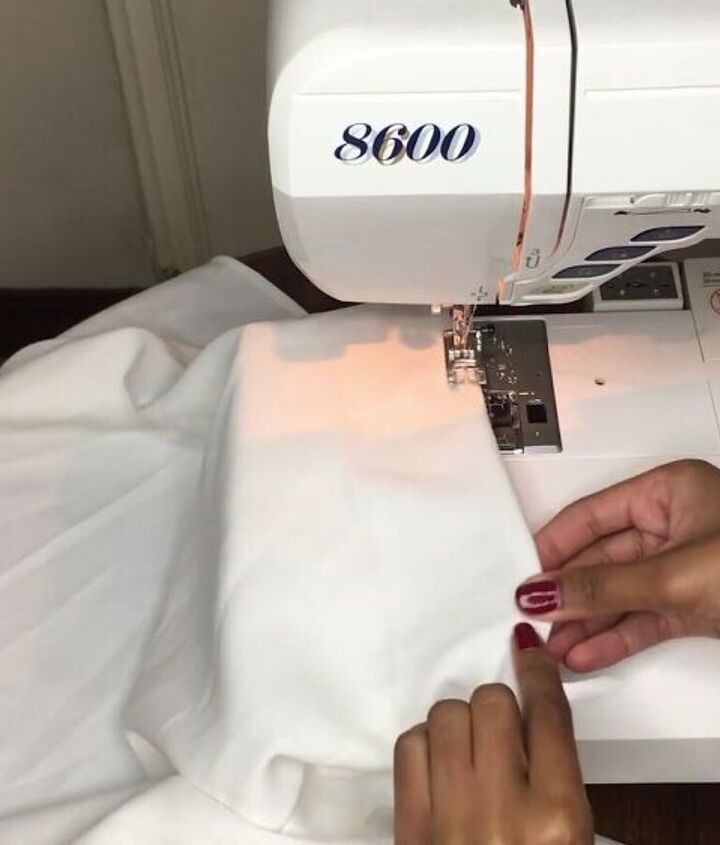
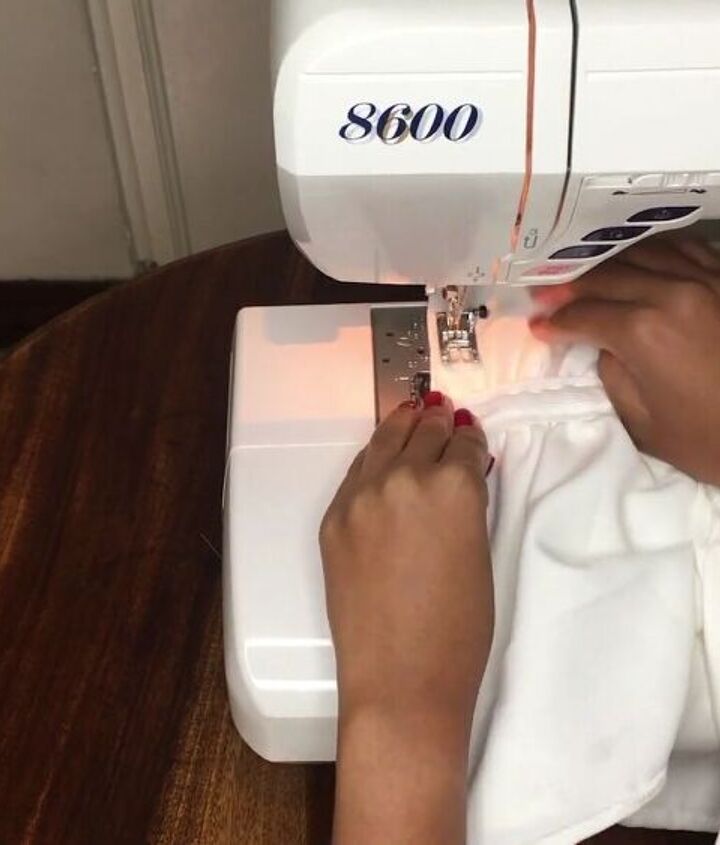
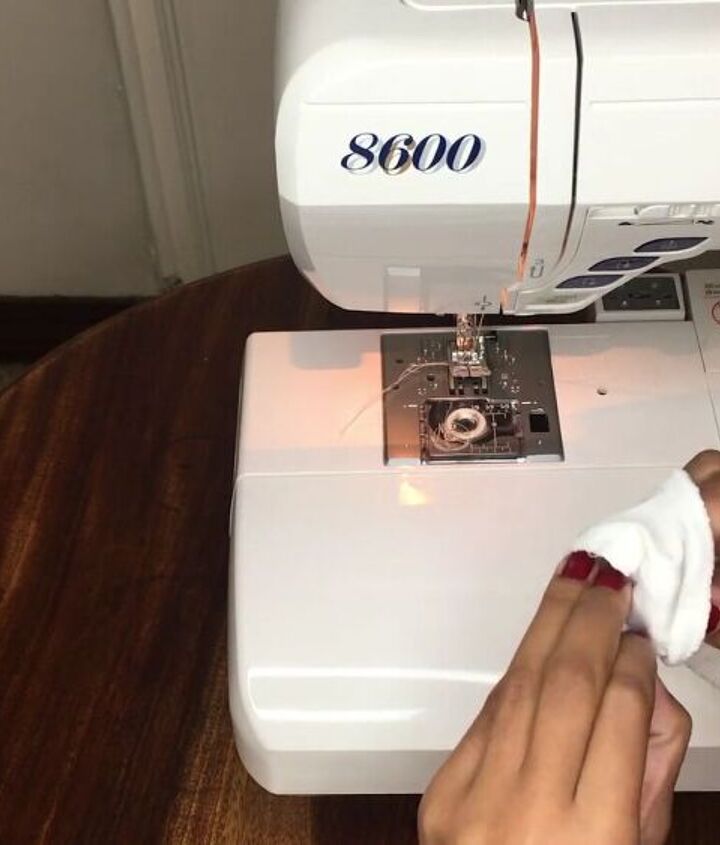
2. Sew the ruffle top
Now, pin the side seams and sew along the edges to secure. Use a straight stitch.
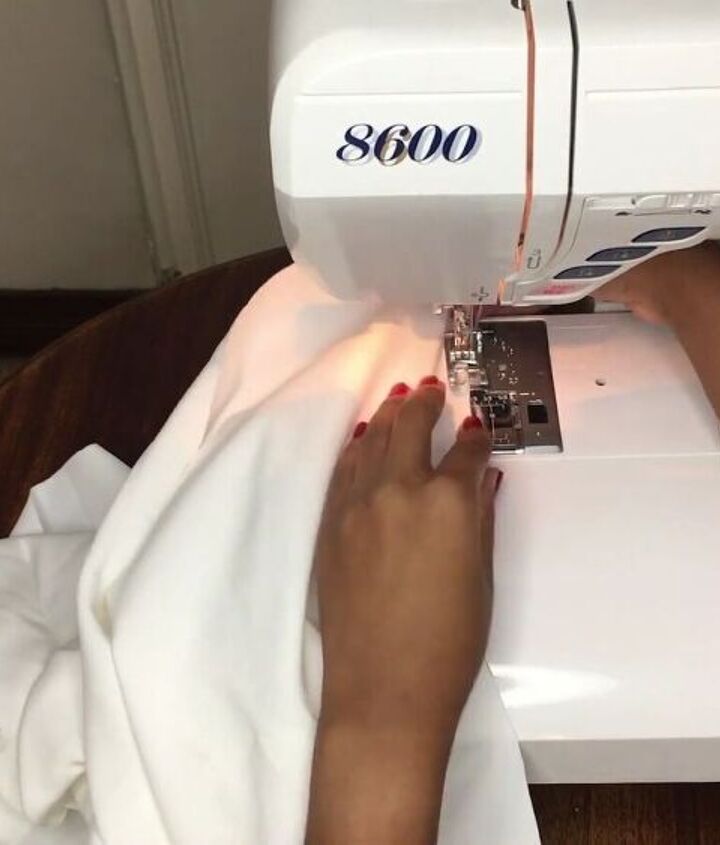
Next, overlock the side seam edges to avoid any fraying.
Also, you can fold the hem as thin as you can get it and straight stitch along the raw edges for a more polished look.
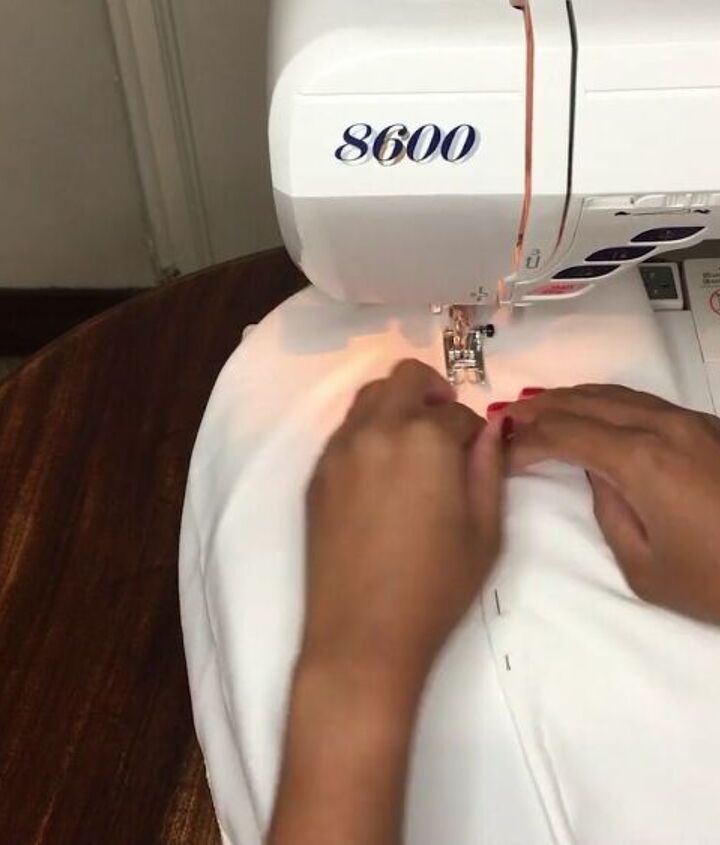
Finally, fold the fabric along the top bust by about 7cm (2.7 inches) and sew to secure.
3. Add the elastic
Now, cut out elastic that’s the same length as your bust.
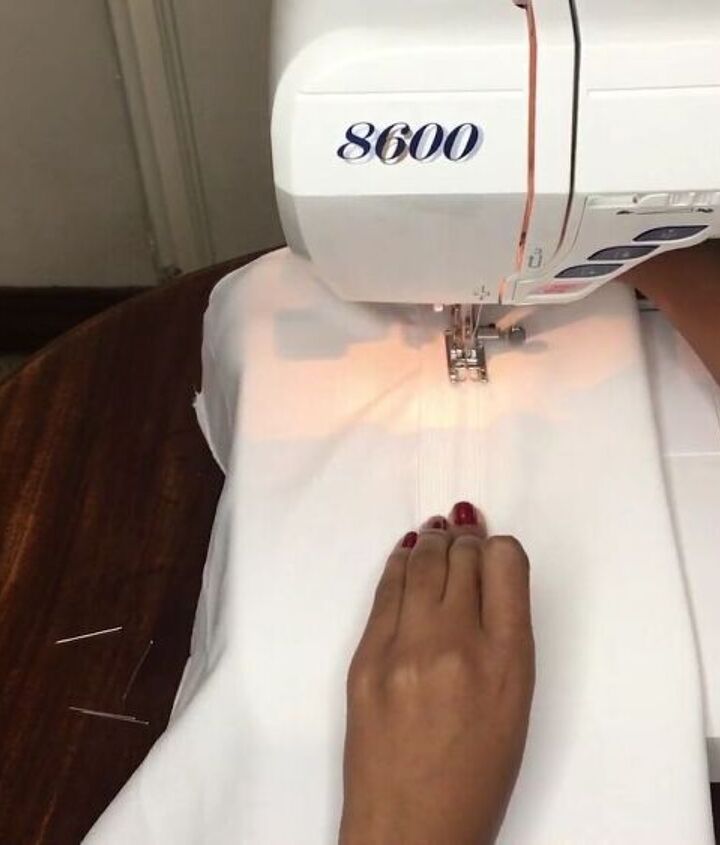
Stitch the elastic along the double bust fold, as shown. The best way to do this is to straight-stitch the elastic and pull the elastic as you go along. This will create a ruffled look.
Remember to do this on both sides of the elastic.
Turn the top inside out and straight stitch the side of the fold closed.
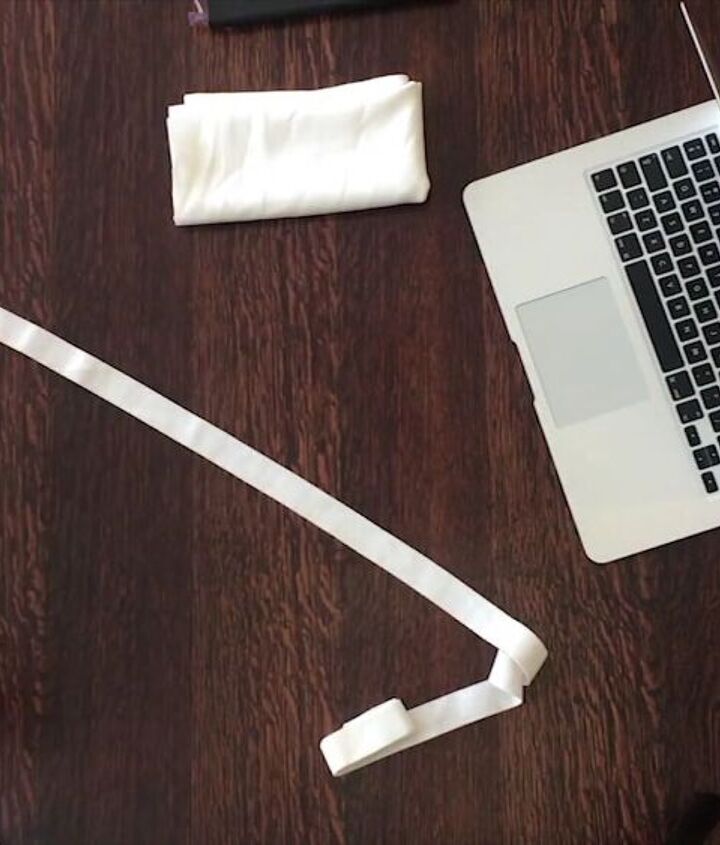
4. Make the straps
For the straps, cut out eight fabric pieces that measure 4cm (1.57 inches) wide by 60cm (23.6 inches) in length.
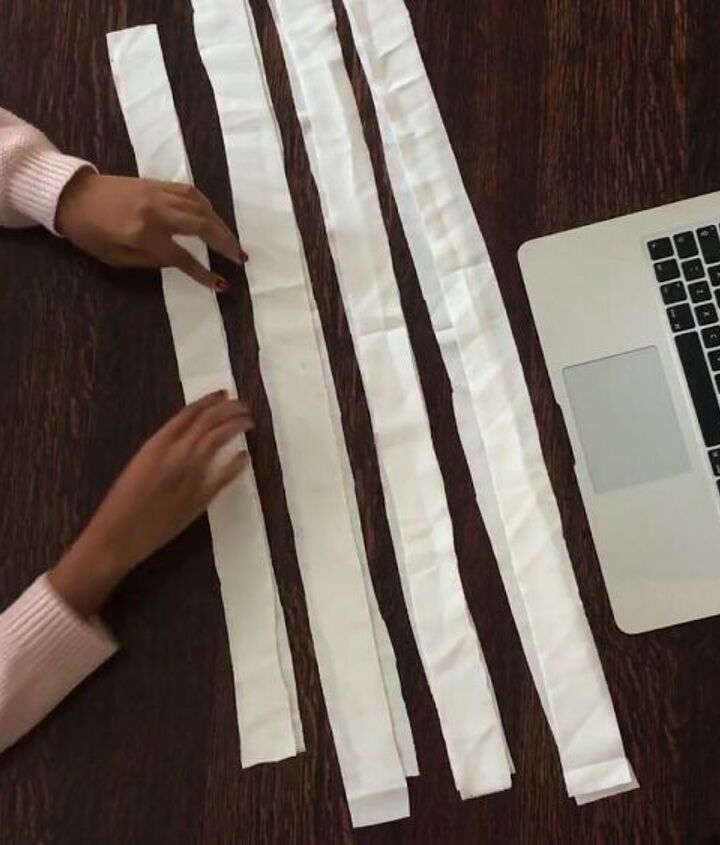
The straps should look something like this.
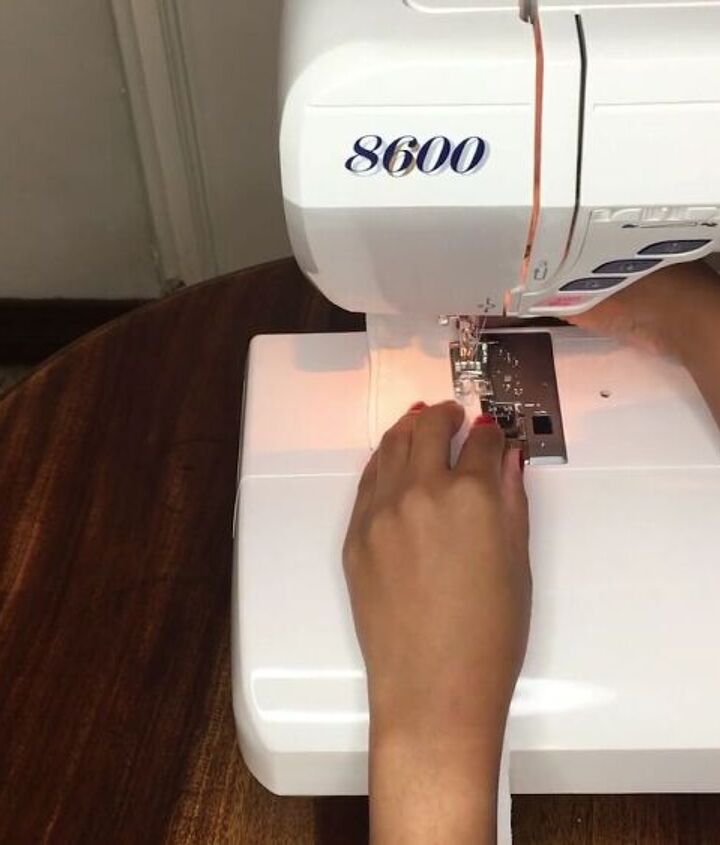
Straight stitch two pieces together in pairs. Leave one of the ends open and stitch the other.
Using a chopstick, turn the strips inside out.

Now, try on the ruffle top and see where the straps would fit best. Mark the area with a marker or pin. Then, head over to your sewing machine and sew the straps accordingly.
Straight stitch them as close to the elastic stitch as possible. This will make the stitching look discreet.
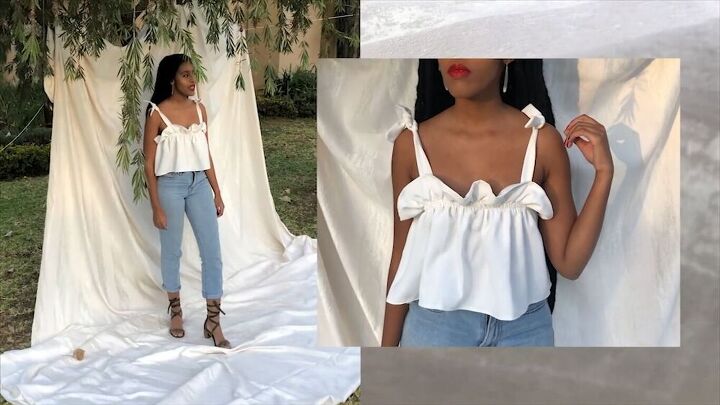
That’s it! As you can see, sewing a ruffle top doesn't take much effort. I love the result and the ruffle around the bust area gives the ruffle top look a lovely, summery vibe.
What do you think of this DIY ruffle top tutorial? I hope you enjoyed this guide on how to sew a ruffle top and good luck making your own!
The author may collect a small share of sales from the links on this page.


Comments
Join the conversation
Love it! Nice, cool and easy for beginners!!