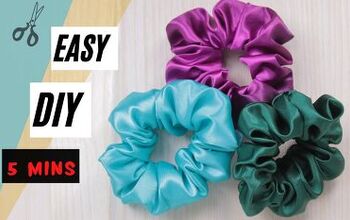
The Easiest DIY Scrunchie Tutorial for Beginners to Start Sewing

When you first get the urge to sew, it’s so tempting to want to start making clothes straight away.
And I’m sure you don’t want to hear this, but that’s not where you should start.
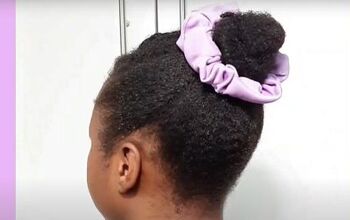
A scrunchie is the perfect project for a beginner. It’s easy, it teaches you some important sewing skills and it gives you something useful to wear yourself or gift afterwards.
Tools and materials:
- Strip of scrap fabric
- Ruler
- Fabric marker
- Scissors
- Pins
- Large hair tie
- Sewing machine
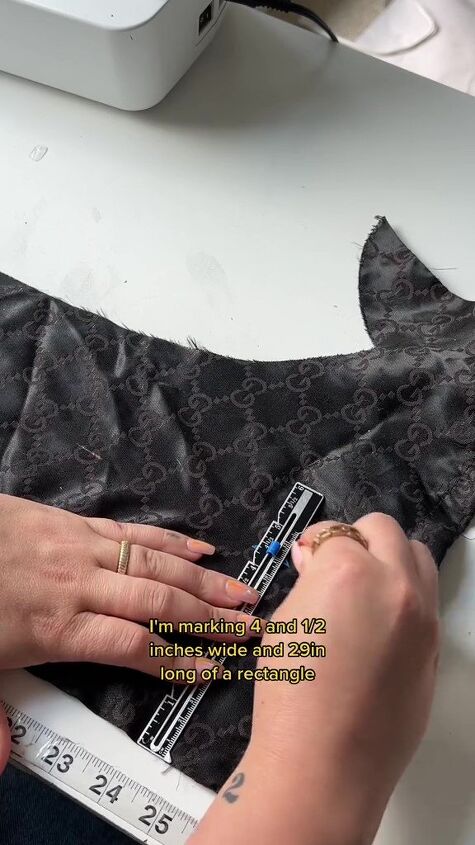
1. Cut the fabric
You need a long rectangle of fabric.
I marked out a strip 4.5 inches wide and 29 inches long, then cut it out.
You can make yours shorter or narrower if you need to, but not by much.
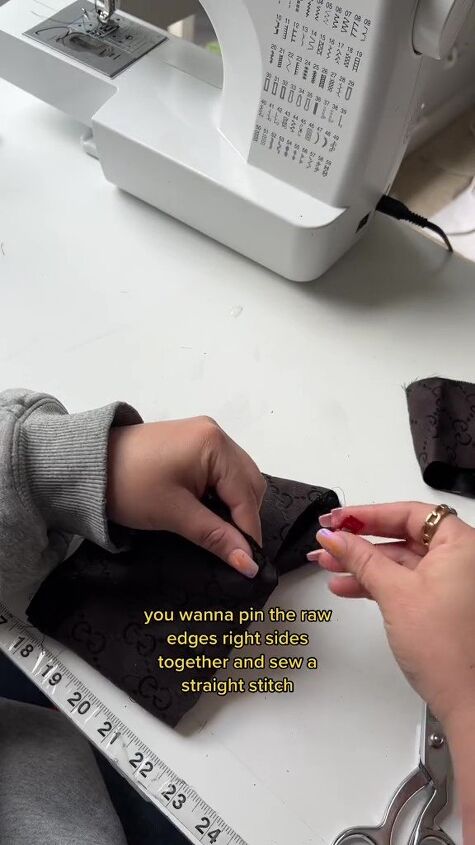
2. Make a circle
Pin the short edges together with the right sides touching each other.
Sew them using a straight stitch.
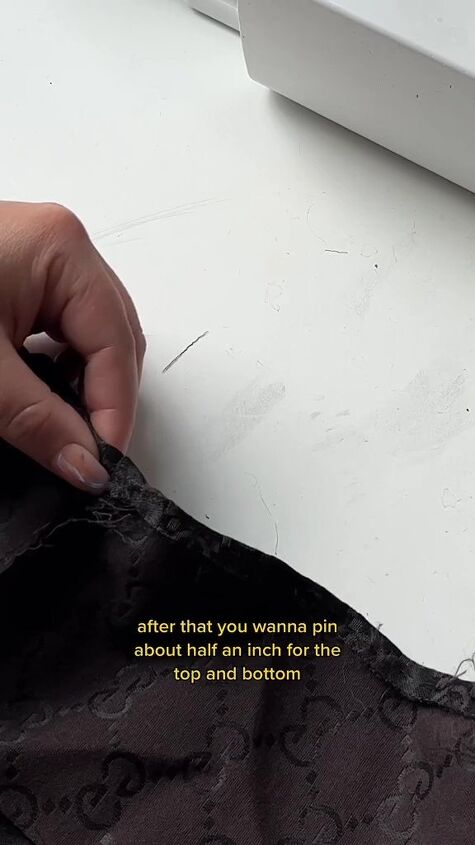
3. Hide the raw edges
Turn the long edges to the wrong side by about half an inch, top and bottom, and pin and sew them in place.
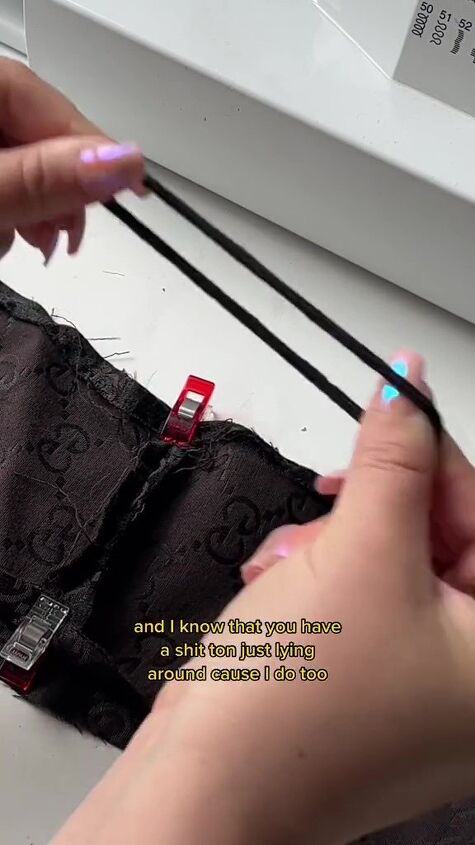
4. Grab an elastic
The easiest thing to use is an existing hair tie. Make it one of the thicker types.
5. Insert the elastic
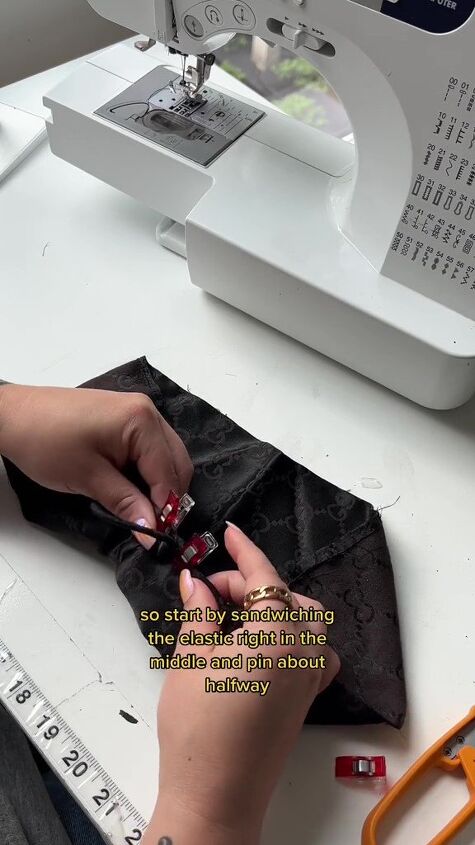
This method is called the “burrito roll” for reasons that will become obvious.
Sandwich one side of the elastic between the top and bottom edges of the fabric and pin them together about halfway round the circle.
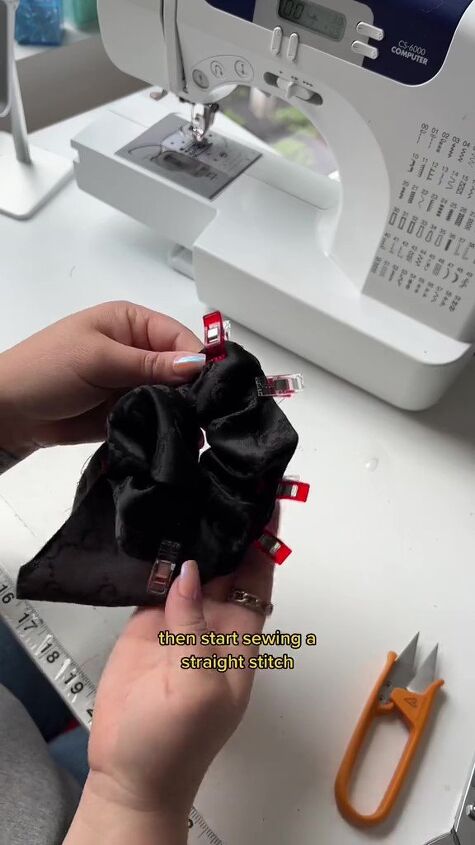
Beginning with a backstitch, start sewing the edges together, enclosing the elastic as you go.
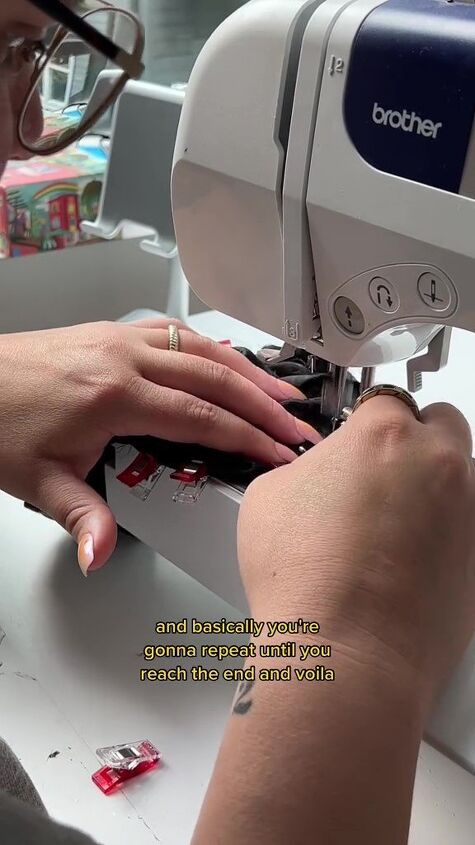
When you reach the end of the pinned section, pull out a little more fabric from the inside and sew the next part.
After you’ve sewn the entire circle, finish off with a backstitch.
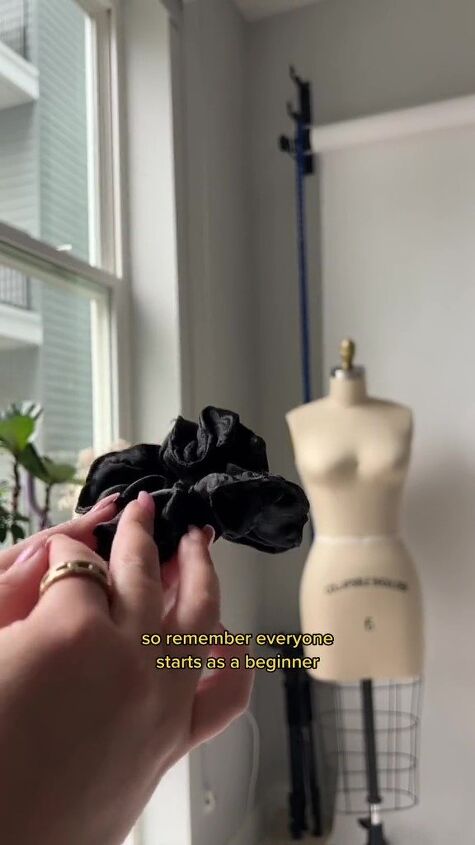
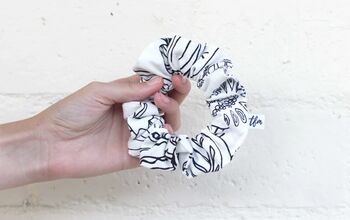
DIY scrunchie
Everyone starts as a beginner. Don’t be afraid to experiment and get creative, even if you make mistakes.
Will you give this a try?
Next, check out my Genius No-sew Hack for Adjusting Waistband to Jeans.
Follow me on Instagram: @pxgon
Follow me on TikTok: @pxgon
The author may collect a small share of sales from the links on this page.


Comments
Join the conversation