Easy Sewing Tutorial: How to DIY a Scrunchie in 3 Different Sizes

Today, I'm going to show you how to sew a scrunchie using 3 different methods and in 3 sizes.
I made an optional pattern for these, but you can easily make DIY hair scrunchies without one.
I used a woven material to make my purple scrunchies and any light to medium-weight fabric would work just as well.
Tools and materials:
- Fabric
- 1/4 inch wide elastic
- Matching thread
- Digital pattern (optional)
- Loop turner
- Safety pins
- Scissors
- Pins
- Sewing machine
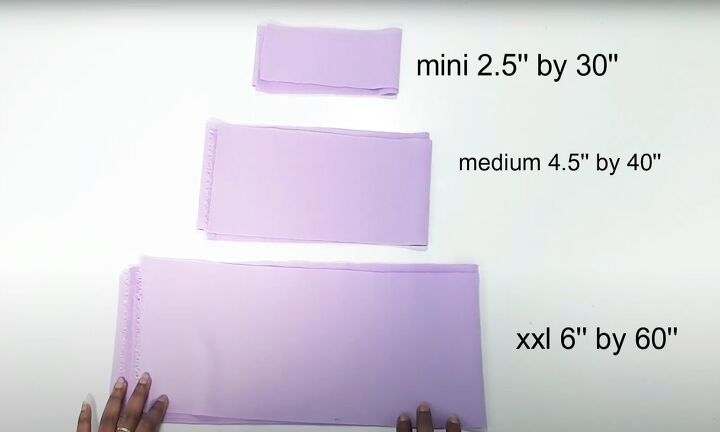
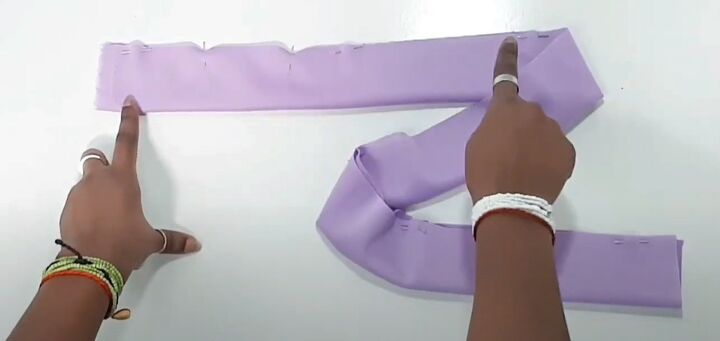
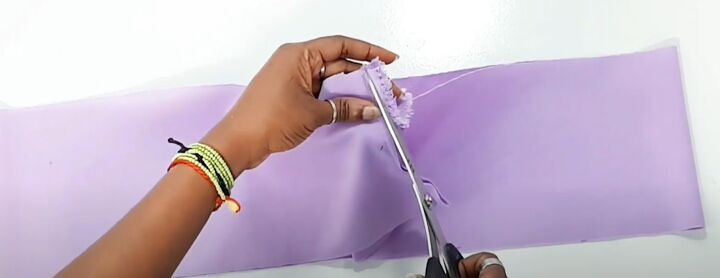
1. Cut the fabric
Cut three strips of fabric:
- 2.5 inches by 30 inches for the mini scrunchie
- 4.5 inches by 40 inches for the medium size
- 6 inches by 60 inches for the big scrunchie
2. Mini scrunchie, method one
Small scrunchies are easy to make with this first method.
Fold the fabric in half lengthways with right sides together and pin.
Taking a half-inch seam allowance, stitch the long edge and trim off the excess fabric.
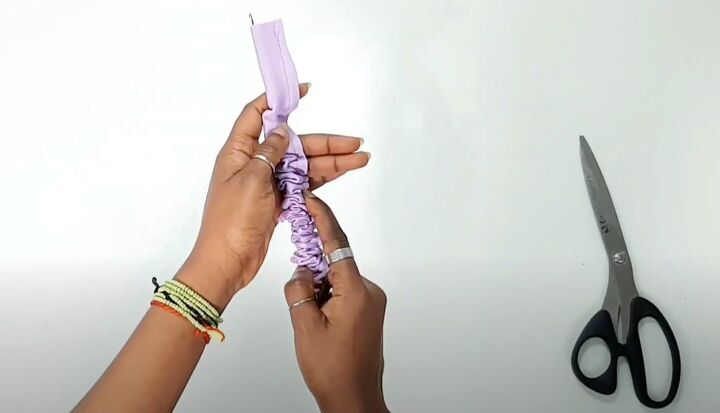
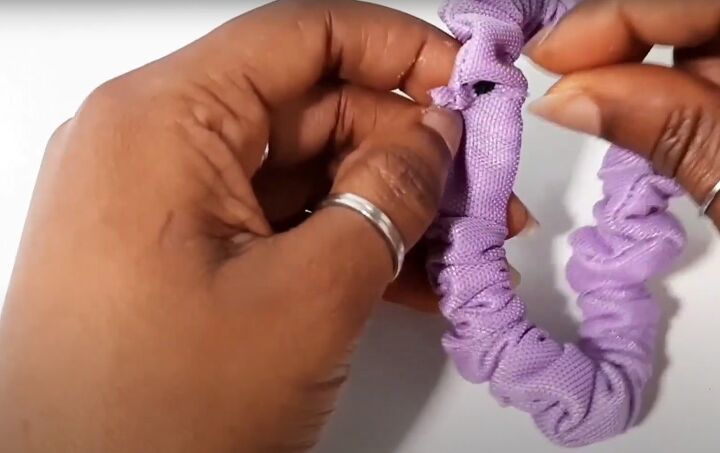
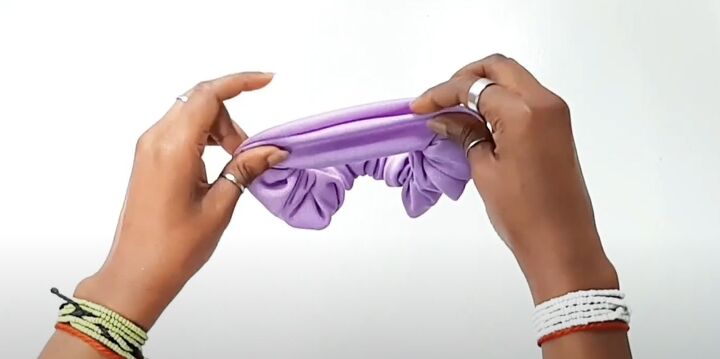
3. Insert elastic
Use a loop turner or safety pin to turn the scrunchie right side out.
Cut a 9.5 inch length of elastic and pin one end to the fabric to secure it. Use a safety pin or the loop turner to feed the elastic through the scrunchie.
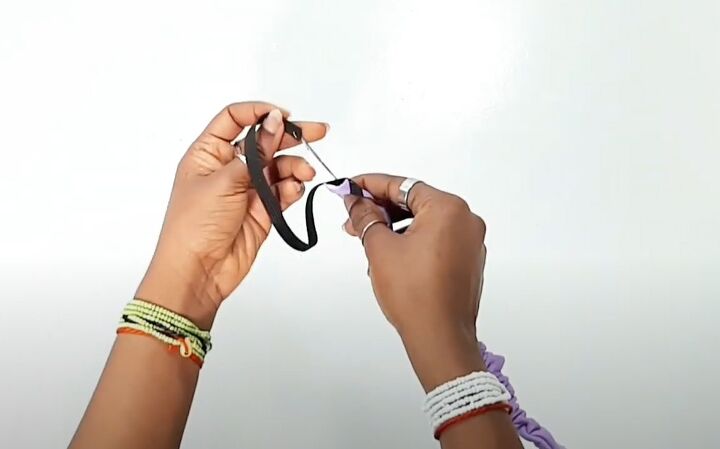
4. Close the ends
Knot or stitch the ends of the elastic together.
Tuck one of the open ends of the fabric into the other and hand stitch them together.
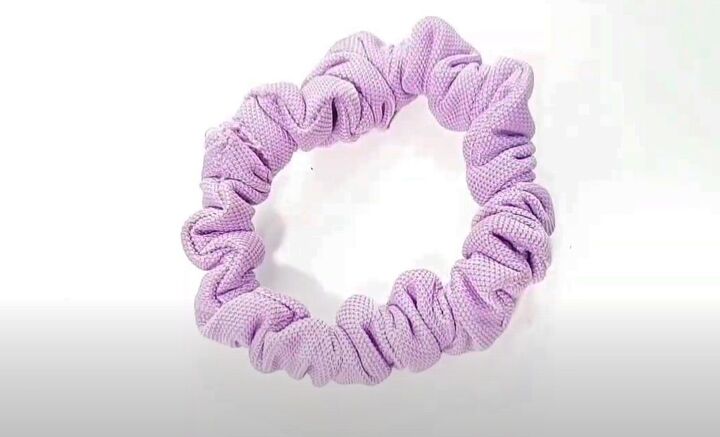
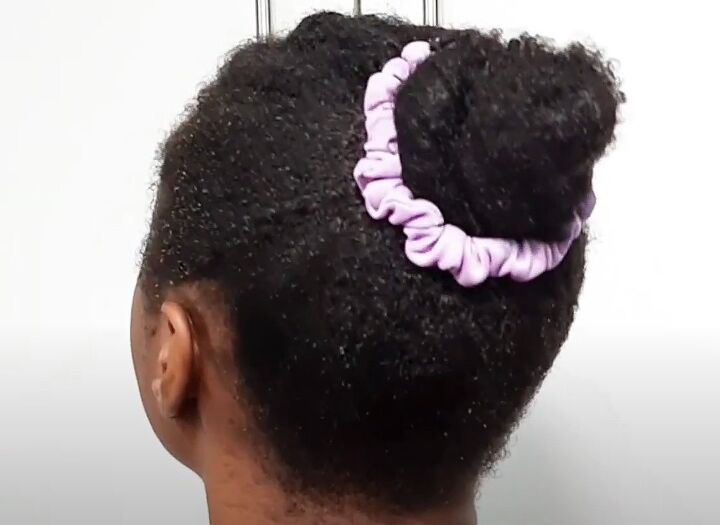
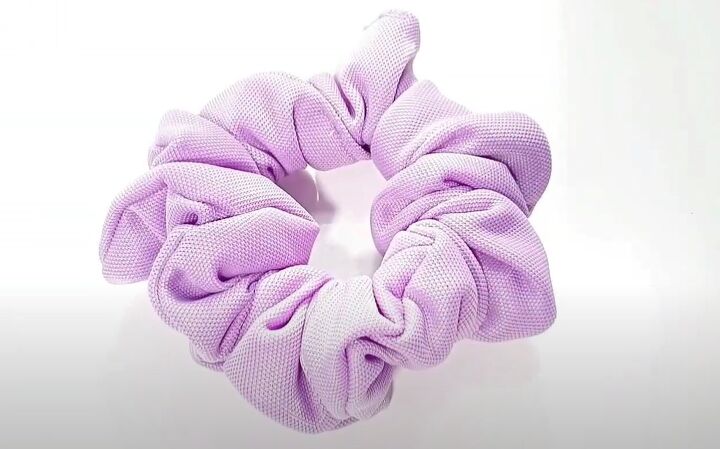
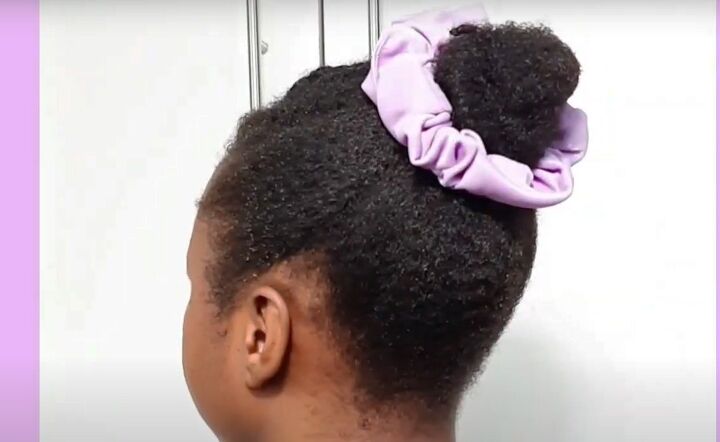
5. Finished mini scrunchie
It's the perfect size to hold a small bun.
6. Medium scrunchie, method two
The second method starts like the first - fold the fabric lengthways with right sides facing and pin.
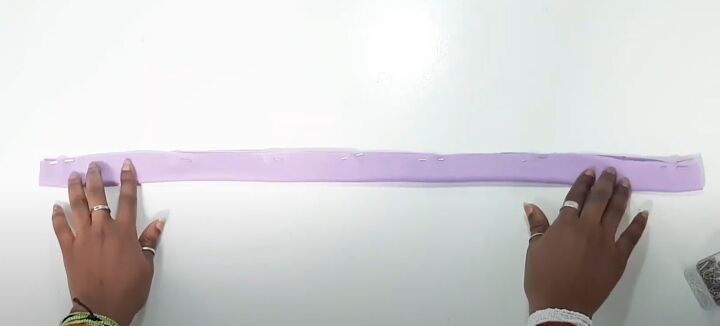
However, when you stitch it, leave a 2 inch section open starting about 3 inches from one end. Mark this section with pins at 90 degrees to the fabric so you can skip over them when you sew.
Stitch the long edge, taking a 1/2 inch seam allowance.
7. Prepare casing
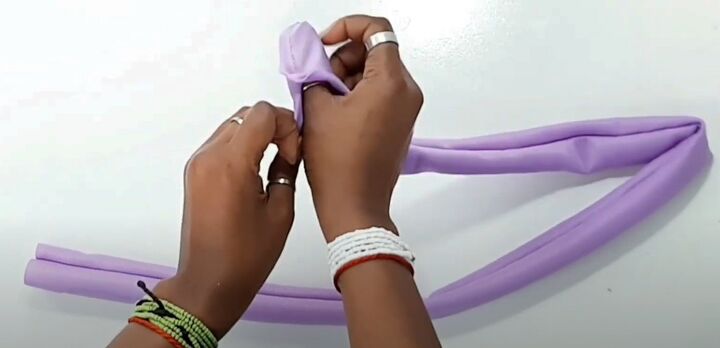
Use a loop turner to turn the fabric right side out.
Push the short edge nearest the unstitched opening back into the opening, to turn the end section only inside out.
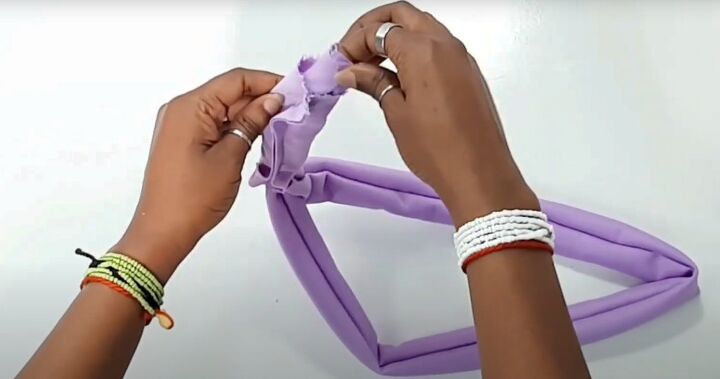
Tuck the other end into the opening, lining up the seams, and pull it through so the ends match.
Hand or machine stitch around the edges, leaving the end open.
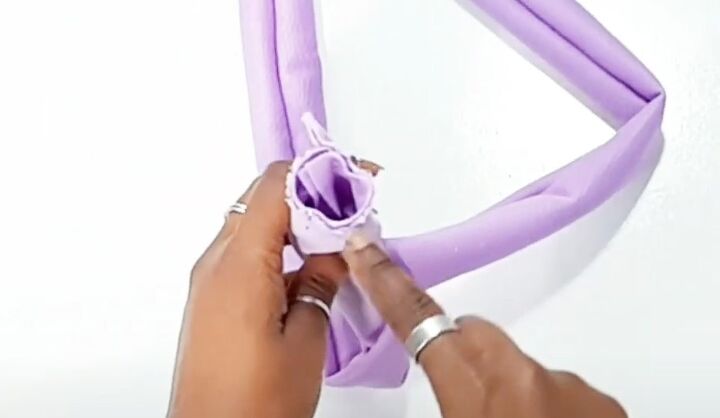
Pull the sewn ends back through the opening.

8. Insert elastic
Pin one edge of the elastic to the fabric to secure it.
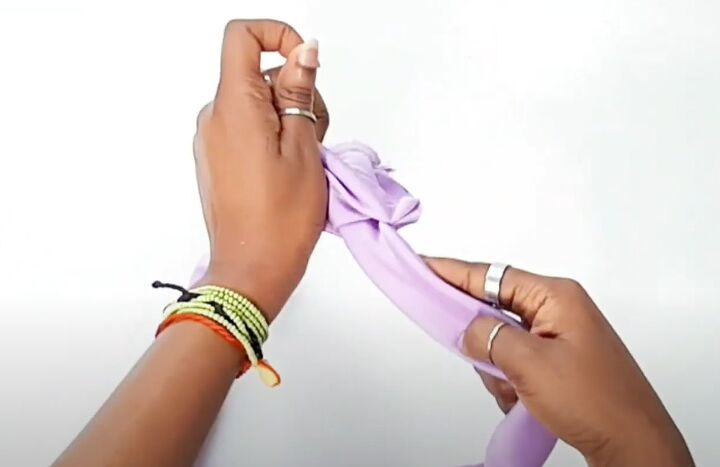
Attach a safety pin to the other end, push the pin through the opening and feed the elastic through the casing.
Knot or stitch the ends of the elastic together.
Machine stitch the opening closed on the right side, folding the seam allowance to the inside as you go.
9. Finished medium-sized scrunchie
It holds my hair really well.
10. XXL sized scrunchie, method three
Pin and sew the short edges together, right sides facing, taking a half inch seam allowance. Trim off the excess fabric.
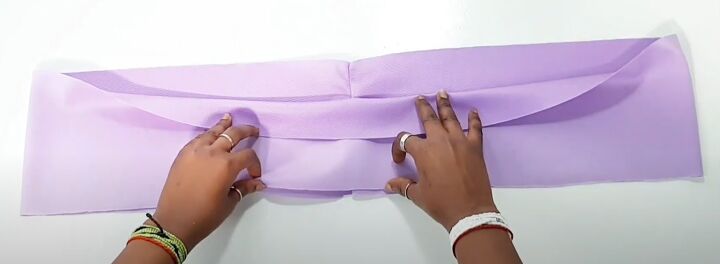
11. Burrito fold
Fold the fabric in half widthways with right sides together and the seam in the center.
See the video at 8:45 for exactly how to make the burrito fold.
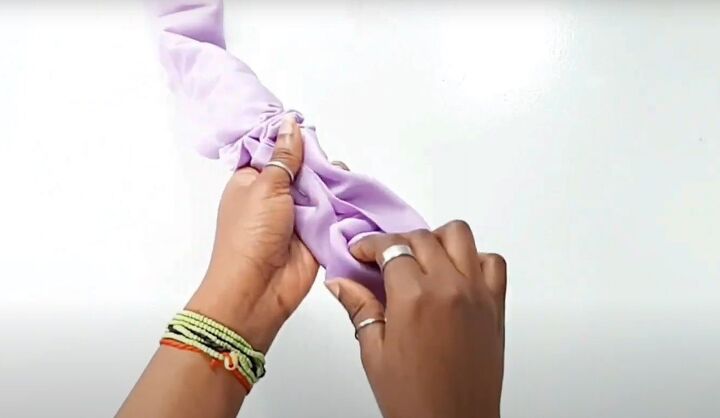
12. Sew the scrunchie
Stitch the raw edges together, leaving 2 to 3 inches unsewn near one end.
Pull the inside folds to the outside through the opening, so the scrunchie is right side out.
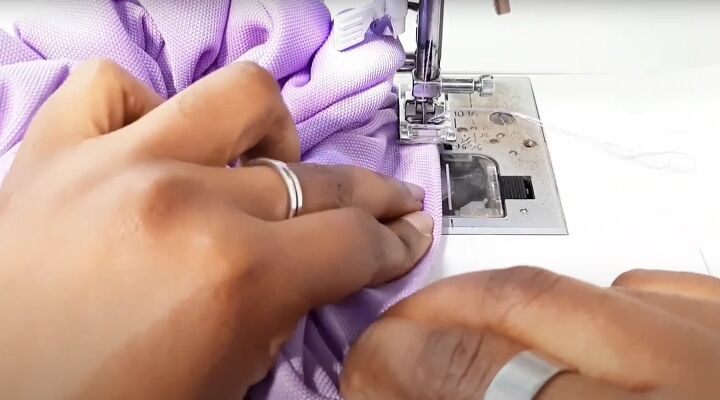
13. Insert elastic
Use a safety pin to push the elastic through the opening as before, and knot or stitch the ends together.
Sew the opening closed on the right side, tucking in the seam allowance and stitching close to the seam.
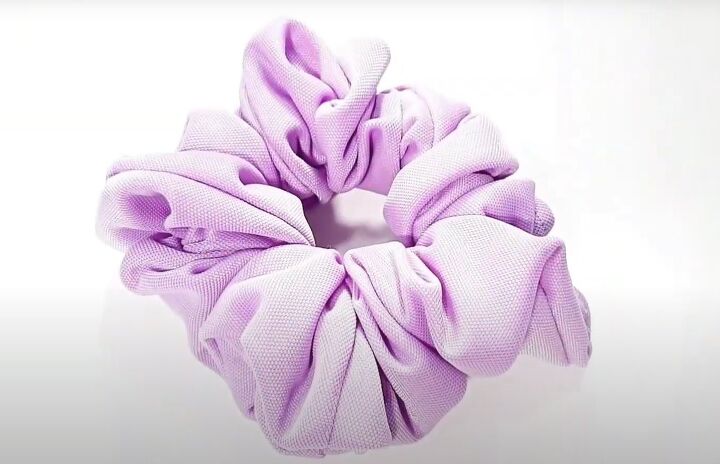
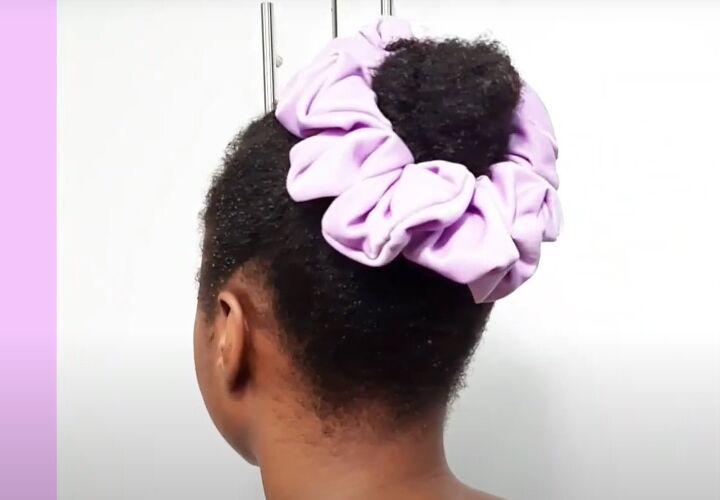
14. Finished big scrunchie
How great does this huge scrunchie look? I love it.
How to sew a scrunchie
Three very different methods and all of them are suitable for beginners. You could even start a DIY scrunchies business, they're so quick and easy to make.
Which is your favorite method? Let me know in the comments.
For more sewing content, check out my posts on How to Make a Ruffle Tote Bag and 4 Comprehensive Steps to Sewing a Fun and Flirty Red Pleated Skirt.
The author may collect a small share of sales from the links on this page.


Comments
Join the conversation