Learn How to Make a Ruffle Tote Bag With This Step-by-Step Tutorial

In this tutorial I will show you how to make this cute and versatile ruffle tote bag. The end product is completely gorgeous, and I just know you'll love it! So, without further ado, let’s jump right into this tote bag DIY.
Tools and materials:
- Iron
- Fabric
- Interfacing fabric
- Lining fabric
- Sewing machine and thread
- Tape measure
- Tailor’s chalk
- Needle and thread (to hand sew the ruffle)
- Zipper
- Piece of cardboard (optional)
- Hot glue (optional)
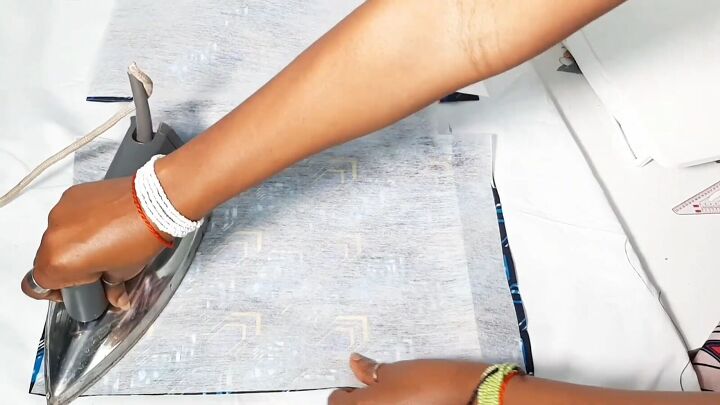
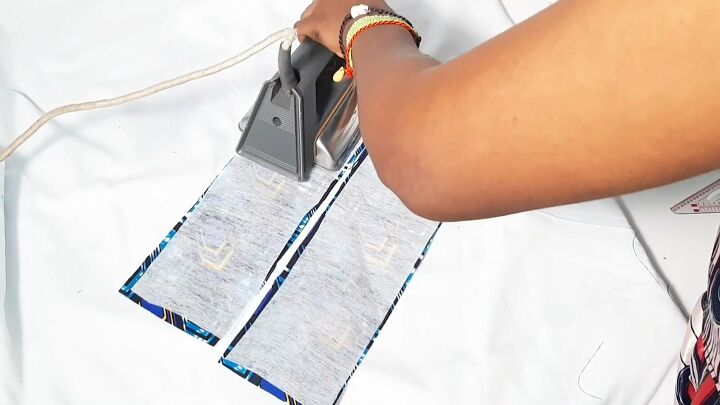
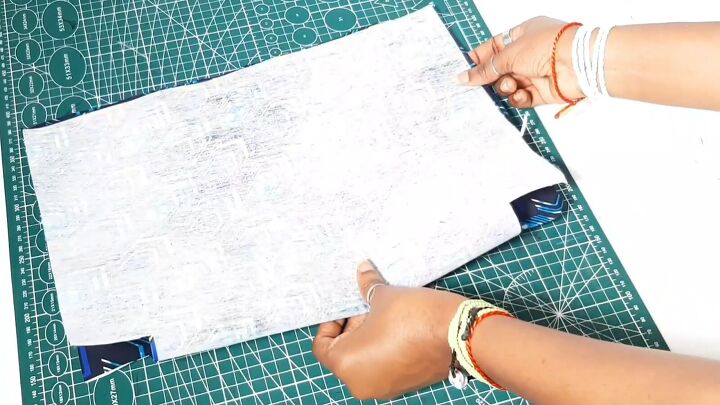
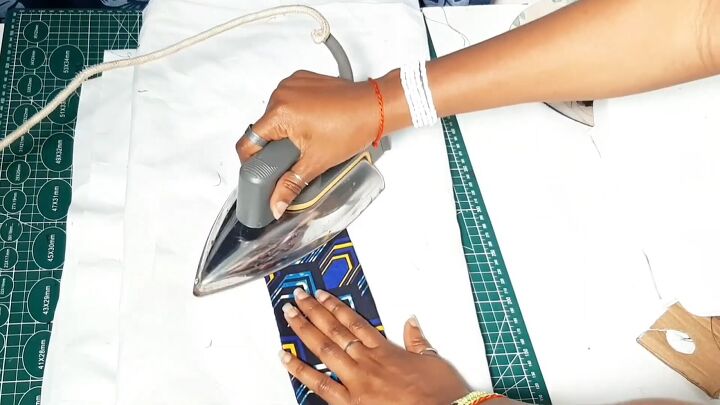
1. Iron interfacing to fabric
After cutting out your pieces according to the pattern, iron the interfacing to the wrong side of the main fabric.
Do this for the handle and ruffle pieces as well.
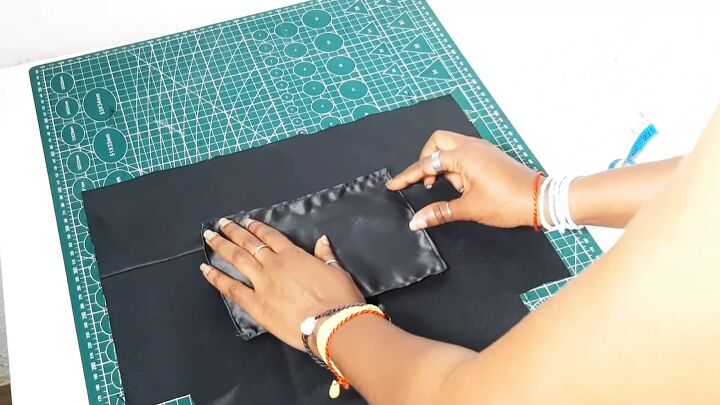
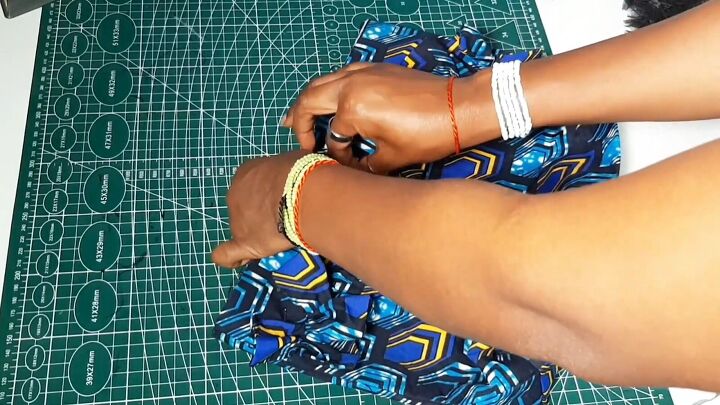
2. Sew inner side pockets
Next, prep the inner side seam pockets. Fold the edges of the inner fabric inward by ¼”. Then, sew that down. Do the same for the outer fabric.
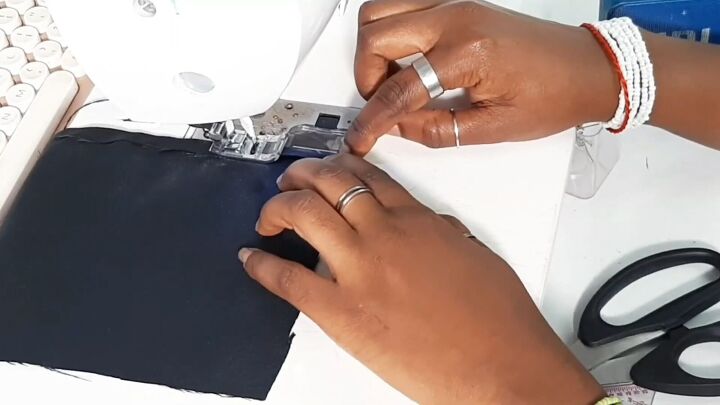
Here’s what you should have:
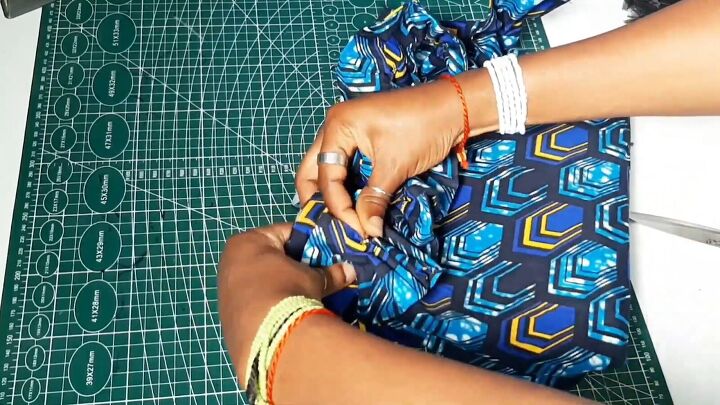
3. Attach inner side pocket to lining
Measure 3” from the top of the main bag fabric lining and mark two points.
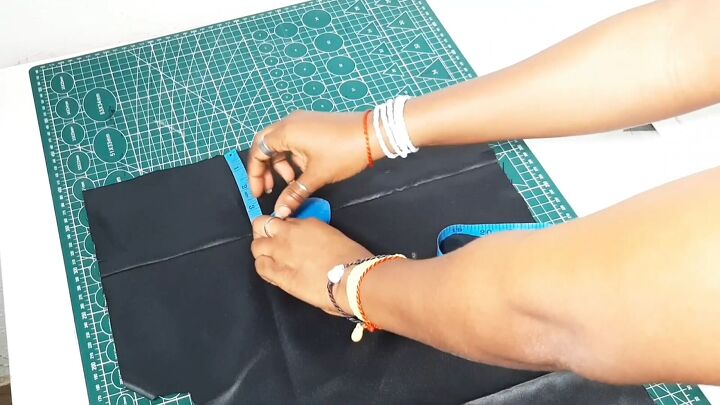
Ultimately, you will attach the pocket at the center, so measure and mark 3.75” from each side of the fabric.
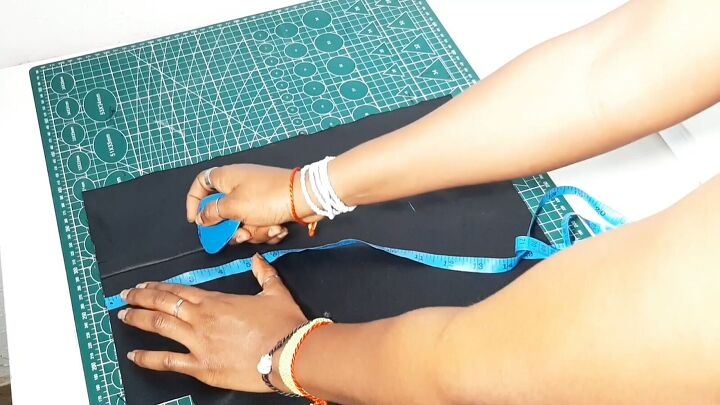
This is how it should lay. Sew down the 2 sides and the bottom of the pocket.
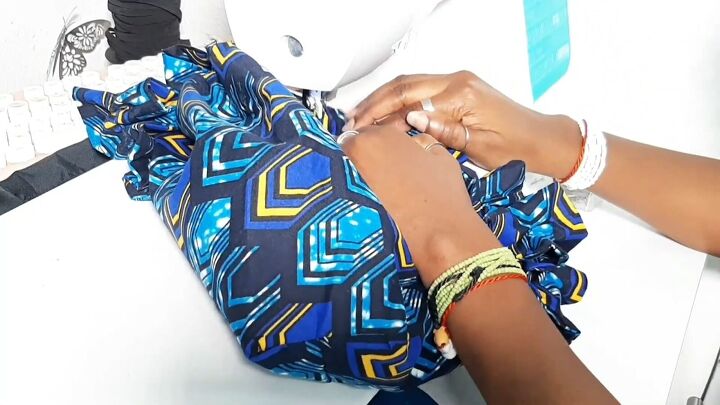
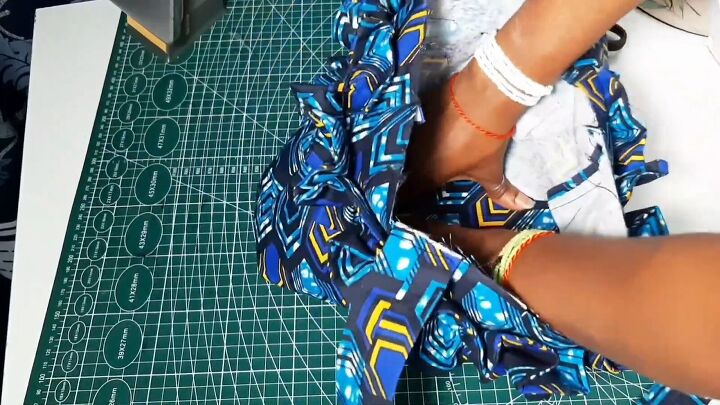
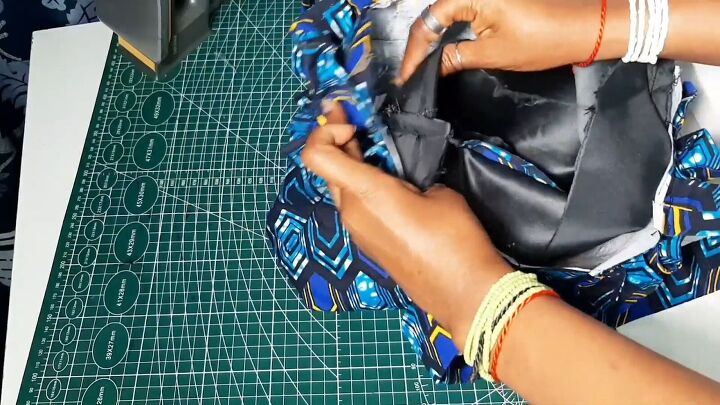
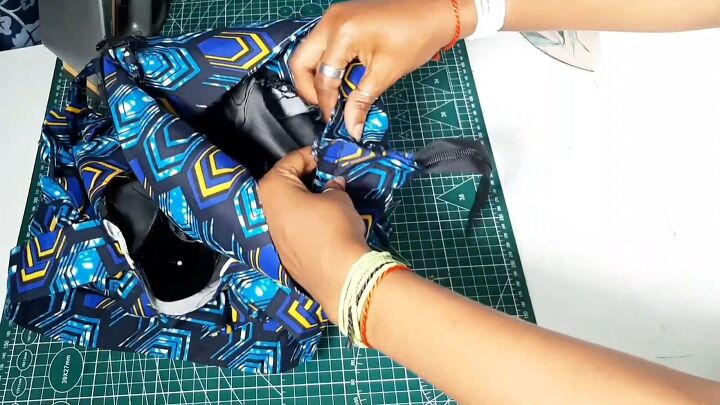
4. Sew the main bag fabric and lining
Start by folding it with the right sides together, making sure that the side notches are aligned.
Sew on the straight line, leaving a ½” seam allowance. For specifics, see the video 2:58-3:10.
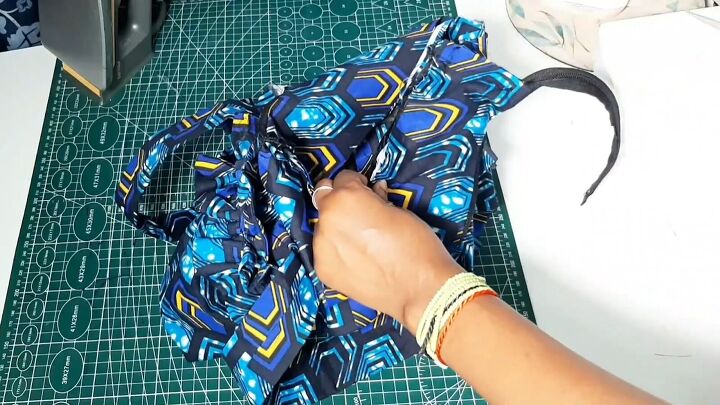
Now, flip the bag right side out, poking out the corners to bring out the sharp edges.
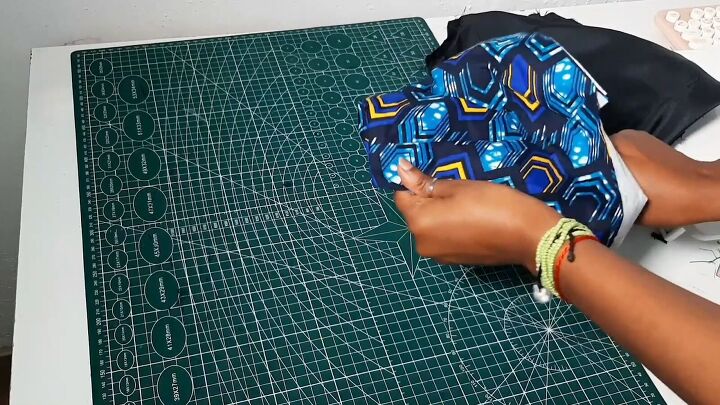
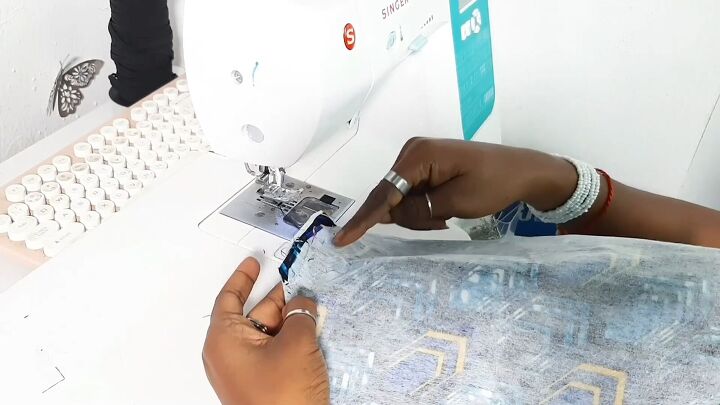
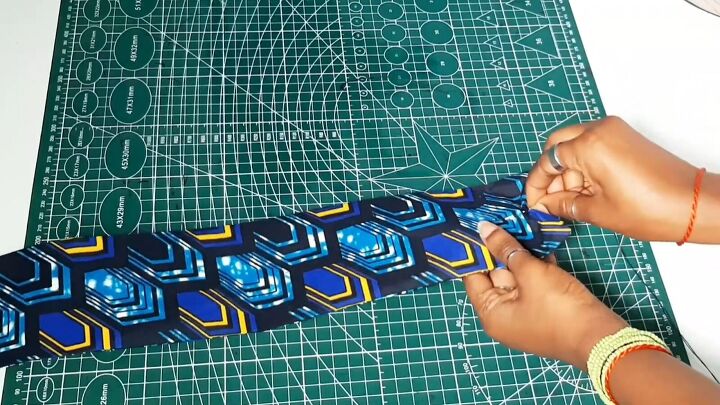
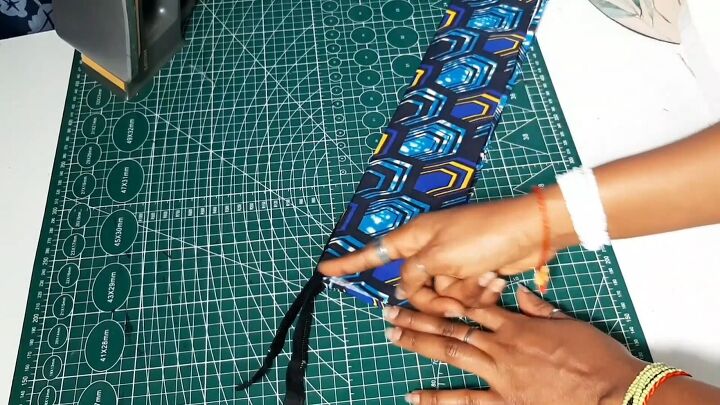
5. Sew the ruffle pieces together
Place the two right sides of the fabric pieces together, then sew both long sides and one of the short sides, leaving the last side open to be able to turn it around.
After sewing, clip the edges and turn it right side out.
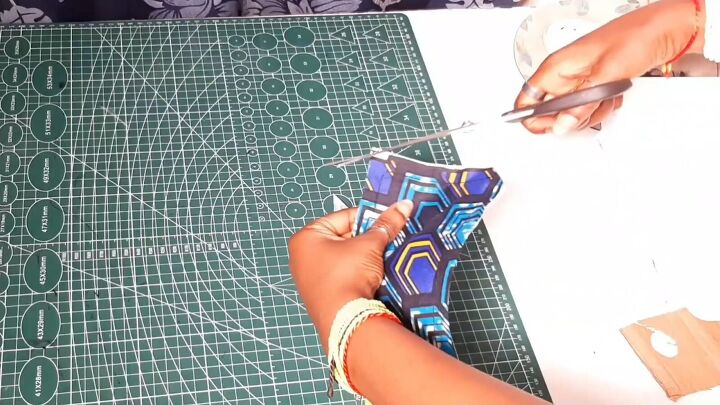
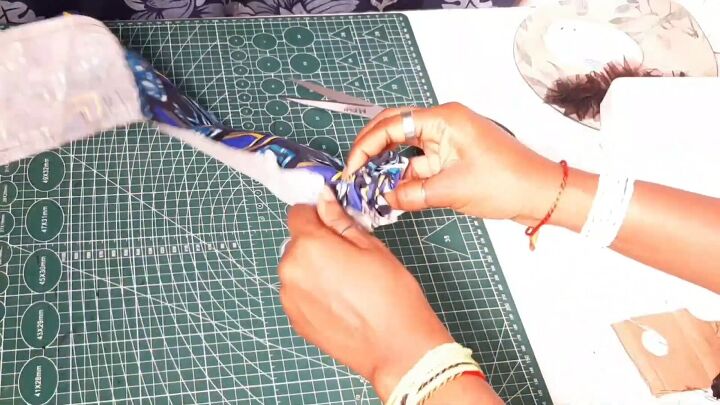
Then, use scissors to help you poke the edges out.

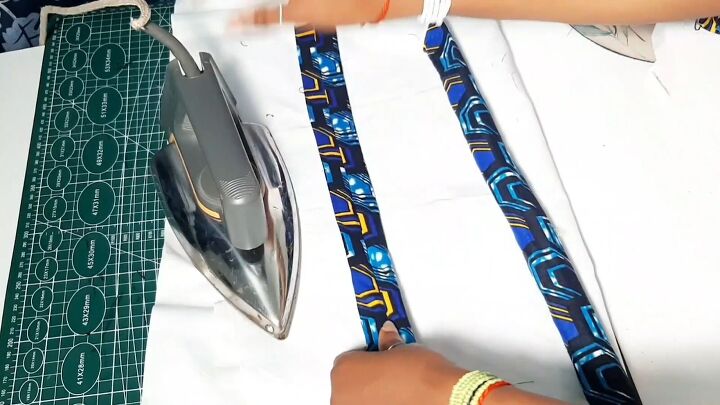
Next, fold the raw edge of the open side inward by ½”, pin it and sew to close it.

The next step is to iron this piece down.
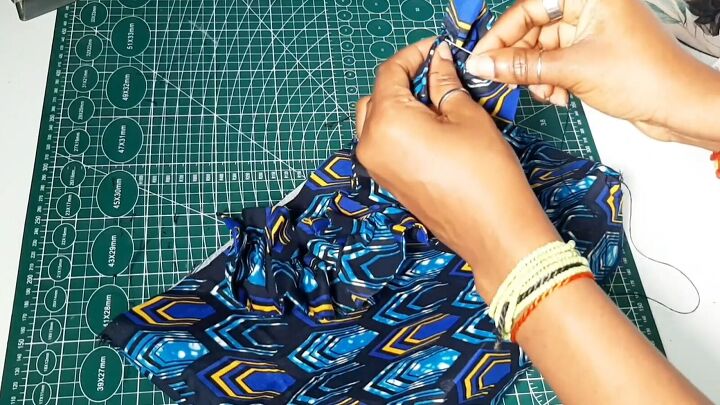
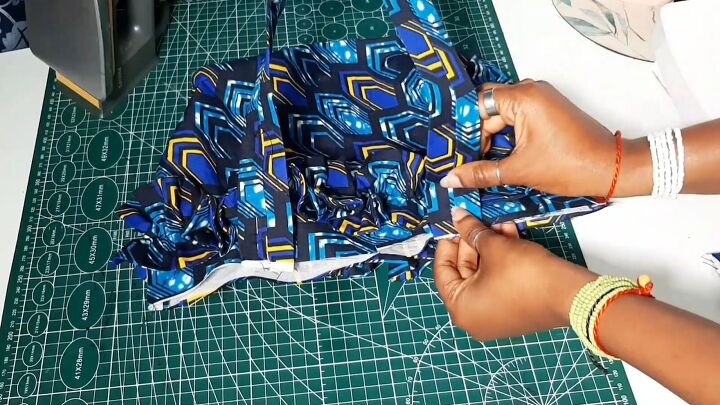
6. Create the ruffles
Find the center of this long piece of fabric and sew a basting stitch by hand.
I tried using a sewing machine for this part, and it didn’t come out as well because the thread kept snapping.
Keep going down the fabric and play with the tightness of the ruffle until it matches the width of your bag.
See how it looks placed on the bag, then knot the ends of the ruffle so that it stays intact. Repeat the same process for the other ruffle fabric.
7. Attach the ruffles to the bag
Measure and mark 2” from the opening of the bag on both sides.
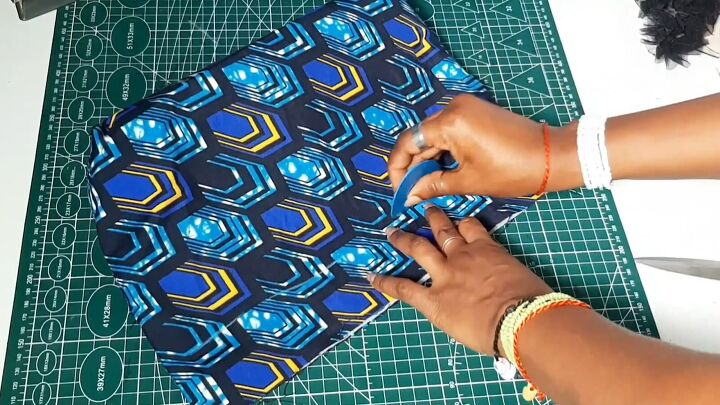
Place the center of the ruffle fabric on the mark and pin it down a few times along the ruffle.
Repeat the same step on the other side of the bag with the second ruffle piece.
Then, sew both ruffles onto the main bag piece.
8. Make the bag handle
Fold your handle fabric pieces in half the long way, right sides together.

Pin, then sew both pieces with a ½” seam allowance. Once sewn, place the seam line at the center of the strap and iron it down flat (for both strap pieces).
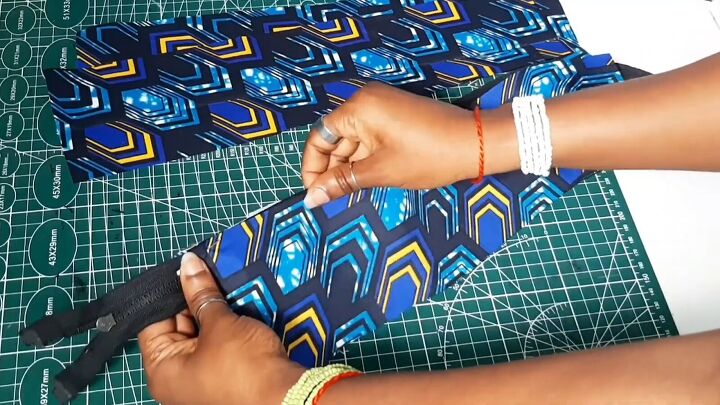
9. Make the zip casing (See video 8:45-10:00)
Place the main fabric with the interfacing on the top side of the zipper, then place the other fabric piece, without the interfacing, at the bottom of the zipper.
Then, secure them to the zipper with a few pins.
Once it’s pin, fold it with the wrong sides facing each other, like this:
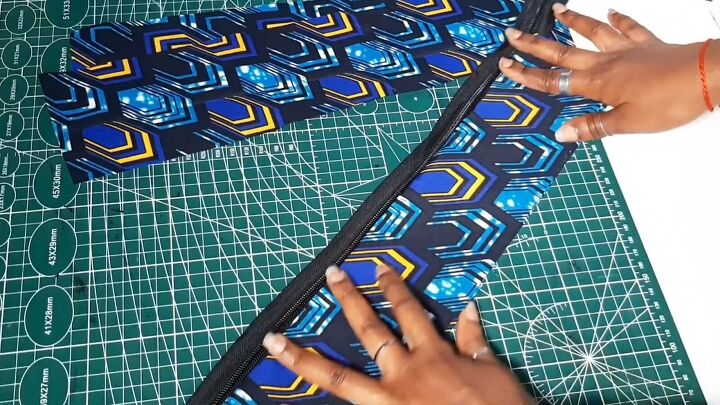
Then repeat the same steps on the other side of the zipper.

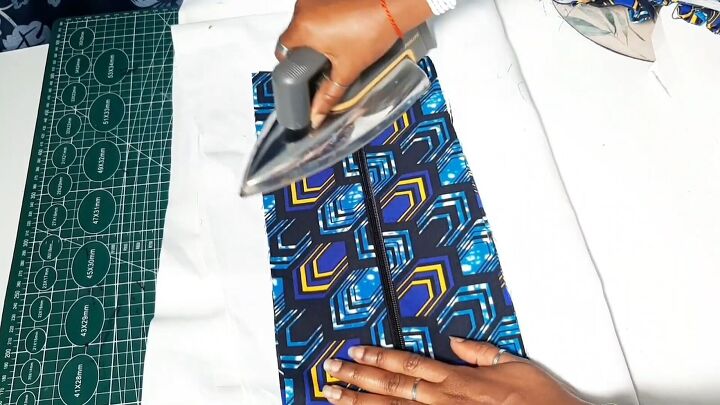
Sew along the lines where you pinned the fabric to the zipper and then iron it down.
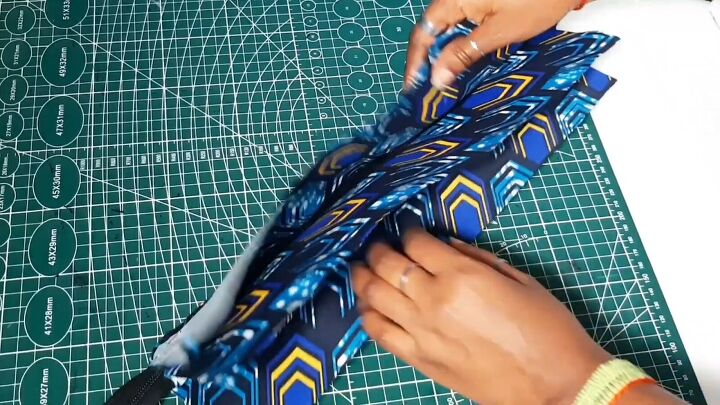
Now, fold the fabrics together with the right side of the zipper sandwiched inside the fabric, then sew with a ½” seam allowance on both sides.
10. Attach handle to bag
Place the handle ends on the notches of the main bag fabric on both sides and pin in place. Repeat on the other side with the second handle.
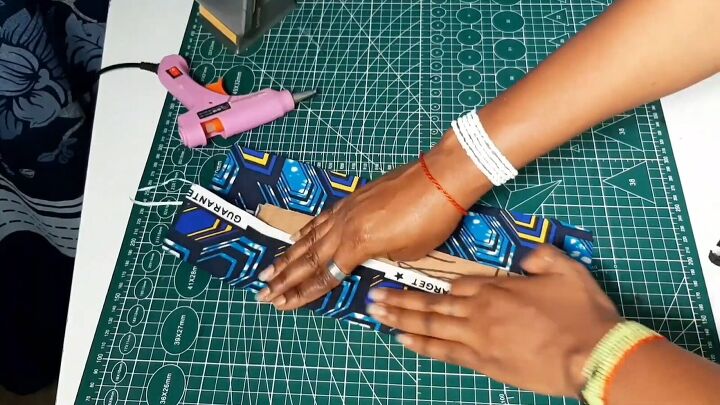
Optional: Attach cardboard to the base of the bag
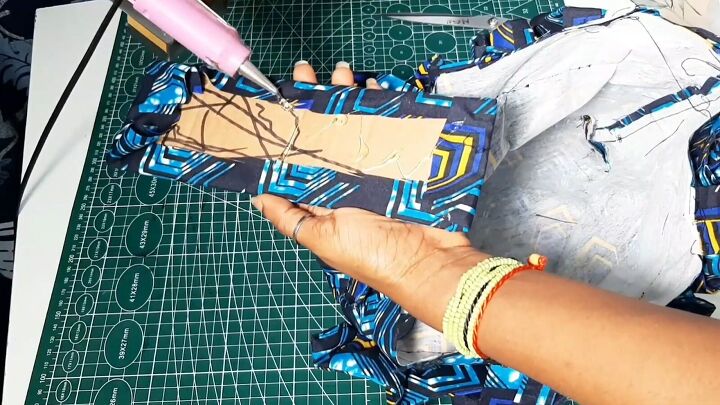
Measure a piece of cardboard to fit the bottom of the bag. Wrap the cardboard with the exterior fabric and glue it down with a glue gun or other glue. Glue all sides down and press. Cut off any excess fabric as you go.
Add glue to the part where the cardboard is showing and glue it to the bottom of the bag.
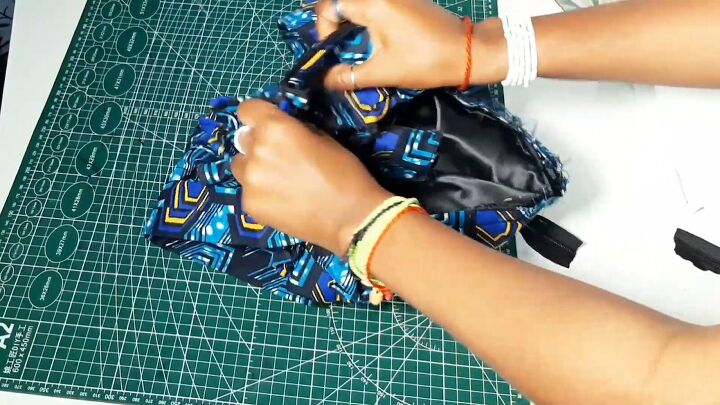
11. Insert the lining to the main fabric
Insert the lining with the wrong side of the lining facing the wrong side of the main fabric and pin it.
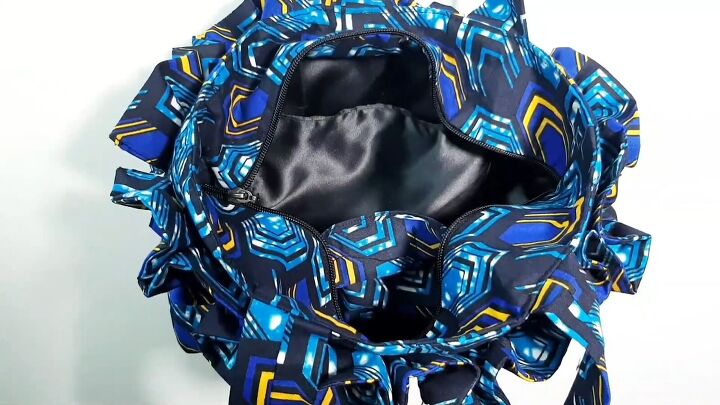
12. Attach the zip casing to the bag
Join the side seams of the zipper fabric with the side seam of the bag fabric, with right sides facing each other. Attach it with a pin on both sides.
Then pin the rest of the fabrics together and sew it all with a ½” seam allowance.
Trim off any excess zipper.
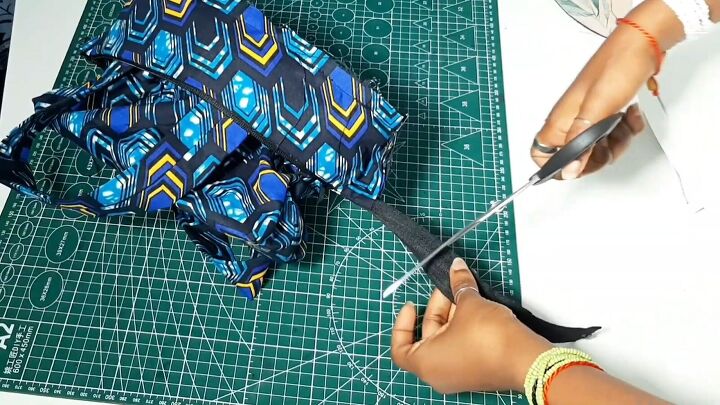
Flip the zipper into the bag.
13. Make a top stitch
Have the bag fabric and the zipper fabric pinned together. Then sew all around to create your top stitch.

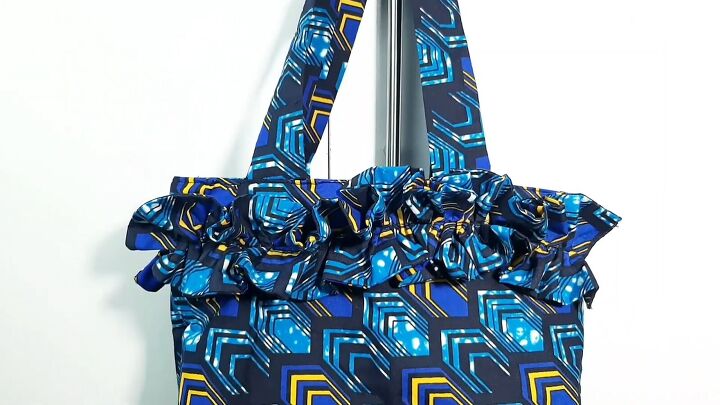
DIY ruffle tote bag
Here’s the final look of the blue tote bag:
Let me know what you think about this tote bag DIY in the comments below.
If you make your own ruffle tote bag, I’d love to see your results!
The author may collect a small share of sales from the links on this page.


Comments
Join the conversation
I love it .! If I didn't have so many bags I would love one like this one . Maybe I could make some for gifts ,😀
This is gorgeous!