How to Make a Cute DIY Hexagon Bag: Step-by-Step Sewing Tutorial

If you’re looking for an interesting bag to design, this DIY is for you. I’m going to show you how to sew a hexagon bag.
There are quite a lot of steps involved, but I assure you that it is definitely worth the effort for the gorgeous bag that you’ll create.
Tools and materials:
- Fabric
- Lining fabric
- Scissors
- Paper
- Iron
- Sewing machine
- Needle and thread
- Pencil
- Ruler
- Clips
- Pins
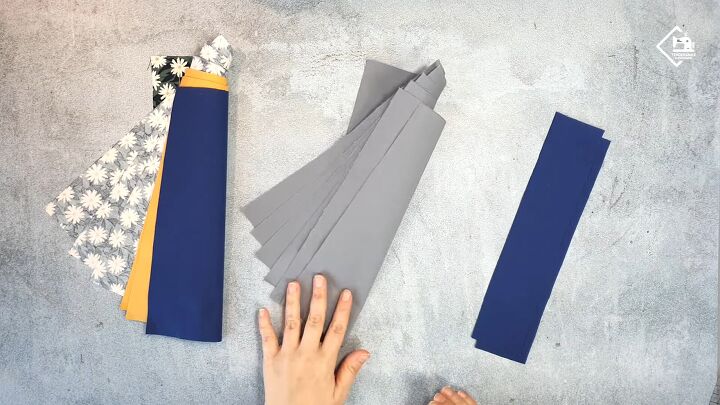
1. Measure and cut the fabric.
You will need strips of fabric measuring 12x27cm (4.72x10.63 inches). This is both for the fabric for the design as well as lining fabric; you need six strips of fabric for each, so you will have twelve in total.
You also need two pieces of design fabric measuring 6x27cm (2.36x10.63 inches).
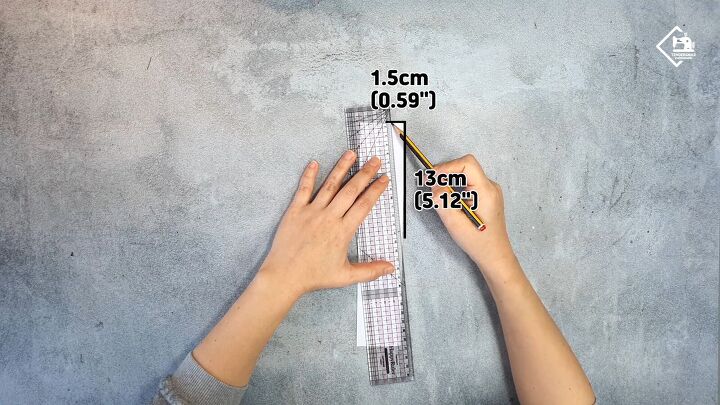
2. Draw a diagonal line
Take a piece of paper measuring 10x25cm (3.94x9.84 inches) and fold it in half lengthways.
Then, mark 1.5cm (0.59 inches) in from one side and 13cm (5.12 inches) down as shown above and connect the two points with a diagonal line to create a triangle.
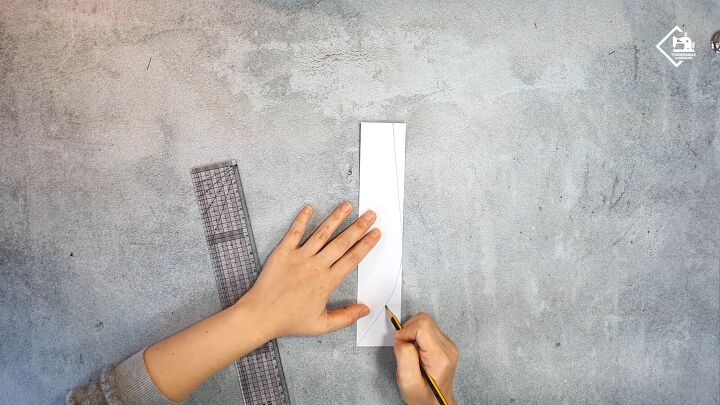
3. Draw a curved line
Measure 2.5cm (0.98 inches) under that line and from there, draw a curved line to the bottom lefthand corner of the rectangle. Cut out this shape and then open it up.
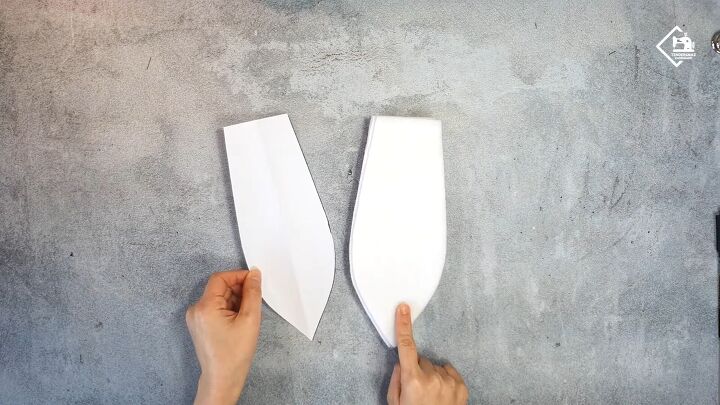
4. Cut out the interfacing
Use this shape as a pattern and cut out six pieces of the fusible interfacing.
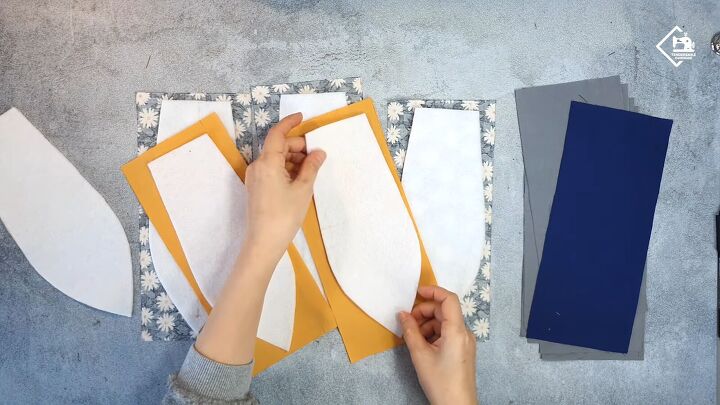
5. Iron the interfacing onto the fabric
Take your strips of fabric, place them right side down and place the interfacing on the top. Then, iron the interfacing down.
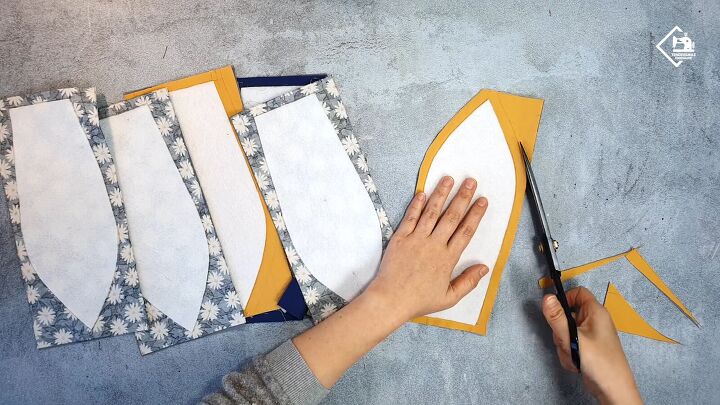
6. Cut around the interfacing
Take a piece of your lining fabric and put it underneath the fabric that has the interfacing attached to it. Do this for all the lining pieces.
Draw around and then cut 1cm (0.4 inches) around the interfacing.
Tip: You can clip the two pieces of fabric together to stop them from sliding.
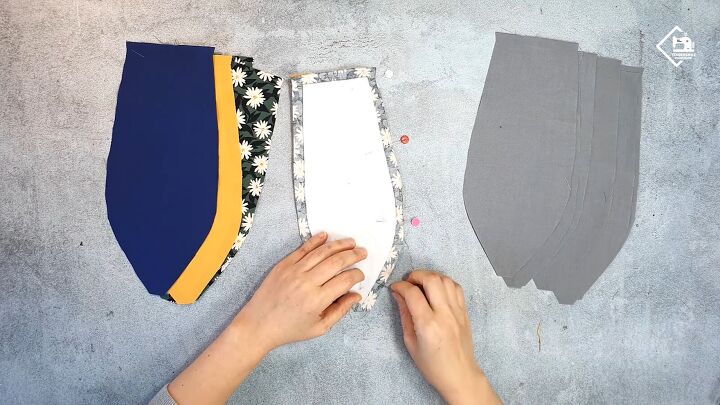
7. Sew the outer fabric pieces together
Once done, make two piles: one of your outer fabric and one of your lining fabric.
Next, place one piece of outer fabric on top of the other with the right sides touching. Pin them together along one side and stitch within 1cm (0.4 inches) along the side of the interfacing and proceed to sew down.
When sewn, open up the seam and iron it down flat.
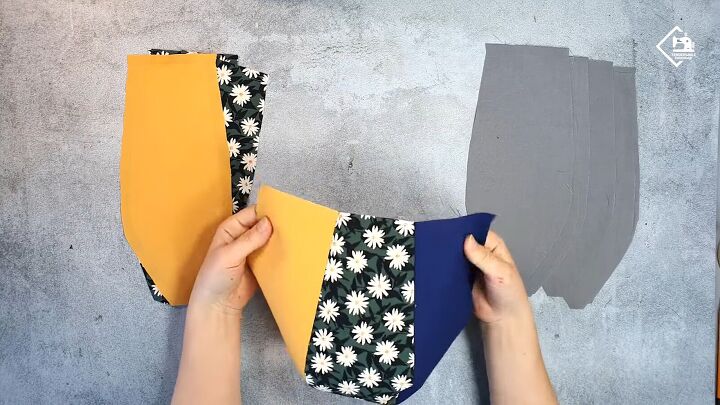
8. Sew on a third panel
Take another panel and connect it to one side of the larger piece that you have. Pin down one side and then sew it down as before. Again, once done, iron down the seam.
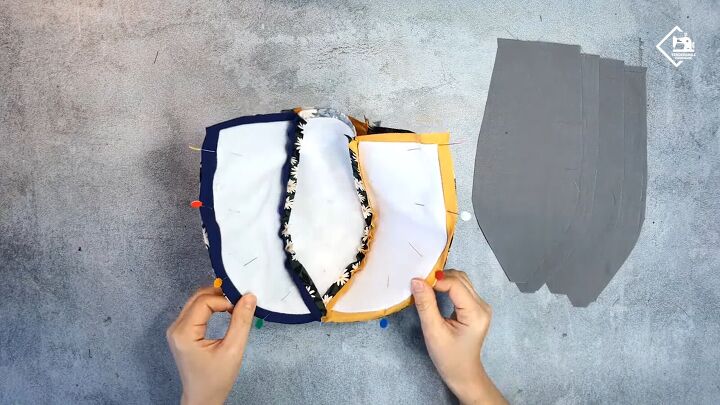
9. Sew another three panels together
Repeat the process with the other three panels so that they are all sewn together. Then, you want to attach the two pieces, each made up of three panels, together.
Fan them out so that one can sit inside the other with the right sides touching. Pin the sides together and stitch all around the edge within 1cm (0.4 inches).
Now the exterior of your bag is complete. Turn it inside out and open up the seams.
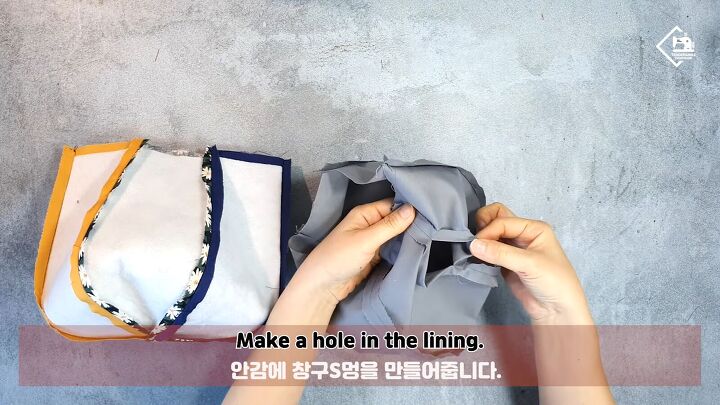
10. Sew the lining together
Stitch your lining in the same way that you did the outer fabric, connecting two lots of three panels together and then joining those two pieces together. Make sure to leave a hole in the lining.
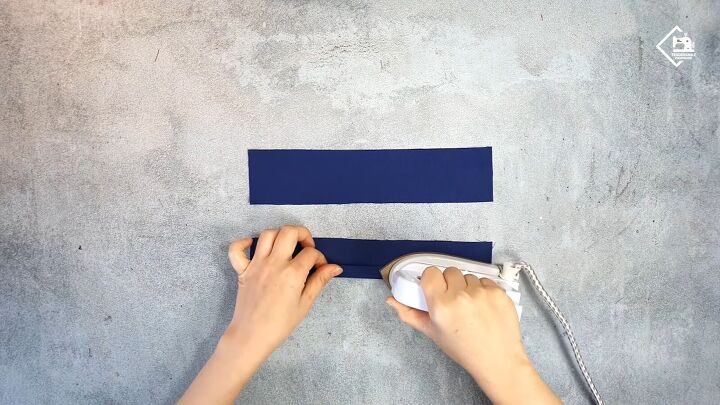
11. Fold and iron fabric
Take two rectangular strips, fold in quarters by folding it in half lengthways, open each side up and fold again. Then, press down flat with an iron.
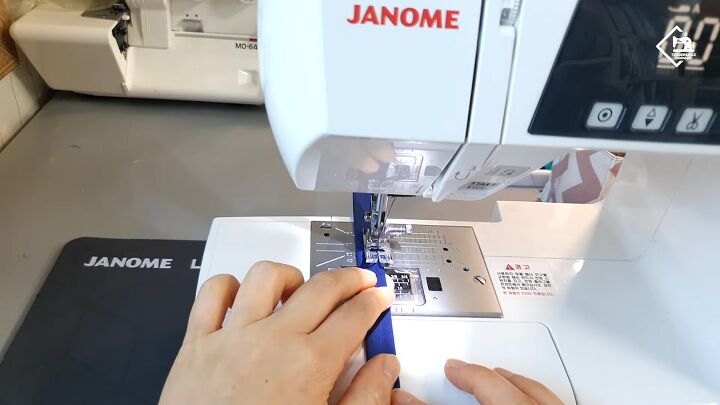
12. Topstitch
Proceed to topstitch the strips on either long side within 0.2cm (0.08 inches).
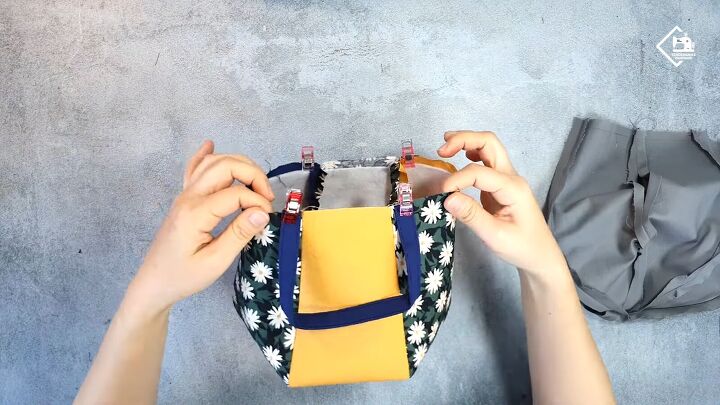
13. Sew the straps onto the bag
Now that you have your straps turn the outside of the bag so that it is the right way out and clip the straps to where you would like them to be. Then sew within 0.5cm (0.2 inches).
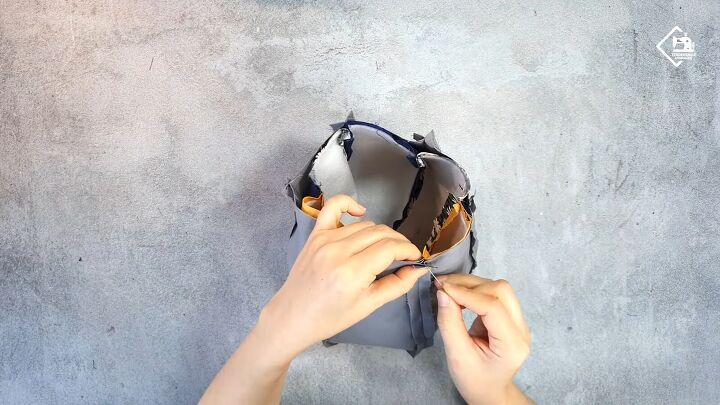
14. Attach the lining
Now to attach the lining to the bag. To do this, insert the outer section inside the lining and pin the two layers together along the top of the bag. Then stitch within 1cm (0.4 inches)
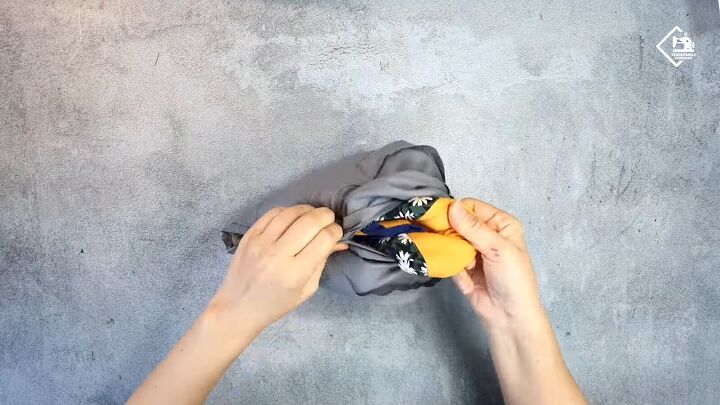
15. Turn right way out
Use the hole that you made in the lining fabric to pull the outer fabric through it and turn the bag the right way out.
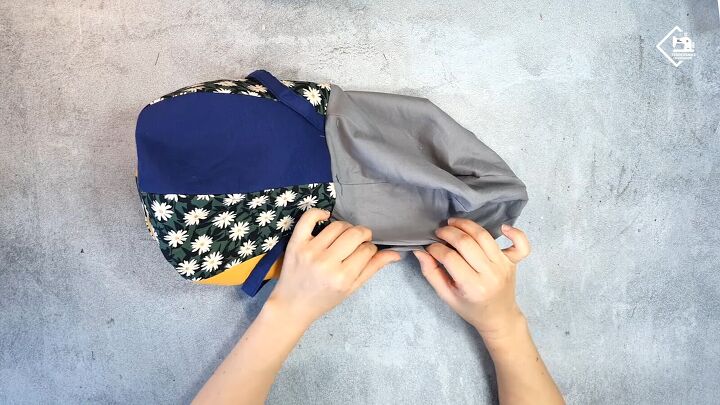
16. Sew up the hole
Sew up the hole in the lining fabric using a needle and thread. Then, push the lining into the bag and iron it down inside so that it lays flat.

17. Final topstitch
The final step is to sew around the top of the bag within 0.2cm (0.08 inches).
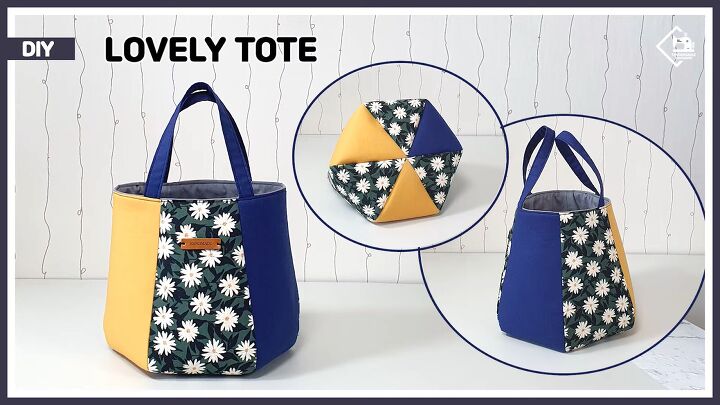
DIY hexagon bag tutorial
Here is the finished DIY hexagon bag! I finished mine off by sewing on a little rectangular bead that says ‘handmade’ so that everyone can see that this was my creation and admire it.
This bag takes some effort but the finished product is so worth it!
The author may collect a small share of sales from the links on this page.


Comments
Join the conversation