Two Method Hair Scrunchie Pattern Tutorial: How to DIY Scrunchies

If you’re looking for a great way to use some of your scrap fabric, think about making hair scrunchies!
In this tutorial, I am going to show you two hair scrunchie patterns.
One is a fast and easy pattern for beginner sewers, and the second is slightly more advanced and will teach you a really fun technique to use when making scrunchies.
Tools and materials:
- Sewing machine or needle and thread
- Iron (optional)
- Safety pin
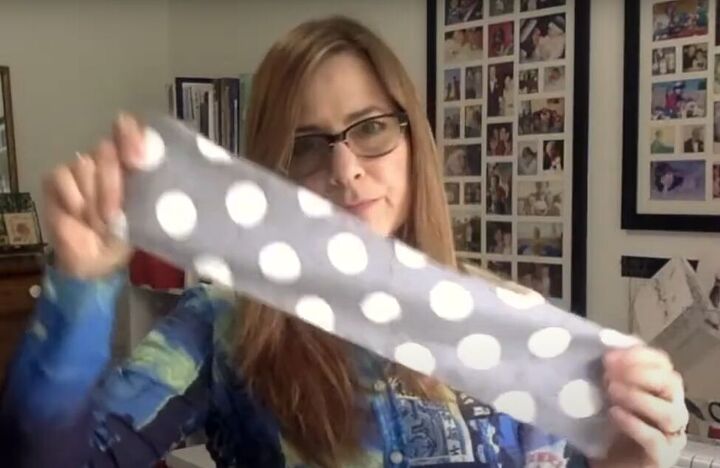
- Fabric (approximately 4 inches by 18 inches)
- Elastic (7 to 9 inches)
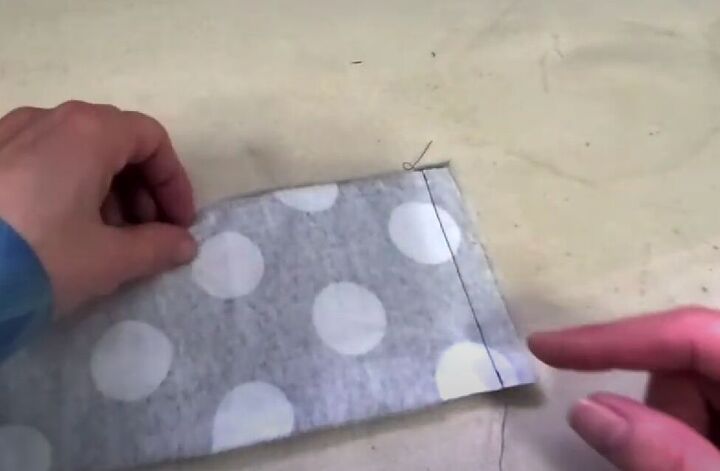
1. Easy scrunchie – prepare the fabric
Cut a piece of fabric measuring approximately 4 inches by 18 inches.
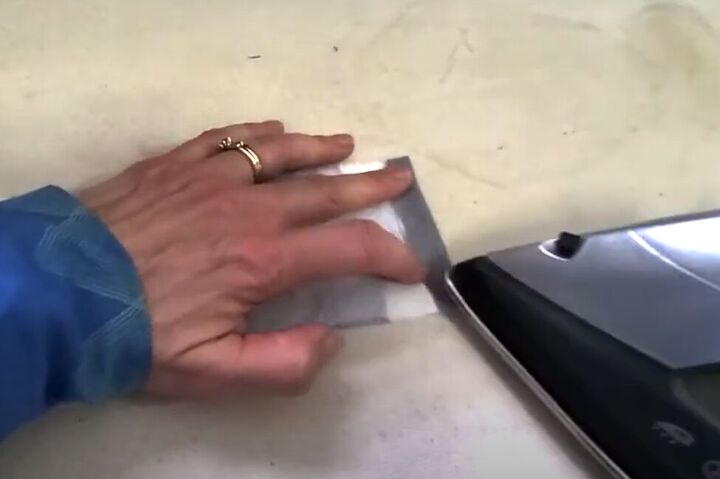
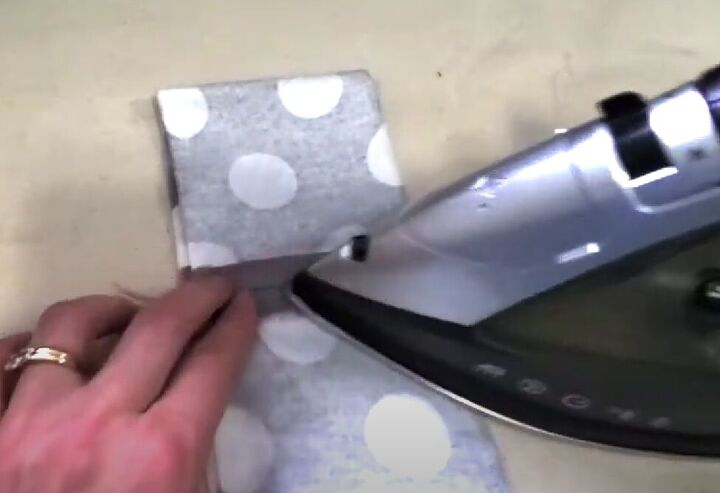
2. Fold and press
Fold one end of the fabric by about half an inch and press it with an iron.

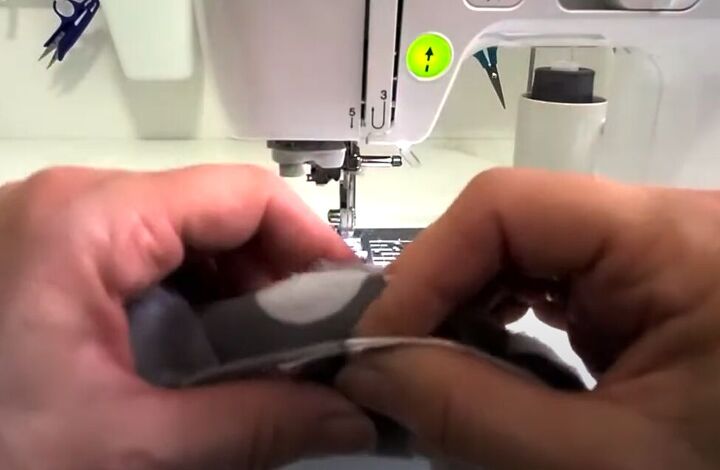
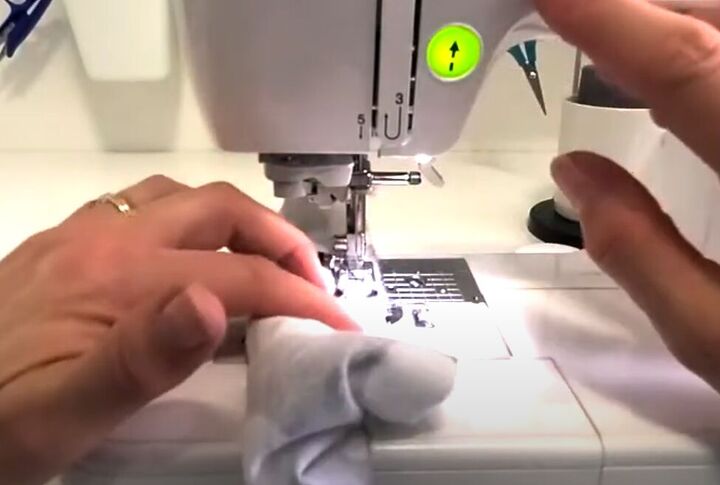
3. Sewing
Fold the fabric in half lengthwise, with the right sides together.
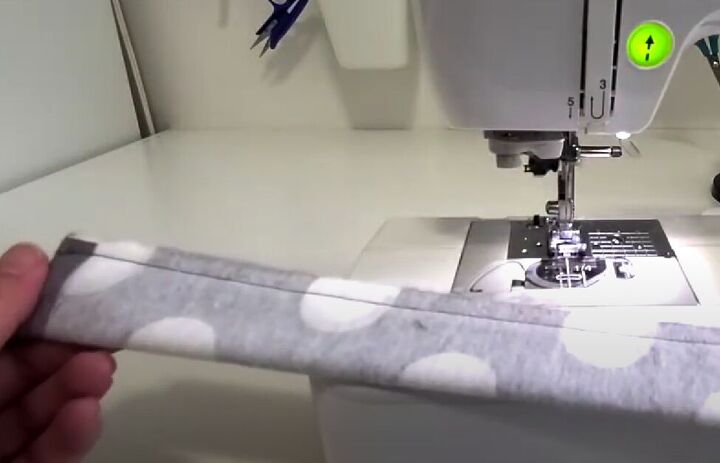
Sew along the open edge using a sewing machine or needle and thread, sewing right over the folded edge.
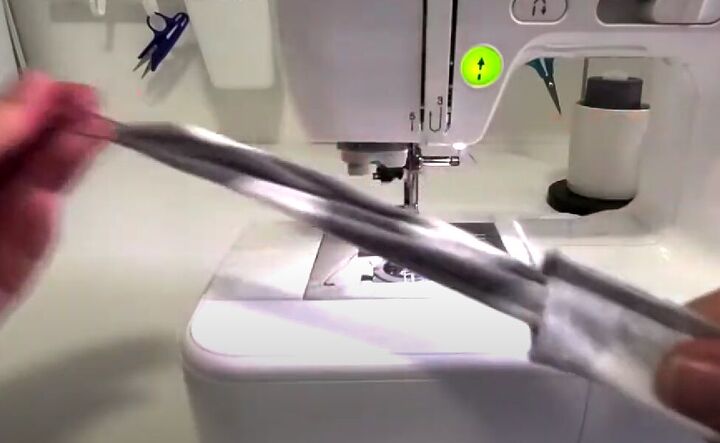
4. Turning and inserting elastic
Turn the fabric tube right side out, and press flat.
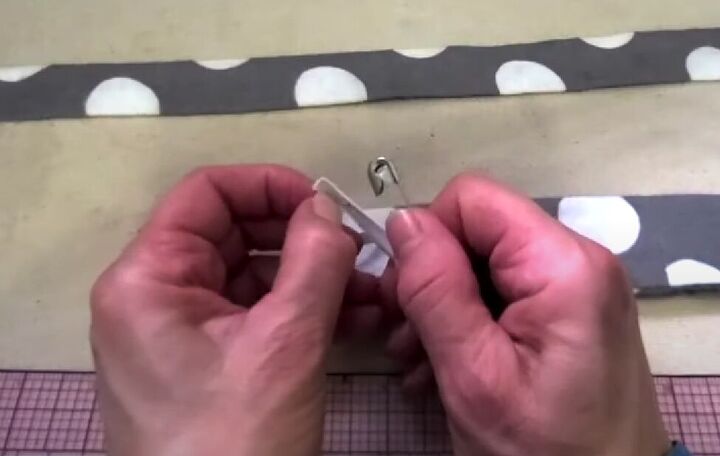
Attach a safety pin to one end of the elastic.

Thread the elastic through the fabric tube.
Pin the other end of the elastic to the end so it doesn’t get lost in the tube.
Once the elastic is threaded all the way through the tube, tie the ends of the elastic together securely in a knot.
5. Finishing
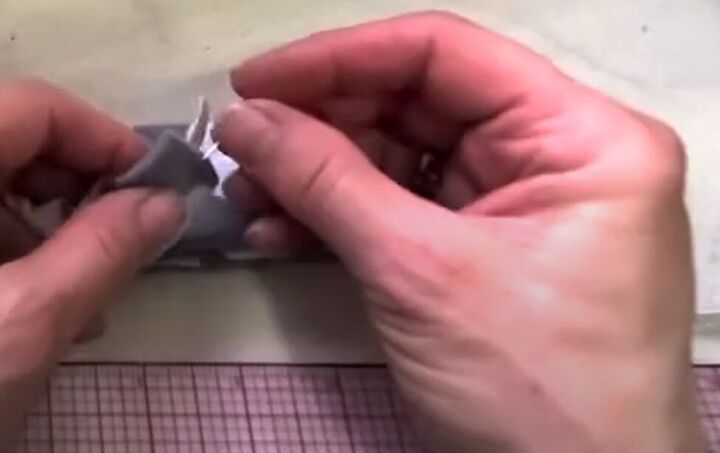
Tuck the raw end of the fabric tube inside the folded end.
Sew along the edge to close the scrunchie.
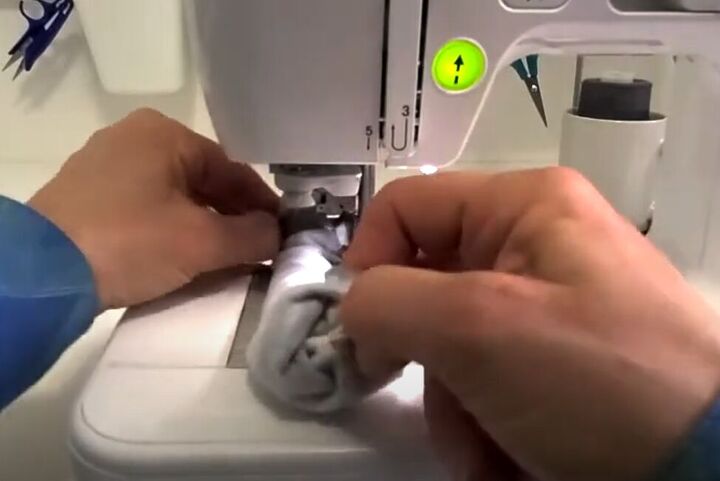
6. Advanced scrunchie – “sewing the sausage”
With the right side facing in, sew the two short ends of the 4”x18” fabric piece together.
Open the seam and press flat.
7. Stuffing and sewing the sausage
Turn the fabric tube right side out.
Stuff one end of the tube inside the other, ensuring not to catch any fabric in the seam, but matching up the seam lines.
Sew along that edge.
You’ll need to go in small sections, pulling out “the sausage” as you go to give you more edge to sew.
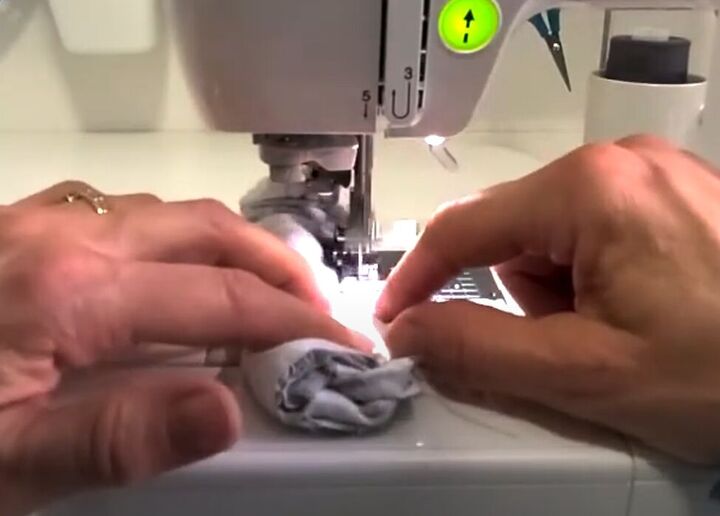
Leave a gap of about 1½ inches at the end.
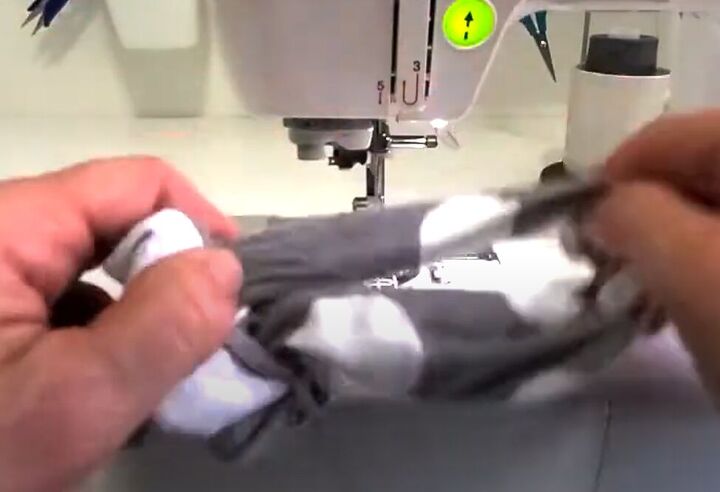
Pull the scrunchie right-side-out through the gap.
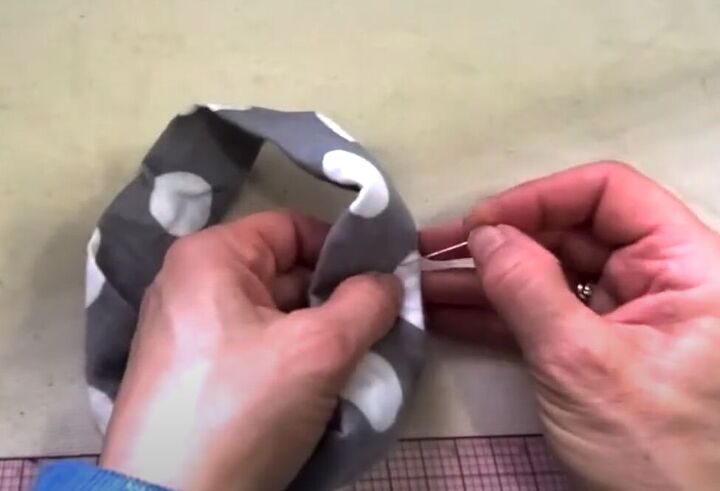
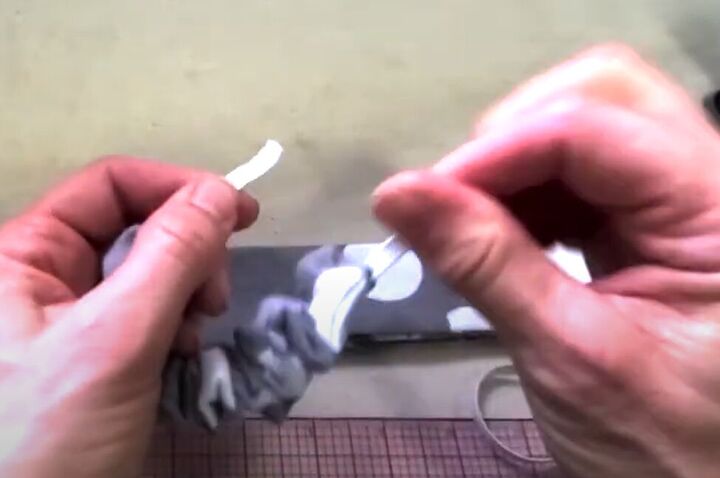
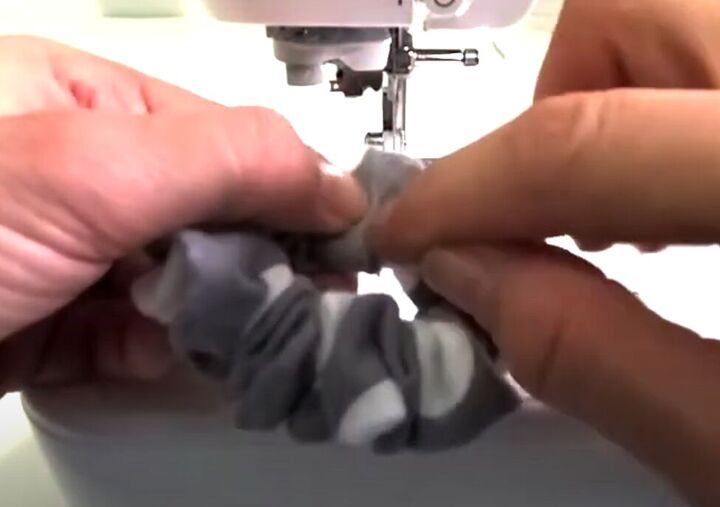
8. Inserting elastic
Attach a safety pin to one end of the elastic and thread it through the fabric tube, going in through the gap, and ending at the gap.
Tie the ends of the elastic together securely.
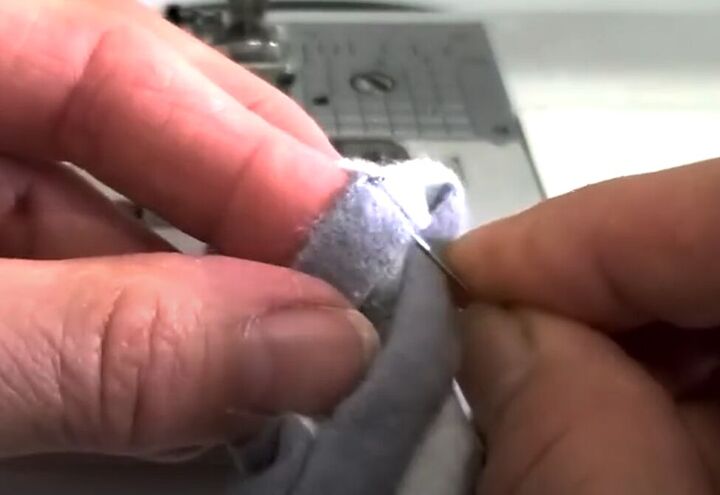
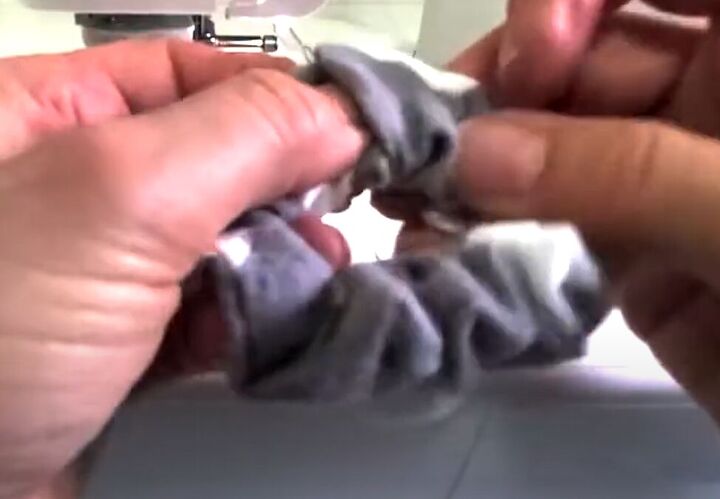
9. Closing the gap
Close the gap in the seam by hand sewing using a ladder stitch.
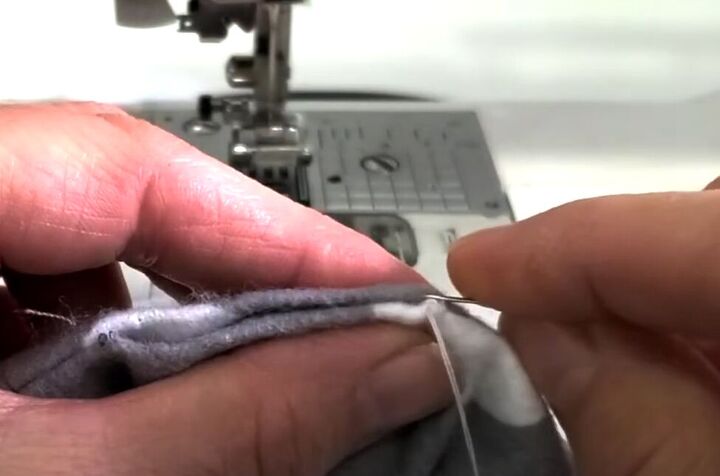
Follow the video from 8:05 to 10:12 to learn how to do a ladder stitch that will be invisible.
10. Finishing
Tie knots at the end of the stitching to secure the thread.
Trim any excess thread.
11. Final step: test your scrunchies
Test the elasticity of the scrunchies by stretching them gently.
Your scrunchies are now ready to use!
Hair scrunchie pattern tutorial
That's it! You've successfully created two different types of scrunchies using two different techniques.
Experiment with different fabrics and elastic sizes to customize your scrunchies according to your preferences.
Enjoy your new accessories and don’t forget to leave a comment to let me know you’ve tried these hair scrunchie patterns, and which technique is your favorite!
Next, check out my Two Easy Upcycled Denim Jacket Ideas.
The author may collect a small share of sales from the links on this page.


Comments
Join the conversation