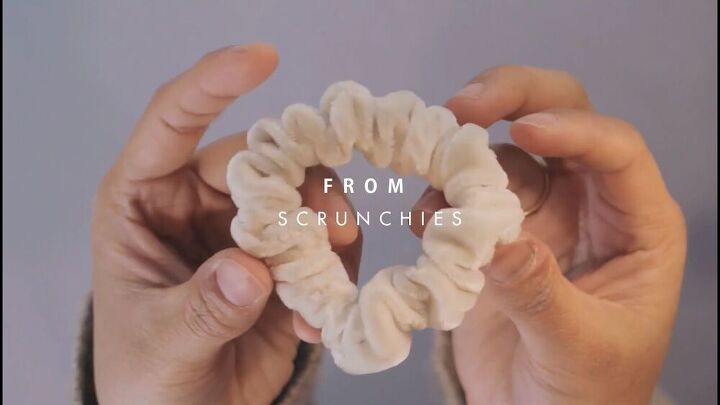
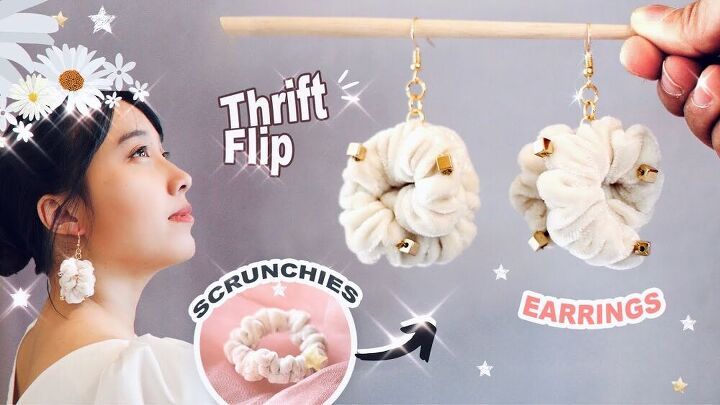
Easy Sewing Tutorial: Scrunchie Earrings DIY

From blouses to rugs, everyone's doing thrift flips. But what about having a go at a fun scrunchie earrings DIY.
I’m going to show you how to make scrunchies earrings! If you have a pair of old scrunchies at hand, then this is the ultimate DIY earrings tutorial for you. Let's get started.
Tools and materials:
- Scrunchies
- Studs and assorted embellishments of your choice
- Matching thread
- Scissors
- Needle
- Fish hooks
- Jump rings
- Pliers
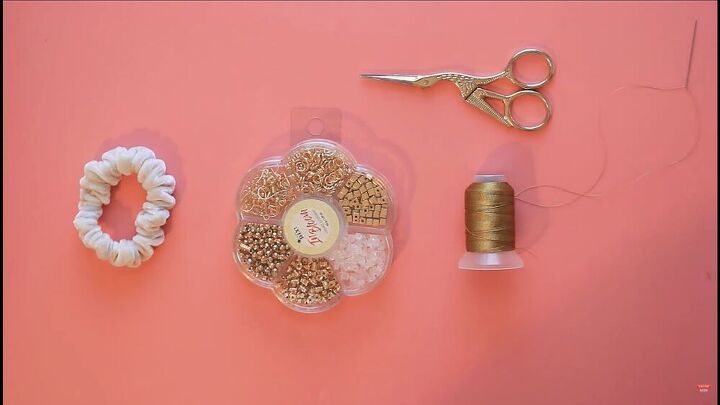
1. Get your materials ready
For this tutorial, you don’t need much, just scrunchies, scissors, matching thread, and your choice of lovely studs or embellishments.
To add the earrings, you’ll need some pliers and an earring kit with jump rings and fish hooks.
2. Make the DIY scrunchie earrings
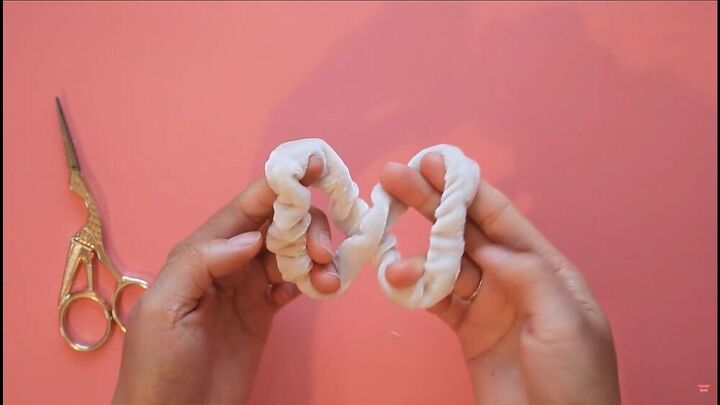
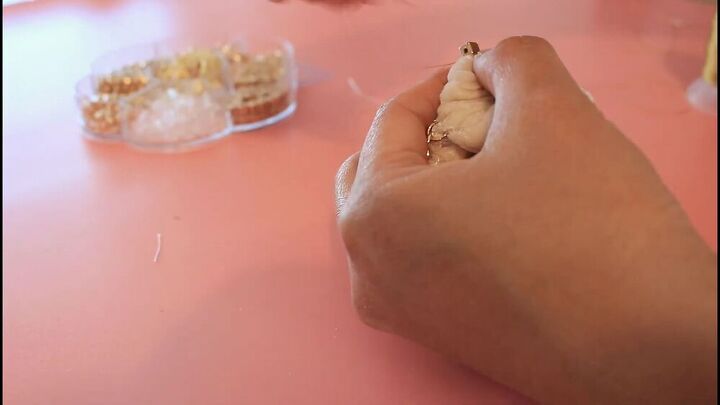
Create a lovely puff-type structure from the scrunchie by looping it into an infinity sign and folding it together, as shown.
Basically, you will be reducing its size in diameter and increasing it in height.
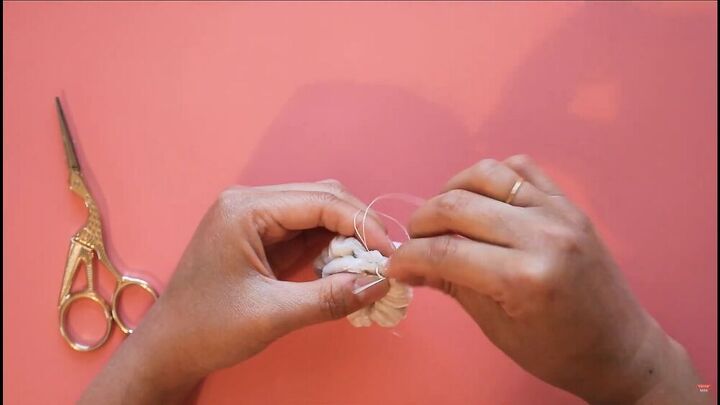
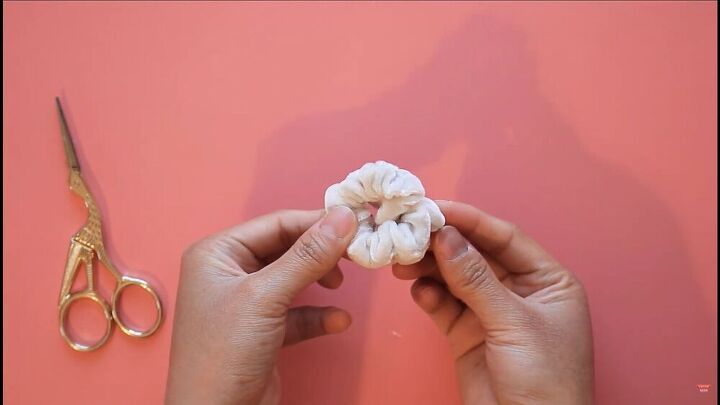
To hold the scrunchie together, go ahead and manually sew one side and the two layers together.
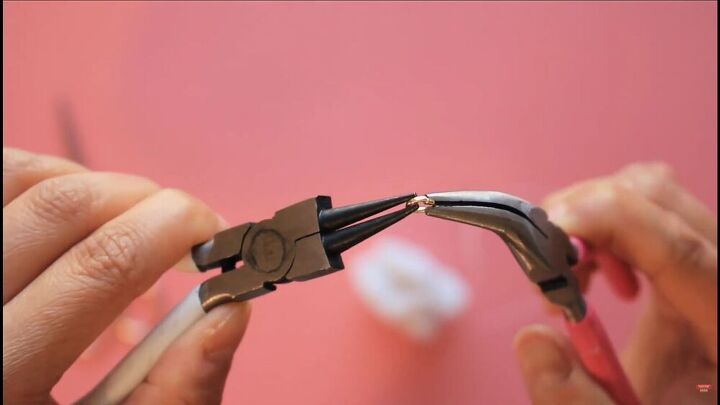
With your pliers, open up the jump ring and loop it around the side you have sewn together. Then, with your pliers, close the gap.
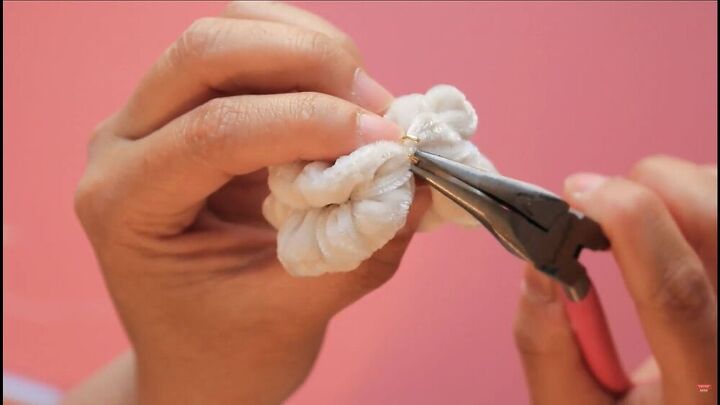
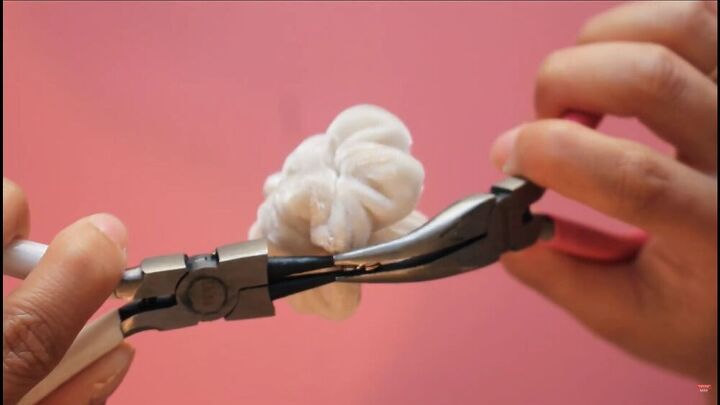
Then, connect another jump ring to the first and close the gap, making sure it’s tightly closed.
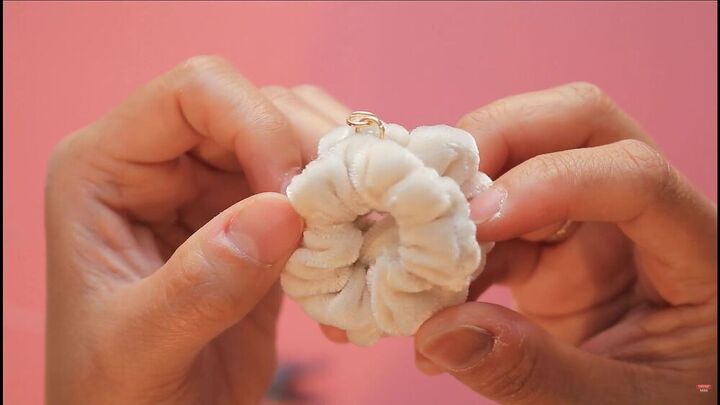
This is what it should look like.
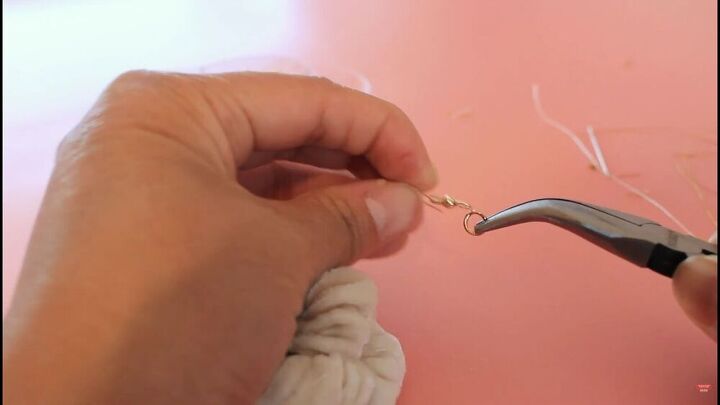
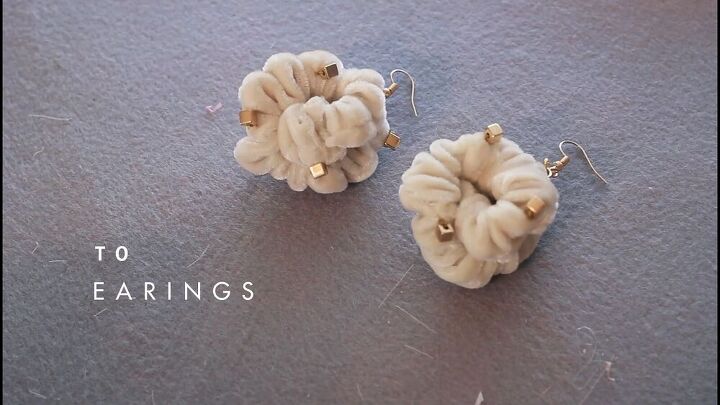
3. Add the fish hook
Now it's time to connect the fish hook to your DIY earrings. Start by connecting another jump ring to the fish hook.
Then, connect this jump ring to the second jump ring on the scrunchie.

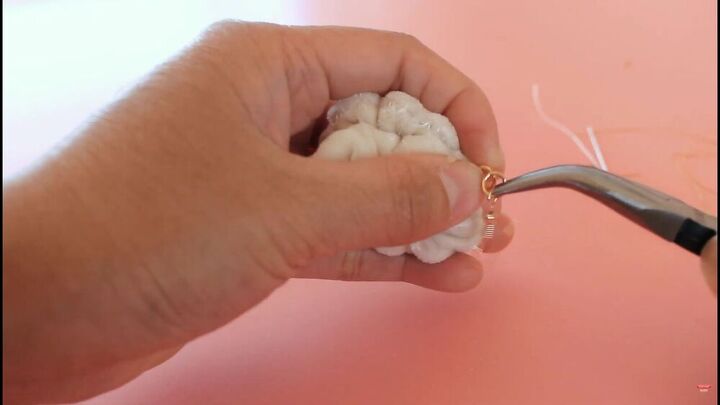
Yeah! Here are your simple scrunchie earrings DIY! Now it’s time to add some dazzle.
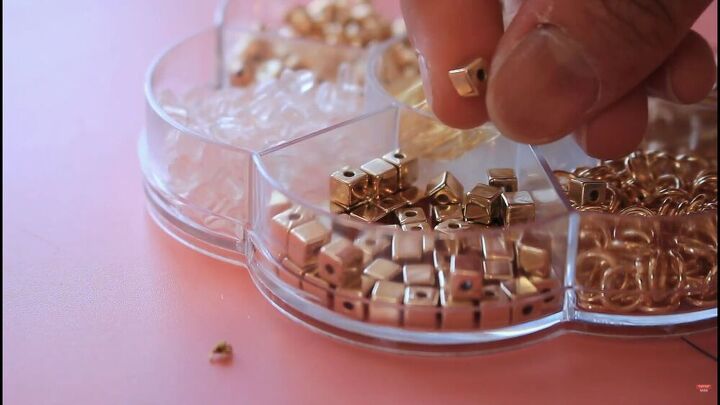
4. Add embellishments
Ok, so here’s the fun part. It’s time to take your basic DIY earrings to the next level by adding some super cool embellishments.
I chose some lovely gold studs, but feel free to use beads, pearl. Whatever your heart desires, really.
Manually sew your embellishments onto the scrunchie’s fabric. Add some all around the scrunchie so that they are evenly distributed.
You can add as much as you like. Be sure to repeat this whole process for the second earring!
How to make scrunchies earrings
That’s it - your scrunchie earrings DIY is complete! These earrings are so unique, and the pop of gold just gives it that extra magical touch.
If you enjoyed this tutorial, leave a comment down below!
The author may collect a small share of sales from the links on this page.


Comments
Join the conversation
Cute. I think trying to create a simpler version of this idea would provide fun and creative ways for young girls (like my 7yr old granddaughter) to rid themselves of the mounds of scrunchies and hair ties that they never wear!
Very cute and imaginative!