How to Sew Culottes: Easy Sewing Tutorial For Making Cute DIY Culottes

Everyone loves a pair of culottes. In this tutorial, you will learn how to sew culottes: how to draw a pattern, cut, and construct a pair of cute and comfortable DIY culottes with an elastic waist and a decorative belt that ties in the front.
So if you’re ready to make your next favorite wardrobe item, keep reading!
All-in-one video creator I use: Click for an editor, converter, screen recorder and more.
Tools and materials:
- At least 1.5 meters of cotton fabric
- Fabric chalk
- Measuring tape
- Ruler
- Scissors
- Pins
- Elastic
- Long stick
- Serger (optional)
- Sewing machine
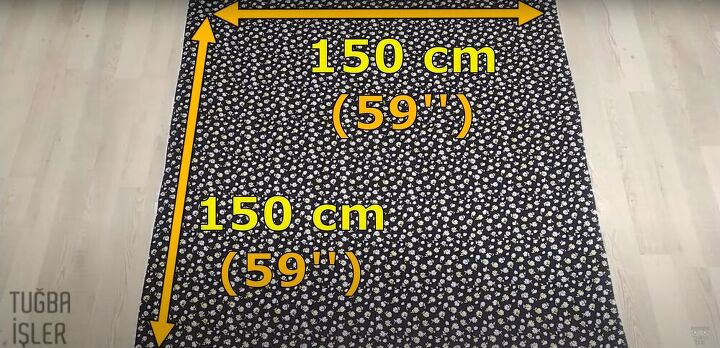
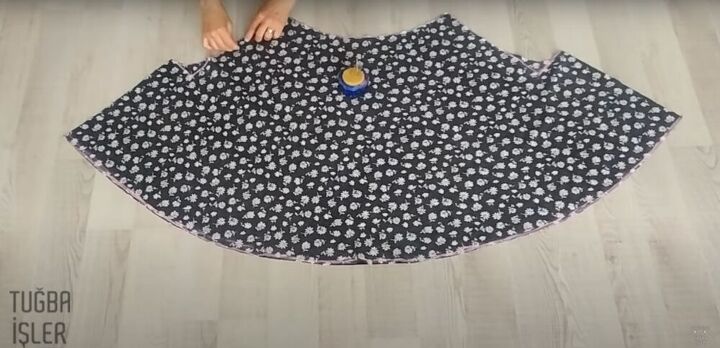
1. Measure and cut the fabric
Start by cutting a piece of fabric measuring 150 x 150 centimeters (59 x 59 inches).
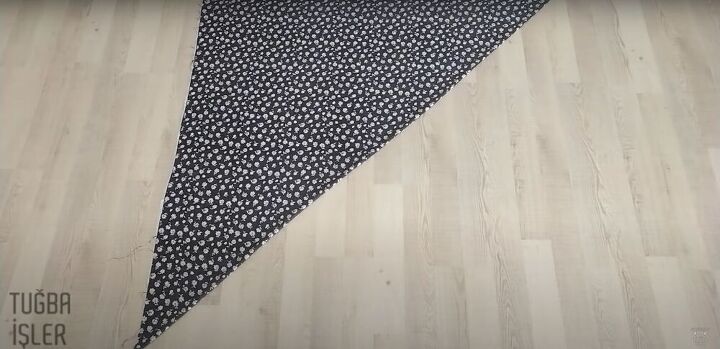
2. Fold the fabric
Fold the fabric diagonally to create a triangle.
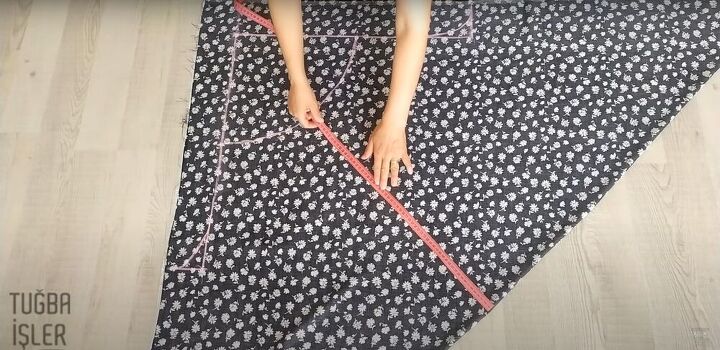
3. Measure and mark
Follow the instructions in the video from 0:21-2:08 for measuring and marking the pattern for the culottes directly on the fabric.
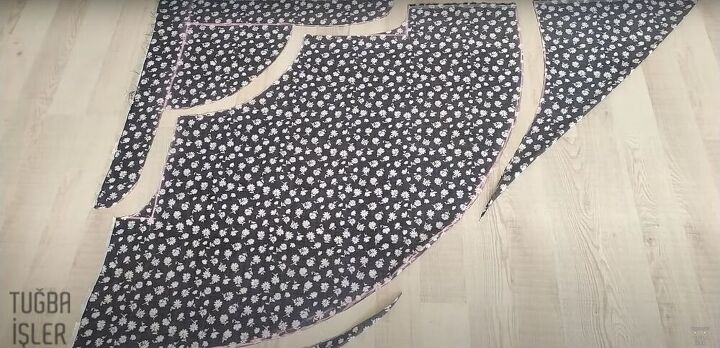
4. Cut out the fabric pieces
Cut the fabric along the lines you marked.
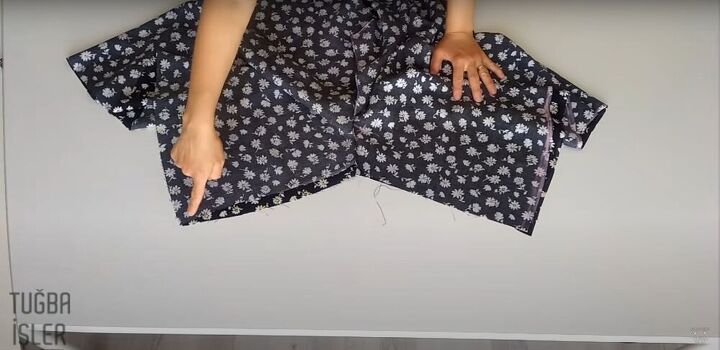
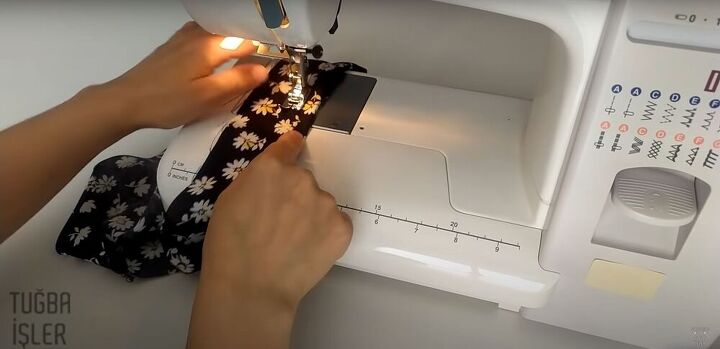
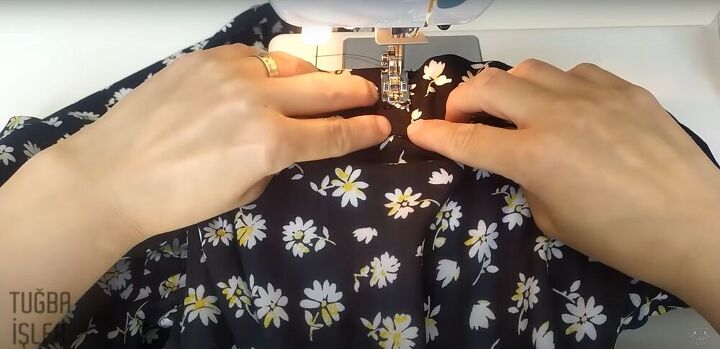
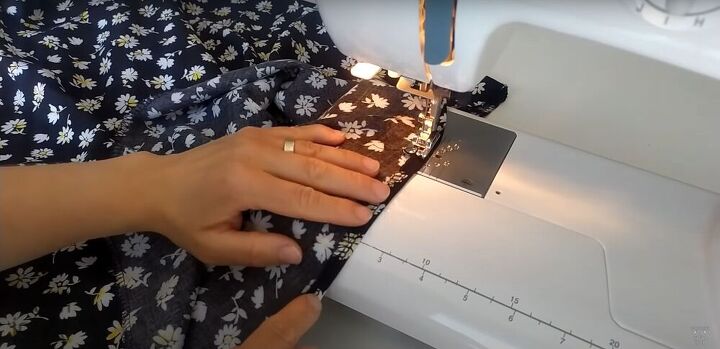
5. Pin and sew the curved edges
Pin and sew the two curved side edges together. Serge if you have a serger, or use a straight stitch and then zigzag stitch the raw edges if you’re using a regular sewing machine.
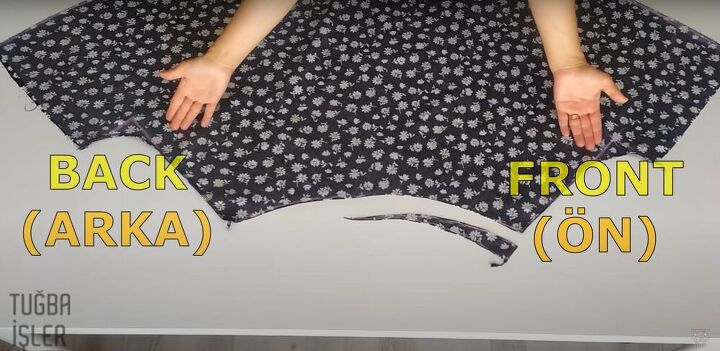
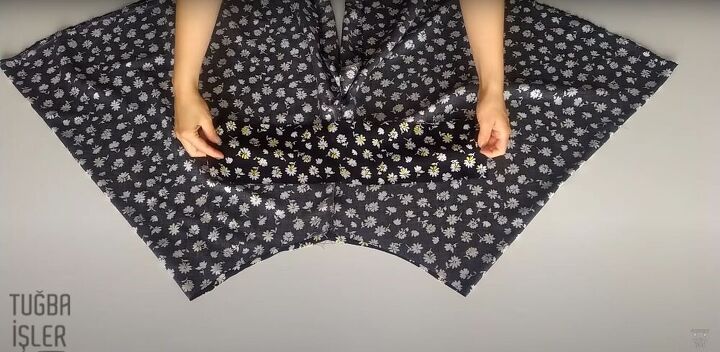
6. Mark and cut the tapering line
Make a mark approximately 1.5 inches down from the waistline of the culottes, and another mark in the center of the waistline. Connect those two points with a tapering line that follows the curve of the waistline, and then cut along that line.
The side with the slightly lower waistline will be the front of your culottes.
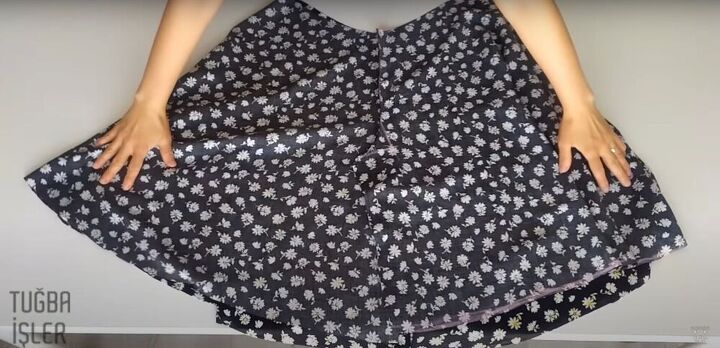
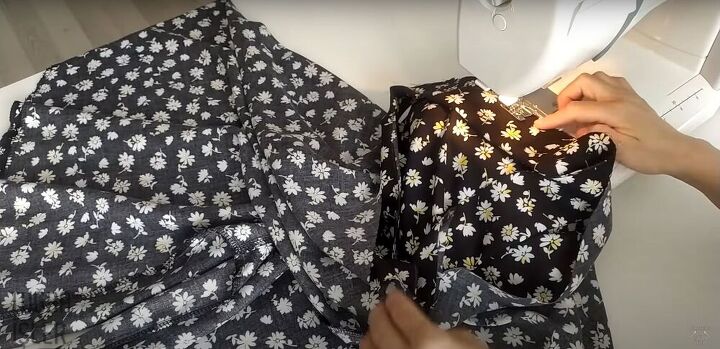
7. Flip the fabric
Flip the fabric so the curved seams on the side are now lying in the middle.
8. Pin and sew the inseams
Align the unsewn edges in the center to create the inseams. Pin and sew them together.
9. Cut and sew the waistband
Cut a strip of fabric 100 x 12 centimeters (40 x 5 inches). Fold it in half, right sides together, and sew the ends together. This will become the waistband.

10. Mark the waistband
Fold the waistband in half lengthwise. Measure how much space is needed to accommodate the elastic, and mark it with fabric chalk.
11. Sew the waistband
Sew along the marked line, all the way around the waistband, with a straight stitch.
12. Attach the waistband
Pin the waistband along the top edge of the culottes, right sides facing, and sew them together, leaving a 2-inch gap in the stitching.
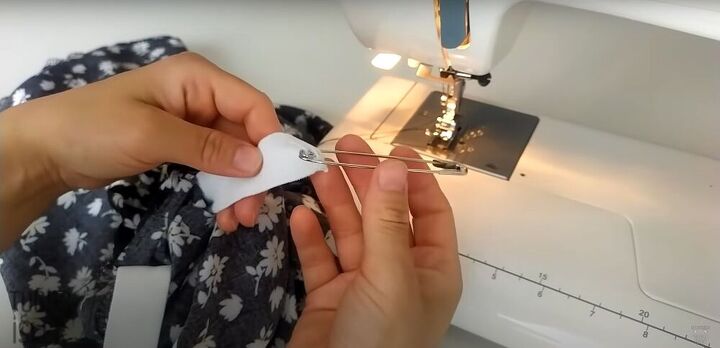
13. Insert the elastic
Cut a strip of elastic 64 centimeters (25 inches) in length. Attach a safety pin to one end, insert it into the waistband through the gap in the stitching. Pull it all the way through the waistband and back out through the gap.
Then, sew the ends of the elastic together securely, make sure the elastic is completely inside the waistband, and sew the gap closed.
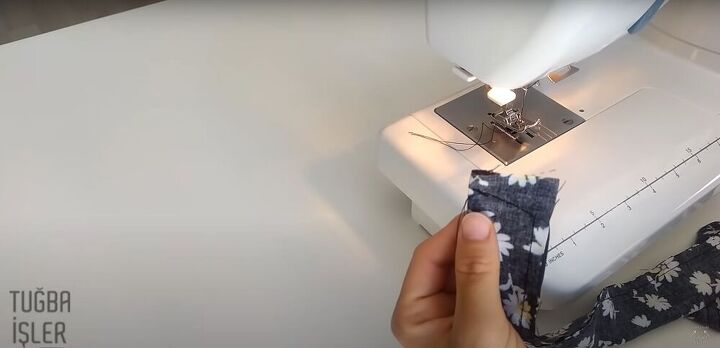
14. Cut and sew the belt
Cut two strips of fabric, each 8 centimeters (3 inches) wide and 70 centimeters (28 inches) long. Fold each strip in half lengthwise. Sew one end closed diagonally, and then sew down the long edges, leaving the second end open.
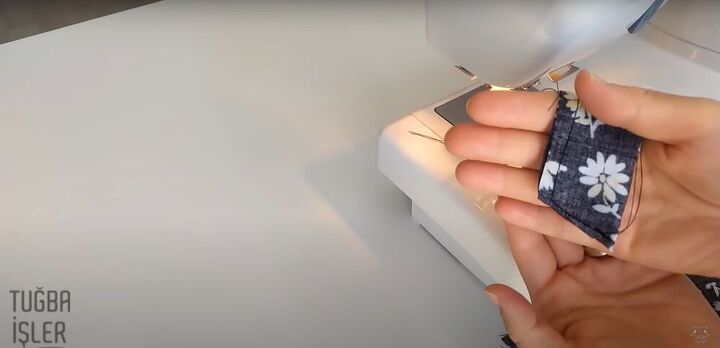
Cut the excess fabric off the diagonal edge at the same angle as the stitching.
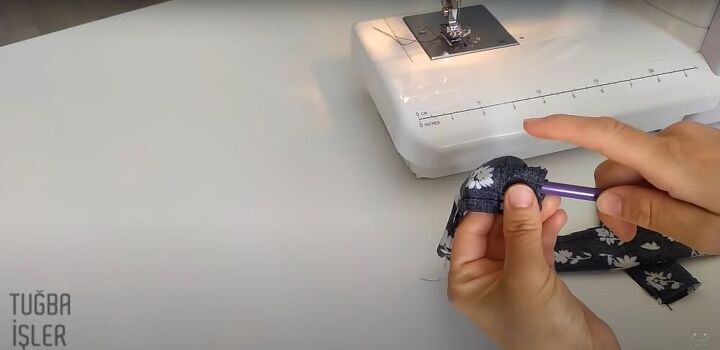
Use a long stick to push the closed end of the strip through to the open end to turn the strips right side out.
15. Attach the belt
Sew the strips to the sides of the waistband to create a belt. Sew the edge of the strip to the waistband with the length of the fabric extending towards the back of the culottes. Then, flip the strip so it is extending towards the front, and sew down the edge.
16. Hem the culottes
Finally, hem the culottes by flipping up the bottom edges by about 0.25 inches, and sewing them down.
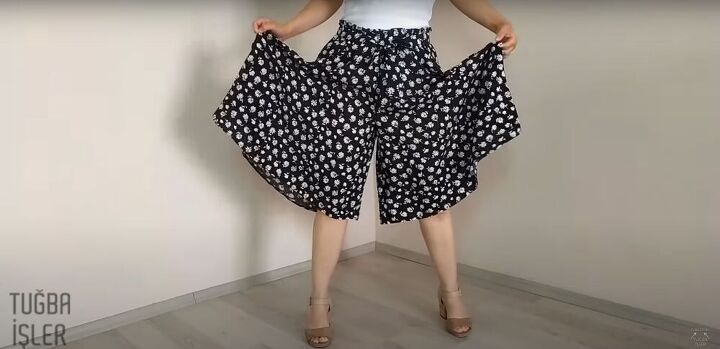
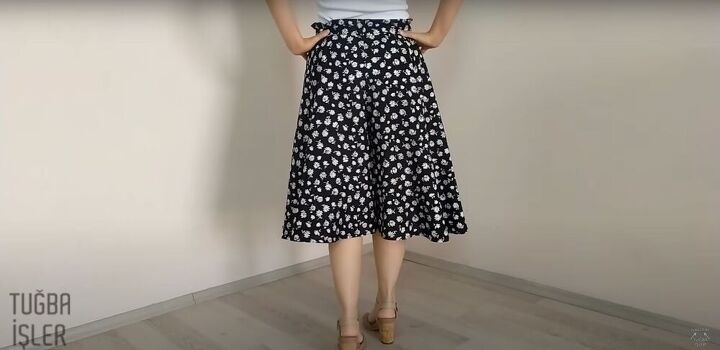
How to sew culottes tutorial
Your culottes are ready to be worn! These DIY culottes look so comfortable, and still so chic. How would you style them? Leave a comment if you use this tutorial to make a pair of paper bag belted culottes of your own.
To see more of my DIY sewing tutorials, follow me on TikTok @tugbaisler.
The author may collect a small share of sales from the links on this page.


Comments
Join the conversation