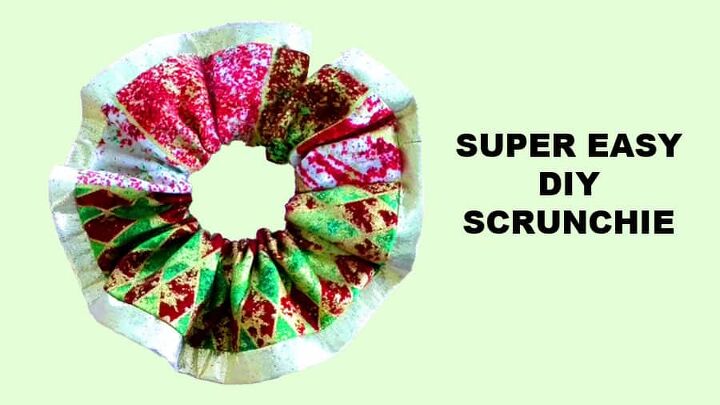
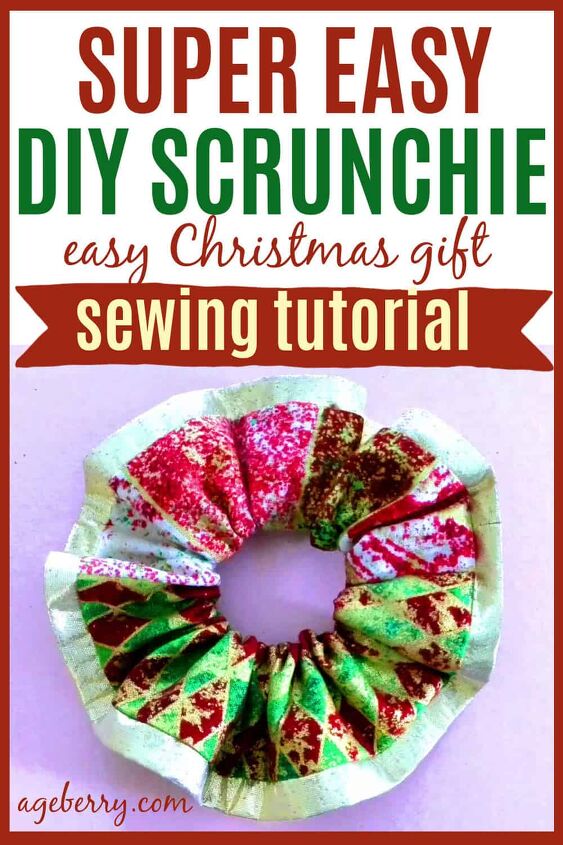
Super Easy DIY Scrunchie

Have you ever made a scrunchie? It’s a very useful thing – just an elastic band for hair, which is made from a variety of materials. In this sewing tutorial I will show you how to make super easy DIY scrunchie.
You can have (and probably need) scrunchies for different outfits, for different moods. Of course, you can simply buy them, but what you make yourself is always valued more and lasts longer, isn’t it?
Made your own scrunchies from high quality soft fabric that would not harm your hair.
Scrunchies could be gorgeous and practical hair accessories.
What you’ll need
Piece of fabric for the scrunchie ( It’s better to use natural fabric for this scrunchie (like 100% cotton), because synthetic fabric will get static electricity from hair right away).
Piece of fabric for embellishment ( I use gold fabric for contrast)
Piece of regular elastic ( 8 inches)
Sewing machine
Regular sewing notions (use threads of matching colors)
For this super easy DIY scrunchie you will need one piece of fabric 20” long and 4” wide, and one piece of fabric for embellishment 20” long and 1.5” wide. That’s the sizes I used for my scrunchie.
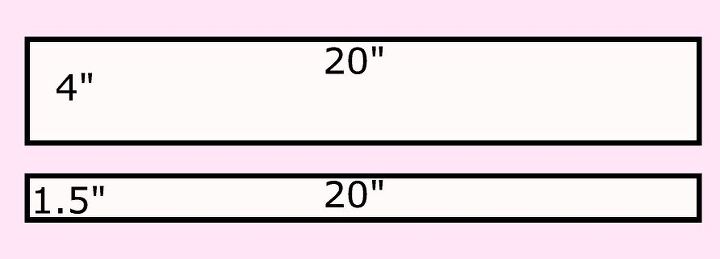
But the length and width depend on the required size and appearance of the desired scrunchie. If you need more gathers, cut out the strip longer, and if you cut out the strip wider, the scrunchie will be more voluminous.
You can cut these rectangles right on your fabric. Or you can draw it first on paper and then cut from fabric. Press the fabric before cutting.

The strip of fabric for embellishment is a very useful addition to the scrunchie. Why? Because the scrunchie will keep its shape better with it.
Step 1
Fold prepared pieces right sides together, pin and stitch short edges. Seam allowances are ⅜ inch. Press the seams open.
Step 2
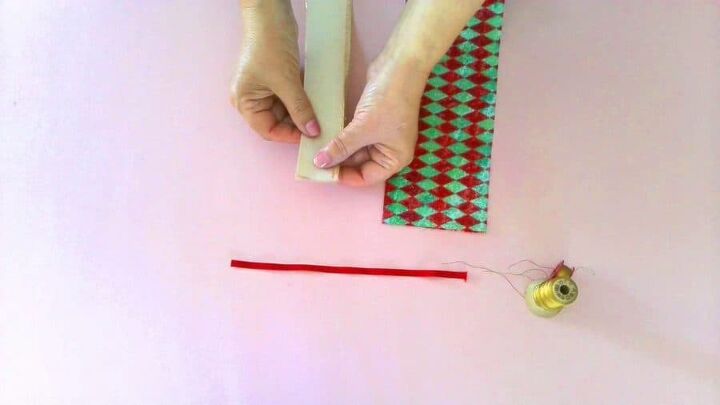
Fold the narrow piece lengthwise in half wrong sides together and press.
Step 3
Stitch the narrow piece to the big piece right sides together. Seam allowances ¼ inch

Step 4
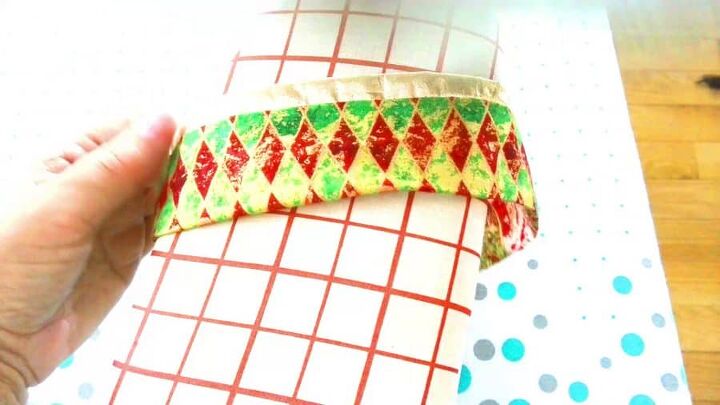
Fold the prepared piece as you see in the video. It’s hard to describe it, just check the video below and do exactly the same.
Step 5
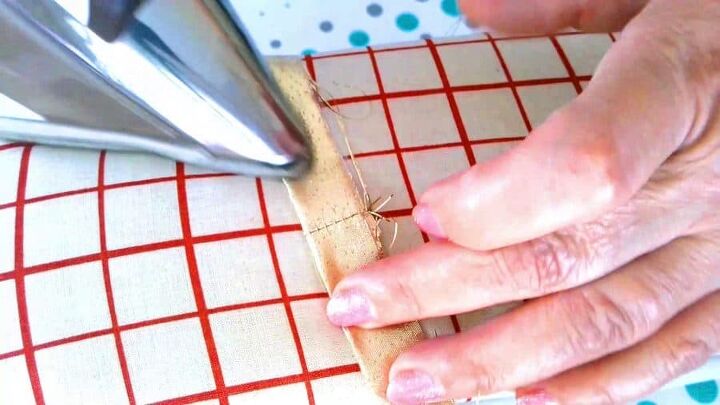
Stitch this tube using ⅜ inch seam allowances. Check my YouTube video to see how I am stitching it all around. It’s very interesting sewing technique and I doubt you have seen it before.
Leave 1.5 inches not stitched for turning it right side out.

Step 6
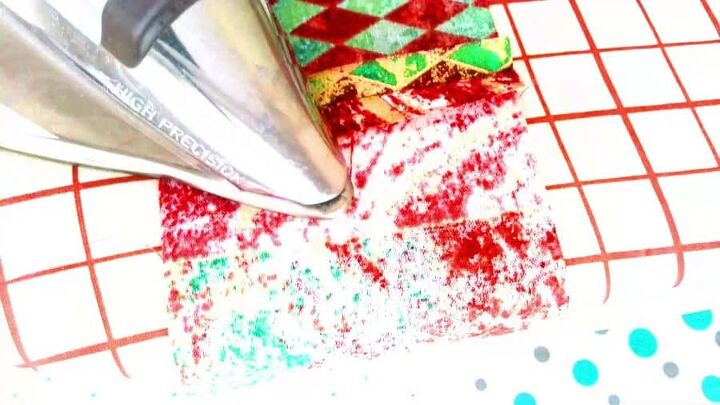
Turn the scrunchie right side out and press.
Step 7
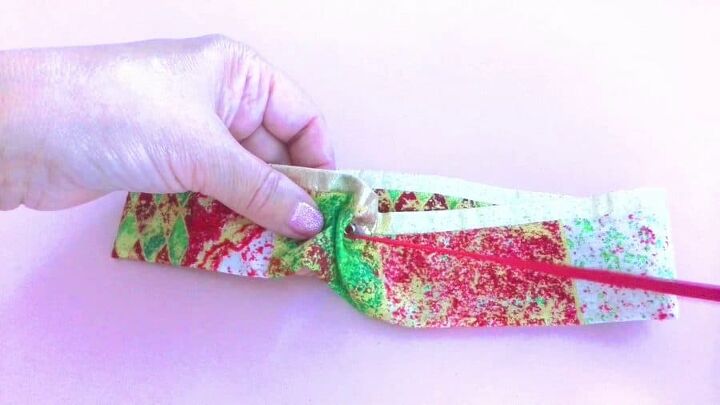
Insert elastic. Use a 7- 8 inches piece of elastic. Use a safety pin for inserting elastic. Take the two ends of the elastic and tie a knot.
Step 8
Close the hole in the stitches by hand sewing. Learn how to do an invisible stitch by hand in my tutorial “ Invisible stitch: how to use it for fixing a tear and sewing invisible “blind” hems“
And here is the link to my YouTube video on how to make this easy DIY scrunchie.
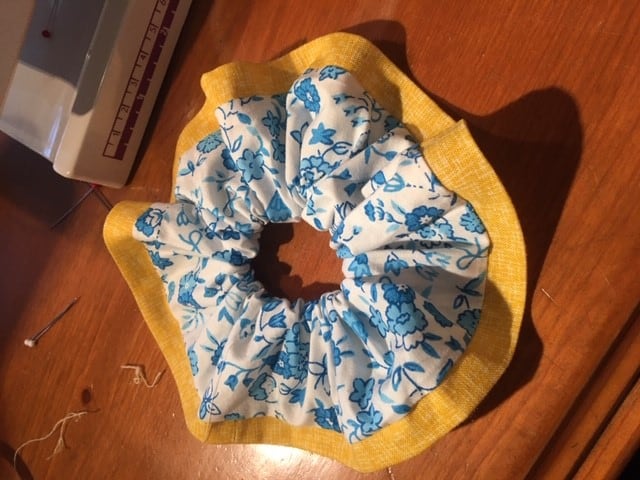
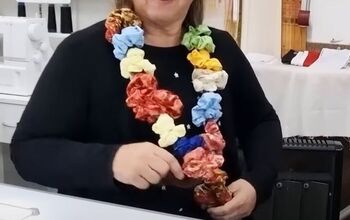
Here is a scrunchie made by Monica Jane (from Australia) with a different color palette (I was probably too eager with my Christmas colors, so many months in advance). Beautiful!
I hope you have found some helpful information in this sewing tutorial on the super easy DIY scrunchie. Want to remember this tutorial? Post this pin to your favorite Pinterest board so that you can find the instructions later.
The author may collect a small share of sales from the links on this page.


Comments
Join the conversation
So cute! I'm obsessed with scrunchies!