Suffering With Blackheads? Try This Super-Easy DIY Peel-Off Face Mask

In this tutorial, I'll be showing you my home remedy DIY peel-off face mask. Ahh, let’s talk about blackheads! I bet there’s not one person on earth that doesn’t get annoyed with them!
Unfortunately, blackheads are a normal part of life. Instead of going and buying fancy peel-off masks or gadgets to get rid of them, I’m going to show you an effective way of removing blackheads at home.
This DIY blackhead removal peel-off mask is tried and tested, and trust me when I say it works wonders! Let’s dive into the tutorial so you can learn my best-kept secret.
Tools and materials:
- Hot wash cloth
- Tissue
- Egg
- Whisk
- Bowl
- Old makeup brush
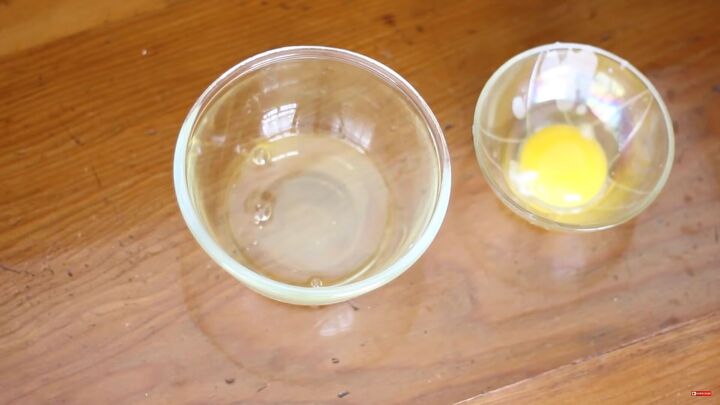
1. Separate the egg white
Ok, this easy DIY requires just one egg! You’ll be using the egg white, so be sure to separate the yolk before.
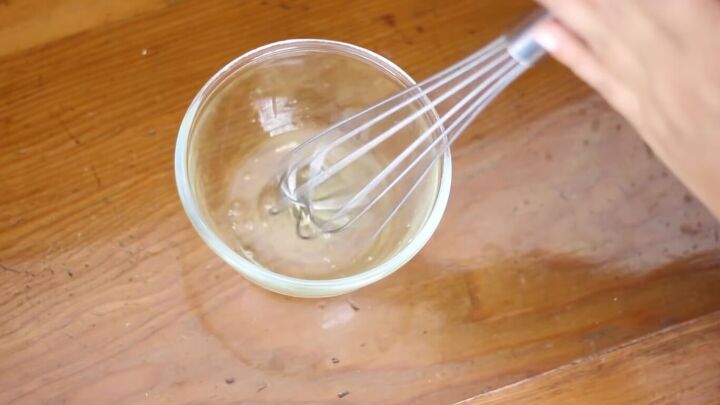
Whisk the egg white a little bit, so it becomes somewhat frothy; it’ll make it easier to apply it on your face.
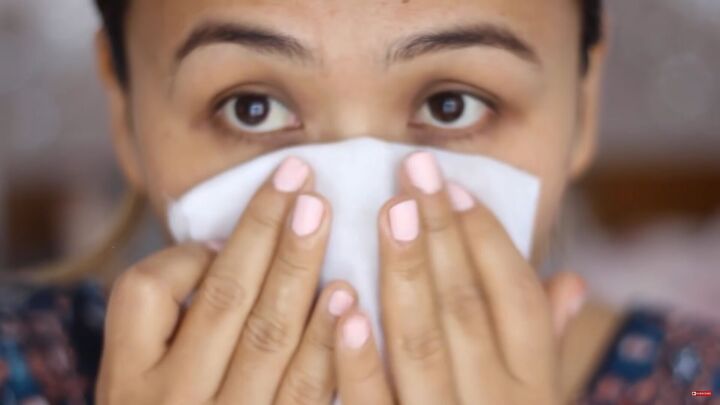
2. Open your pores
Before applying the DIY blackhead peel-off mask, take a hot washcloth and put it on your face so that your pores open up. This way, the mask will sink in deeper and really remove the blackheads in one go! Place it on your problem areas for around a minute.
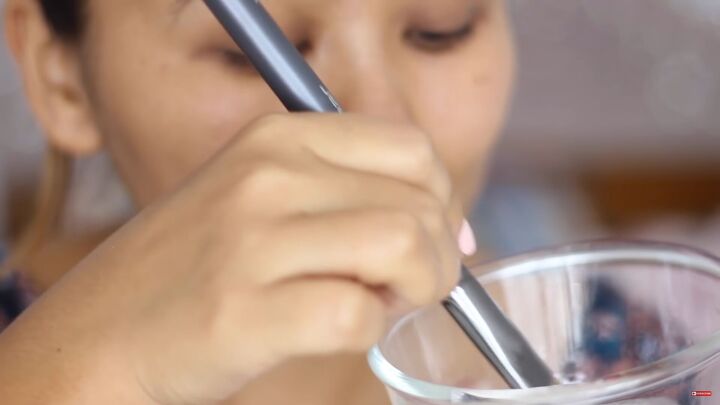
3. Apply the DIY peel-off face mask
Dip an old brush (here, I’m using a foundation brush) in the egg white.
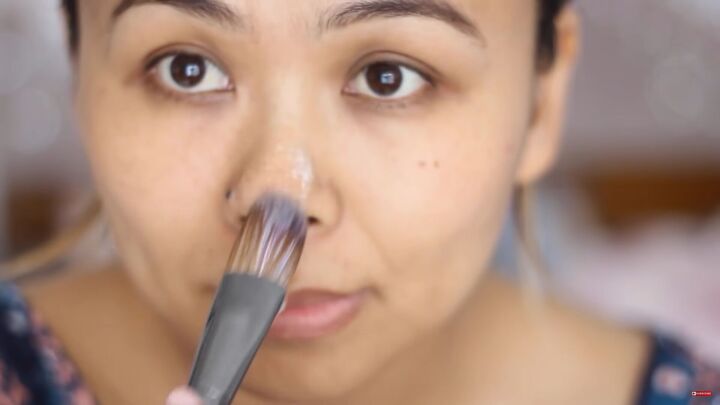
Then, brush it all over the areas where you tend to get blackheads. Typically it’s around the nose area, forehead, and chin.
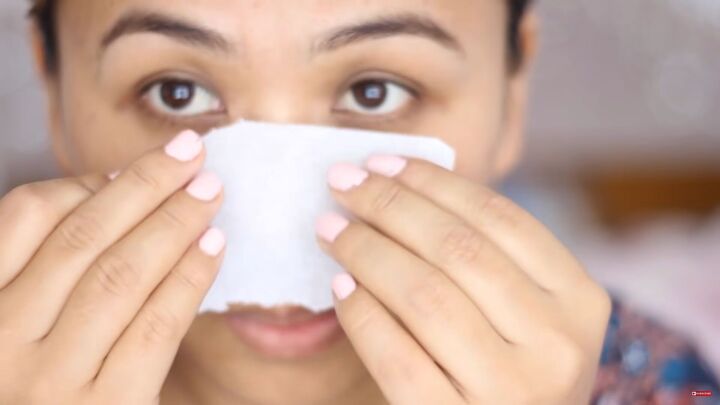
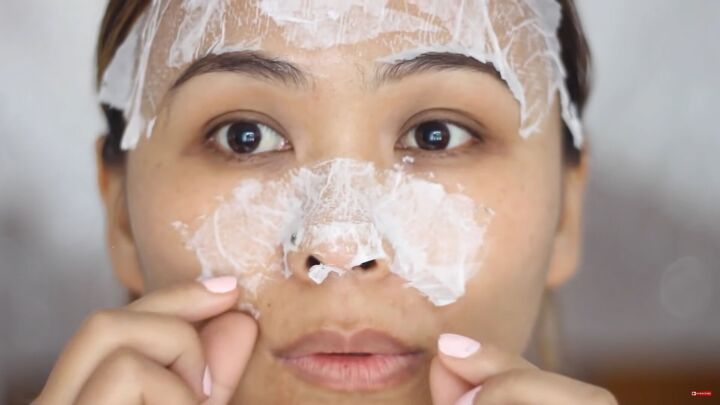
Next, tear some tissue paper and place the pieces on top of where you applied the egg whites.
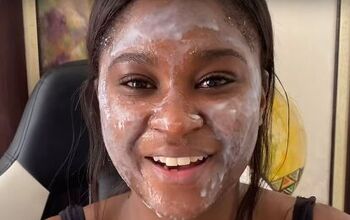
Add one more layer of egg whites. Next, add another layer of tissue and, finally, topcoat with another layer of egg whites. Repeat the process in other areas if needed.
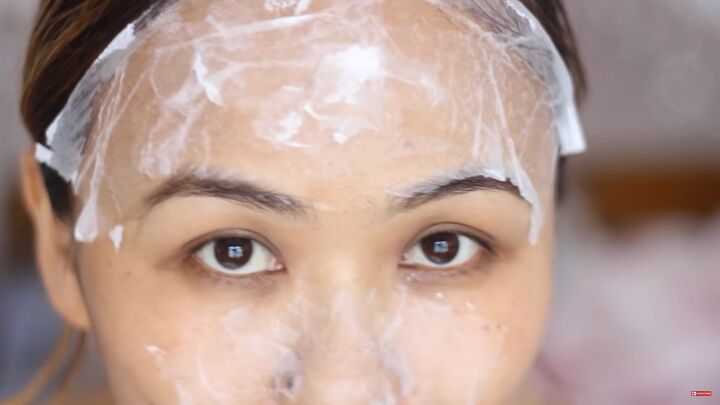
Wait for the mask completely before moving on to the next step. How do you know when it’s dry? You should not be able to feel any moisture on the areas where you applied the egg white.
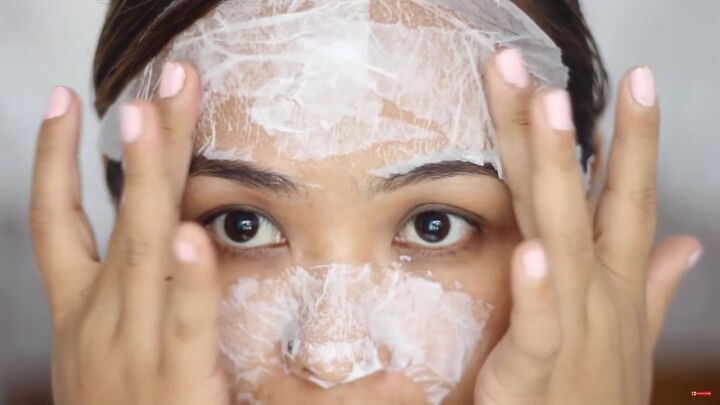
4. Peel off the face mask
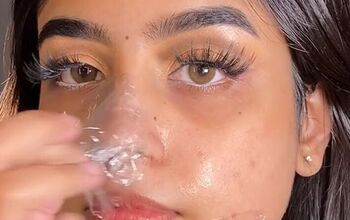
Once it’s dry, go ahead and gently peel off the face mask. Start by pulling the edges so that it’s easier to grab.
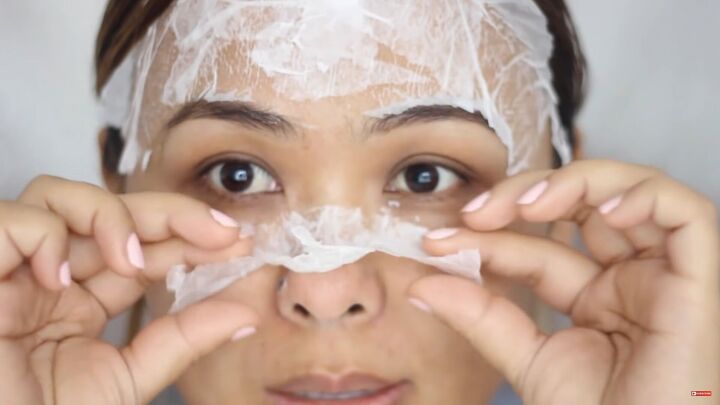
Just a heads up, this mask turns really hard, so be sure to peel everything off. It may hurt a little when peeling the face mask from your nose, but don’t worry- it’s totally worth it!
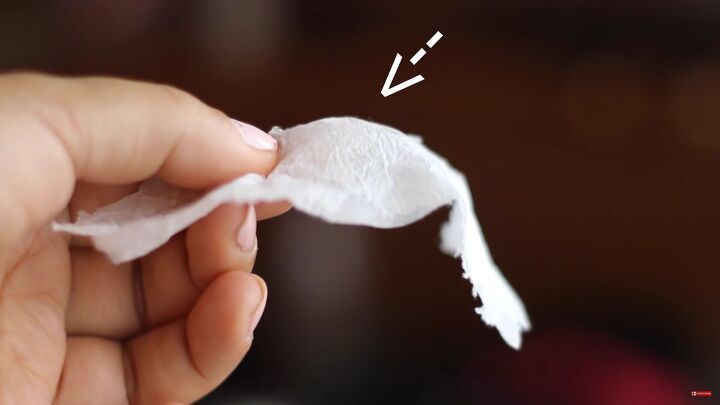
DIY peel-off face mask tutorial
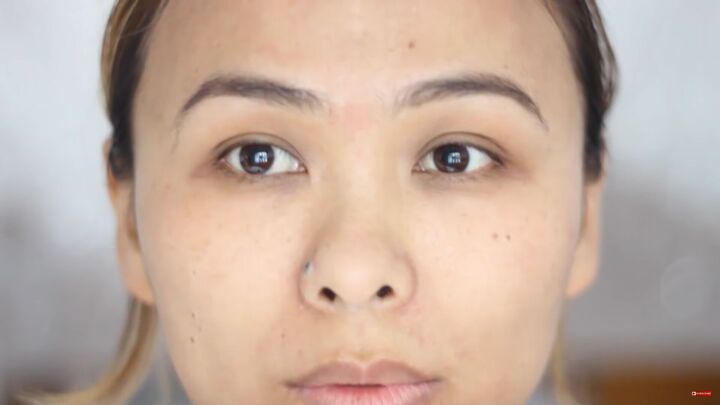
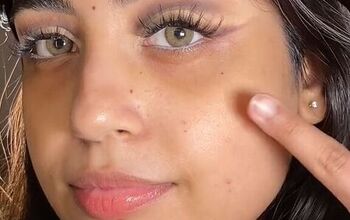
Here are the results! Can you see all that grime sticking out from the mask? Well, that’s all the blackheads and whiteheads! Now my face is feeling fresh and looks clean. I honestly feel like I've walked out of a beauty salon!
After applying the DIY blackhead peel-off mask, you may notice your skin is on the dry side, so go ahead and add some toner to your face, and finish it off with your favorite moisturizer. Let me know what you think about this easy tutorial in the comments below.
The author may collect a small share of sales from the links on this page.


Comments
Join the conversation
'Tissue' - is that tissue paper like to wrap a gift OR tissue like to blow your nose? .... thanks
Yes I will try this.