Upcycled Shirt Tutorial: How to DIY a Tote Bag From a Shirt

Here's a cool and sustainable way to upcycle an old flannel or fleece shirt into a neat tote bag.
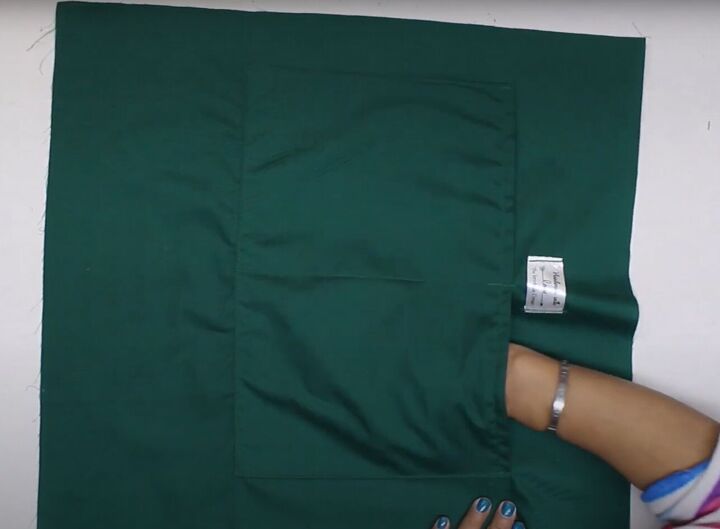
If your shirt is thinner, you can add interfacing to the base and handles. My shirt had two breast pockets that I incorporated into the design.
This DIY tote bag is a very simple and quick to make project that beginners will love.
Tools and materials:
- Large flannel or fleece shirt
- Lining fabric
- Ruler
- Measuring tape
- Fabric marker
- Pins
- Scissors
- Sewing machine
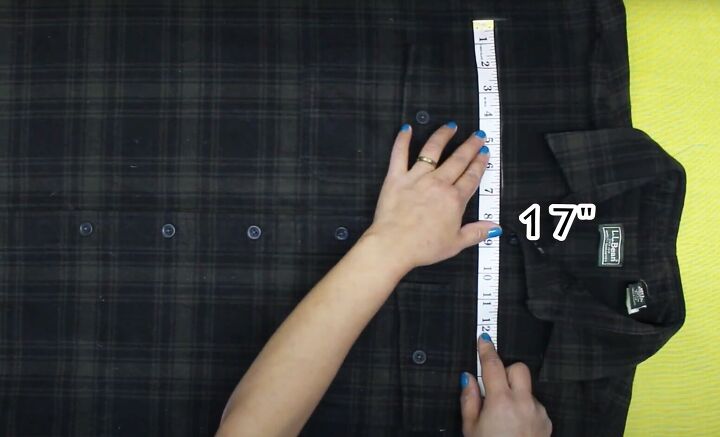
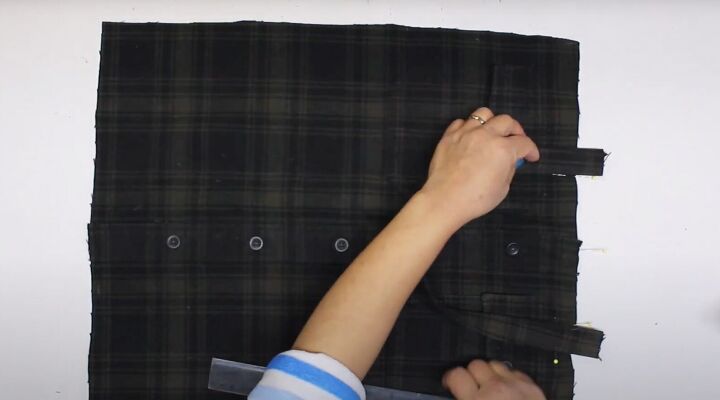
1. Cut out the bag shape
Lay the shirt flat and draw a line 17 inches wide across the center front below the collar.
Measure 19 inches down the length of the shirt from the line and cut out through both layers.
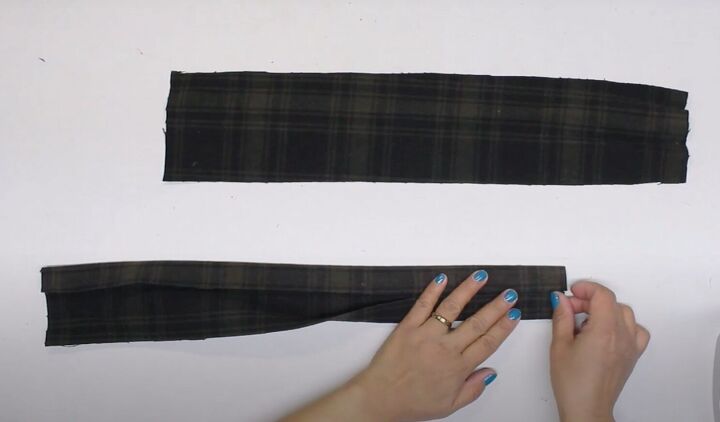
2. Make the handles
Cut two pieces, each 4 inches by 16 inches, from the sleeves.
Fold one in half lengthways with the wrong sides together, and press.
Open the handle out flat and turn both long edges to the center crease, and press.

Fold the handle in half lengthways again and topstitch the long edges.
Repeat for the other handle.
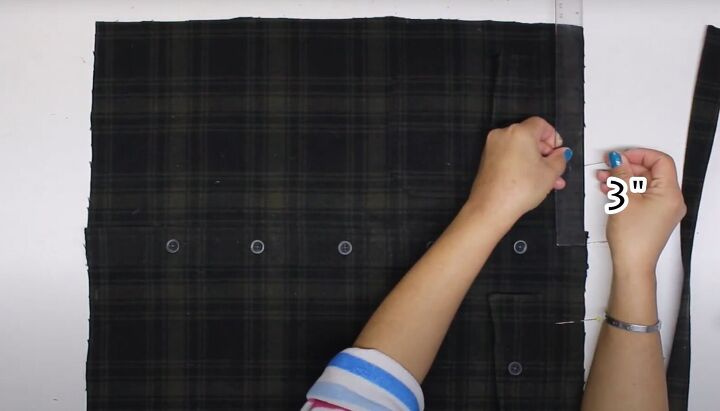
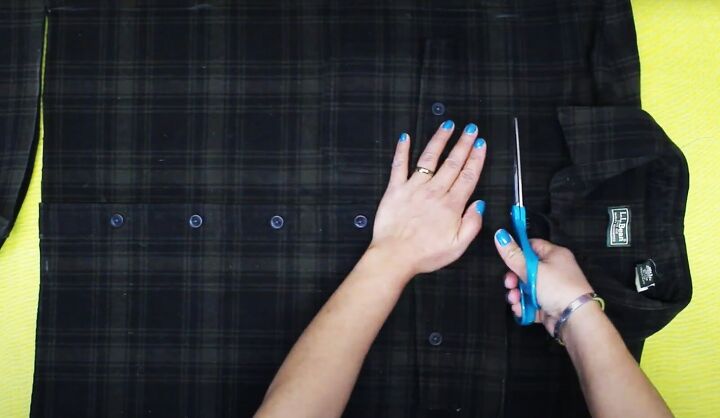
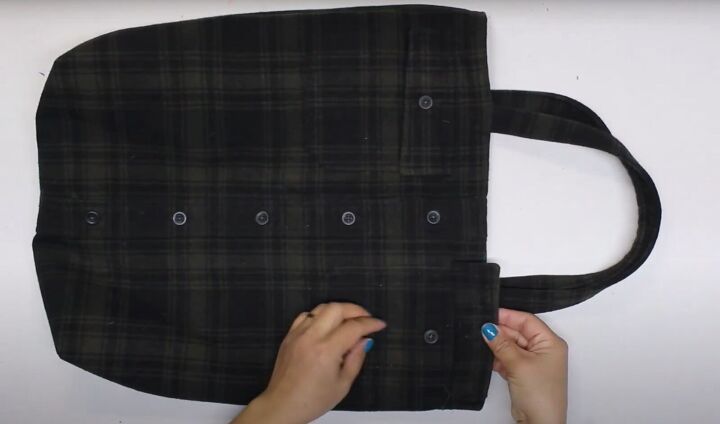
3. Attach the handles
Sew the open edge of the button placket closed.
With the right side of the front facing, mark 3 inches either side of the center front.
Pin one handle to the front at the pin marks, with the raw edges extending 1 inch above the top of the bag. Sew in place.
Pin and sew the other handle to the right side of the back in the same way.
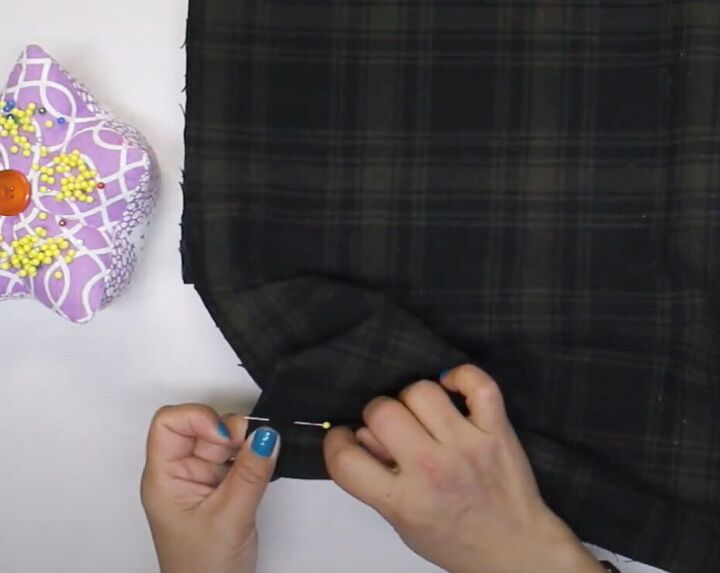
Place the back over the front with the right sides together, sandwiching the handles between them.
Pin the side seams together.
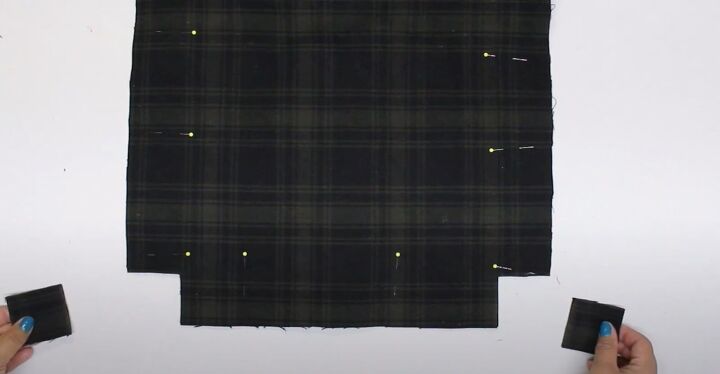
4. Make the gusset
Cut out a 2 inch square from the bottom corners of the bag.
Sew the side and bottom seams.
Pin and sew the sides of the cut-outs together across the side and bottom seams.
Turn the bag right side out and push out the bottom corners.
5. Make the inner pocket
Cut a rectangle 9 inches wide by 14 inches long from the lining fabric.
Fold the pocket in half widthways with the right sides together.
Sew the top and side edges, leaving an opening in the top edge.
Snip the corners and turn the pocket right side out.
With the opening at the bottom, fold the pocket in half lengthways and press.
Topstitch along the top edge.
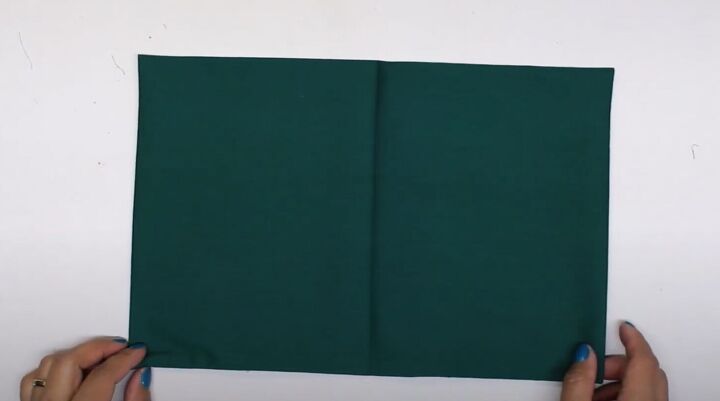
6. Lining
Cut two rectangles 17 inches wide by 19 inches long from the lining fabric.
Mark the center of one 17 inch side.
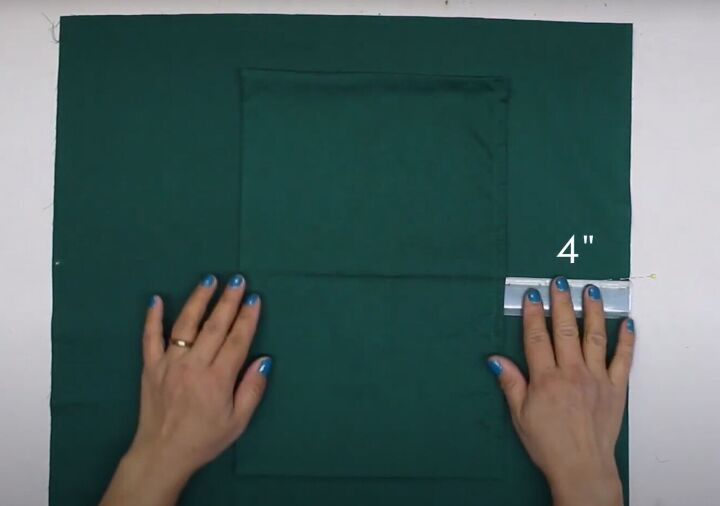
Place the center of the top edge of the pocket in line with the mark and 4 inches from the edge.
Sew the pocket to the lining along the side and lower edges and up the center crease.
Place the lining pieces together with the right sides facing.
Cut a 2 inch square from the lower edges.
Assemble the lining in the same way as the outer bag, leaving an opening in the bottom seam.
7. Attach the lining
Place the bag inside the lining, with the right sides together.
Matching the side seams, sew together around the top edge.
Pull the bag through the opening in the lining and sew the opening closed.
Tuck the lining inside the bag and topstitch two rows around the top edge.
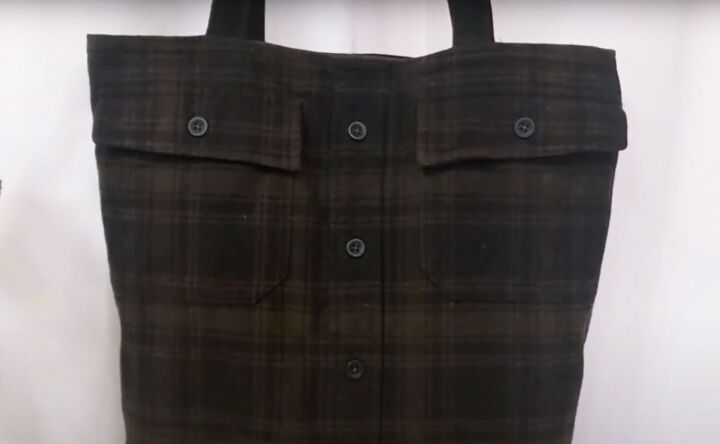
DIY tote bag
And your super cool, eco-friendly DIY tote is finished!
I especially love the outer pockets, perfect for keys or anything you need to get to quickly.
I'd love to know what you think of it. Please let me know in the comments.
Next, check out my post on How to DIY a Super Easy Head Wrap.
The author may collect a small share of sales from the links on this page.


Comments
Join the conversation
Adorable and clever!