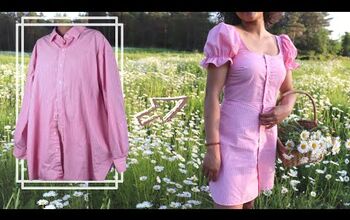
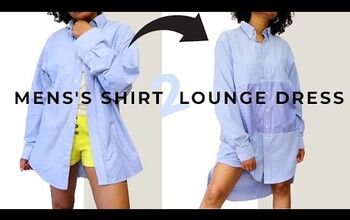
Upcycle Tutorial: How to Make a Dungaree Dress From a Men's Shirt

Are you looking for a cute new dress and fun project but don’t want to spend anything? Well, the tutorial I am sharing today is just for you.
Unused men’s shirts are always lying somewhere around the house. These shirts are so versatile if you are into upcycled clothing. So, if you are wondering what to do with these old shirts, I am going to show you that today. We are going to do a little men’s shirt refashion and create an adorable dungaree dress.
Let’s begin!
Tools and materials:
- Men’s shirt
- Chalk
- Scissors
- Safety pin
- Pins
- Measuring tape
- Sewing machine

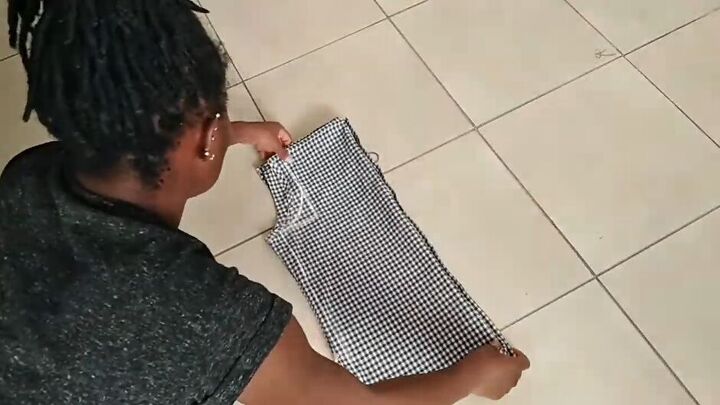
This is the shirt I will be modifying.
We are going to turn it into this!
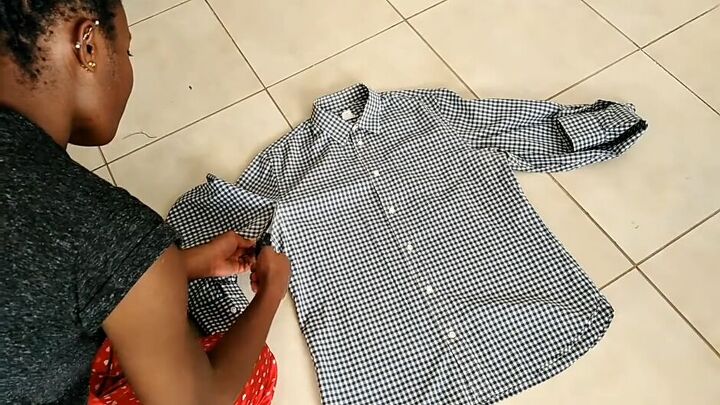
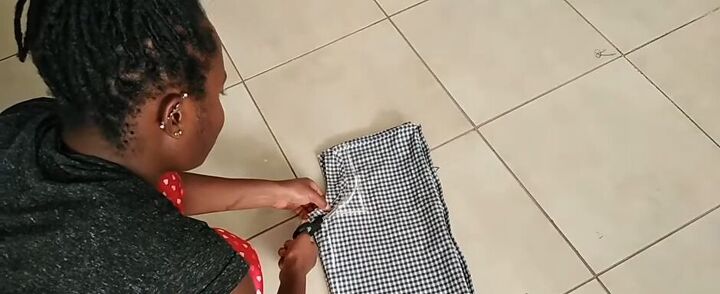
1. Cut off the sleeves
Use a sharp pair of scissors to cut the sleeves off both sides of the shirt.
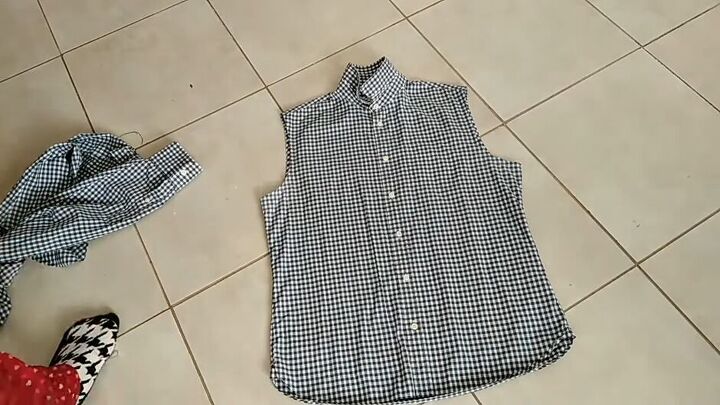
This is what your shirt will look like without the sleeves.
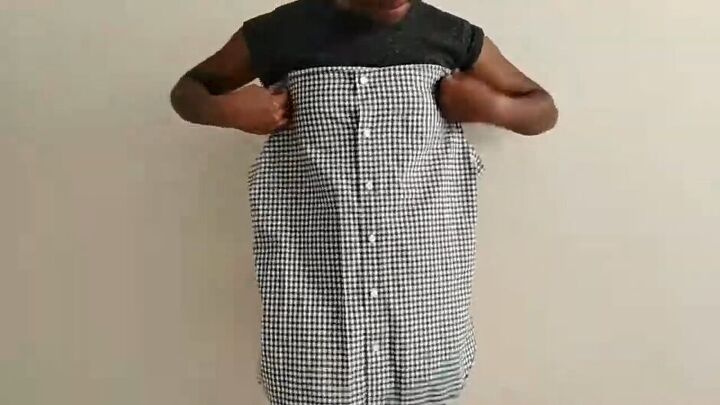
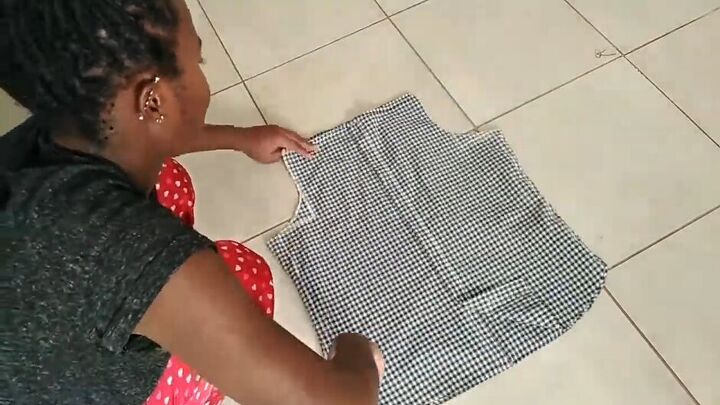
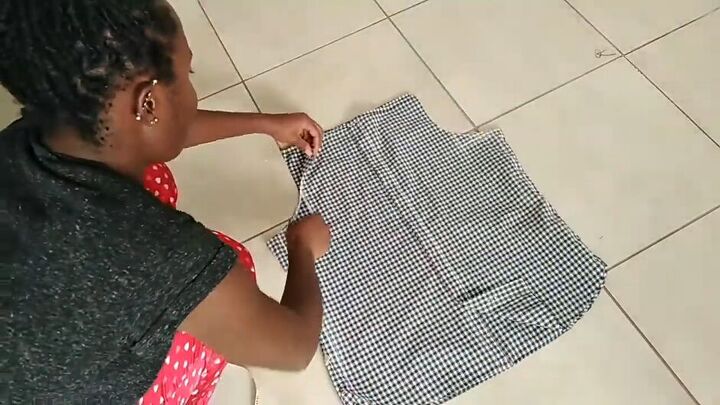
2. Remove the top part of the shirt
Using chalk draw a line running across the top part of the shirt. I drew the line just under the top button.
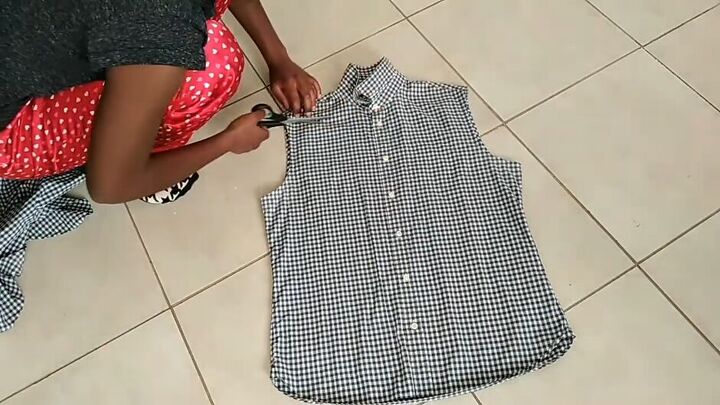
Cut along the line to remove the top part of the shirt.
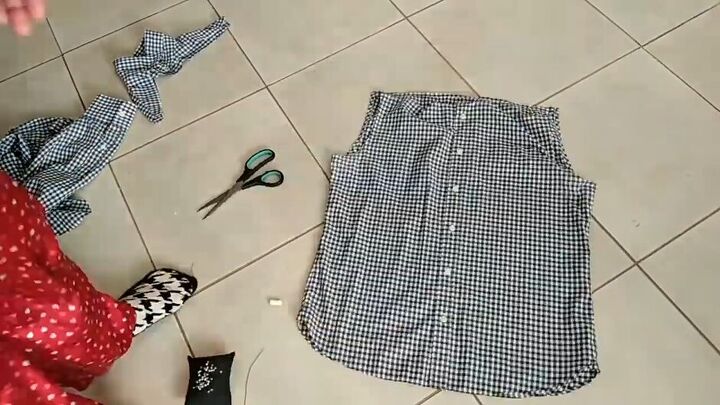
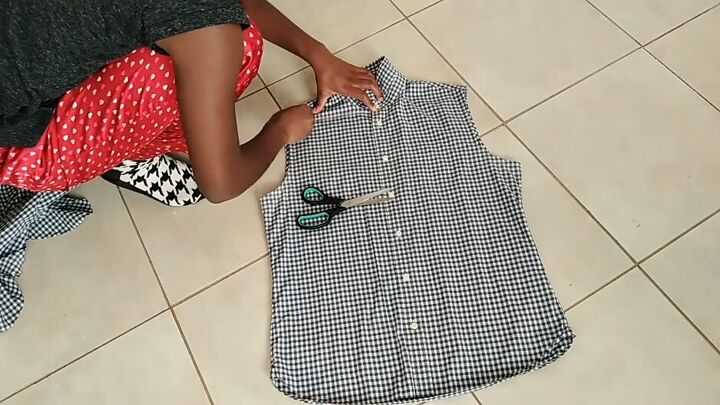
You should now have a shirt that looks like this.
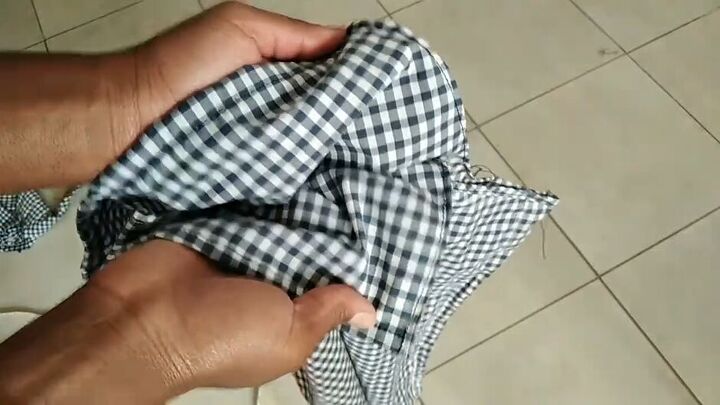
3. Hem the raw edges
Fold and pin down the raw edges of the part you just cut.
Now sew the edges down to create a clean line and prevent the material from fraying.
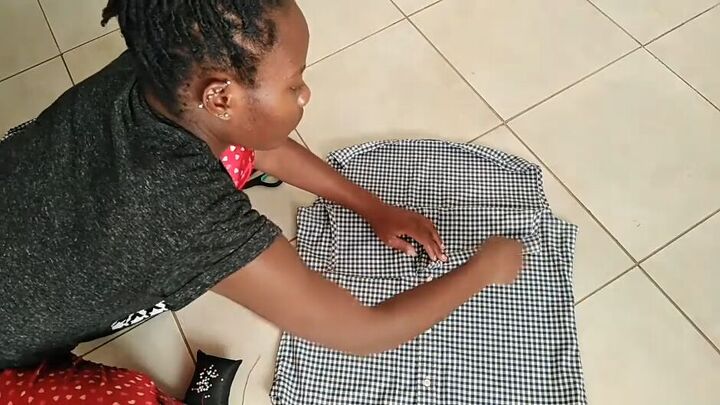
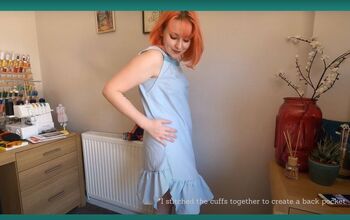
4. Hem the length
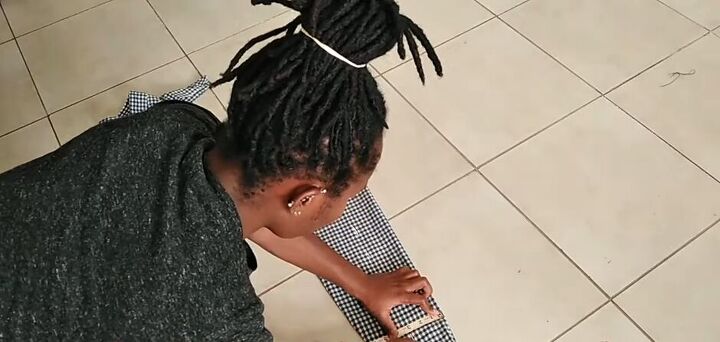
Decide the length you would like the dress to be then pin it down and sew to create a neat hem for the bottom of the overall dress.
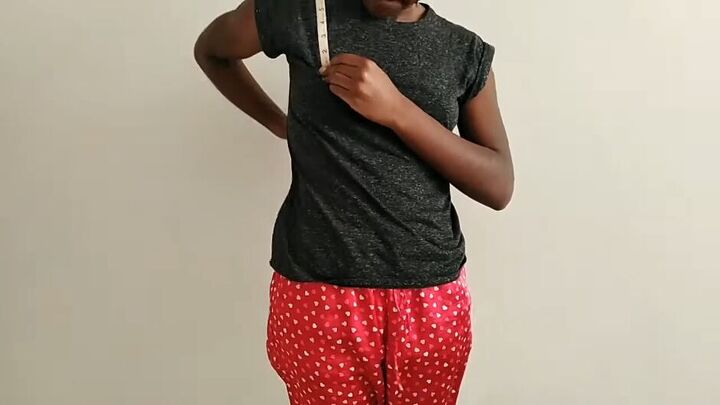
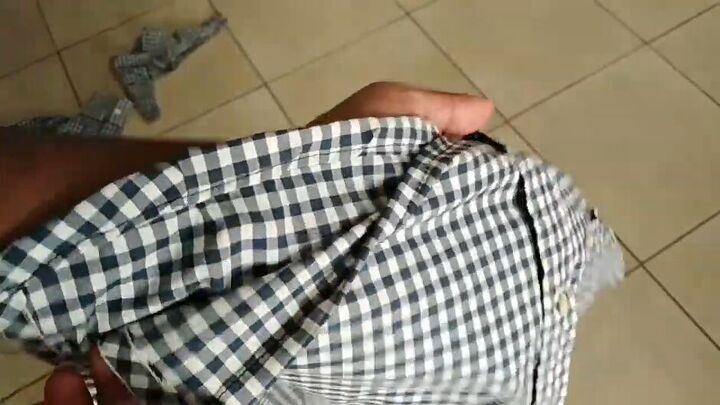
5. Make straps
Use a tape measure to determine what size your straps should be.
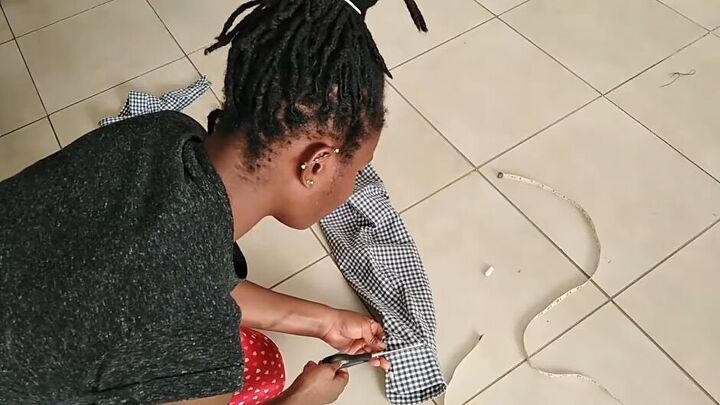
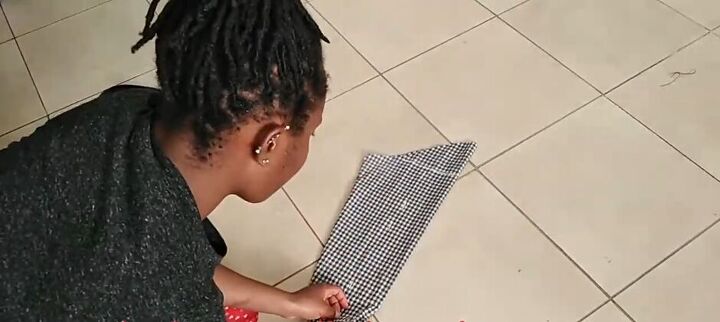
You are going to use the sleeves to make straps. Start by cutting off the cuff.
Measure the width you need for your straps, for me it was 3 inches.
Ensure that you cut a straight line by marking all the way down the sleeve.
The length of the strap will be dependent on the measurement you made over your shoulders earlier.
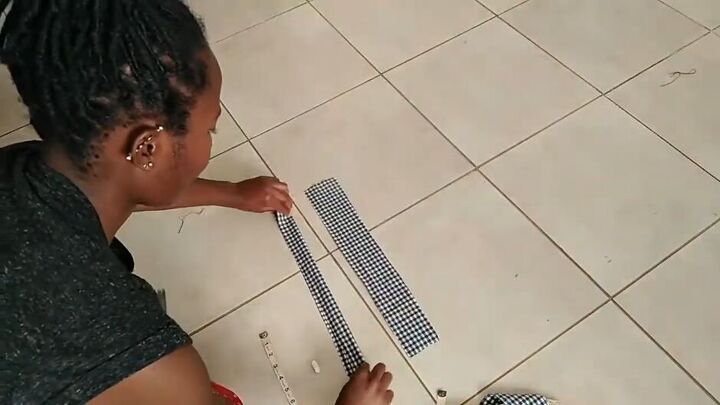
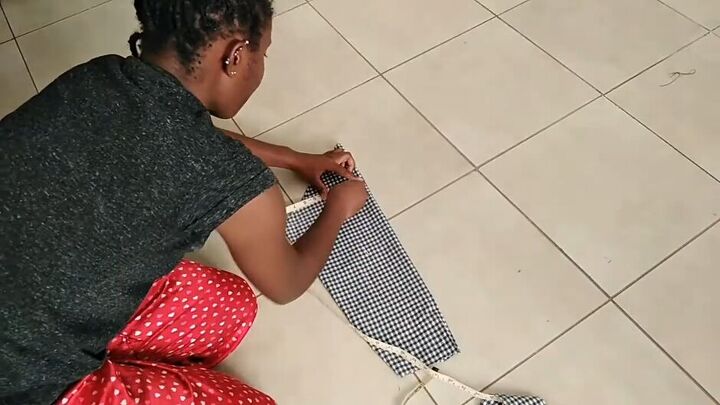
Cut along the line so you end up with two pieces of fabric, one for each strap. Fold each strap in half lengthwise with right sides facing. Pin in place.
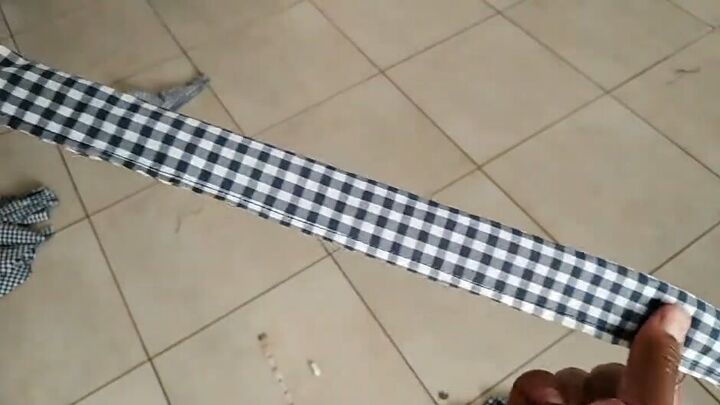
Sew down the length of the open side.
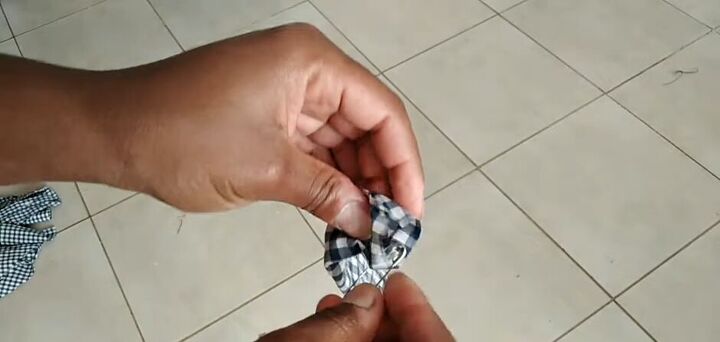
Now we need to turn this strap right side up. An easy way to do this is with a safety pin.
All you do is attach the safety pin to one of the open short sides.
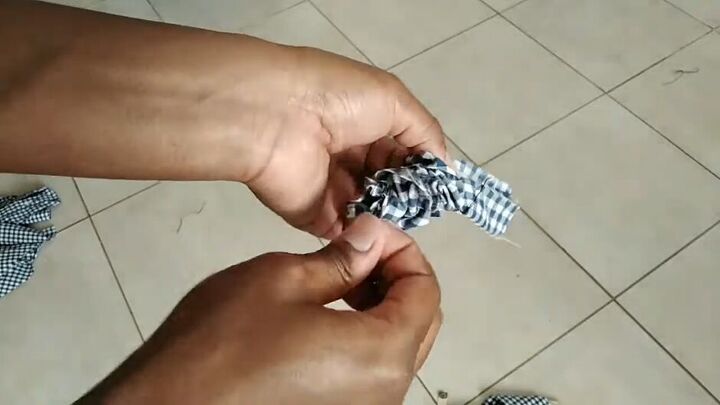
Scrunch the strap down over the safety pin.
And pull the safety pin through the other open side.
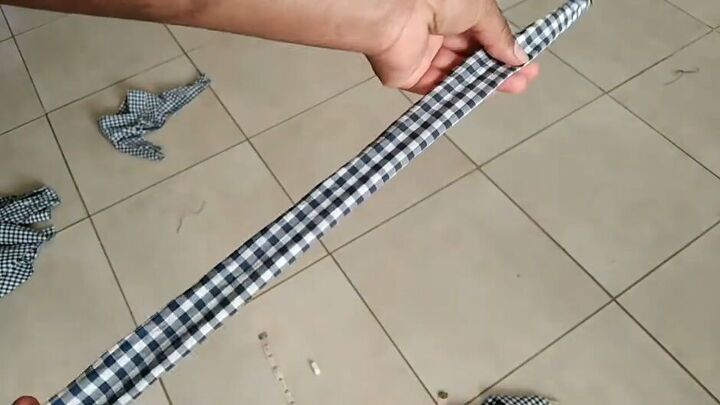
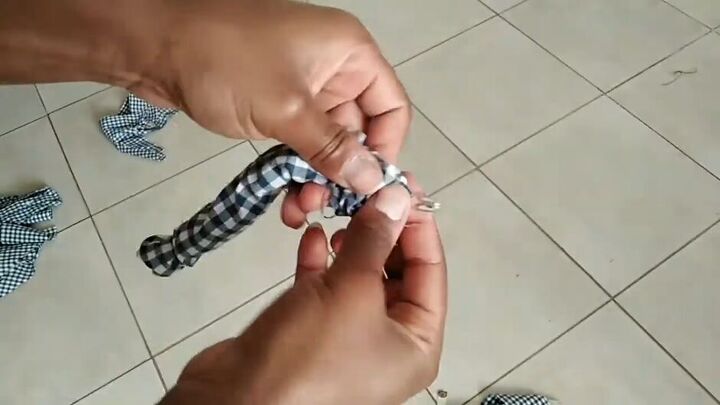
Now iron the straps flat.
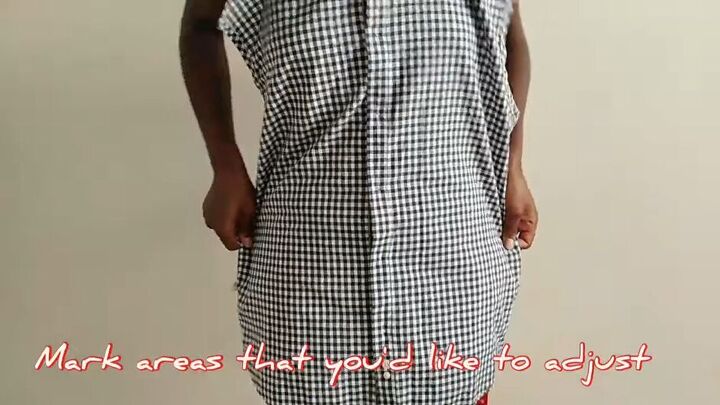
6. Make adjustments
Try the dress on inside out.
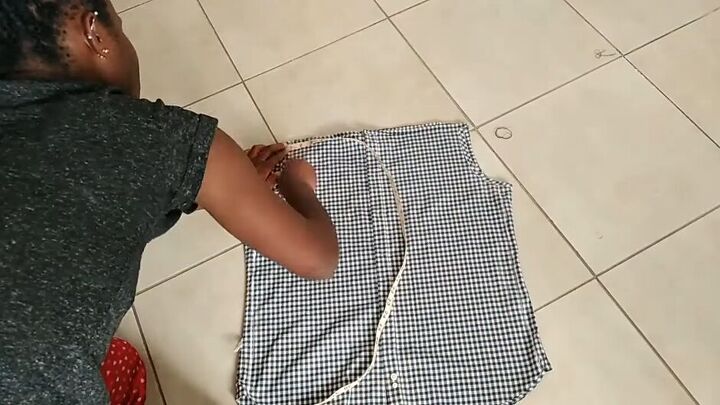
Using chalk, mark areas of the dress you would like to adjust. I personally adjusted the sides of the dress and arms.
Here, I am making marks down the sides of the dress. I want it to come in a bit by the waist and then go out in an A-line design.
I also made marks around the arms where I thought it needed to be taken in.
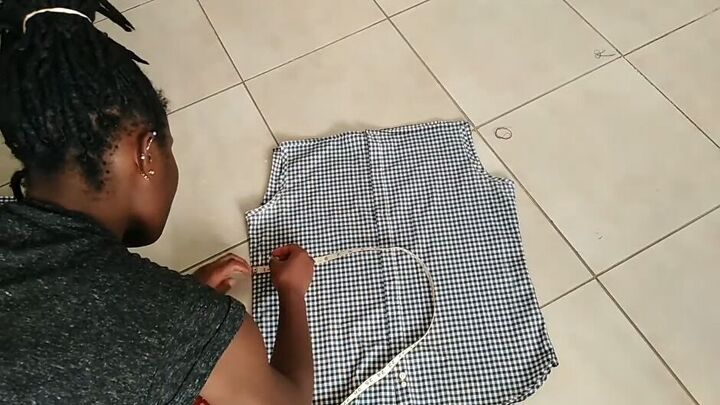
Now lay your dress on a flat surface and connect the lines you made.
I measured each side from the outer edge to the marks I plotted. This way I can make sure both sides of the dress are equal when I sew.
The excess fabric on the sides of the dress can be cut once the arms are adjusted.
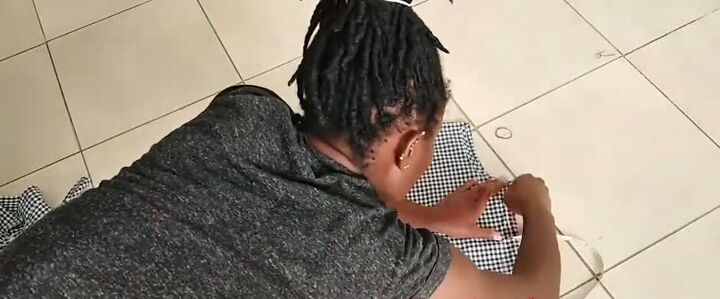
For the adjustments on the arms, measure the mark you made while the dress was on.
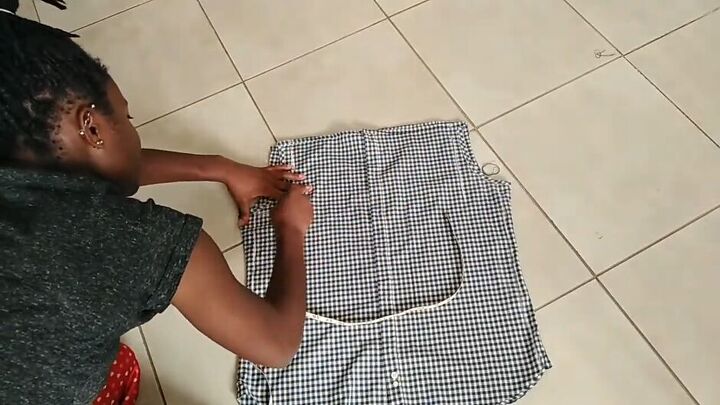
Using this mark as a starting point, draw a straight line down each side of the dress, ending at the same level as the underarm.
Now connect this line to the underarm by drawing a straight line between the two points.
From here you need to draw an arc shape between the two lines.
Make sure to repeat this on the other arm.
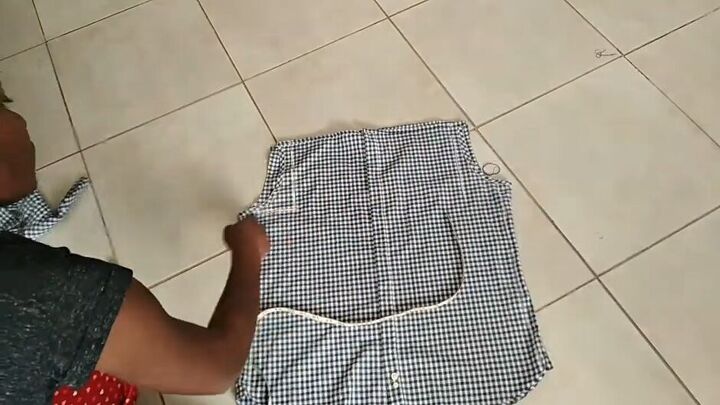
Fold the shirt in half lengthwise.
Cut around the marked area to remove the excess fabric.
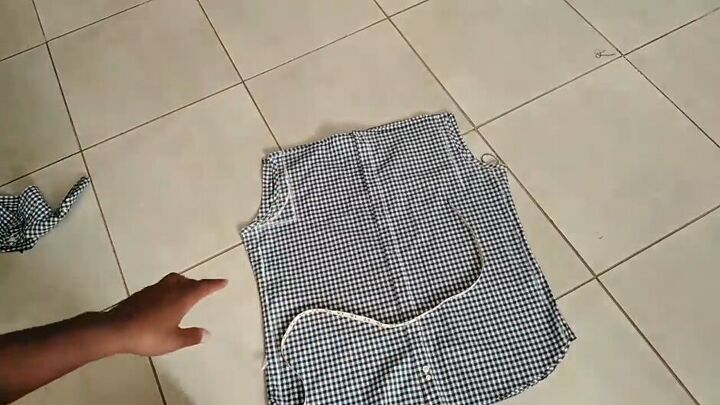
Your shirt will look like this.
Now it’s time to sew these adjusted areas.
For the sides of the dress, you will first need to cut the excess fabric off using the lines you plotted.
When sewing the sides, you are attaching the front and back of the dress together.
When sewing the arms, you are hemming the edges.
Turn the dress right side out.
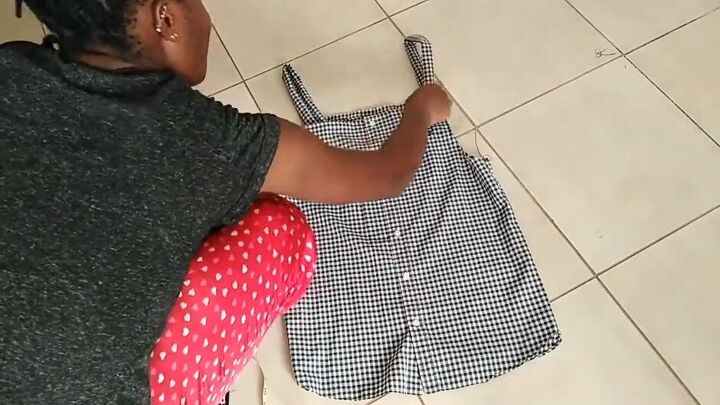
Pin the straps onto the inside of the dress and sew them on.
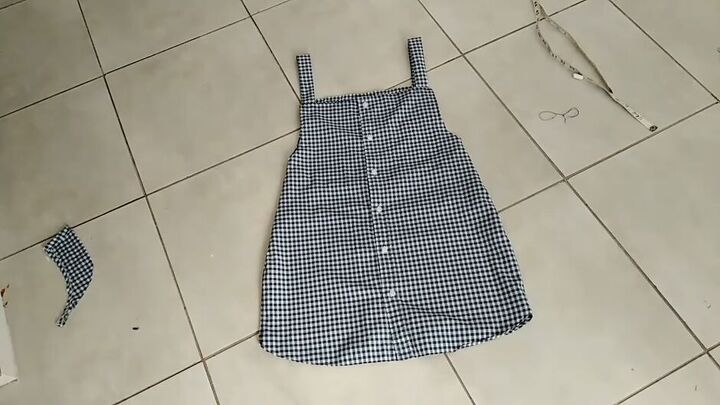
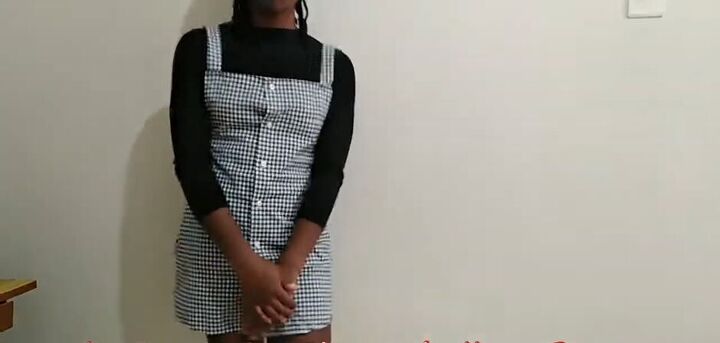
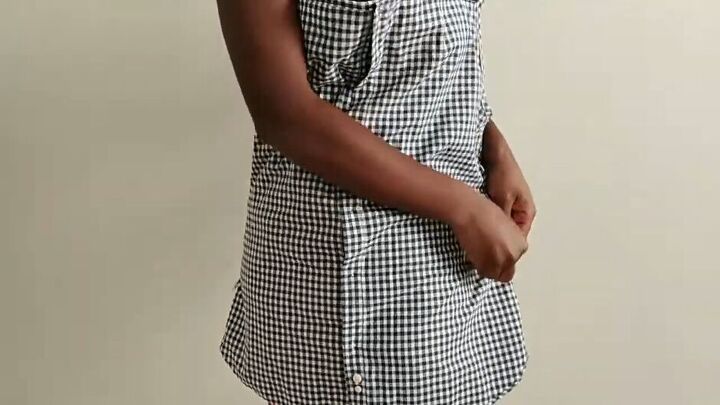
DIY dress from men’s shirt
Here is the final dress. Let’s go see what it looks like on...
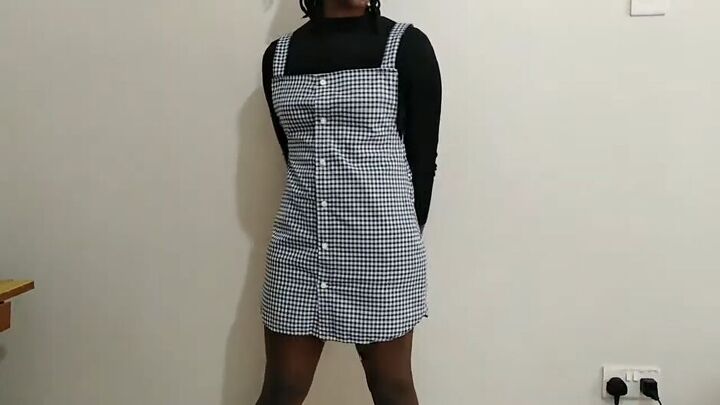
Here is the front of the overall dress.
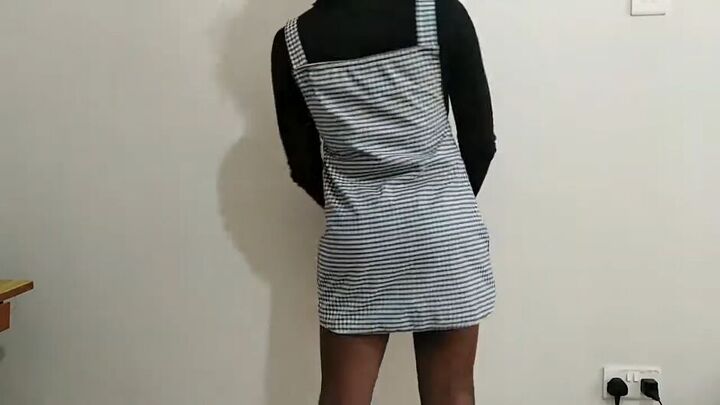
And here is the back.
I think it turned out gorgeous! You can wear it with a short or long top with various necklines. It was honestly so much fun and so easy to make, not to mention cheap.
I’ll be wearing this out today! Let me know what you think in the comments. See you again soon!
The author may collect a small share of sales from the links on this page.


Comments
Join the conversation
So cute! I will definitely be trying this!
AWESOME!! Thank you for sharing….and especially thank you for your easy to understand instructions!