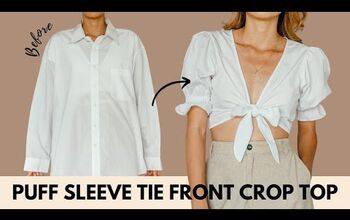
Make an Enchanting Puff Sleeve Dress From an Old Men’s Shirt

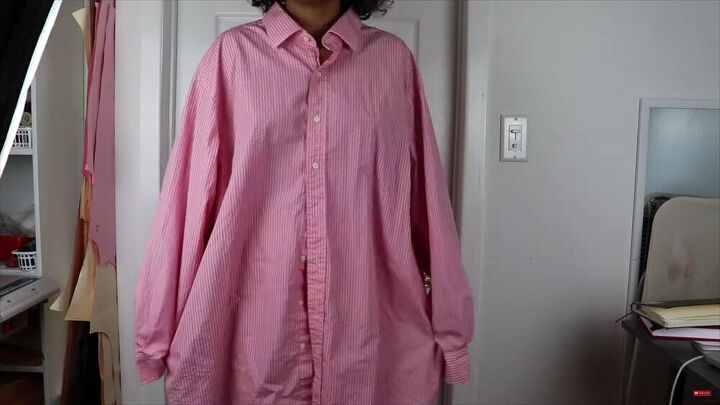
Hey everyone! I'm going to show you how to make a puff sleeve dress. This enchanting puff sleeve dress is like no other; it reminds me of a Disney Princess. It's absolutely gorgeous! The best part is I did this easy puff sleeve dress from a men's shirt that I found at a vintage shop. Ok, enough with the intro, let's just get straight to it so you too can feel enchanted and beautiful!
Tools and materials:
- Old, baggy men’s shirt
- Puff sleeve dress pattern- get it here
- Chalk
- Elastic
- Thread
- Ruler
- Sewing machine
- Bias tape

Print the pattern
Here's a link to the pattern. I also show you from 0:37 seconds how I made the pattern myself (it's pretty cool to watch).
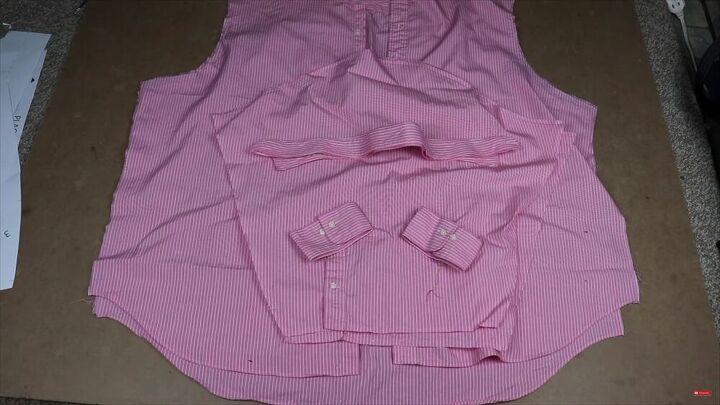
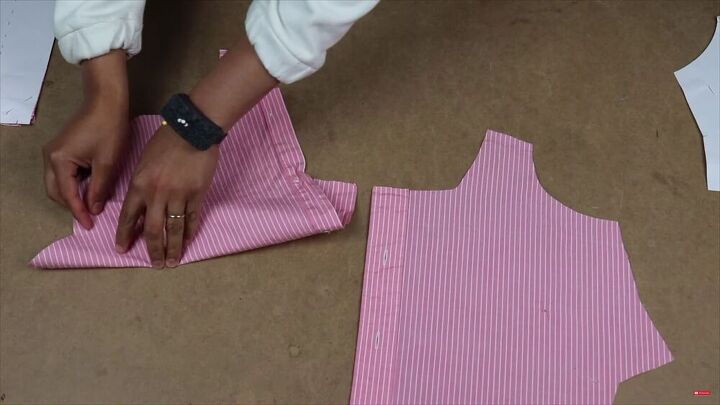
Seam rip the shirt
Ok, so to maximize the fabric on the men's shirt, seam rip the sides and the sleeves. Next, press the seams, so it lays nice and flat.
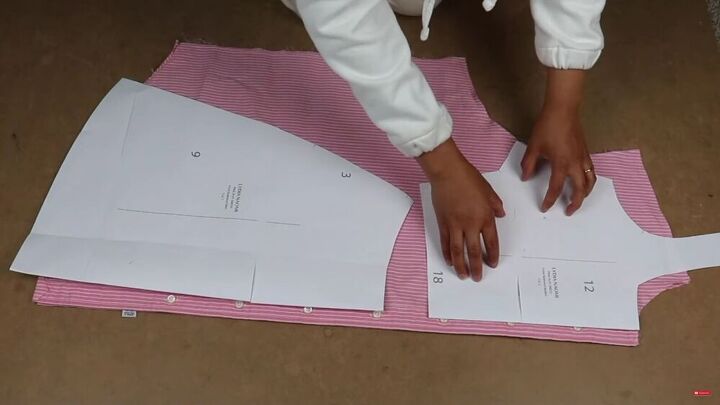
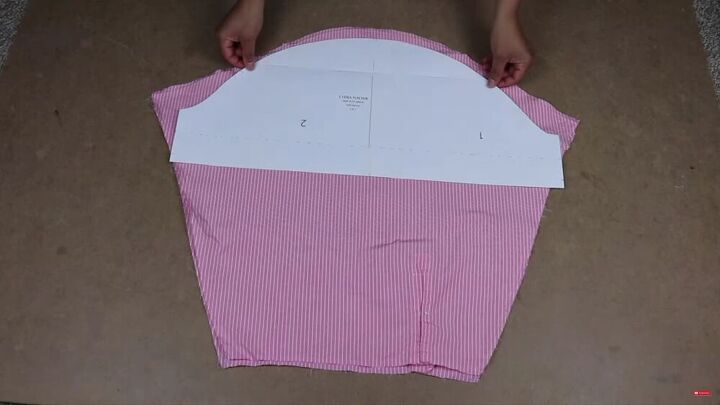
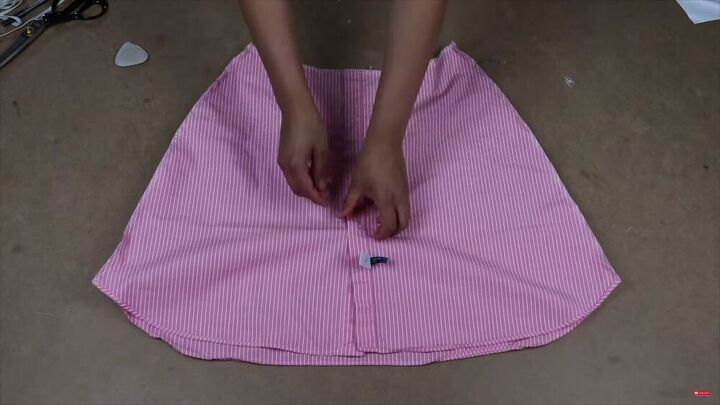
Cut the pattern
Layer the two front sides of the shirt and place the center front lines of the front bodice and skirt on the center. Fold the pattern at the dotted centerline. For me, the front bodice shoulder didn't fit on this piece completely, so I will add a piece of the back yoke to finish it off later.
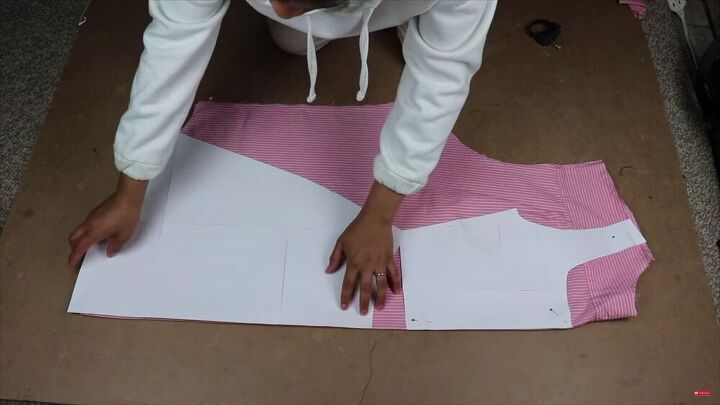
Now, fold the back bodice in half and place the back bodice and skirt on the fold, as shown.
My sleeve just fit the shirt sleeve at the top, so I laid it and cut it out accordingly.
TIP-
Because I was restricted with fabric, I left out the pockets. If the same occurs to you, you can skip the pocket part altogether. If you still have fabric, then go ahead and cut out the pocket pieces.
Make the darts
Starting with the front bodice pieces, make the darts as shown in my puff sleeve dress tutorial. Skip to 4:31 minutes to see the process.
TIP-
Don't end the dart at the drill mark; end it ½ an inch beyond that.
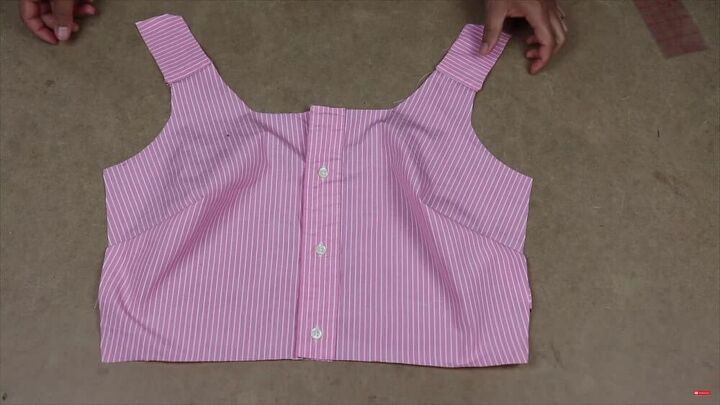
Assemble the bodice
As mentioned, the top of the front bodice is missing since the whole pattern didn't fit. So, I took a piece from the back yoke and placed it on the front, and sew, accordingly.
TIP-
Serge the raw edges before piecing everything together.
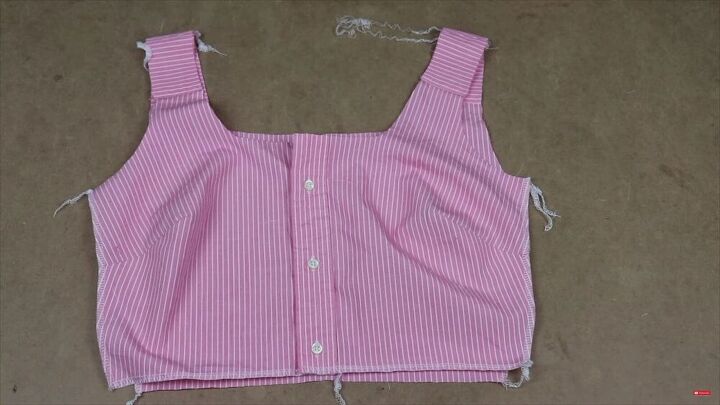
Iron the darts sew the front and back bodice pieces at the shoulders.
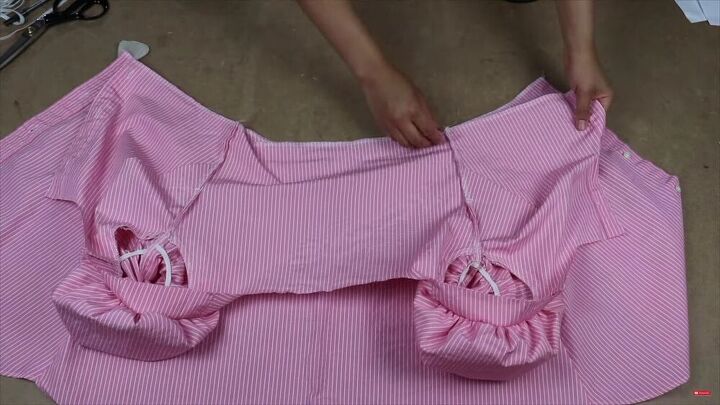
Assemble the sleeves
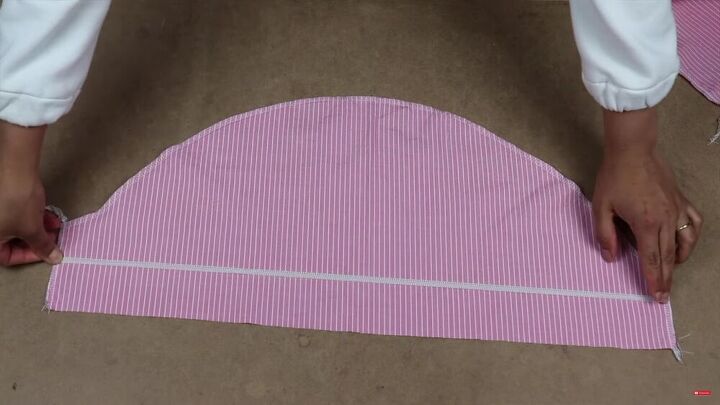
For the sleeves, draw a line to connect your notches that are 2 inches from the hem. Then, sew your bicep length elastic along this line.
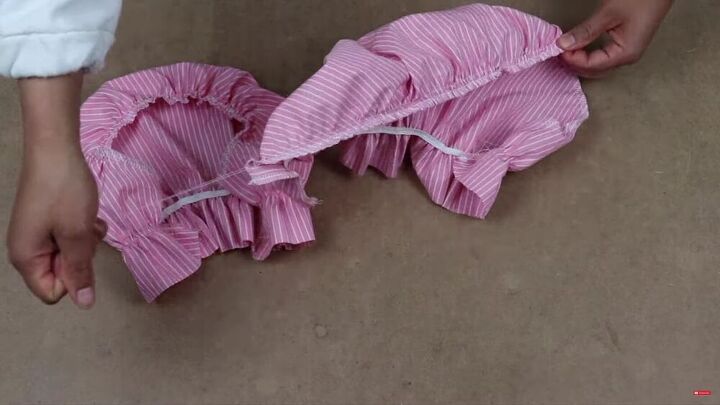
Sew two rows of large stitching and gather the sleeve head.
Attach the gathered sleeve head to the armhole of your puff sleeve dress, matching the single front notch to the front and the double back notch to the back.
TIP-
The notches can get lost in the gathers, so mark them before with a fabric marker or chalk.
Sew the sleeve to the armhole, then the underarm and side seams. Also, hem the sleeve with a double fold.
Assemble the puff sleeve dress
Now, it's time to sew the skirts' side seams. If you have pockets, now is the time to assemble the first.
Attach the bodice to the skirt waist and sew all around.
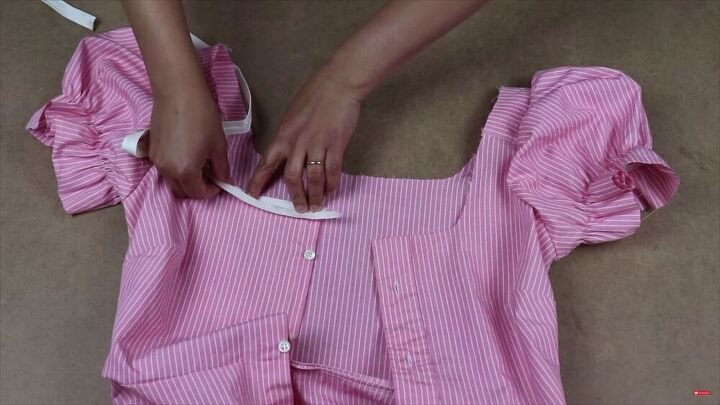
We're almost done! It's time to finish off the neckline with bias tape. Open it up and sew a quarter-inch around the neckline, extending the piece past the edge of the front.
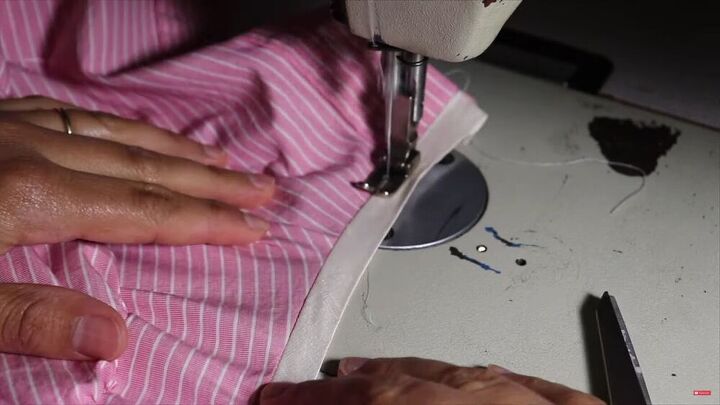
Now, understitch the bias tape to the seam allowance.

Finally, edgestitch the entire bias tape to the bodice, folding under the ends to finish at the front.
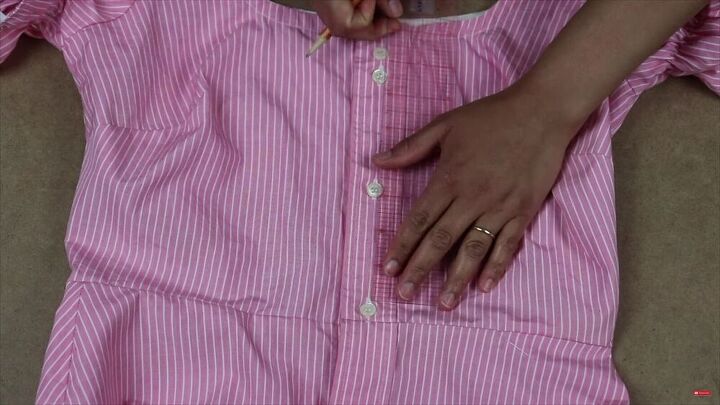
Add more buttons
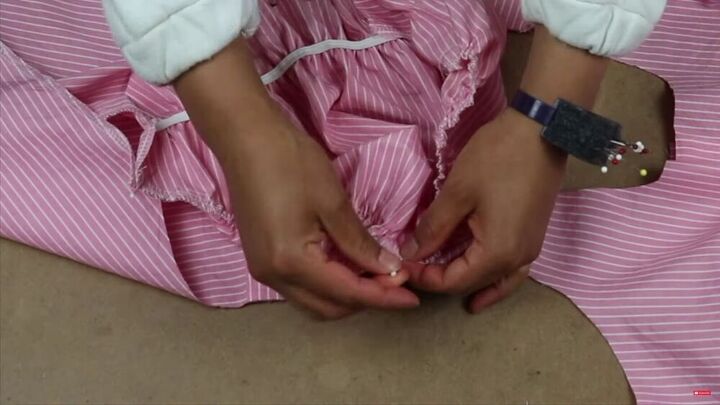
The buttons on the shirt are a little too far apart, so It's a good idea to add extra buttonholes and buttons. I made the top part horizontal, and the rest I placed in between the existing buttons, vertically at equal distance.
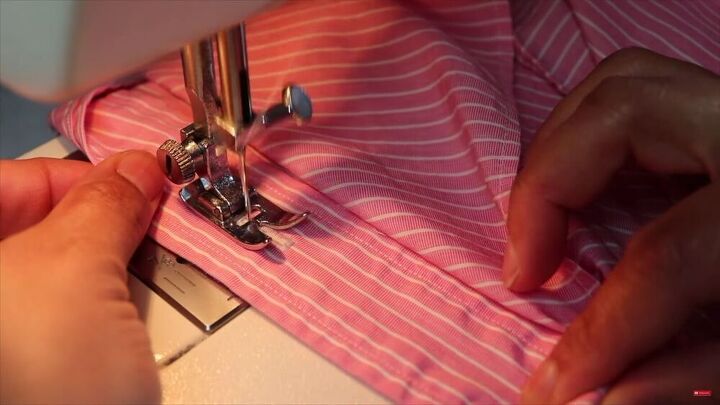
Use your buttonhole setting on your machine to make the buttonholes.

Use your seam ripper to open the holes and manually sew the buttons on the adjacent panel.
TIP-
Make the buttonholes ⅛ -¼ inch bigger than the button's diameter.
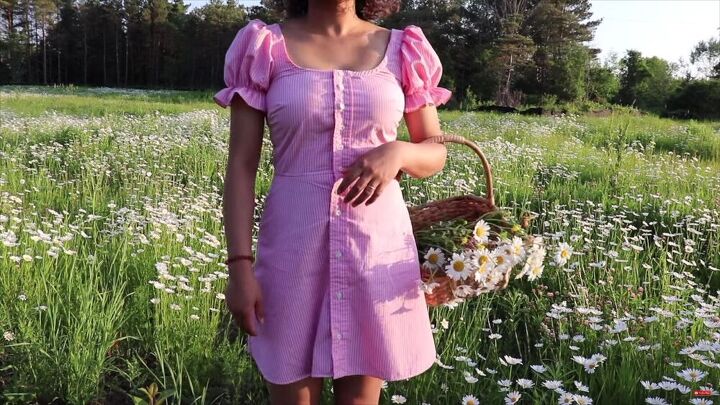
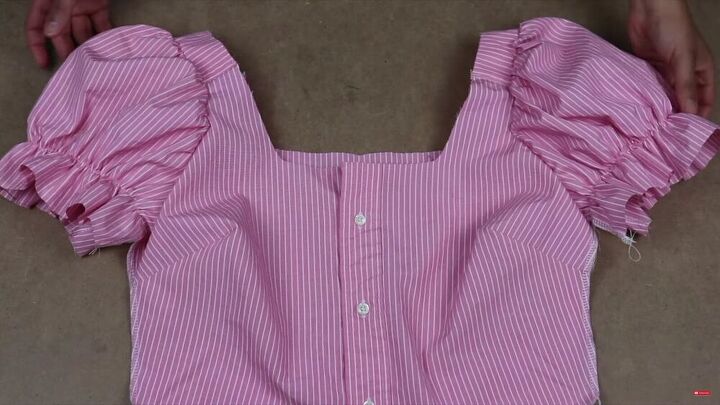
Yes! You have completed your upcycled, easy puff sleeve dress! I told you this would look enchanting. I love how this turned out, and the pattern is straightforward to follow, too. Good luck and have fun making this, and it's really a fantastic DIY sewing project.
The author may collect a small share of sales from the links on this page.


Comments
Join the conversation
Now this is pure genious…you’d never guess that cute stylish dress was once a big ole mans shirt..Good job and it looks cute on you..
I agree, you are a GENIUS! This may be above my skillset & patience level but I'm glad nonetheless you posted this amazing tutorial. Kudos and cheers to you!