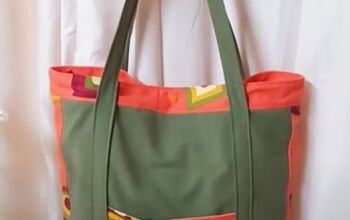
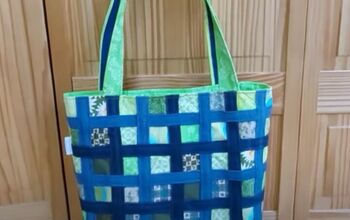
Thrift Flip Tutorial: Upcycled Pants to Cute Tote Bag

Hey everyone! In this tutorial, I’m going to show you how to upcycle pants to create a DIY tote bag.
Let’s get started.
Tools and materials:
- 3 pairs of pants
- Scissors
- Pins/clips
- Sewing machine
- Lace ribbon
- Snap buttons
- Interfacing
- Fabric for lining
- Fabric for lining pocket
- Grosgrain
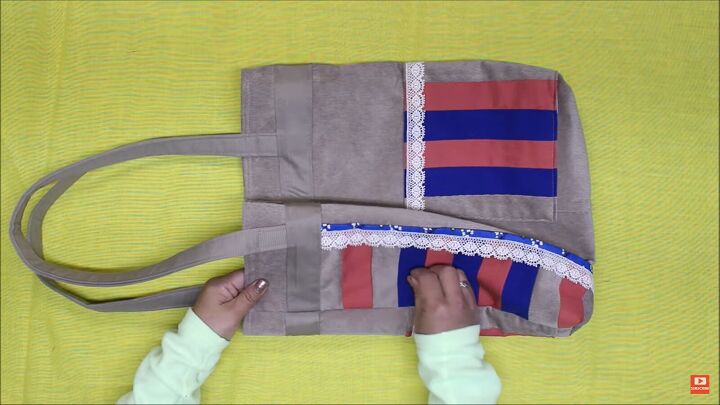
1. DIY the bag
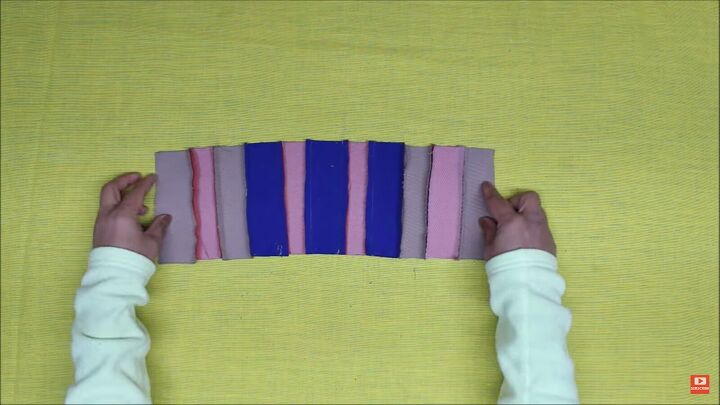
Cut 11 2-by-5 inches of fabric from each pant. Sew them in a row by the 5-inch sides.
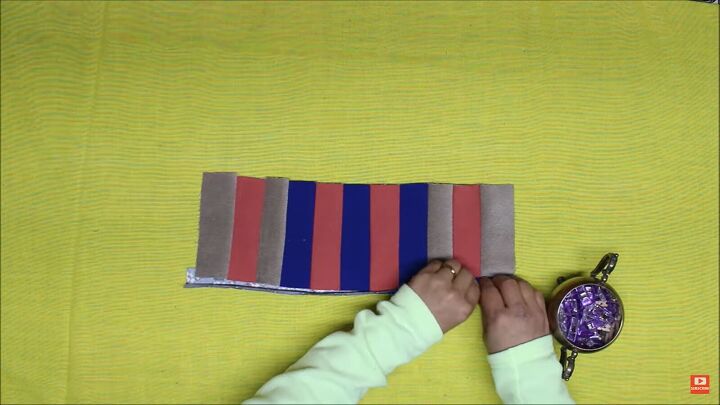
Fold a 1.5-inch grosgrain ribbon in half lengthwise. Tuck in the bottom sewed strips, pin, and sew.
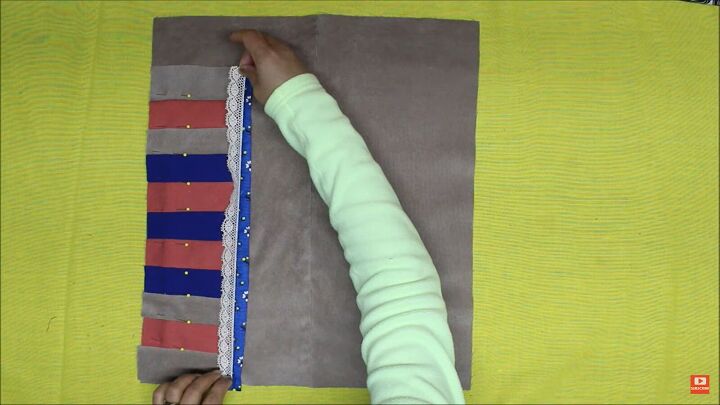
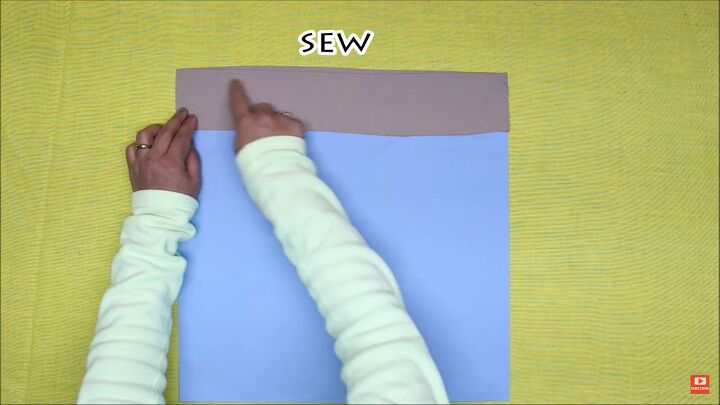
For the bag, cut a 16 by 18-inch rectangle of fabric from a pant leg.
Place your patchwork strip on the left corner of the bag with the grosgrain facing the center.
Add a lace ribbon along the edge of the grosgrain.
Sew the ribbon and the patchwork strip to the bag.
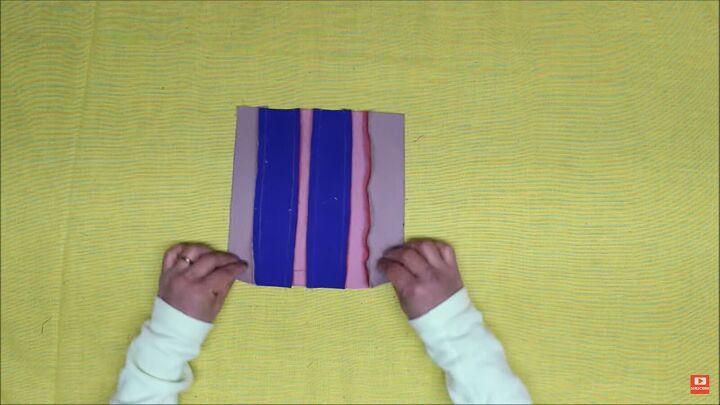
Cut 6 pieces of all three pants in 2 by 8-inch strips. Sew them together and iron down the seams.
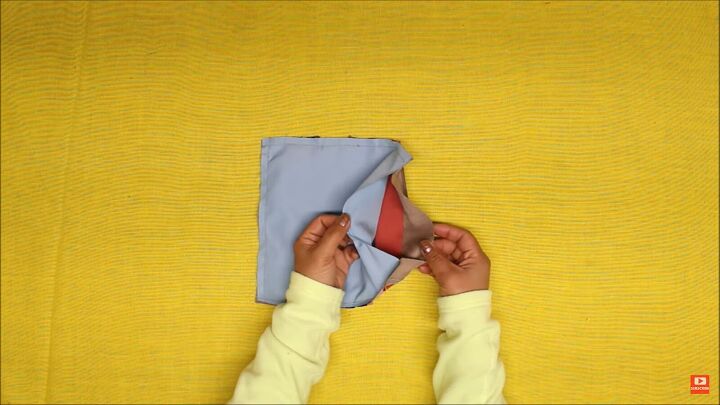
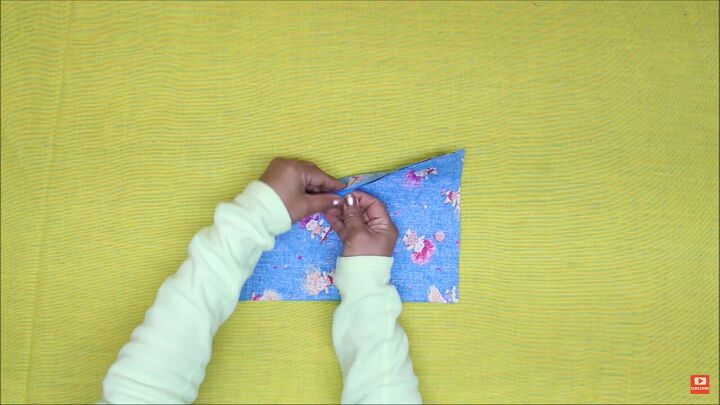
Take an 8-by-8.5-inch piece of fabric and place it on the new patchwork strip with right sides facing in.
Sew them together on 3 sides, leaving one side open. Snip off the edges of the bottom corners.
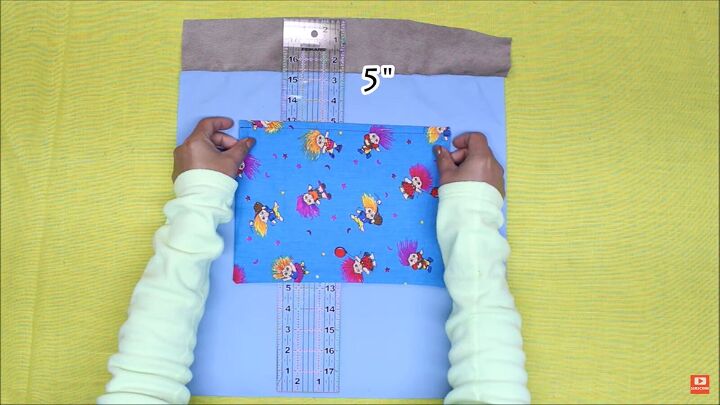
Turn it right side out and iron it. Sew a lace ribbon along one side.
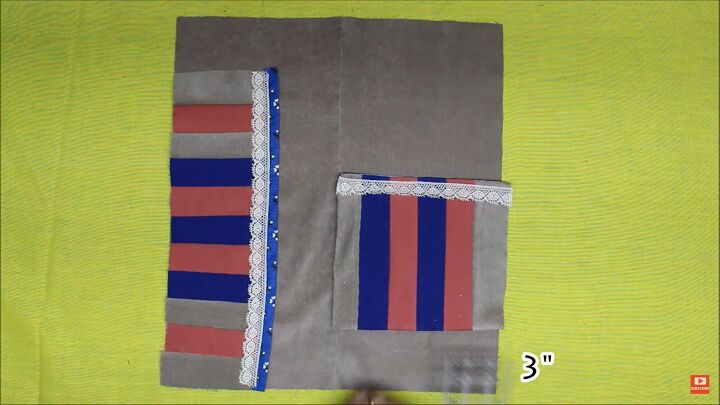
Place it on the fabric 3 inches up from the bottom of the right corner of the bag. Sew on the bottom and inner edges.
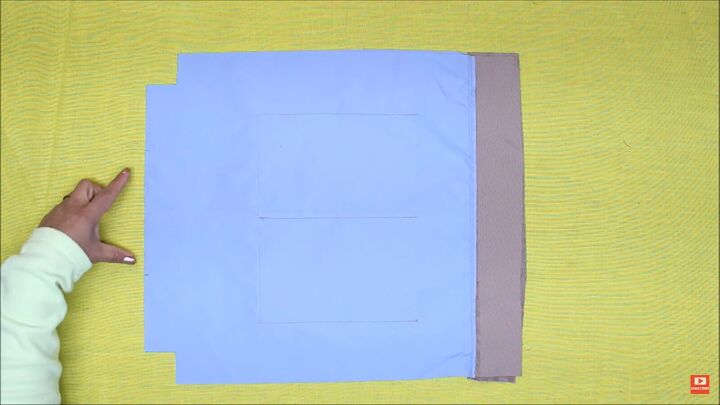
Turn the bag over and iron on a 16-by-18-inch rectangle of interfacing.
2. Make handle
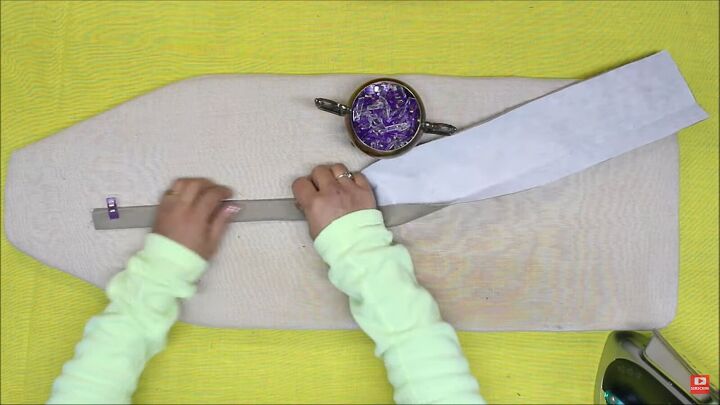
Iron interfacing to a 4 by 30-inch strip of fabric. Fold the fabric in half lengthwise and iron.
Open and fold the bottom and top edges ¼ of the way in lengthwise and iron. Fold it in half again, pin, and sew along both sides.
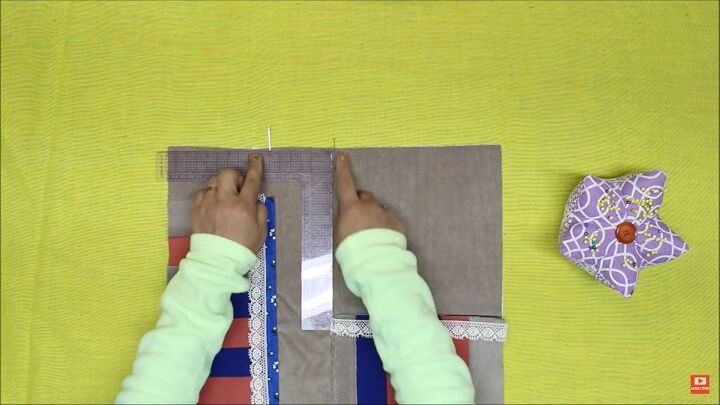
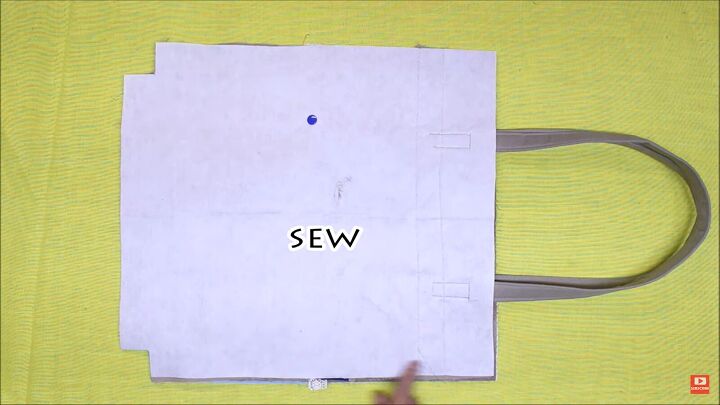
Mark the top center of the bag. Measure 3 inches to both sides of the center and mark them with pins.
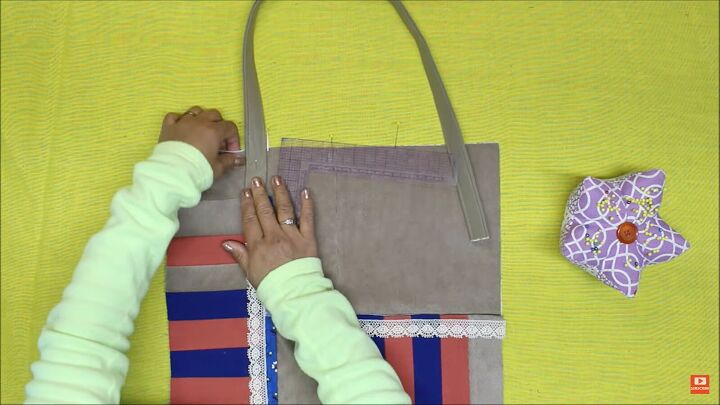
Measure 3 inches up from one end of the handle. Place it on the bag at the 3-inch mark, meeting the 3-inch mark of the handle.
Pin it in place and do the same with the opposite end on the opposite side.
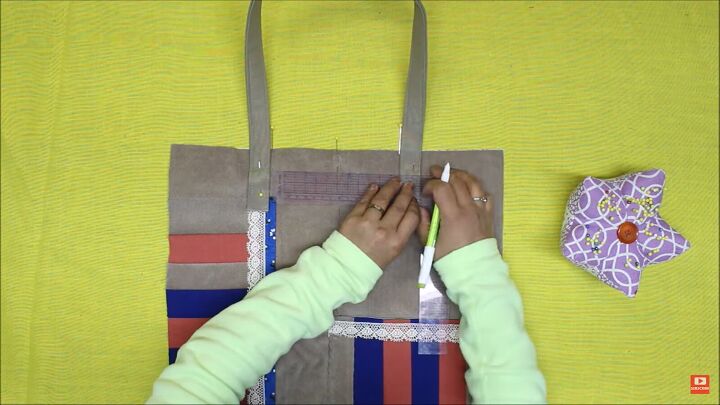
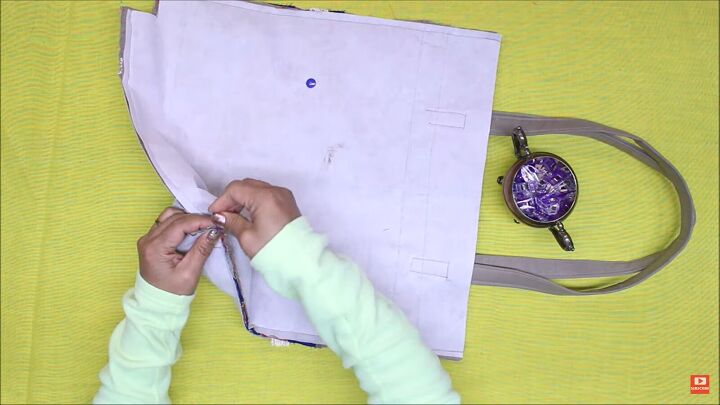
Measure 1 inch down from where the handle meets the fabric and mark it on both sides of the handle.
From the 1-inch mark, sew down, across, back up, and across, creating a rectangle of stitches. Repeat on the other side of the handle.
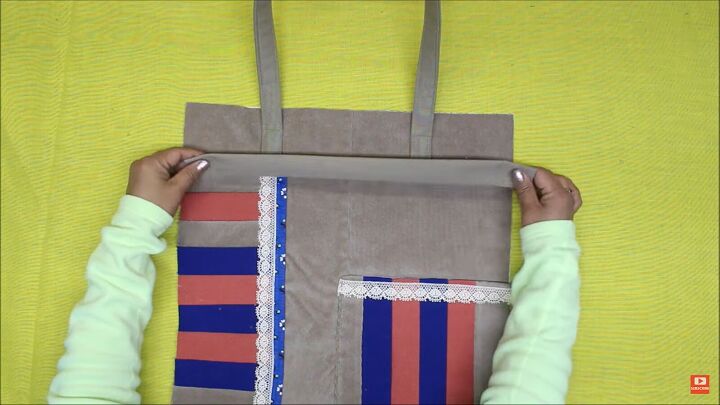
Cut a 3-by-16-inch rectangle. Fold it lengthwise and iron. Open it and fold each edge in ¼ way lengthwise and iron.
Place it on the bag with the folded edges facing inwards matching the bottom edges of the handles to the meeting point of the folds.
Sew the strip in place lengthwise along both sides.

3. Add snap buttons
Poke a hole through the center of the top edge of the patch on the bottom right of the bag.
Poke another hole into the fabric of the bag and add snap buttons to both.
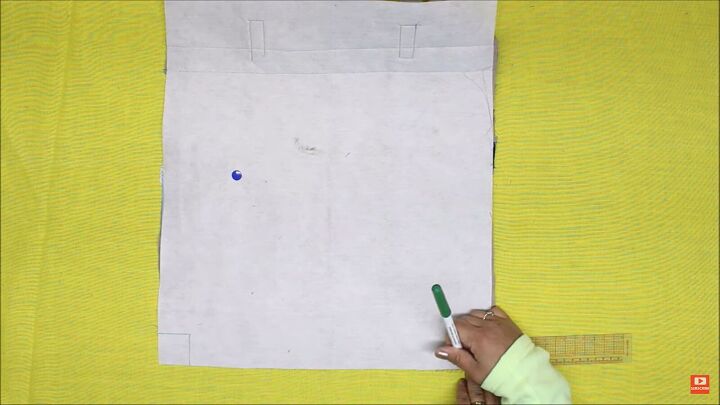
4. Cut corners
Mark the bottom corners of the bag 1.5 inches up and in, and cut them out.
Repeat all these steps from the beginning to make the other side of the bag.
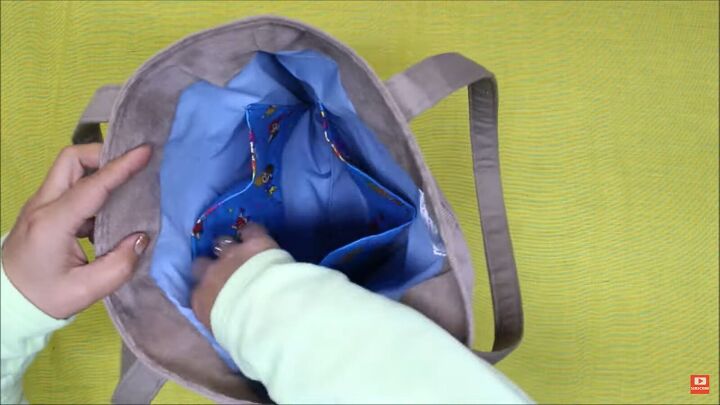
5. Lining
Cut a 16-by-16-inch piece of lining and a 3-by-16-inch of fabric.
Sew the smaller piece to the top edge of the length of the lining.
Open it and iron it.
Cut an 11-by-16-inch piece of fabric for the inside pocket. Fold it upwards in half with right sides facing in. Sew along the edges leaving a 2-inch opening.
Cut off the corners, below the seams, turn it right side out, and iron it. Topstitch along the top edge lengthwise.
Find the center of the lining and pocket. Line them up 5 inches from the top of the lining with the opening facing the bottom edge.
Sew the pocket to the lining, and sew down the center of the pocket, making 2 smaller pockets.

Mark 1.5 inches across and up at the bottom corners of the lining and cut them out.
Repeat this entire process to make the second side of the lining.
Place the lining together with right sides facing in. Measure and mark a 6-inch area at the bottom edge.
When sewing the lining together, leave that 6-inch area and cut-out corners open.
Place both sides of the bag together with the right sides facing in. Sew them together along the sides, leaving the cut-out corners open.
Open the corners, connect their opposite sides, and sew. Do the same with the lining.
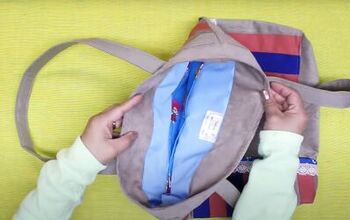
6. Final steps
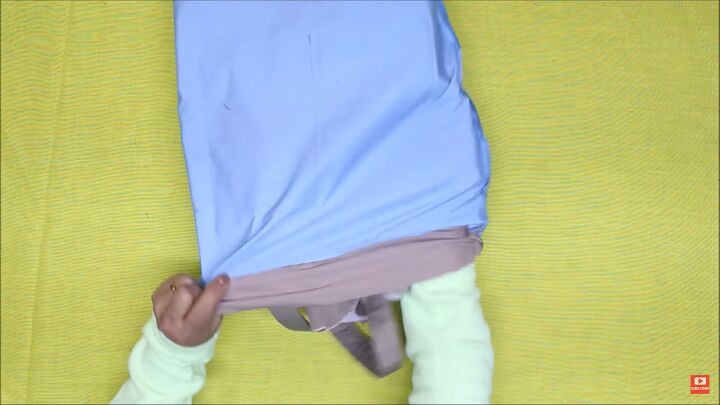
Turn the bag right side out and place it inside the lining. Sew the lining to the bag around the opening.
Pull the bag out through the 6-inch opening of the lining. Sew the 6-inch opening closed.
Push the lining into the bag and topstitch twice around the opening.
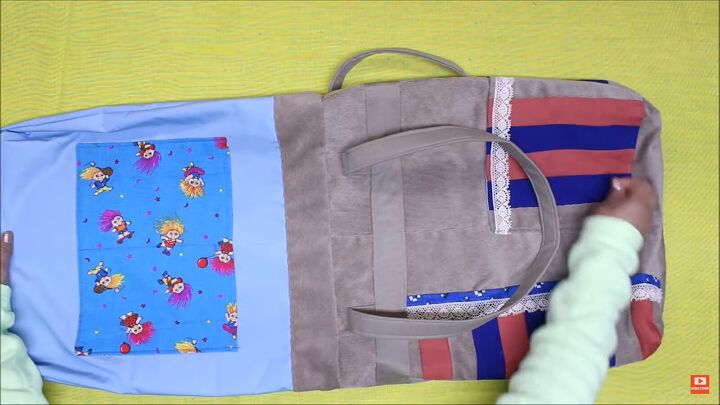
Upcycled pants to tote bag
I hope you enjoyed learning how to thrift-flip and make a great bag. I love sharing upcycle clothes ideas.
Leave a comment to let me know what you think.
Next, check out my Quick and Easy DIY Hair Scrunchie Tutorial.
The author may collect a small share of sales from the links on this page.


Comments
Join the conversation