How to Upcycle Pants Into a Cute DIY Tote Bag

Today’s project is to upcycle pants into a DIY tote bag.
You have a lot of flexibility with this thrift flip in the fabrics you choose to contrast or tone with the pants.
You don’t need much of it, so you can create something uniquely yours!
Tools and materials:
- Non-stretch ladies pants
- Small amount of contrast fabric
- Lining fabric
- Snap fasteners (optional)
- Fabric marker
- Ruler
- Scissors
- Pins
- Sewing machine
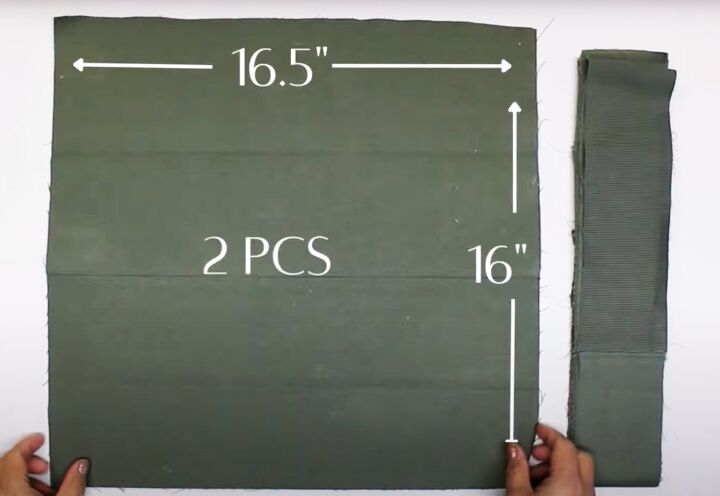
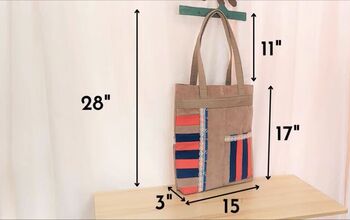
1. Cut out the outer bag pieces
Cut two squares of fabric from the legs of the pants, each 16.5 inches by 16 inches.
You will also need two strips of fabric for the handles, each 60 inches long by 3 inches deep.
You can join several pieces together to make the total length.
Press any seams flat on the inside.
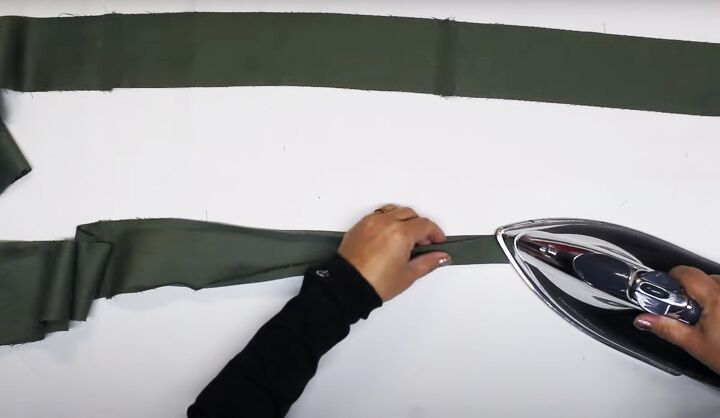
2. Make the handles
Lay the handle strip out flat with the wrong side uppermost.
Fold and press 0.25 inches to the inside along both the long edges.
Fold the handle in half lengthways and press. Pin the edges together as you go.
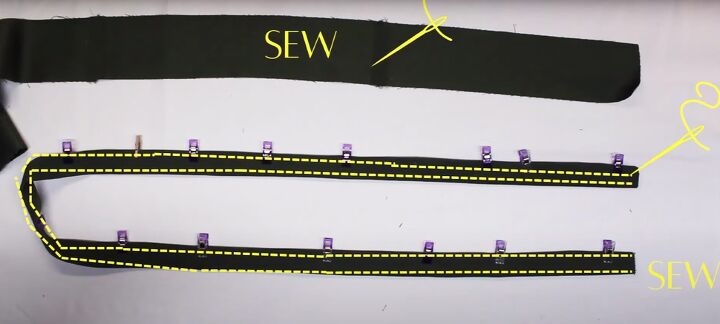
Top stitch both long edges.
Repeat for the second handle.
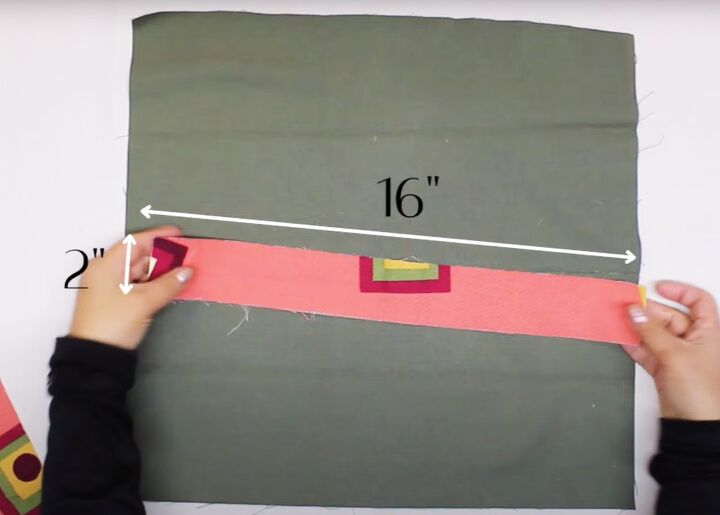
3. Attach the outer bag trim
Cut two pieces of contrast fabric 16 inches long by 2 inches wide.
Join them to the 16 inch sides of the bag front, with the right sides facing.
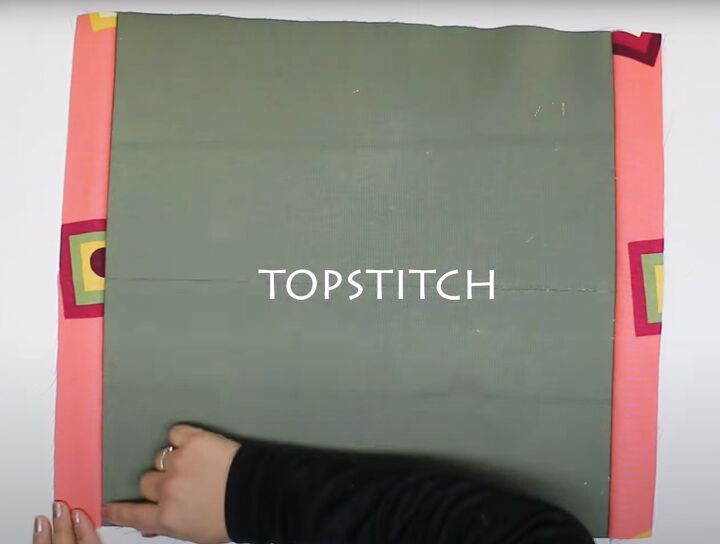
Press the seams open and top stitch them.
Cut another strip of contrast fabric 19 inches long by 2.5 inches deep.
Attach it to the top edge of the bag and top stitch the seam as before.
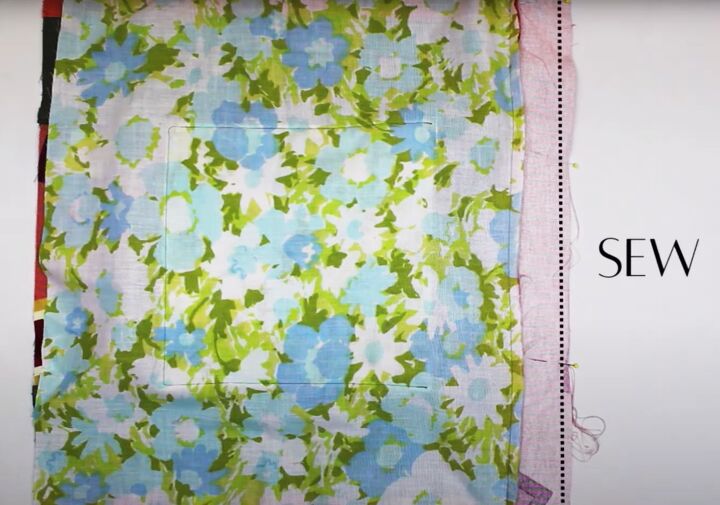
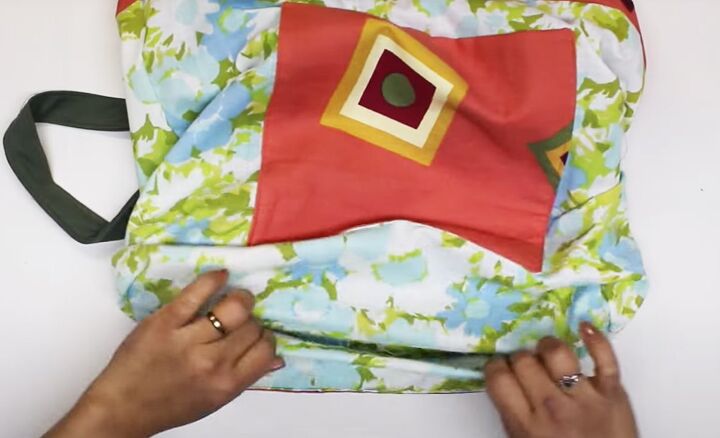
4. Make the outer pocket
Cut two 9.5 inch squares, one from the contrast fabric and the second from the contrast or a toning fabric.
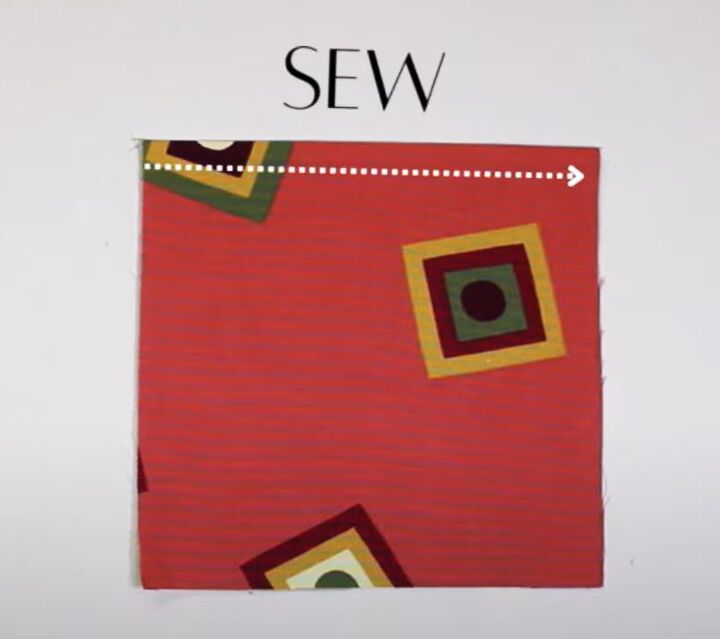
Place them right sides together and join one edge.
Turn them right side out and press. Top stitch the folded edge.
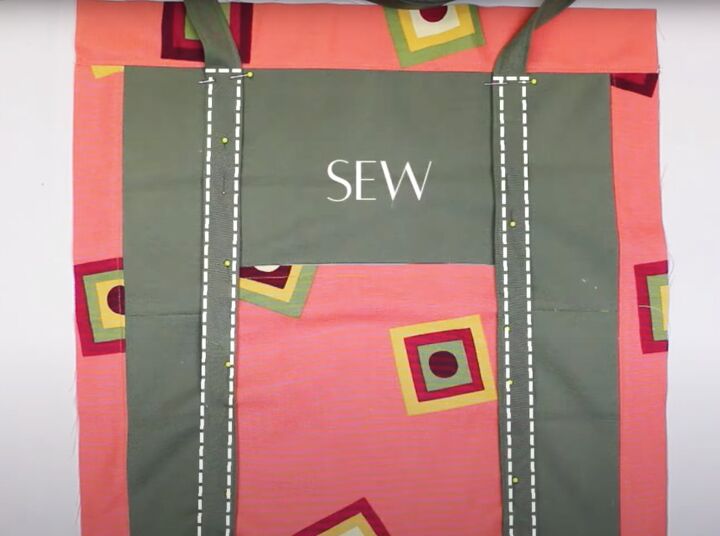
Pin the pocket centrally to the bag front, with the open edges aligned with the raw edge of the bag.
Pin one handle wrong side down to the sides of the pocket, overlapping the pocket edge and the bag.
Continue pinning the handle to the bag until you reach the top seam.
Sew the handle in place along the top and side edges.
Trim and assemble the back of the bag in the same way.
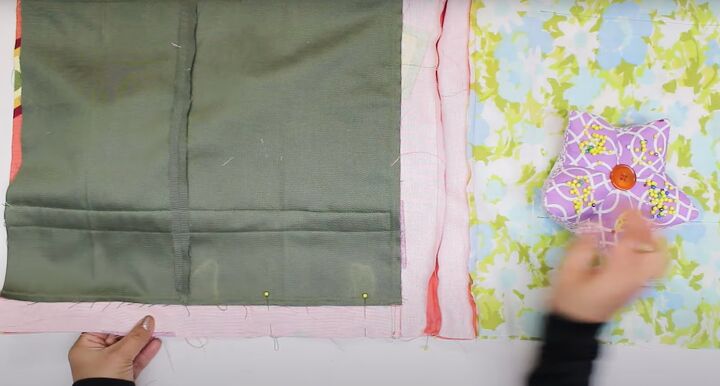
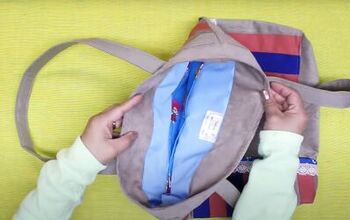
5. Make the lining
Cut two pieces of lining fabric, 19 inches by 16 inches.
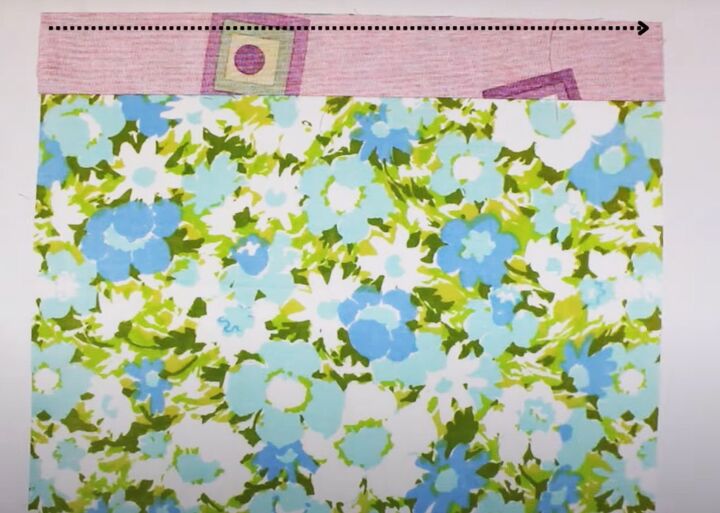
Cut a strip from the contrast fabric that’s 19 inches long by 2.5 inches deep.
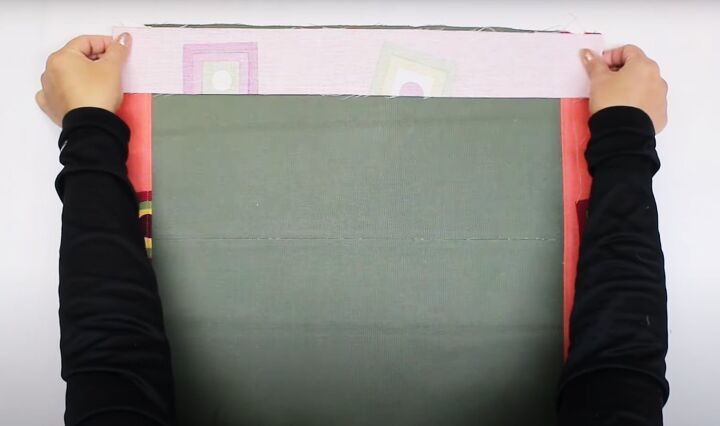
Attach it to the top edge of the lining, with the right sides facing.
Cut two 9.5 inch squares for the inner pocket, one from the contrast and one from the lining fabric.
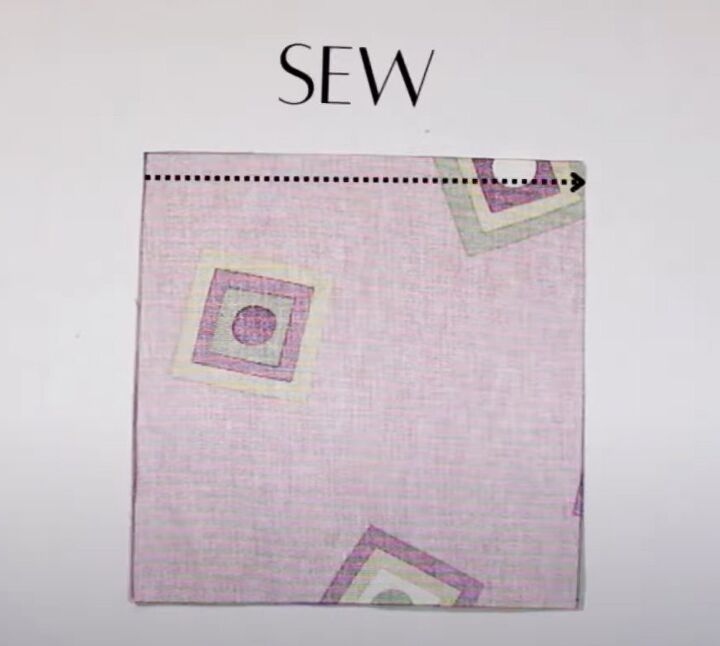
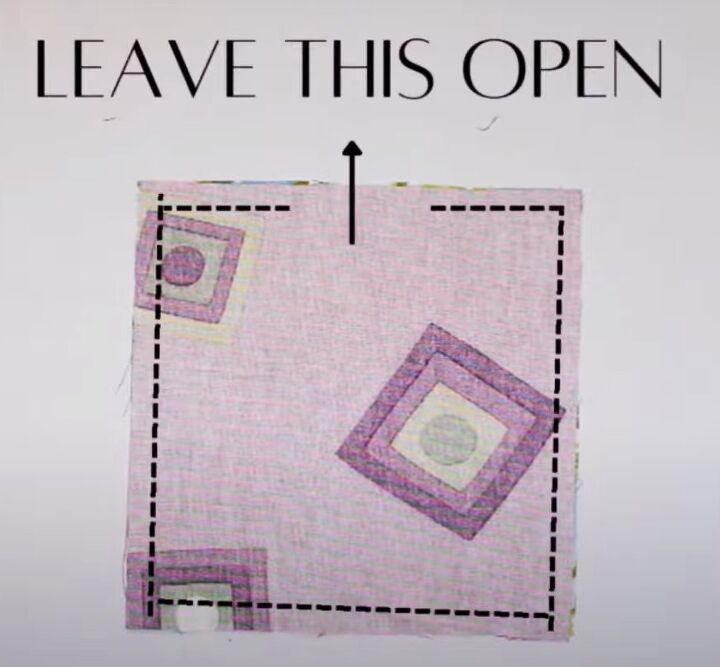
Place them right sides together and sew around all four sides, leaving a small opening on one side.
Snip the corners and turn the pocket right side out through the opening.
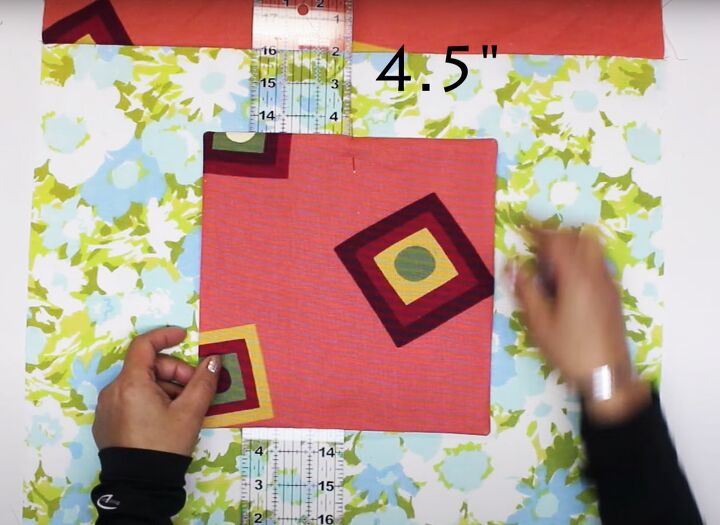
Pin the pocket centrally to the right side of the lining with the opening at the bottom and the top edge 4.5 inches from the top of the contrast strip.
Sew in place along the lower and side edges.
Assemble the second lining piece in the same way.
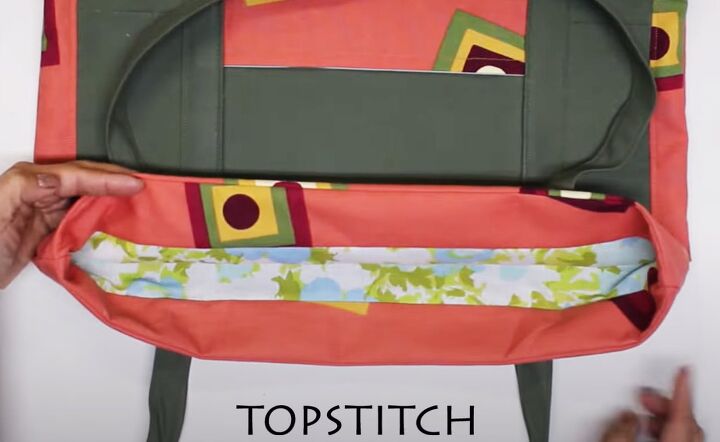
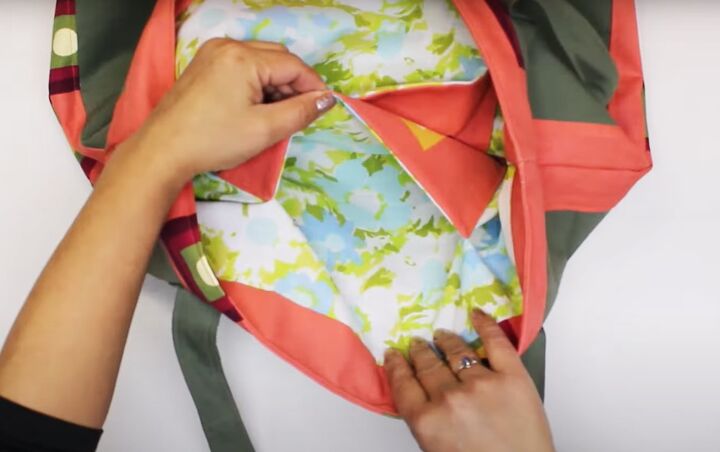
6. Join outer and lining pieces
Place one lining and one outer piece together with the right sides facing and the seams aligned. Sew the top edges together.
Repeat for the other outer and lining.
Open the pieces out and place them right sides together.
Pin the side seams together, opening the seams flat.
Pin the bottom seams, leaving an 8 inch opening in the lining.
Sew in place.
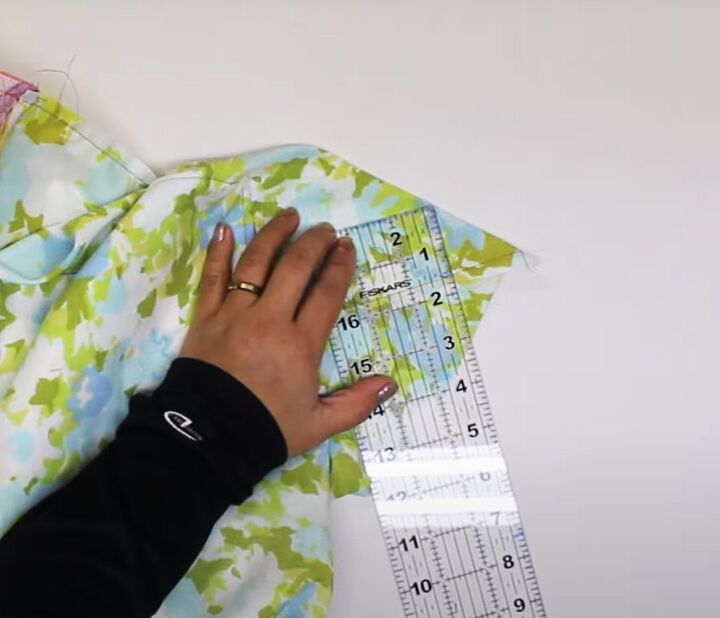
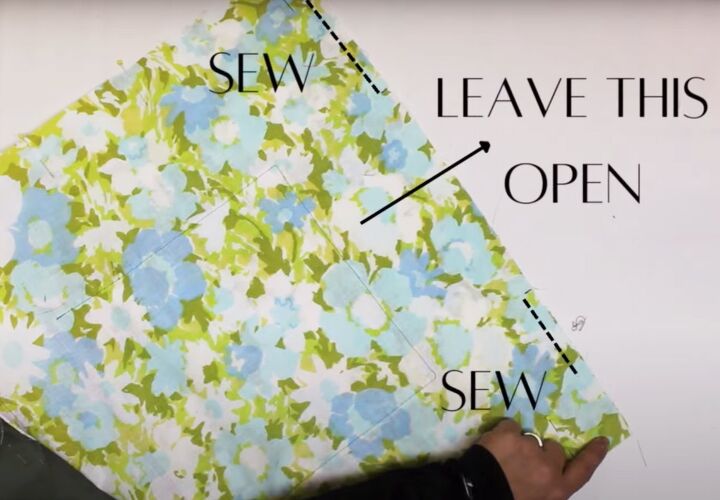
7. Sew the gusset
Fold the bottom corners into points. Pin and sew a 3 inch line across each corner.
Trim the points.

Join the lining corner to the bag corner at each side.
Pull the lining right side out through the opening and sew the opening closed.
8. Finishing
Reverse the bag and lining so the lining is on the inside.
Press and top stitch around the top edge of the bag.
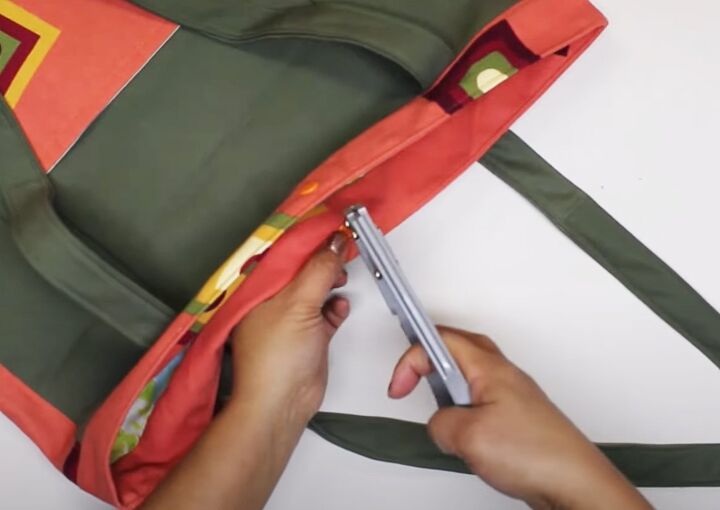
Optionally, add snap fasteners centrally to the top of the bag.
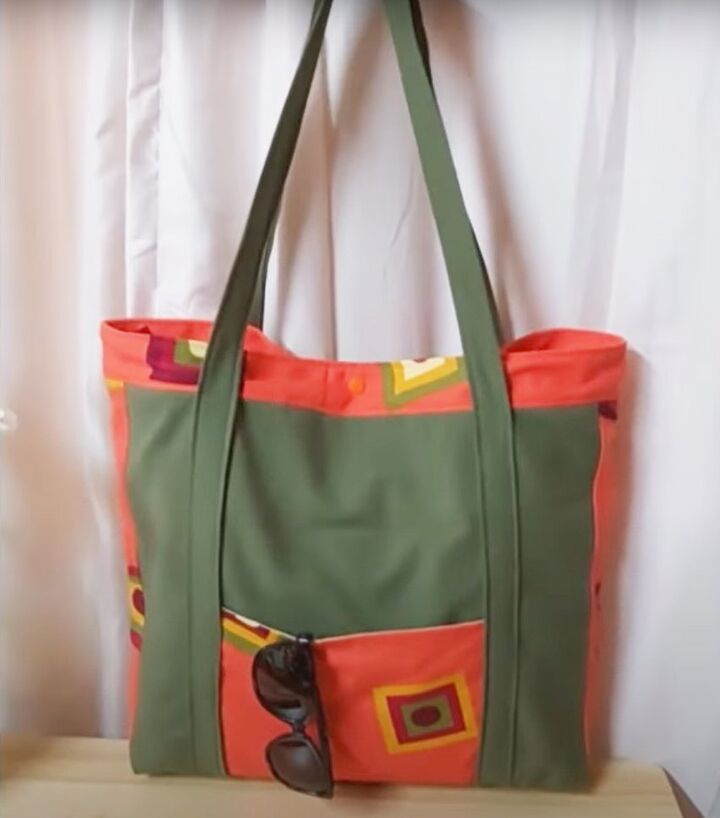
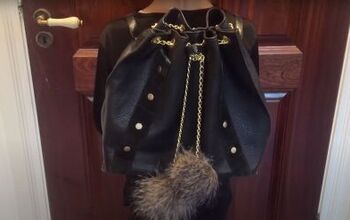
DIY tote bag from upcycled pants
If you wish, you can add extra stitching to the handles where they attach to the bag.
I love how many different ways this bag can be made, depending on what you have available. It’s so easy to customize this tote bag DIY.
I’d love to see what you do with yours and what you think of this thrift flip. Please let me know in the comments below.
Next, learn How to Thrift Flip Pillowcases Into a Cute DIY Tote Bag.
The author may collect a small share of sales from the links on this page.


Comments
Join the conversation