How to Make a Cute DIY Tote Bag Design With Cats - Adorable!

Looking for a fun DIY tote bag design with cats? Well, I’m going to show you how to make and create a lovely black cat tote bag! Make it fun and personalized, the way you want! This fabric tote bag tutorial will give you a little inspiration. So, get your materials and tools ready, and let’s get started!
Tools and materials:
- Scissors
- Measuring tape
- Fabric
- Pins
- Sewing machine
- Matching thread
- Paper
- Pen
- Black fabric paint
- Studs
- Tweezers
- Iron
1. Measure and cut
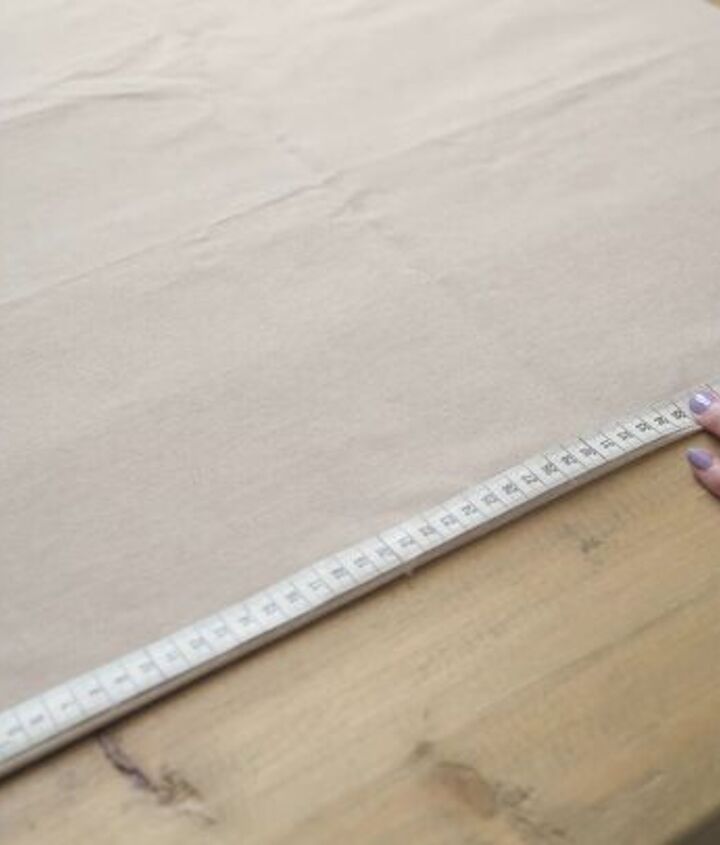
Fold your fabric in half and measure 40cm (15.74 inches) widthways and 42cm (16.53 inches) in length. Then, cut accordingly.
For the bag handles, measure a folded piece of fabric 40cm (15.74 inches) long.
Then, measure the width: it should be 10cm (3.93 inches). Cut the fabric after you’ve marked these measurements.
2. Sew the DIY tote bag
Now, stitch the left and right sides of the main fabric.
Finish off the edges with a zigzag stitch. This will prevent the fabric from fraying.
3. Make the bag handle
Start by pressing the edges of the fabric. Fold the edge down by about an inch and press. Do this on both sides.
Fold the fabric strip in half and press.
Go ahead and stitch both sides of the handle, as shown.
This is what your handles should look like.
4. Make the cat design
Now, for the fun part! Get your black fabric paint and paintbrushes ready! Also, turn your tote bag inside out, as we will be working on the right side of the fabric.
Iron the DIY tote bag flat so that you have a smooth, clean surface to work on.
Pin a cut-out of a cat’s head in the center of the tote bag and trace around the design.
Remove the paper, and start painting the cat with black paint (or any other color you wish).
Be sure to add another layer so that it’s really black and not faded. Also, can you see where I took my black cat tote bag inspiration from?
Now, I’ll be adding some gold studs to make this one of the most dazzling cat design tote bags ever! The studs I’m using are heat-activated, meaning they’ll attach to the fabric when I iron them.
I’m basically adding a few around the shape of the cat’s head. Again, feel free to do whatever design you like.
Using paper in the middle of the black cat tote bag and the iron, press the studs and the paint.
5. Attach the handles
Measure 10cm (3.93 inches) from the top edge of the bag.
Then place the edge of the strip on the mark, and fold the edge of the handle and the raw edge of the bag inward. So, like this, the edge of the handle will be sewn on the inside. Pin in place and repeat on all sides.
Ensure that the edge of the tote bag is also folded inside, as shown.
Then, stitch around to secure.
Afterward, stitch one more line on the top edge of the fold.
DIY tote bag design tutorial
What do you think of this stunning DIY tote bag design? I have to say, it was so easy to do, and I’m pretty sure you’ll find this fabric tote bag tutorial to be straightforward and super friendly for beginners! Thanks for joining me, and good luck!
Enjoyed the project?
Suggested materials:
- Scissors
- Measuring tape
- Fabric
- Pins
- Sewing machine
- Matching thread
- Paper
- Pen
- Black fabric paint
- Studs
- Tweezers
- Iron
The author may collect a small share of sales from the links on this page.


Comments
Join the conversation