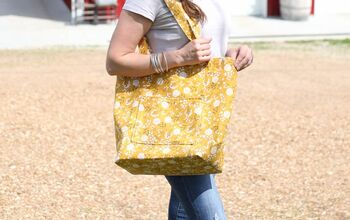
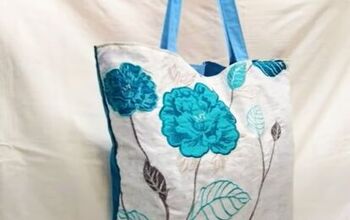
How to Sew a Cute and Easy Tote Bag With a Flat Bottom

In this tutorial, I want to show you how to sew a tote bag with a flat bottom.
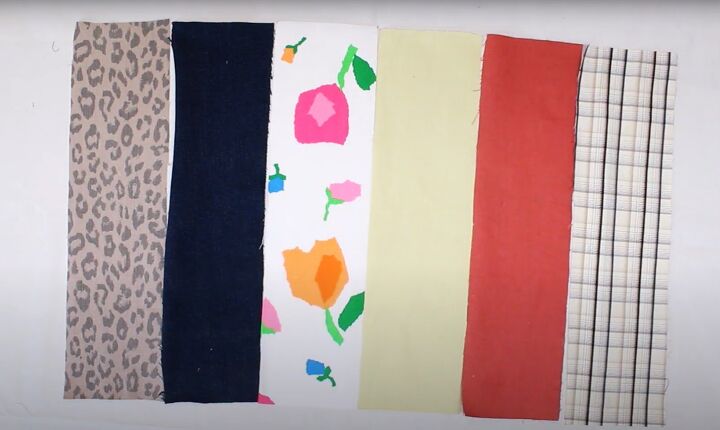
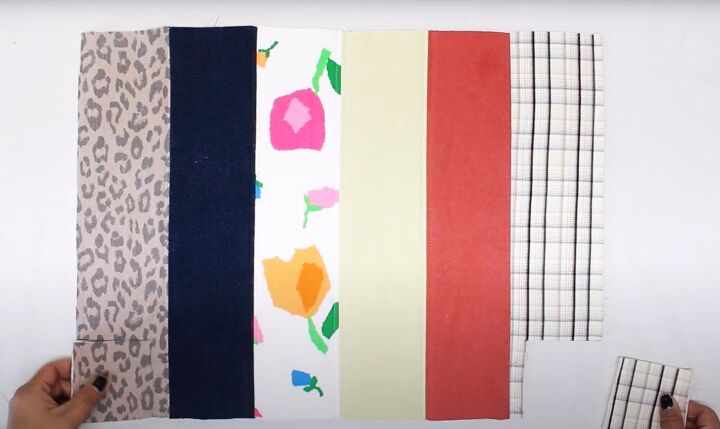
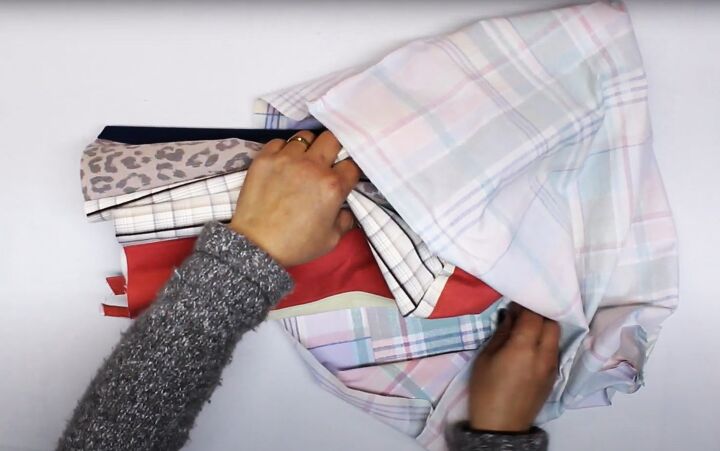
This is a medium-size bag and the base makes it practical for all kinds of uses. It’s made from fabric remnants from your stash and I hope it gives you lots of DIY tote bag ideas.
Tools and materials:
- 6 fabric remnants
- Fusible interfacing
- Cotton batting
- Lining fabric
- Ruler
- Fabric marker
- Pins
- Fabric clips (optional)
- Scissors
- Sewing machine
1. Bag sides
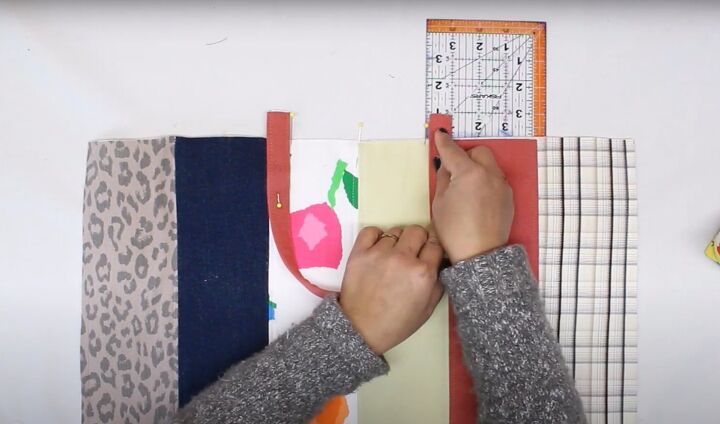
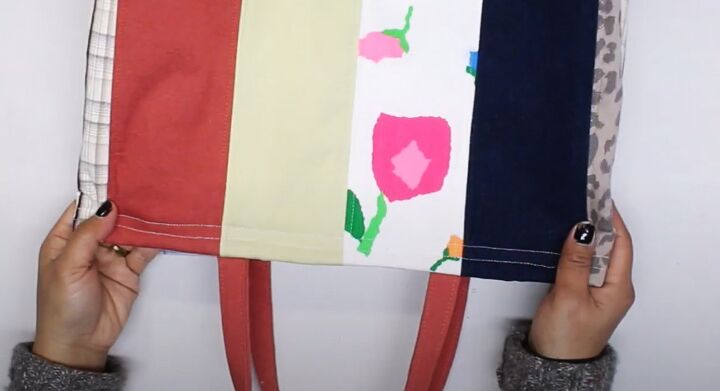
Cut two pieces from each remnant, each 4 inches by 15 inches.
Lay out one of each in a row with the long sides touching. Join the long edges with the right sides together.
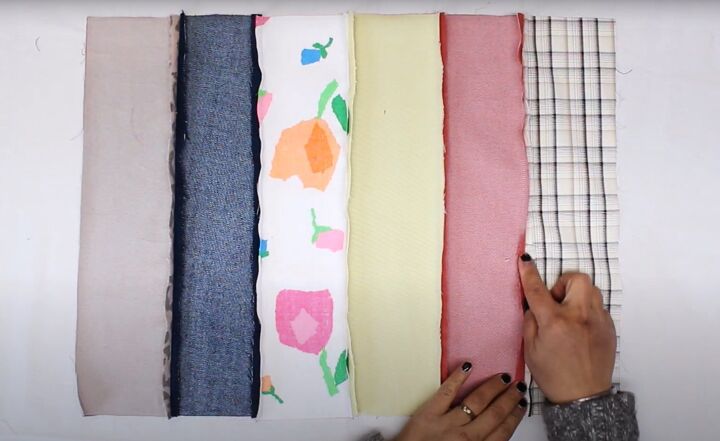
Press the seams open.
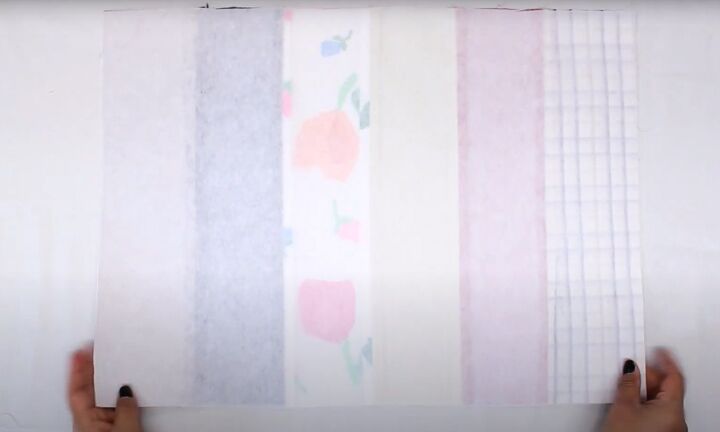
Cut a piece of interfacing 15 inches by 21 inches. Iron it to the wrong side of the joined strips.
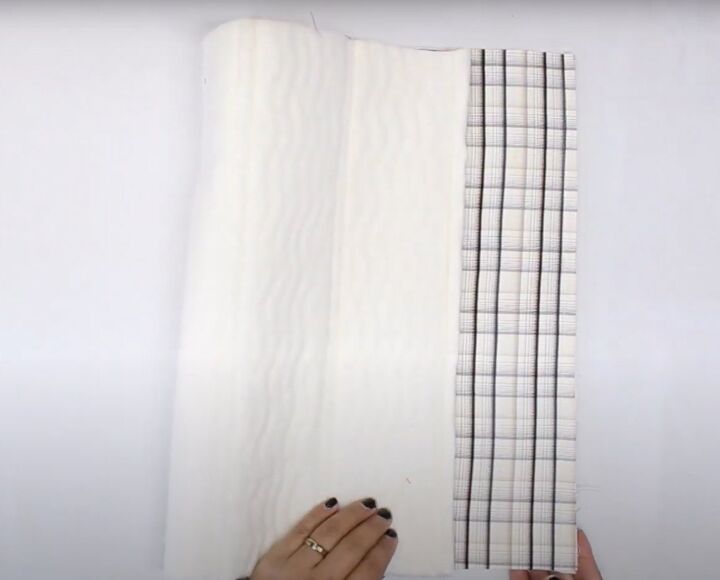
Cut a piece of cotton batting to the same size. Lay it over the interfacing so the interfacing is sandwiched between the outer and the batting.
Top stitch either side of each seam on the right side and at each side edge.
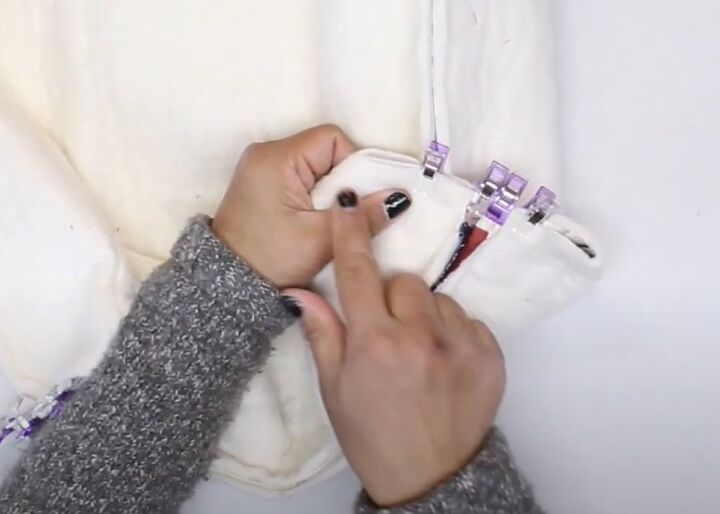
Cut out a 3 inch square from the bottom corners through all layers.
Repeat for the other side of the bag.
2. Handles
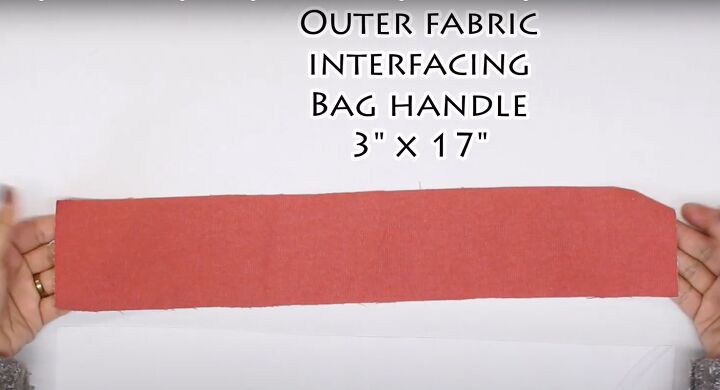
Cut two strips from the outer fabric and interfacing, each 3 inches by 17 inches.
Press the interfacing to the wrong side of the handles.

Fold the handle in half along the long edge with the wrong sides facing, and press in a crease.
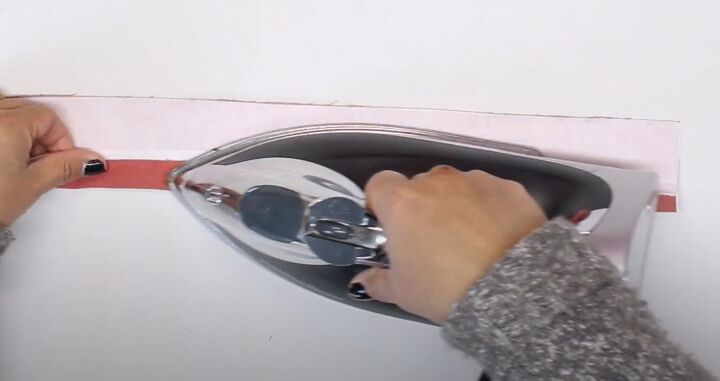
Open out the handle. Press both long edges to the center on the wrong side.
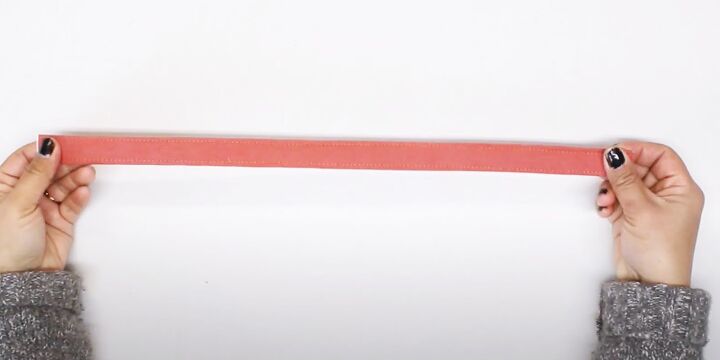
Fold the handle in half and topstitch along both long edges.
Repeat for the second handle.
3. Attach the handles
Pin both ends of one handle to the top edge of the bag on the right side, 2.5 inches from the center. Extend the ends of the handle 1 inch above the top edge.
Repeat on the other outer bag and sew the handles in place in the seam allowance.
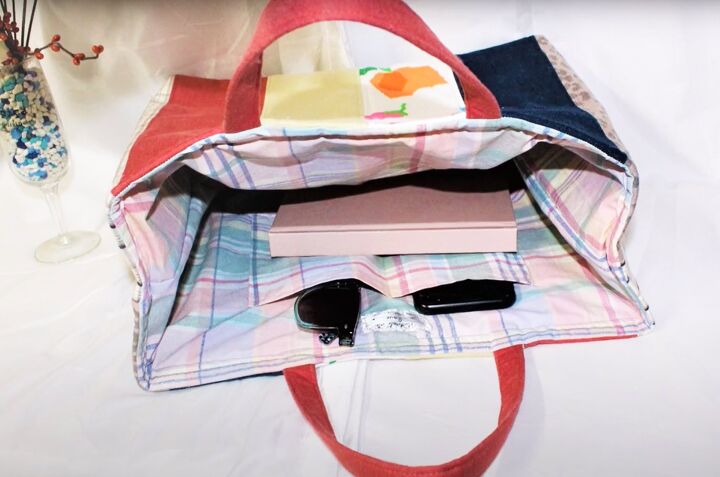
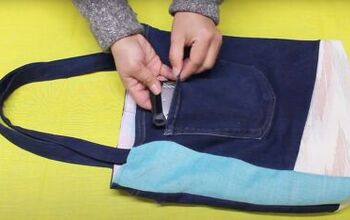
4. Inside pocket
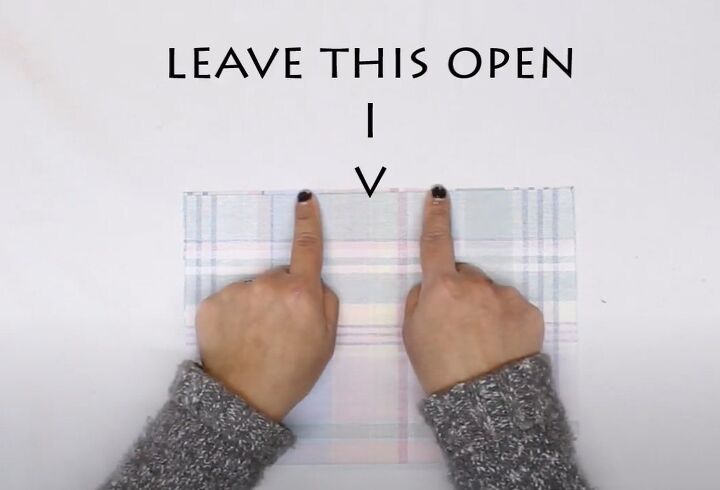
Cut a piece of lining fabric 10 inches by 14 inches.
Fold it in half widthways with the right sides together and sew the open edges, leaving a gap in the edge opposite the fold.
Snip the corners, turn the pocket right side out through the gap, and press. Top stitch the folded edge.
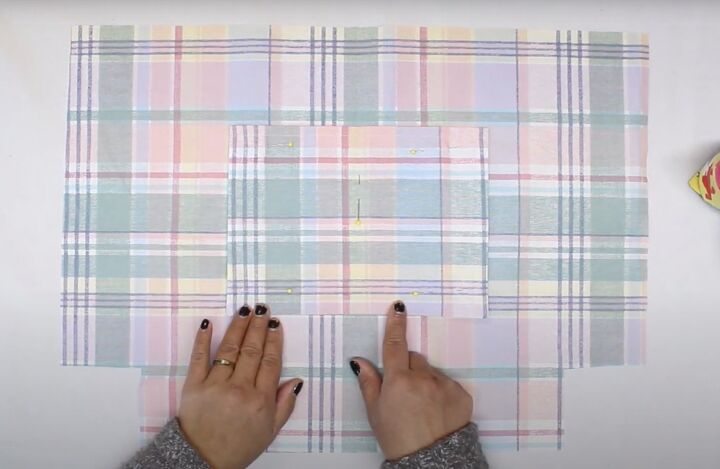
Cut two pieces of lining, each 15 inches by 21 inches.
Cut out 3 inch squares from the bottom corners.
Attach the inside pocket centrally to the right side of one lining, 3.5 inches from the top edge.
Sew in place along the side and lower edges and up the center of the pocket.
5. Assemble the lining
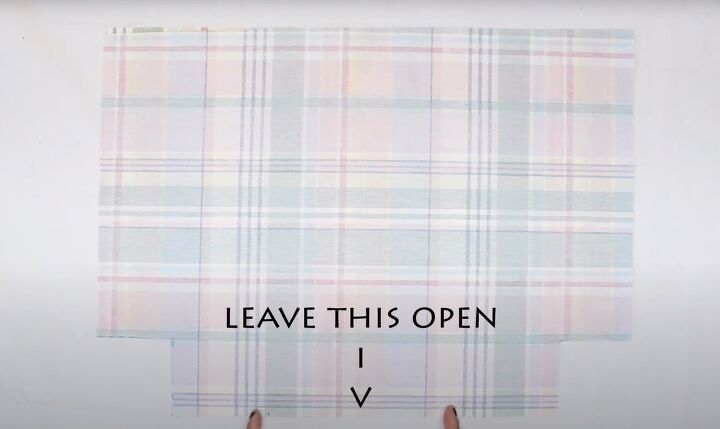
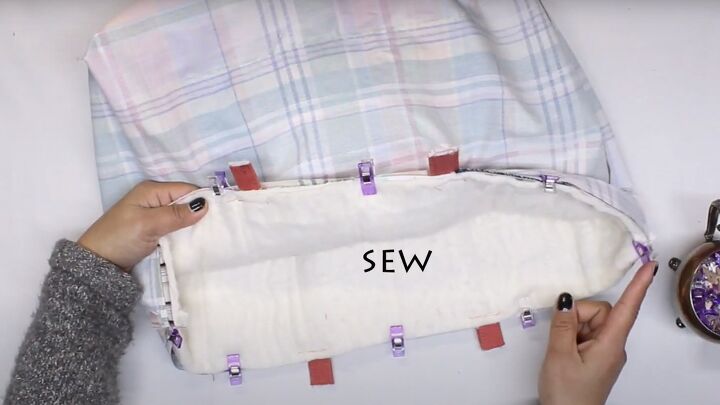
Place the two lining pieces together with the right sides facing.
Sew the side and lower edges excluding the cut-outs, leaving a 7 inch opening in the lower edge.
6. Assemble the outer bag
Join the two parts of the outer back with right sides together, along the side and lower edges.
Sew the edges of each cut-out, matching the side and bottom seams.
Sew the cut-outs in the lining in the same way.
7. Attach the lining
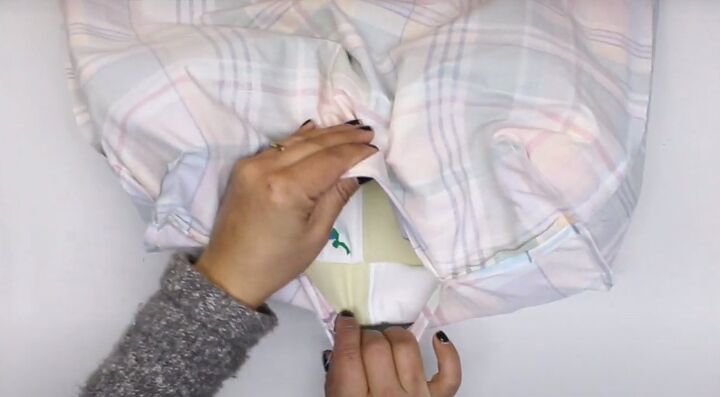
Turn the outer bag right side out and push out the corners.
Insert the outer bag into the lining so that the right sides are touching.
Pin and sew together around the top edge, matching the side seams and handles.
Pull the bag through the opening in the lining and sew the opening closed.
Sew two rows of topstitching around the upper edge to secure the bag and lining.
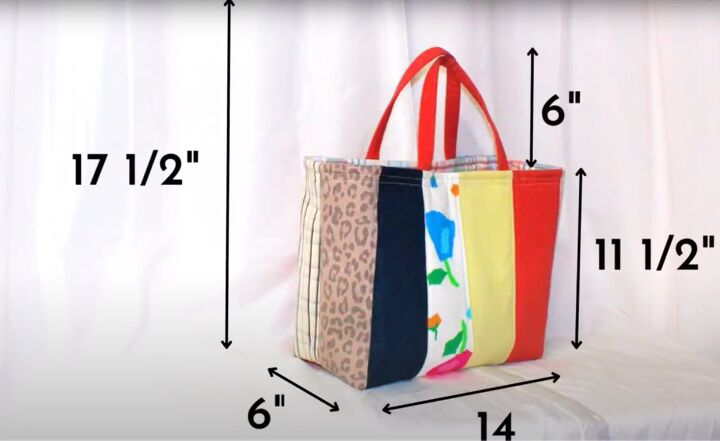
How to sew a tote bag with flat bottom
You can make this tote bag DIY in multiple colorways to match your outfits.
It's lightweight and practical and the handles are the perfect length to carry over your shoulder.
Adjust the size of the inner pocket to fit your phone if necessary, and you have the perfect accessory.
I'd love to see your results. Leave me a comment below and let me know how you get on.
Next, check out my Sustainable Refashion Tutorial: How to Upcycle Pants Into a Cute Tote.
The author may collect a small share of sales from the links on this page.


Comments
Join the conversation