How to Sew a Cute and Easy Tote Bag

Today, I have a step-by-step guide for you on how to sew a tote bag.
This tote bag DIY uses an old pair of jeans and scraps from two other fabrics, so you can be creative with whatever you have on hand.
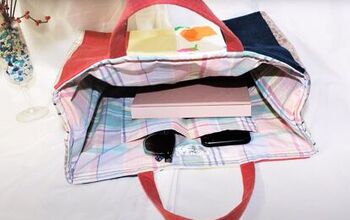
The finished bag is just 15 inches long and 13 inches wide, so it's perfect for an A4/letter size notebook or two.
Tools and materials:
- Paper for pattern
- Old jeans
- 2 fabric remnants
- Lining fabric
- Ruler
- Pen
- Fabric marker
- Pins
- Scissors
- Sewing machine
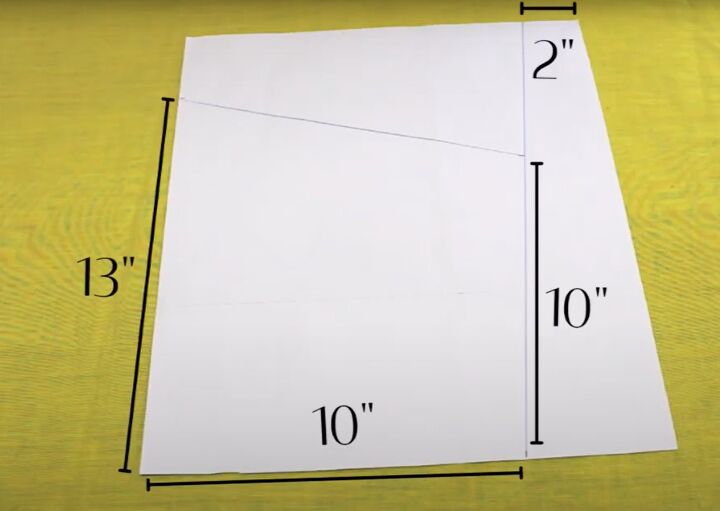
1. Make the pattern
You need a sheet of paper 14 inches by 16 inches for the pattern.
Divide it into three parts as shown in the diagram and cut out the individual pattern pieces.
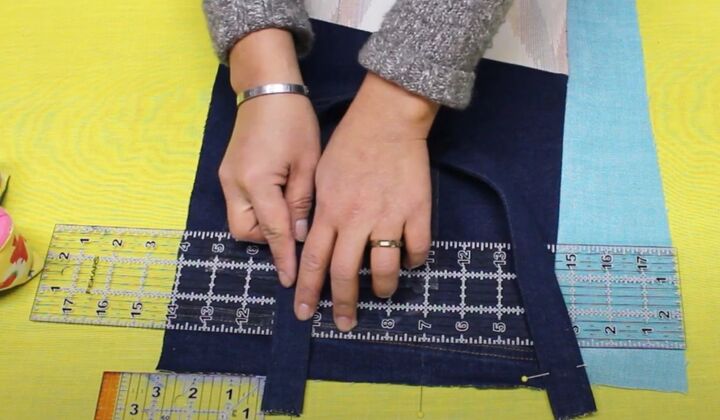
2. Cut out the bag pieces
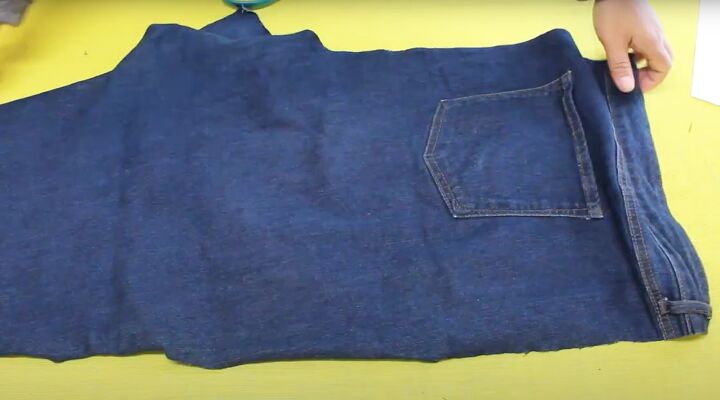
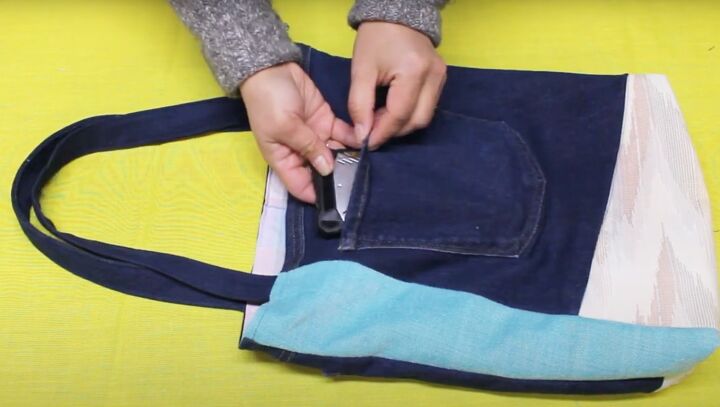
Use the back of an old pair of jeans with a patch pocket for the largest section.
Cut the jeans open along all the seams and separate both the back legs. Put the remaining fabric aside.
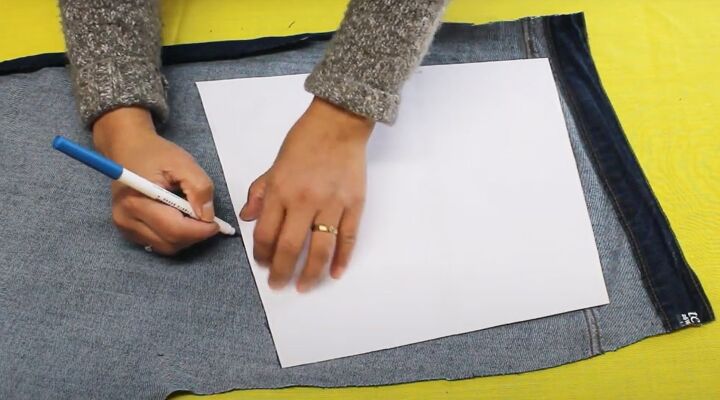
Turn the jeans wrong side up. Place the pattern piece on the fabric so the pocket is covered and trace around it.

Add a quarter inch seam allowance on each side and cut out.
Repeat with the other leg.
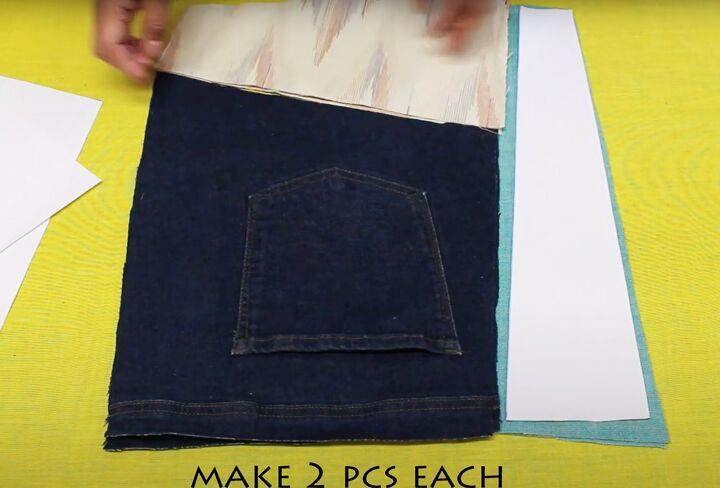
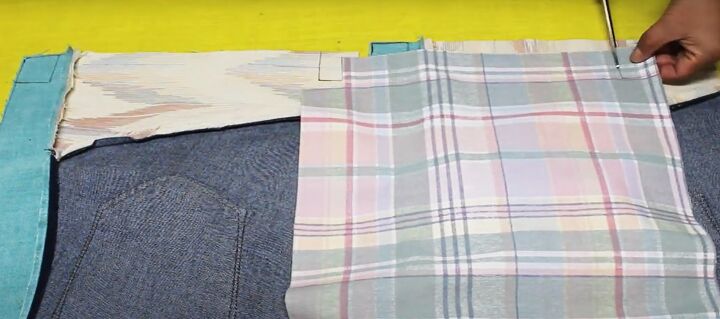
Cut the other two pattern pieces out of scrap fabric in the same way, cutting two of each.
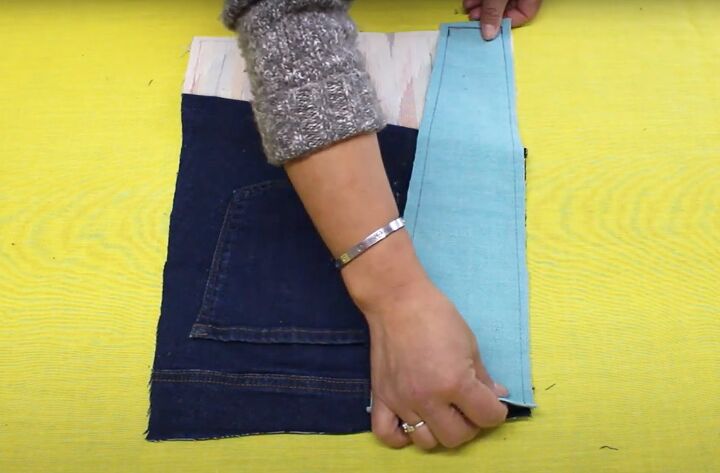
Cut two pieces from the jeans, each 4 inches by 22 inches, for the bag handles.
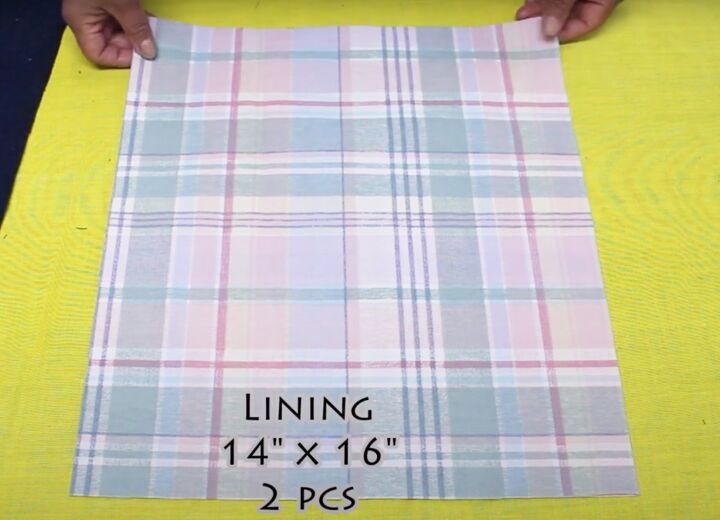
Cut two pieces of lining fabric, each 14 inches by 16 inches.
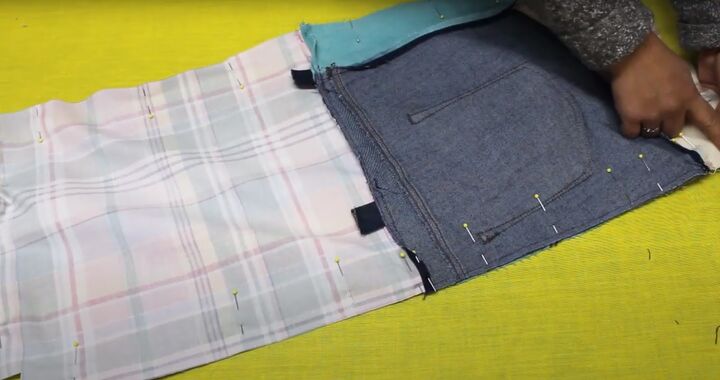
3. Assemble the bag
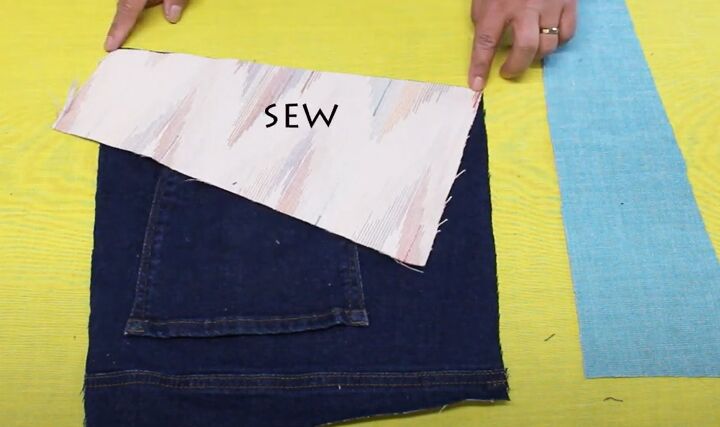
Join the smaller angled piece to the bottom of the main section, with the right sides together.
Sew the straight edge of the longest piece to the side of the two joined pieces.
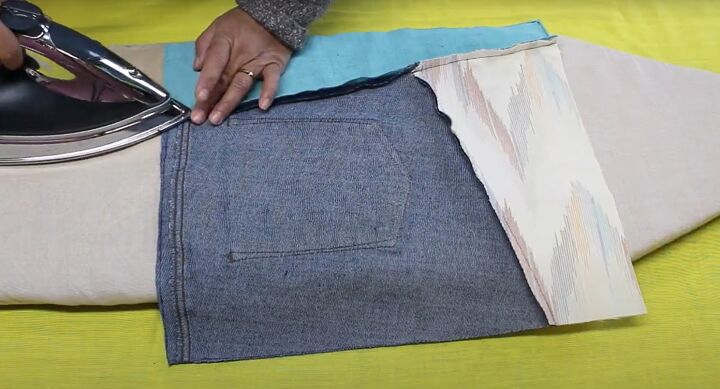
Press open all the seams.
Repeat for the other side of the bag.
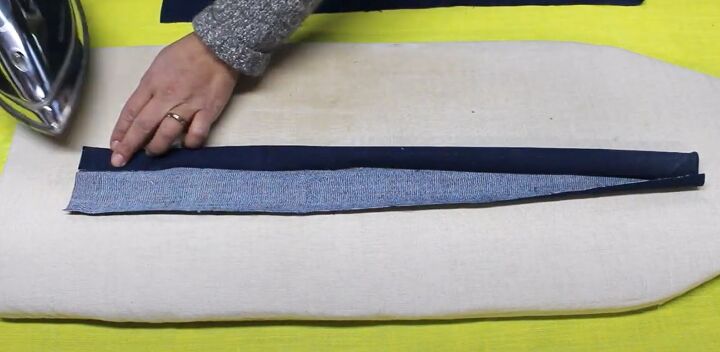
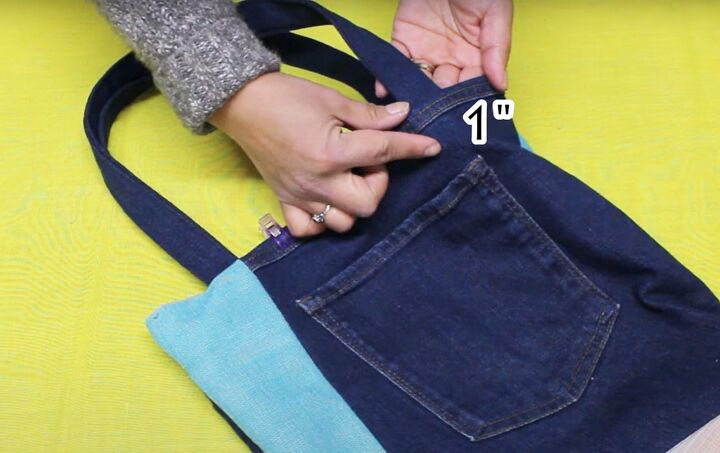
4. Attach the handles
Press the long edges of the handle strips towards the center on the wrong side.
Fold each handle in half lengthways and press. Sew along both long edges.
Pin the ends of one handle 3 inches either side of the center of the top edge of the bag on the right side. Extend the short ends 1 inch above the edge.
Sew the handle in place along the seam allowance.
Attach the second handle to the other piece of the bag.
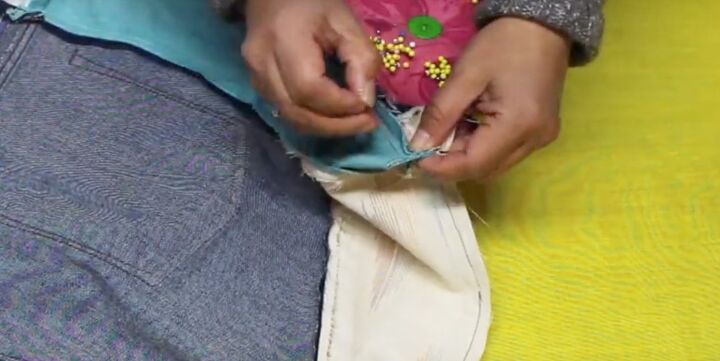
5. Attach the lining
Cut a square 1.5 inches by 1.5 inches from the bottom corners of the bag and the lining.
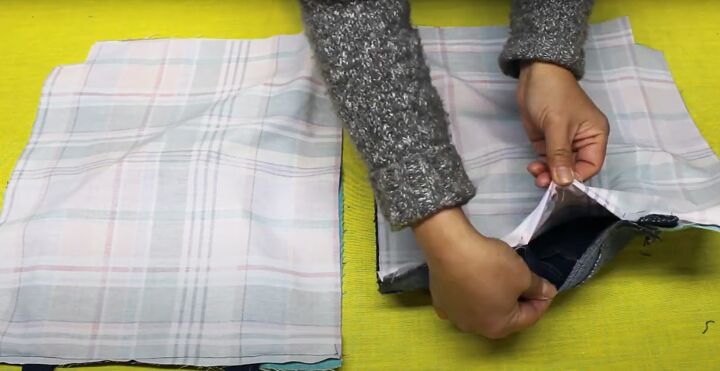
Sew the lining to the bag along the top edge, with the right sides together.
Leave a 5 inch opening between the handles on one piece.
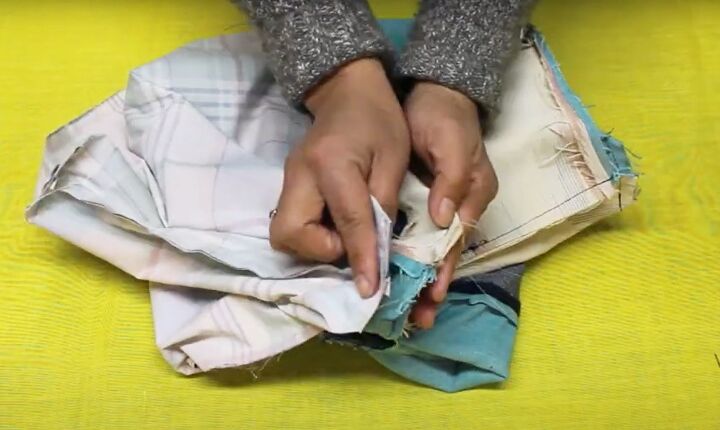
Open the bag and lining out flat. Place the two pieces on top of each other with the right sides together.
Match the seams carefully. Sew the side and lower seams, excluding the cut-outs.
Pin and sew the sides of the cut-outs together, matching the side and bottom seams.
Sew the gusset of the lining and outer bag together at the corners.
Turn the bag right side out through the opening in the top edge and push out the corners.
6. Finishing
Sew two rows of topstitching around the top edge of the bag.
Secure the handles by top stitching the ends in place around the sides and across the diagonals.
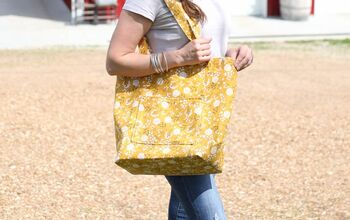
How to sew a tote bag: DIY tote bag
Make this DIY tote bag pattern uniquely yours with the fabrics you already have in your stash.
The pockets will easily take a phone and your keys. For more security, you can add a magnetic fastener to the top edge of the bag.
I hope you enjoy making this and I’d love to see the results. Why not drop me a link below?
The author may collect a small share of sales from the links on this page.


Comments
Join the conversation