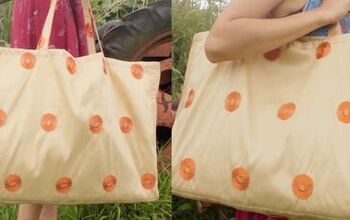
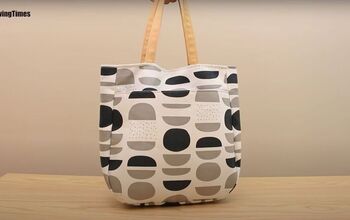
How to Sew a Tote Bag: Cute DIY Tote Bag Tutorial

For this project, I’m going to show you how to sew a tote bag for beginners. I used an embroidered silk pillowcase for the front of my DIY tote bag.
The embroidery was uncomfortable to sleep on but the design worked beautifully on the tote.
I joined two toning fabrics for the back of the bag and used another for the lining and handles.
The pockets were made from fabric scraps.
Tools and materials:
- Outer fabric
- Lining fabric
- Pocket fabric
- Ruler
- Fabric marker
- Scissors
- Pins
- Sewing machine
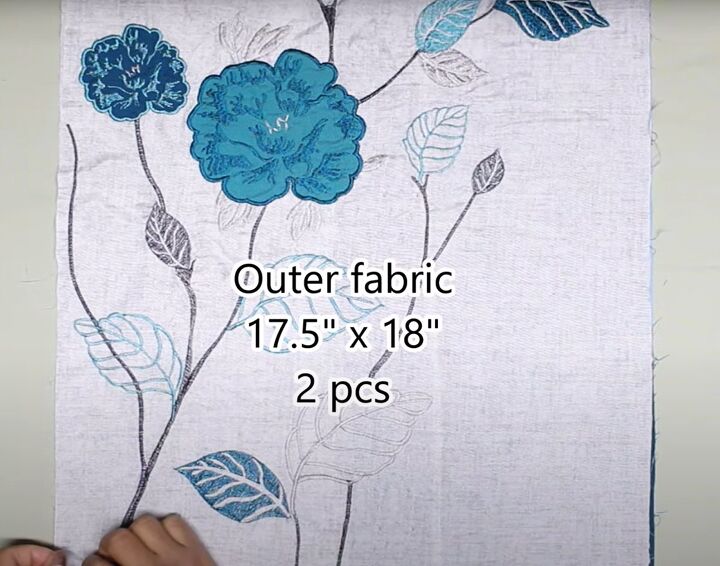
1. Cut out the bag pieces
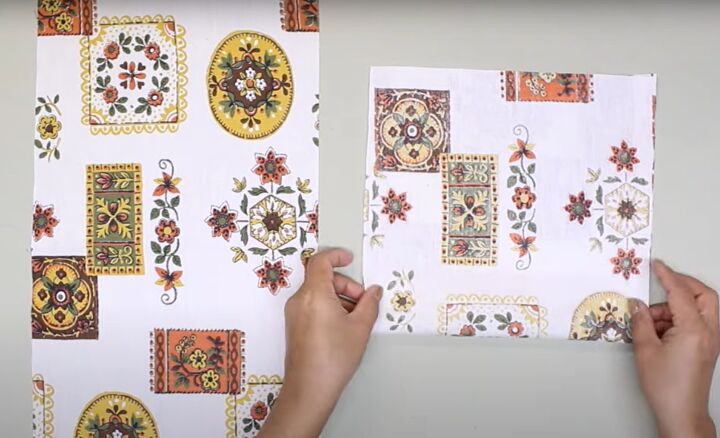
You’ll need four pieces of fabric each 17.5 inches by 18 inches for the bag and lining.
Two for the outer bag, which can be different designs as mine are, and two from the lining fabric.
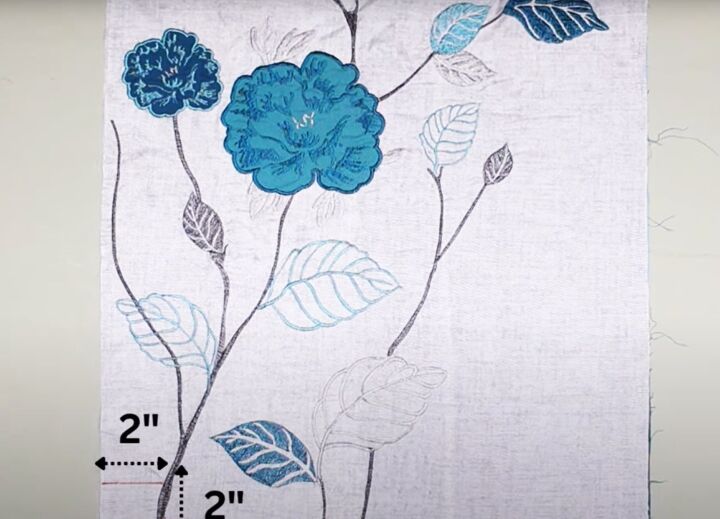
Place the pieces of fabric on top of each other with the shorter edge at the top.
Cut a 2 inch square from each bottom corner, through all the layers.
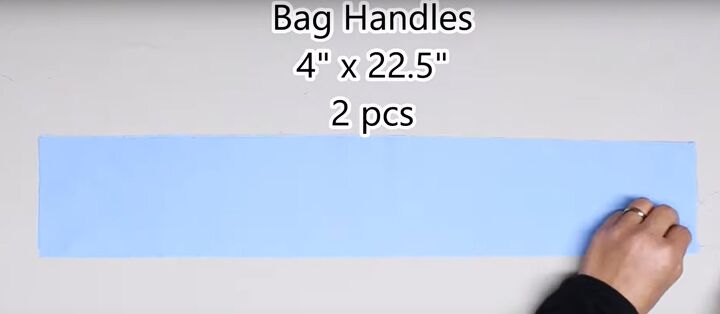
2. Make the handles
Cut two pieces of fabric each 22.5 inches long by 4 inches deep.
Fold each strip in half lengthways with the wrong sides together and press.
Open out the piece and fold each long edge to the center and press, then fold the strip in half again.
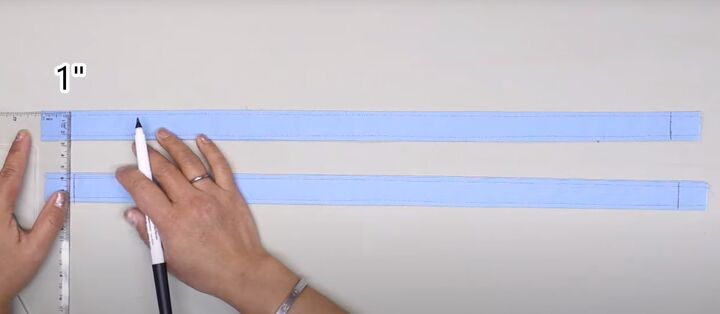
Sew both the long edges. Repeat for the second handle.
Mark one inch from each short edge of both handles.
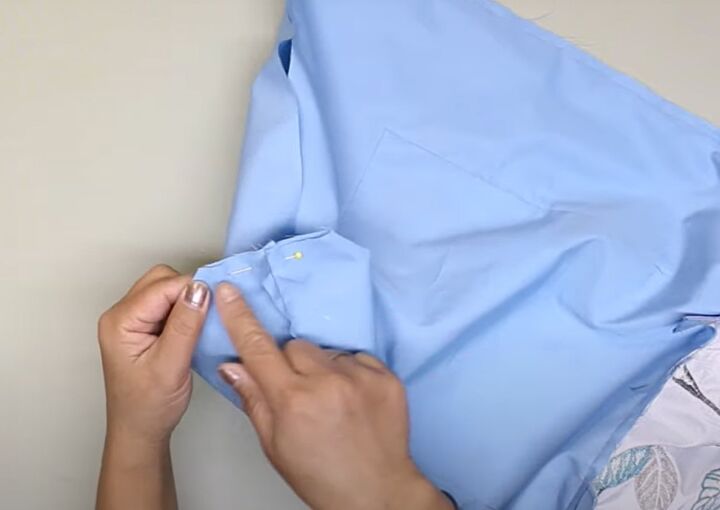
3. Attach the handles
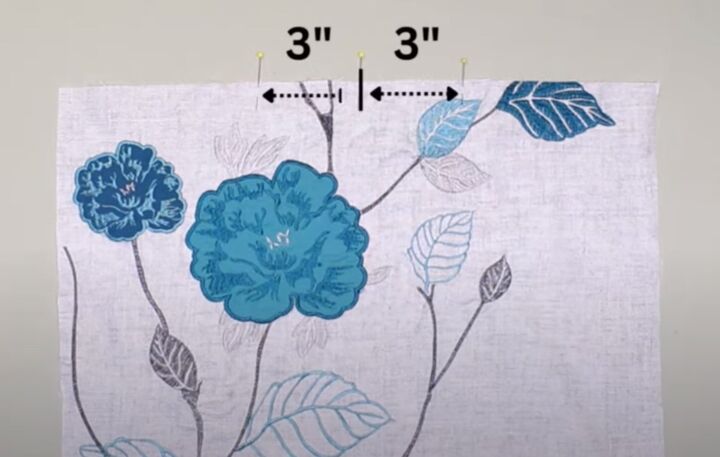
Lay out the bag front with the right side uppermost.
Mark the center top edge of the bag front and 3 inches each side of it.
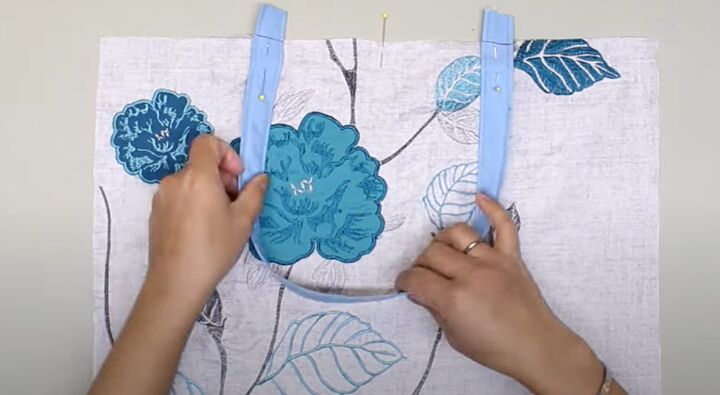
Pin the ends of one handle at the outer pin marks, with the edges extending one inch above the top edge of the bag.
Attach the second handle to the back of the bag in the same way. Sew the handles in place.
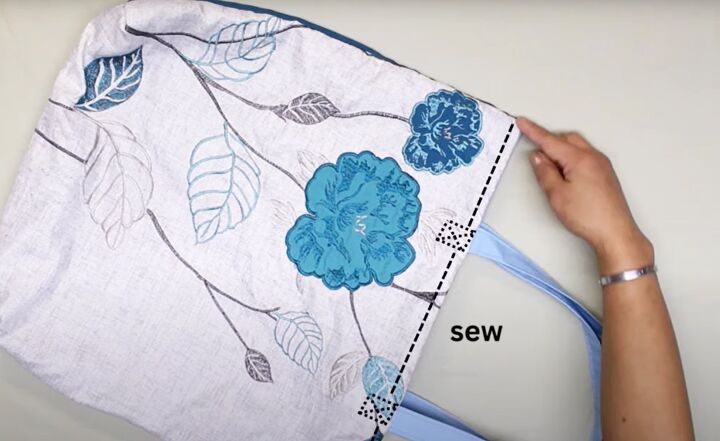
4. Assemble the outer bag
Place the back and front together with the right sides facing.
Sew along the bottom and side edges, leaving the cut outs open.
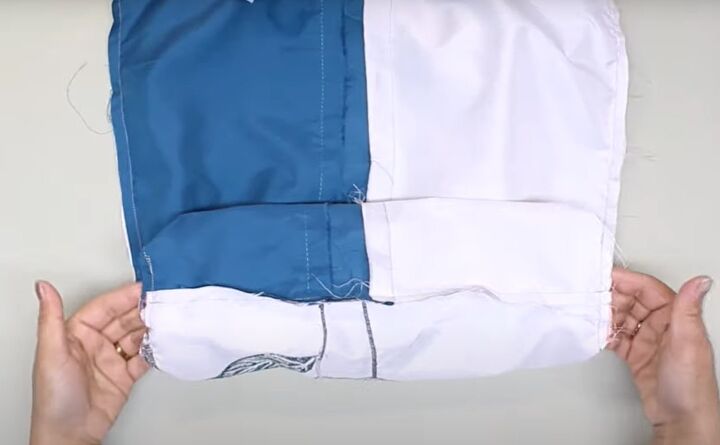
Pin and sew the edges of the cut outs together, matching the side and bottom seams, to make the gusset.
Turn the bag right side out.
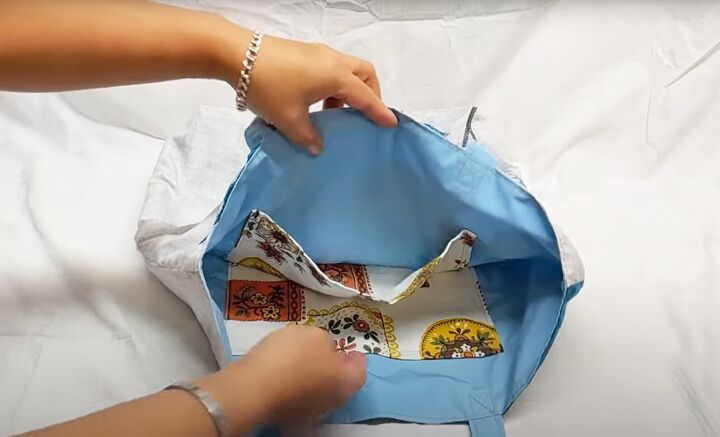
5. Make the inner pockets
Cut two pieces of fabric each 9 inches wide by 18 inches long.
Fold them in half widthways with the right sides together.
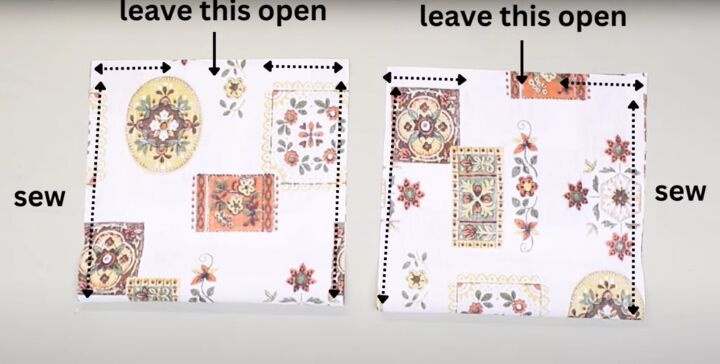
Sew the side and top edges, leaving a 2 inch opening at the top.
Snip the corners and turn the pockets right side out through the opening.
Press the pockets and top stitch the folded edges.

Place the pockets centrally on the right side of the lining pieces, with the folded edge 3 inches from the top.
Sew the side and bottom edges.
6. Assemble the lining
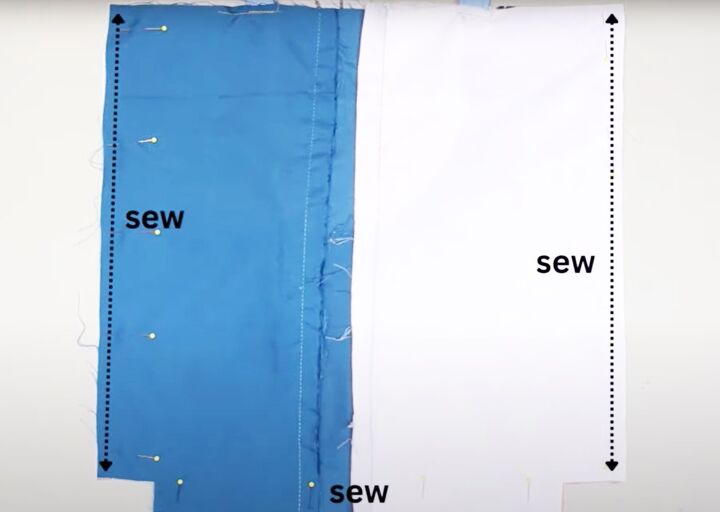
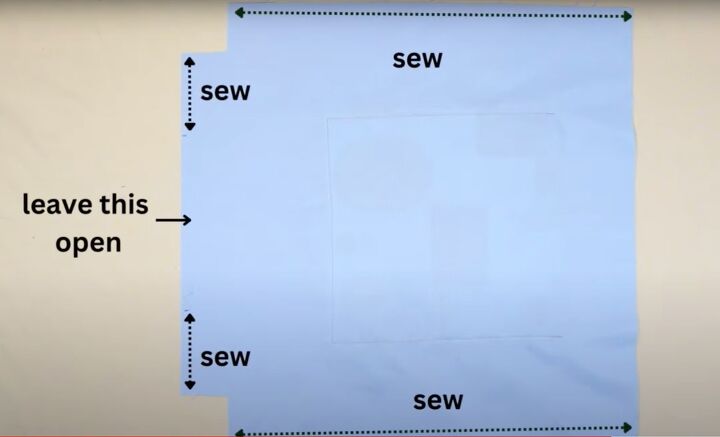
Place the lining pieces together with the right sides facing.
Mark a 7 inch opening in the bottom seam
Sew the side and bottom seams as you did for the bag, leaving the opening and the cut outs open.
7. Join the bag and lining
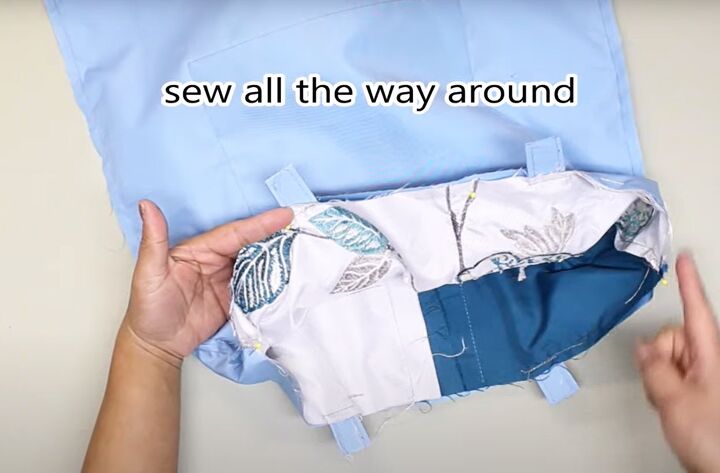
Tuck the bag inside the lining so the right sides are facing and sew together around the top edge.
Take the bag out of the lining.
Join the edges of the cut-outs in the lining as before.
Pull the bag through the opening in the bottom seam of the lining and sew the opening closed.
Push the lining back inside the bag.
Stitch the handles securely from the right side, sewing a square and diagonals where they attach to the bag.
Top stitch the upper edges of the bag and lining together.

How to sew a tote bag
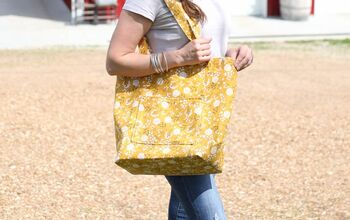
This is the easiest way I’ve found to sew a DIY tote bag. It won’t hold very heavy items, but it’s fine for your phone and wallet and a book or two.
If you’re a more experienced sewist, you can add interfacing to the handles and the outer bag pieces, for added strength.
Use whatever fabric you have on hand and be creative!
I’d love to see what you make, and to know what you think of this project in the comments below.
The author may collect a small share of sales from the links on this page.


Comments
Join the conversation