Beginner-friendly Patchwork Tote Bag Pattern Tutorial

Making an upcycled tote bag from fabric I’ve used in other projects is one of my favorite things.
Each square holds a memory of a special item I made for myself or my family that lasts long after the original garment has been outgrown or outworn.
This patchwork tote bag pattern is a perfect example. I used fabrics in two contrasting shades for a reversible bag that’s surprisingly easy to make.
Tools and materials:
- Fabric scraps in two contrasting shades
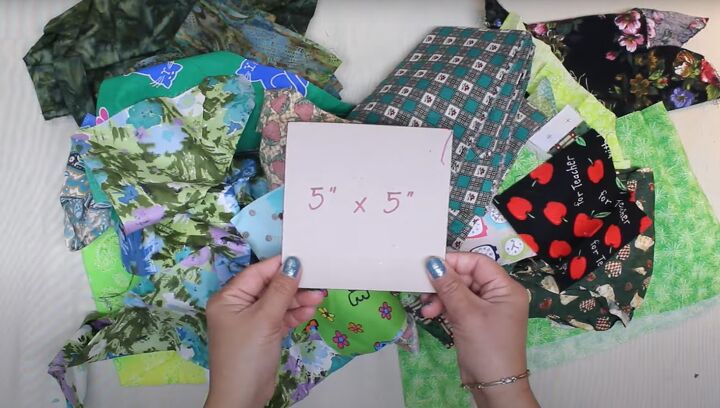
- 5 inch square template
- Cotton batting
- Plain backing fabric
- Pins or fabric clips
- Scissors
- Ruler
- Sewing machine
- Iron
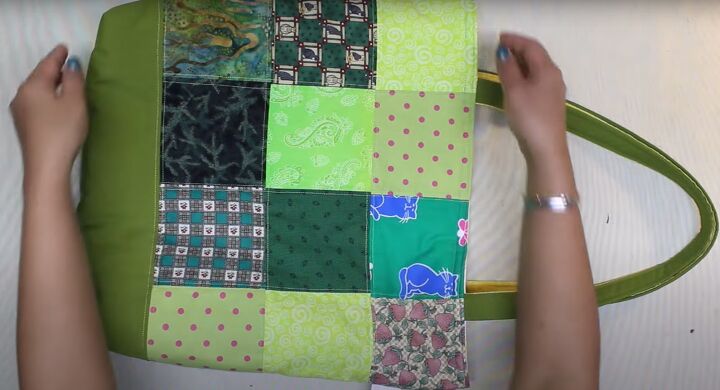
1. Make the patchwork panels
Choose your two basic colors. In my case, it was green and yellow. Divide your fabric into two groups of toning colors.
Cut two identical sets of 12 five inch squares from one of the fabric groups.
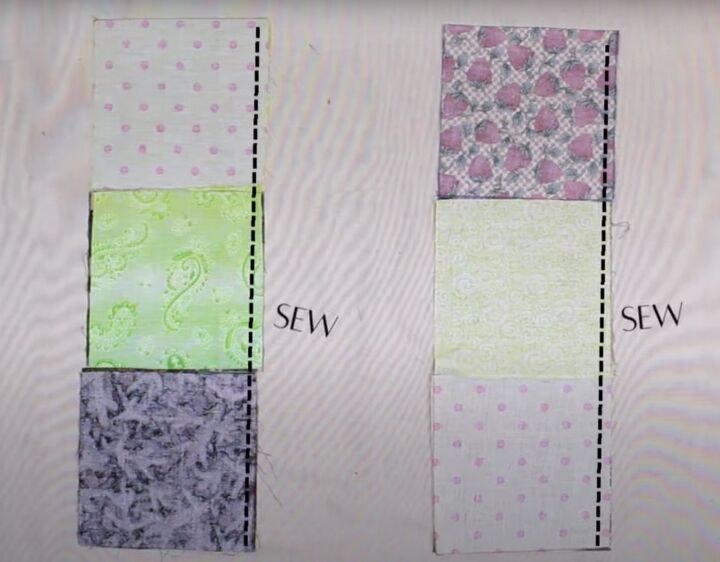
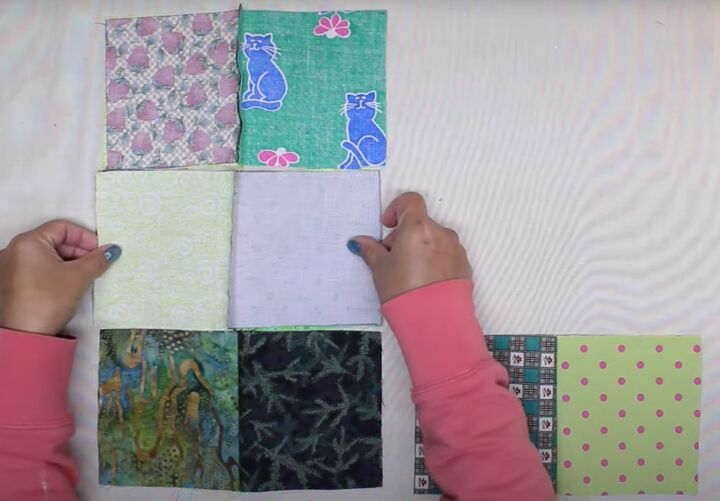
Arrange one set of squares in three rows of four.
Join each square to the one next to it in pairs, with the right sides together.
Sew each pair to the pair next to it in the same way, to create three rows.

Press the vertical seams of each row in alternate directions.
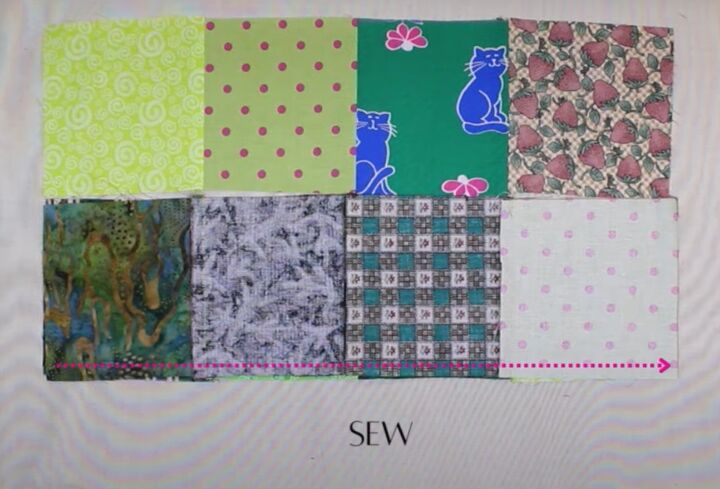
Join each row to the one above and press the seams upwards.
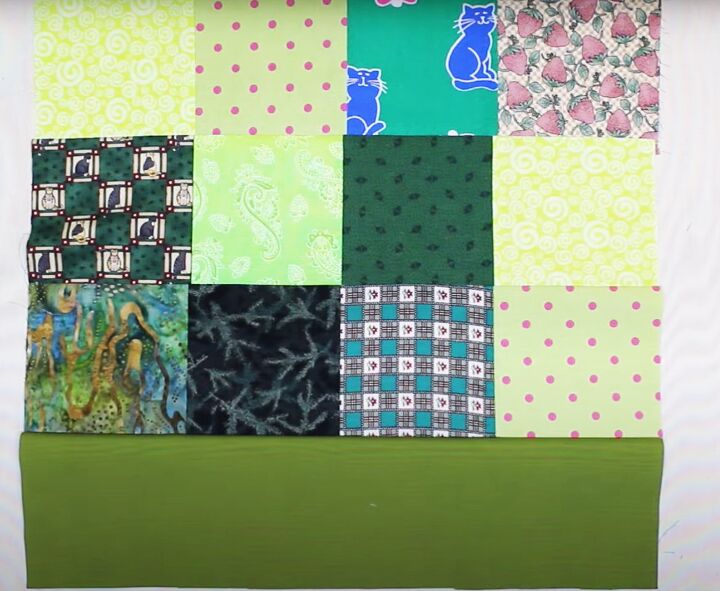
Cut a strip of plain toning fabric 18 inches long by 5 inches deep.
Attach it to the bottom row of squares.
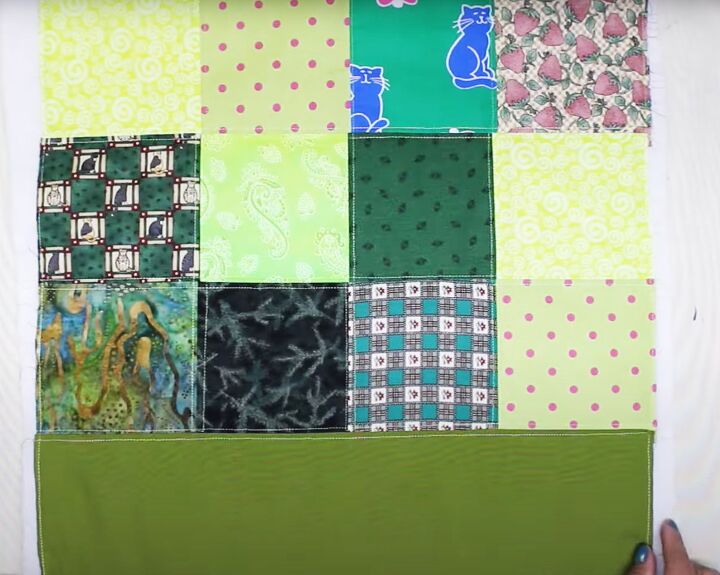
Cut a piece of cotton batting slightly larger than the bag panel.
Sew it to the bag of the patchwork with a row of stitching either side of the patchwork seams and a single row around the outer edges of the panel. Use a stitch length of 3.6 to avoid puckering the fabric.
Trim the batting close to the edges of the fabric.
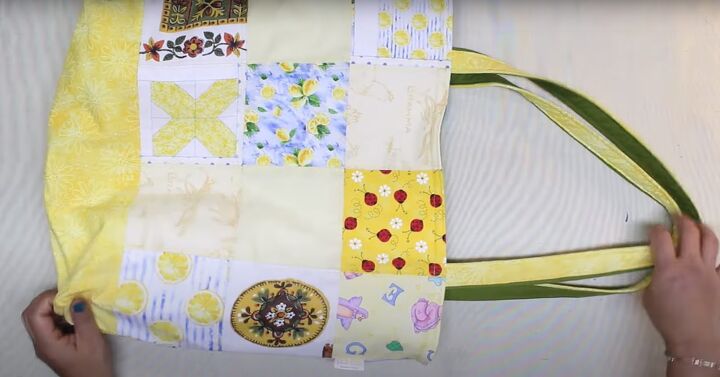
Make a second panel in the same colors.
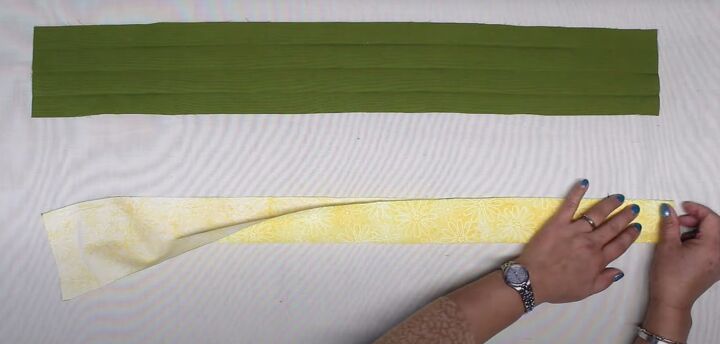
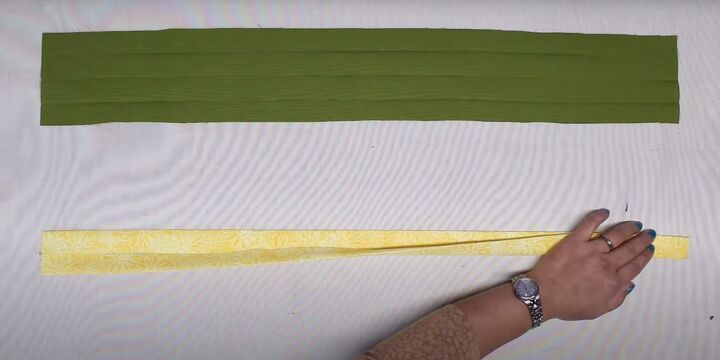
2. Make the handles
Cut one strip of 28 inches by 4 inches from each of the two contrasting colors.
Fold each strip in half lengthways with the wrong side inside, and press.
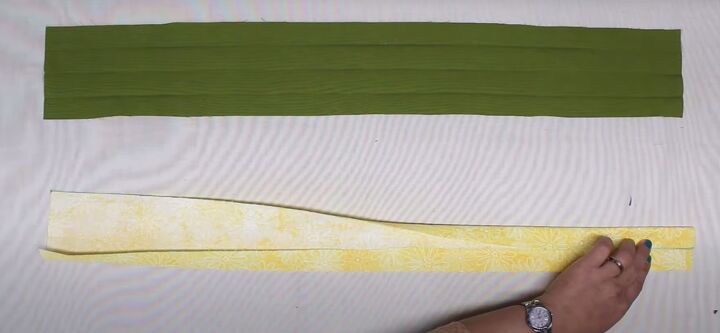
Open the strip and fold both long edges to the centerfold, and press.
Fold the strip in half again lengthways and press.
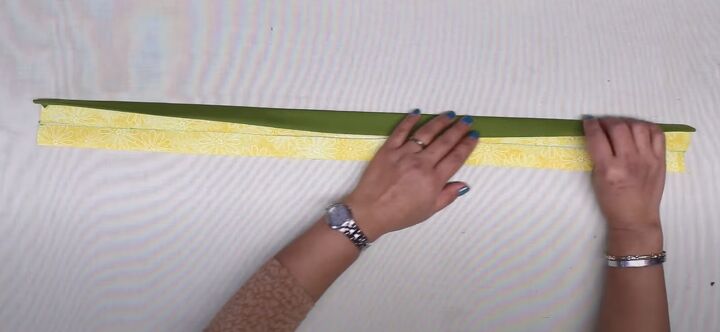
Unfold each strip once.
Place one inside the other up to the center line and fold the top section of the second strip over it.

Then fold the lower section of the first strip up, so you have a two-color handle.
Secure with fabric clips or pins and sew both long edges.
Make a second handle to match.

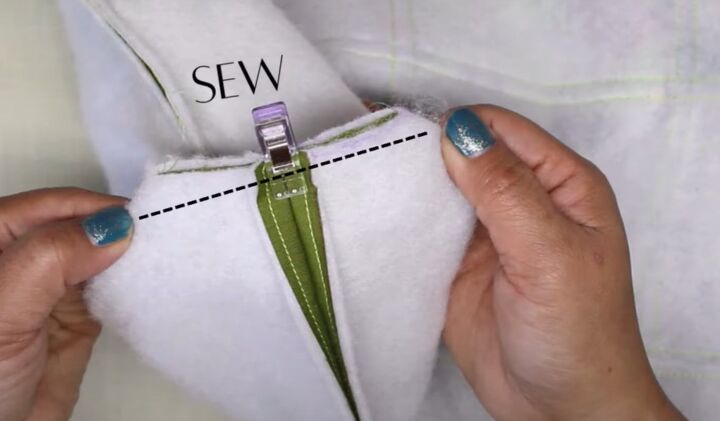
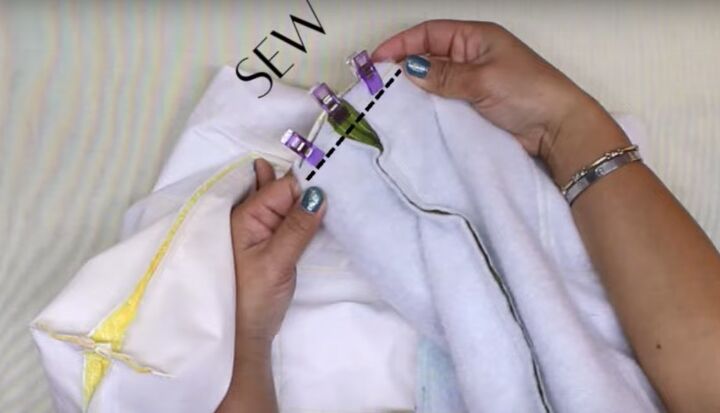
3. Attach the handles
Find the center of the top edge.
Place each end of one handle 3 inches either side of the center, with the ends of the handle extending 1 inch above the top edge.
Pin and sew in place.
Attach the other handle to the second panel.
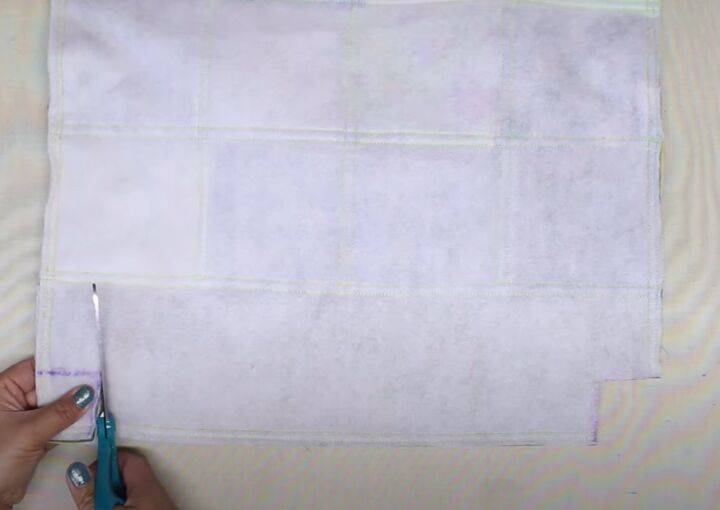
4. Assemble the first bag
Place the two bag panels together with the right sides facing and the handles tucked inside. Sew the side and lower seams.
Cut a 1.5 inch square from each of the lower two corners.
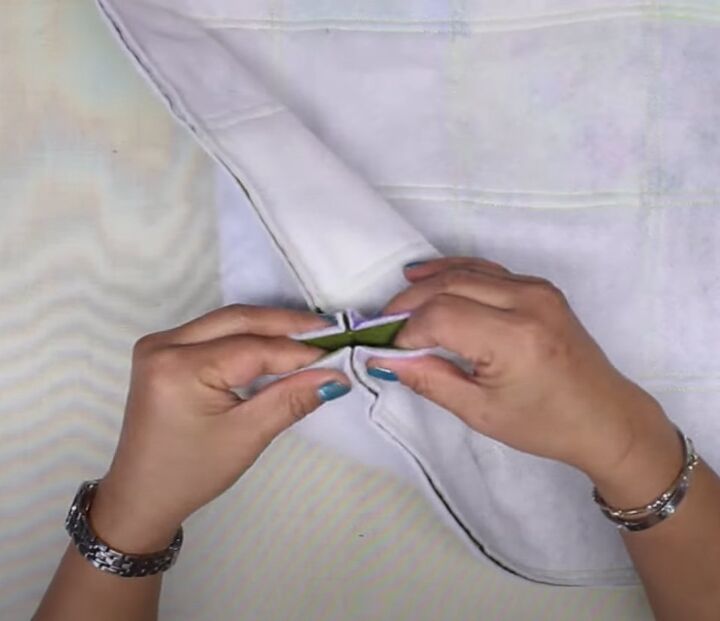
Bring the edges of each corner together with the seams facing each other.
Sew the corners with the seams pressed open.
Turn the bag right side out and push out the corners.
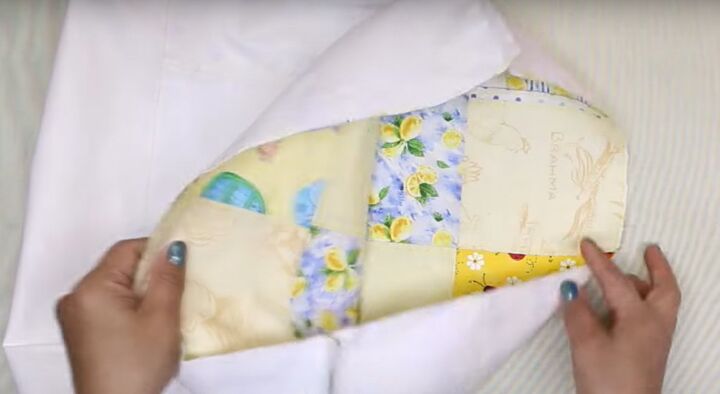
5. Make a second bag
Make another bag in the second colorway. Use the same pattern but without the handles.
I backed the second bag with a plain fabric instead of the batting. A pillowcase would be perfect for this.
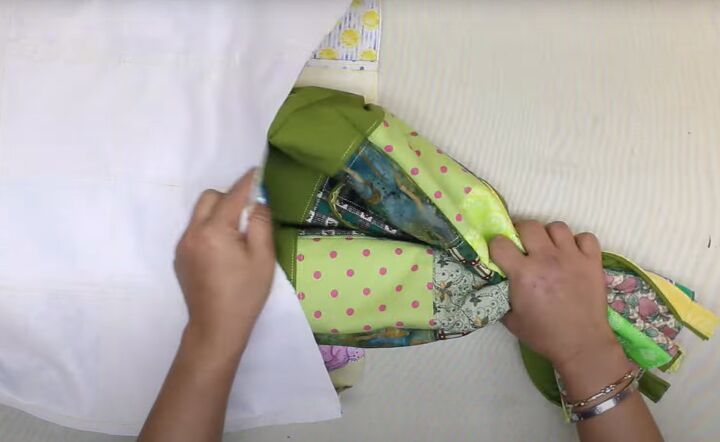
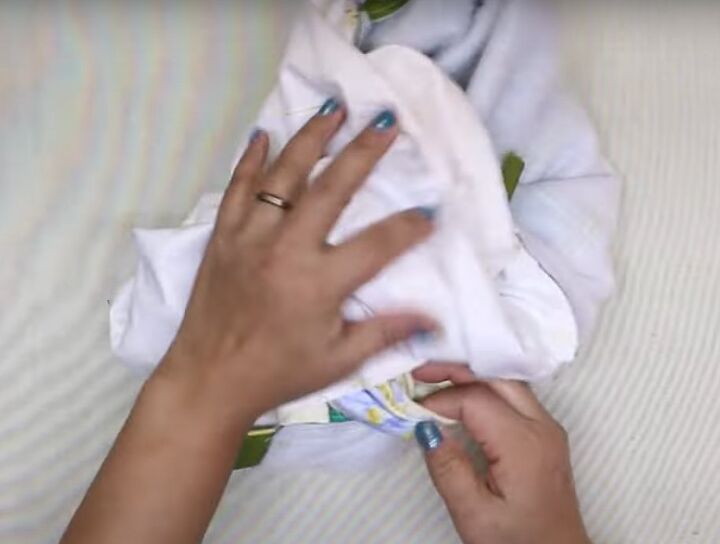
6. Join the bags
Leave the second bag with the wrong side out.
Insert the first bag into it, so the right sides are together.
Match the seams and the top edges.
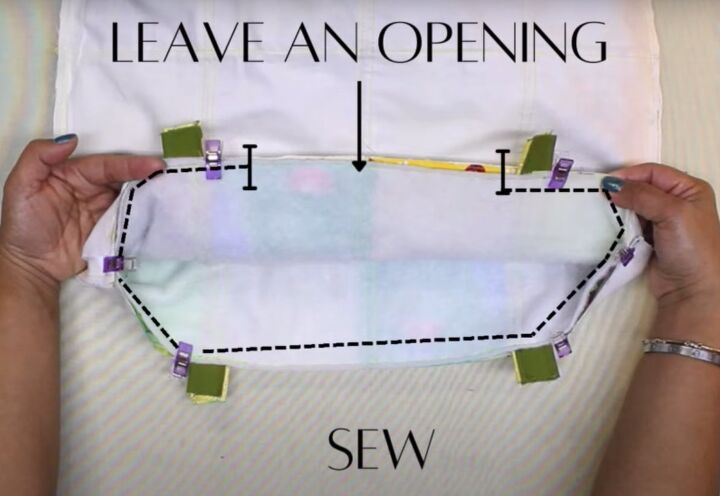
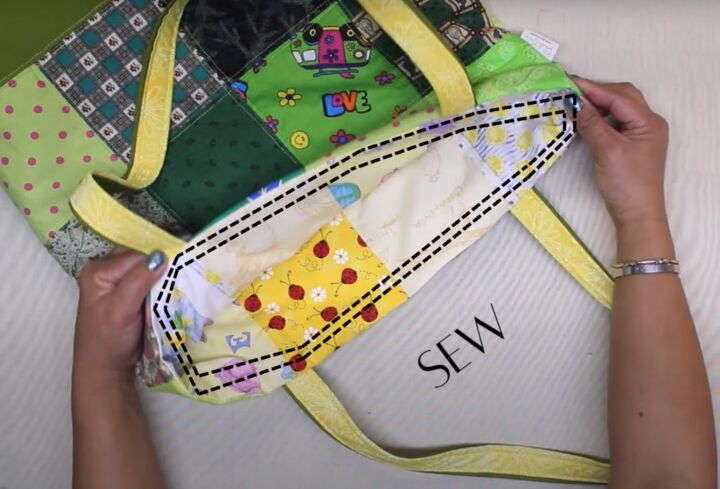
Sew around the top edge, leaving an opening between the handles on one side.
Pull the two bags apart.
Join the corner of one bag to the corner of the other on the same side.
Repeat for the second pair of corners.
Pull the inner bag out through the opening in the top edge.
Push out the corners.
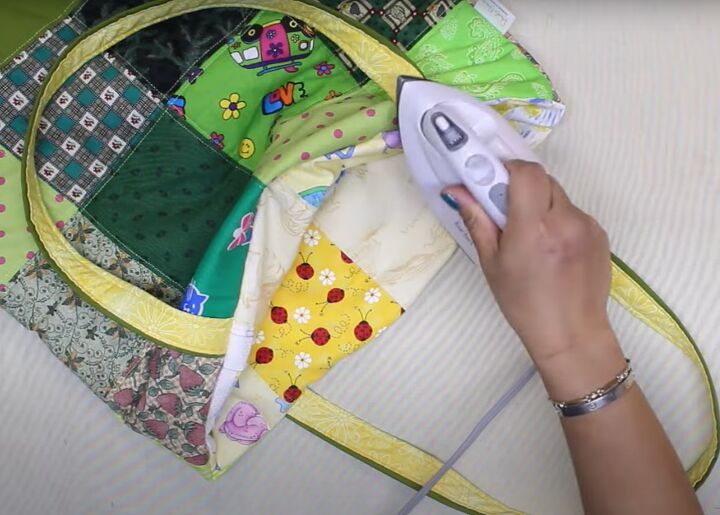
Press the top seam flat.
Sew two rows of stitching around the top edge, making sure the edges of the opening are turned to the inside.
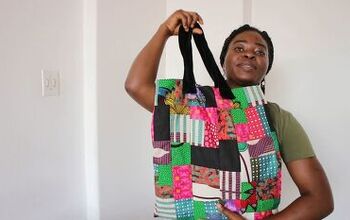
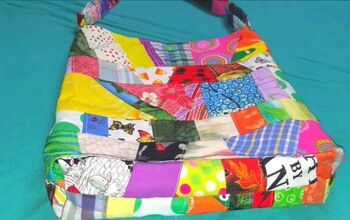
DIY patchwork tote bag
Patchwork bags are a great way to learn the art of combining colors and textures, while upcycling or repurposing materials to be eco-friendly.
I love turning discarded or unused fabrics into a stylish and functional accessory.
Whether you’re a beginner or advanced sewist and quilter, I hope you found something here to inspire your creativity.
I’d love to know what you think of this patchwork tote bag pattern. Please leave me a comment below.
The author may collect a small share of sales from the links on this page.


Comments
Join the conversation