Beginner-friendly Tote Bag Pattern Tutorial With Pockets

Today’s project is a lightweight, unquilted reversible tote bag pattern with six pockets.
I’m making this with strips of fabric in two toning colorways.
I encourage you to use your creativity to combine material in new and interesting ways.
This is a perfect way to upcycle or repurpose your unused fabrics to create something functional and stylish.
Tools and materials:
- Fabric scraps in two colorways
- Small piece of cotton batting
- Ruler
- Scissors
- Pins
- Fabric clips
- Iron
- Sewing machine

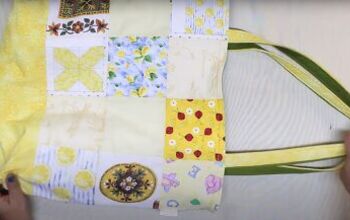
1. Make the pockets
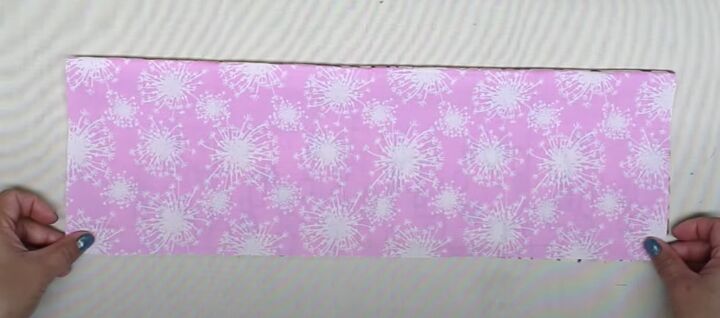
Cut two strips of fabric each 18 inches long by 6.5 inches deep.
Join them along one long edge with the right sides facing and press the seam open.
Fold them with the wrong sides inside and press the seam flat.
Topstitch just inside the seam.
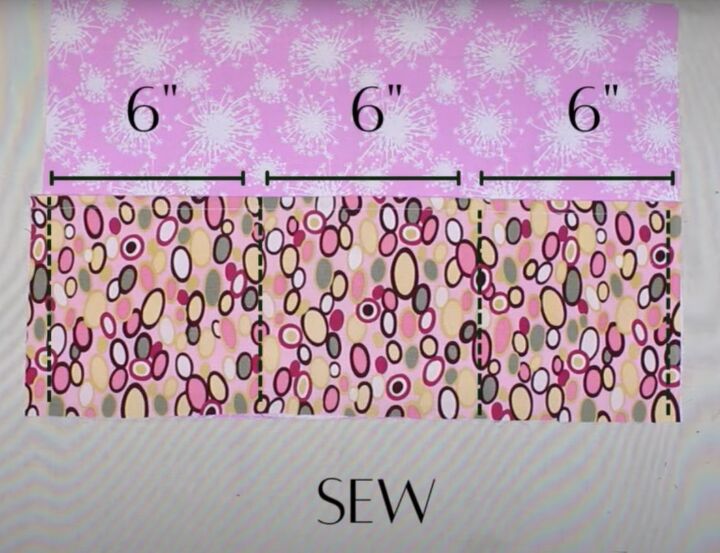
Cut a rectangle of toning fabric 18 inches by 12 inches.
Place the strip over it, lining up the bottom edges.
Sew down each side of the strip.
Make three 6 inch wide pockets by sewing two vertical rows of stitching 6 inches apart.
Repeat with the same fabrics to make a second pocket panel.
2. Make the bag panel
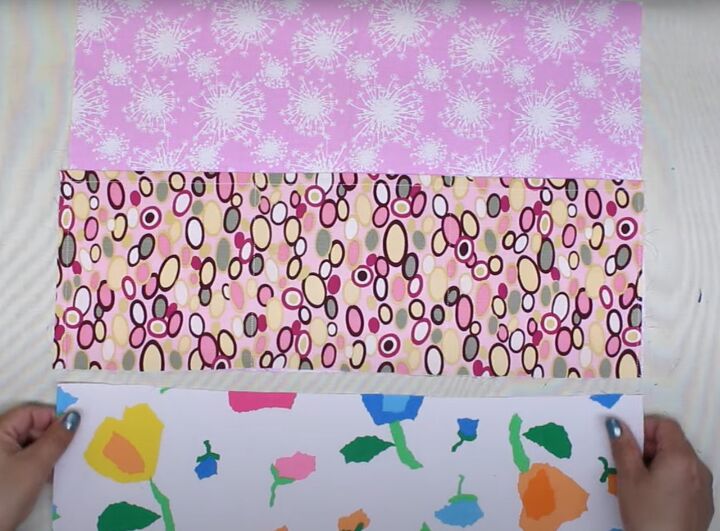
Cut another toning fabric into a strip 18 inches wide by 6 inches deep.
Attach it to the lower edge of the pockets, with the right sides together.

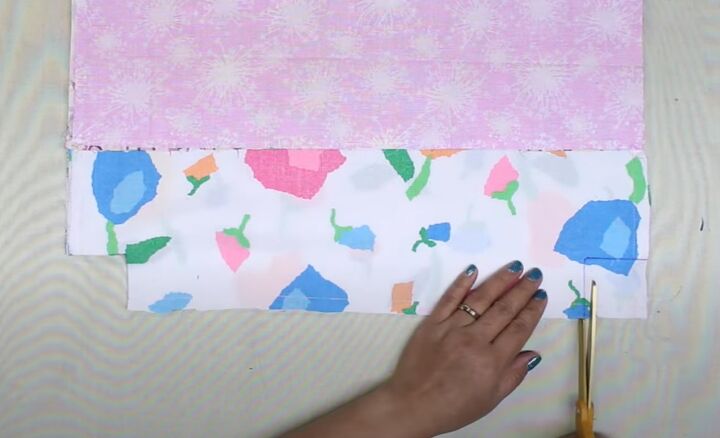
Press the seam flat.
Topstitch across the fabric below the seam.
Complete the second bag panel to match.

3. Make the panels for the second bag
Cut three different fabrics into strips to make two more panels in the same way.

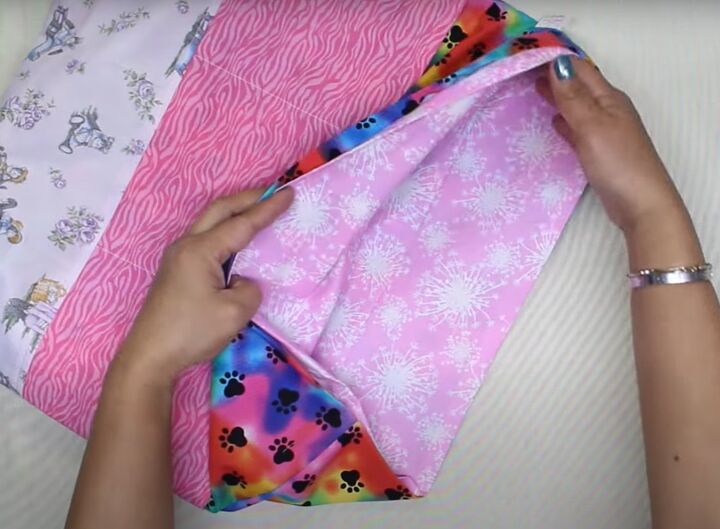
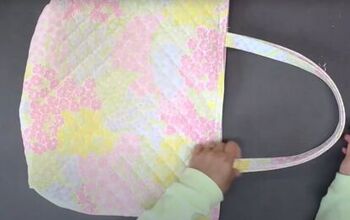
4. Assemble the bags
Place each pair of panels together with the right sides facing.
Sew the side and lower seams.
Place the two bags on top of each other.
Cut a 2 inch square from both lower corners through all four layers.
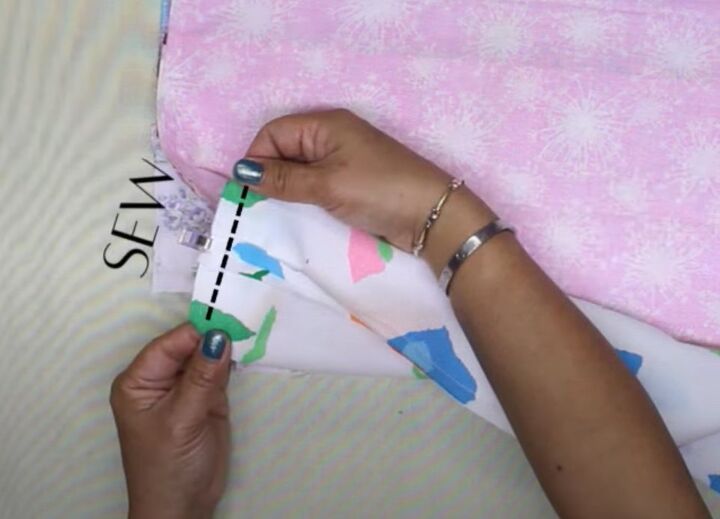
Bring the edges of each cut-out together diagonally, matching the side and lower seams.
Opening the seams flat, pin and sew each corner separately.
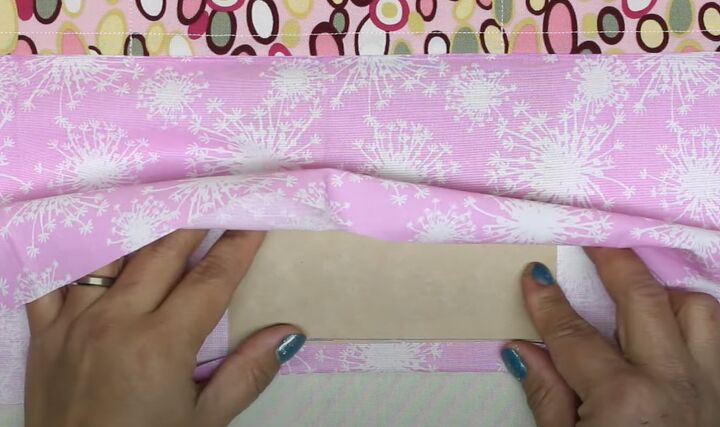
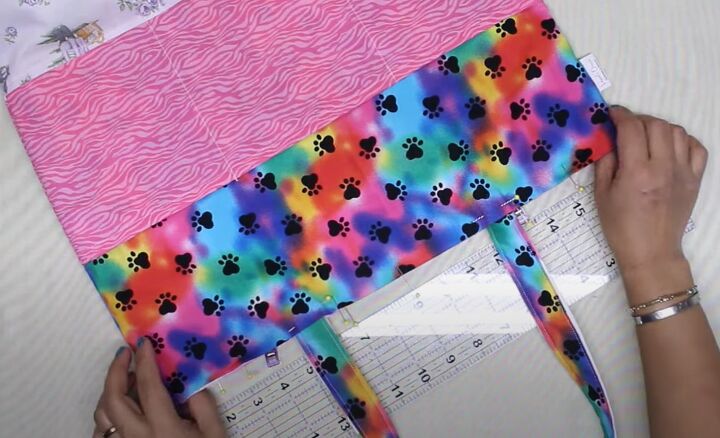
Turn in and press the top edge of each bag by half an inch.
You can measure this or use a cardboard template, as I did. It’s important that the fold is even on each bag and the same depth on both.
Give both edges a final press.

5. Make the handles
Cut one strip of fabric 26 inches long by 2 inches deep from each colorway.
Cut a single strip of cotton batting 26 inches long by 1 inch deep.
Use a large zigzag stitch to attach the batting to the center of the wrong side of one of the fabric strips.
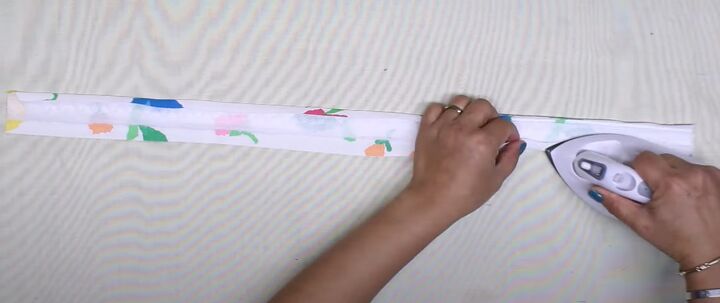
Fold both long edges of the strip over the batting and press in place.
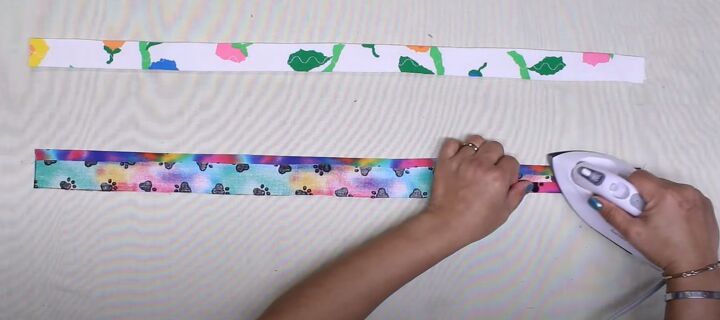
Turn the long edges of the second strip in by half an inch and press, omitting the cotton batting.
Place the two strips together with the wrong sides facing and sew both long edges.
Make a second handle in the same way.
6. Attach the handles
Turn one bag wrong side out.
Place it inside the other bag, which should be right side out, so the wrong sides are touching.
Line up the side seams and the top edges. Pin the top edges together.
Find the midpoint of the top of the bags on each side.
Place the ends of one handle 3 inches either side of the center mark on one side of the bag.
Make sure the side of the handle facing upwards matches the fabric of the bag on the outside.
Insert the ends between the top edges of the two bags by 1 inch.
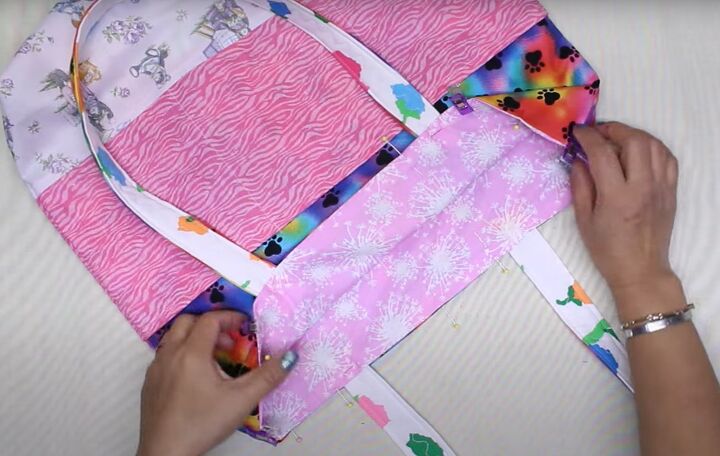
Repeat with the second handle on the other side of the bag.

Sew two rows of stitching around the top edge, without leaving an opening.


Tote bag pattern with pockets
I love coming up with DIY tote bag ideas for you and I hope you enjoy this latest one.
If you’re more advanced, you could add a backing of cotton batting to one or both of the bags, to make them stronger.
I think there’s always a place for a simple, lightweight tote bag though. It’s less bulky and easier to fold up and put inside a purse.
What do you think of this one? I’d love to hear from you in the comments below.
Next, check out my Quick and Easy DIY Hair Scrunchie Tutorial.
The author may collect a small share of sales from the links on this page.


Comments
Join the conversation