Easy Fringe Jacket: Make It Yourself

Jackets are the perfect accessory for almost any weather. Given this, I decided to make a basic fringe jacket to spice up my wardrobe!
Tools and materials:
- Denim jacket
- Non fray fabric
- Scissors
- Tailor’s chalk
- Lining
- Zipper

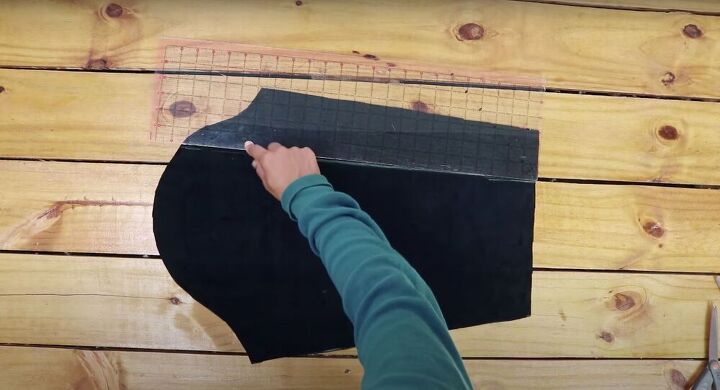
Prepare your fabric
To get the right pattern. I simply traced a denim jacket I already have that fits me well. Then, following the pattern above, I measured and cut out my fabric.
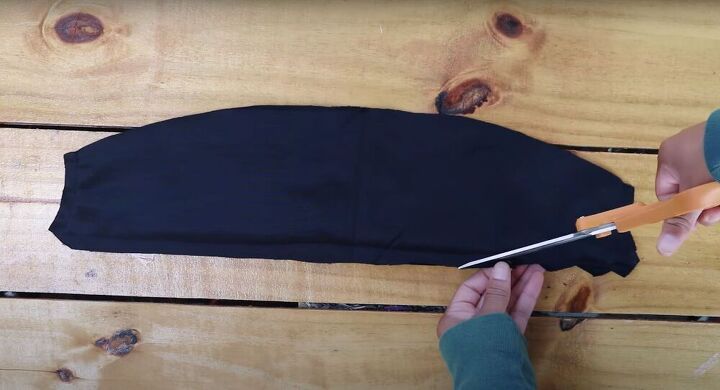
Cut your fringe
Lay the fabric of your sleeve flat and use a ruler to mark where you want the end of your fringe to reach. I have my fringe ranging three inches from the edge and four inches from the armpit. Next, cut out a piece of fabric that is the measurement you used for your fringe (miunus 1.5 inches for seam allowance). Add a half inch back on for seam allowance. In the end, my fringe fabric was 21 inches by six inches. Remember that your fringe needs to be cut from a non-fray fabric - I went with faux suede. Finally, use some scissors to cut small lines in the fabric (leaving an inch at the end) along the entire length of the fabric until you’ve created a fringe.
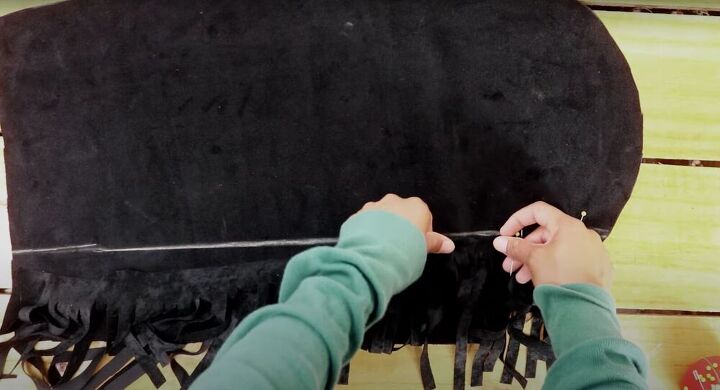
After cutting the fringe, place it on the sleeve (right sides together) and pin it in place. To pin, fold the edge over half an inch. Make sure that you still have space for the seam allowance and hemming on both ends of the sleeve. Sew the fringe in place.
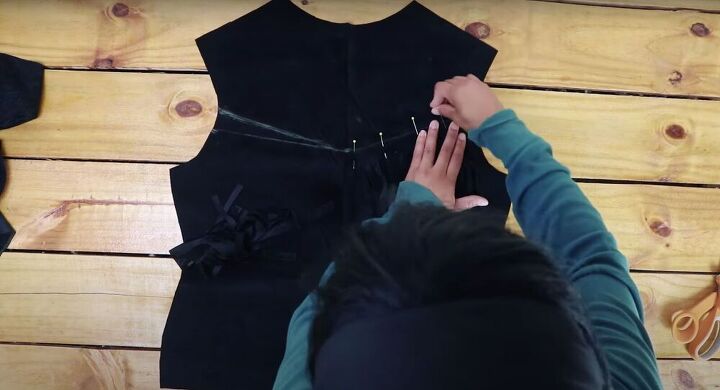
Add the back fringe
To add the fringe to the back fabric, mark where you want the fringe to go. Remember that the fringe on the sleeves will align with the fringe on the back, to make sure to measure up the placement. Next, cut out two pieces of fringe (each the length of the center of the jacket to the arm) and cut out your fringe. Pin the fringe to the jacket (on an angle) and sew.

Add the front fringe
Repeat the same process for the fringe on the front. Mark where you want your fringe to go, trace out the placement, measure the fringe, cut out your fabric and then your fringe. Pin the fringe to the front of the jacket and sew in place.
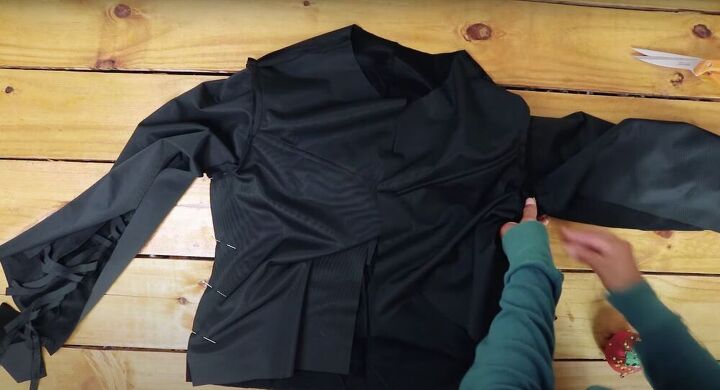
Connect the sleeves
To connect the jacket, place the front pieces over the back ones, right sides together. Align the shoulders, pin in place and sew. Next, open the jacket so the right sides are facing up and pin the sleeves on to the body. Sew the sleeve in place.
Close the jacket
Fold the jacket over so that it’s inside out and pin down the sides and sleeves. Sew the jacket closed.
Create your collar
Following the same steps we used to connect the jacket, connect your lining. Next, build the collar by placing the two collar pieces together (right sides facing) and sew the sides and top edge. The curved edge should be left unsewn. Once that’s done, cut the corners off the collar pieces and cut small triangles into the secured edge. Now, turn your collar right side out and top stitch around the sides and top edge. Finally, pin the collar to the neckline. (Find the center of the collar by folding it in half).
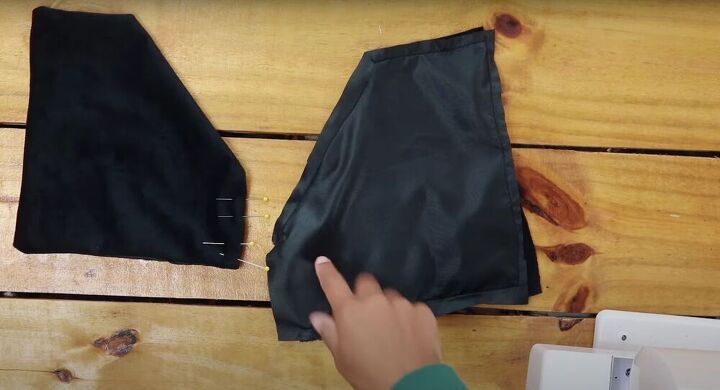
Connect the pockets
For the pockets cut two lining pieces and two outer pockets. Sew the lining and outer pockets together, right sides facing (just remember to leave one side open so that you can pull the pocket right side out). Then, turn the pocket right side out, fold the open edge in and sew. Pin the finished pockets to the jacket - I pinned mine two inches from the bottom and 1 ¼ inches from the edge. At this point, go back and sew the collar onto the jacket, followed by the pockets.
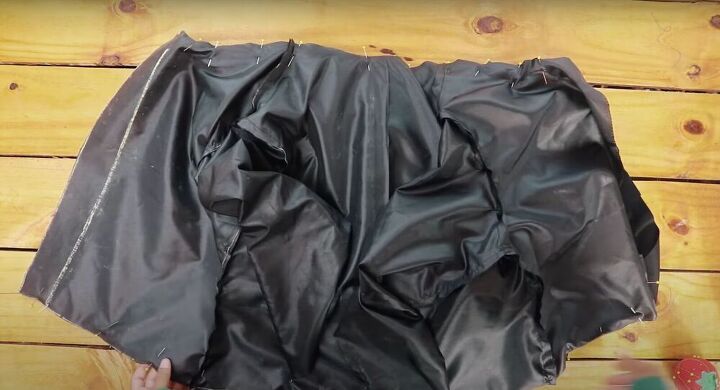
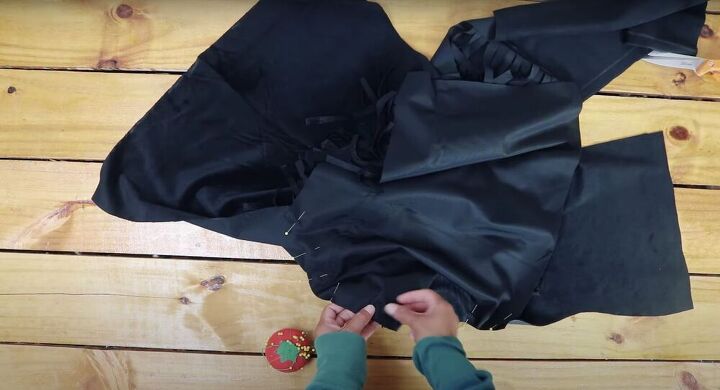
Connect the lining
Pin the lining to the jacket along the bottom and collar seam, right sides facing (make sure the collar is facing inside the jacket). Sew the pinned areas. Next, lay the jacket flat and cut the lining to fit the length of the jacket. For the sleeves, place the edge of the sleeve and the lining sleeve together (with both sleeves inside out) and pin. Sew the sleeves together around the perimeter of the sleeve holes.
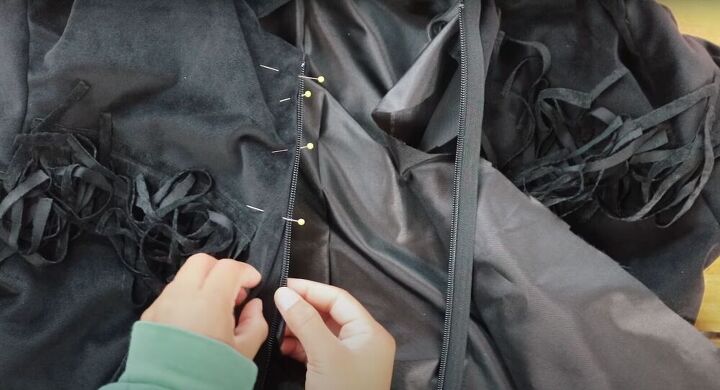
Finish the jacket
Pin the zipper to the jacket, folding in the raw edges. Make sure the zipper is properly aligned on each side and pin it in place. Next, sew the zipper into the jacket using a zipper thread. Finally, finish the jacket by topstitching along the bottom, the sleeve holes and around the neckline.

Finished DIY fringe jacket
I’m really happy with how this fringe jacket turned out and hope it inspires you all to give it a try. If you liked this fringe jacket tutorial and gave the project a try, I’d love to hear all about it!
The author may collect a small share of sales from the links on this page.


Comments
Join the conversation
Very cute!
Good job, looks very nice.