This Easy-to-Make Ruffle Scarf Also Works as a Fierce Bolero Jacket!

Today’s tutorial is going to be a really interesting one. I’m going to be showing you how to make a fabric ruffle scarf that can also function as a ruffled bolero jacket!
To make this easy ruffle shawl, you can use any fabric you’d like, as long as it’s soft and easy to ruffle up. So let’s jump right in.
Tools and materials:
- 2 Yards of soft fabric
- 4 Yards of ribbon
- Scissors
- Pins
- Safety pin
- Measuring tape
- Sewing machine
1. Measure
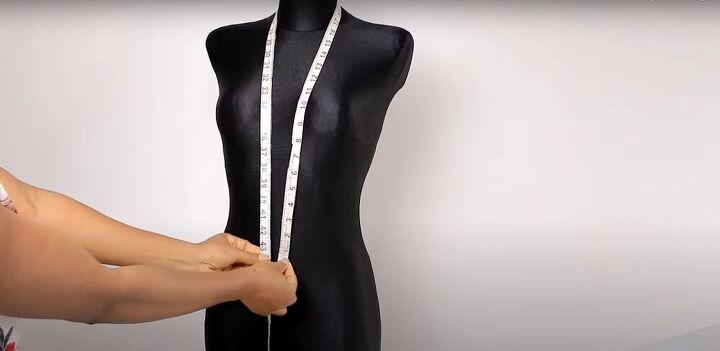
Before cutting, you need two measurements for the length and width of the shawl. You can quickly measure these on your own body.
Place the tape measure around your neck and take it to your belly button. You can also take it a little above or below, depending on how low you want the bottom to be.
Next, gauge the width of the scarf by placing the measuring tape where you want the collar and shoulder to sit. The middle should be at the nape of your neck. So, if the 4-inch mark is at the nape of your neck, the full width should be 8 inches. I used 10 inches.
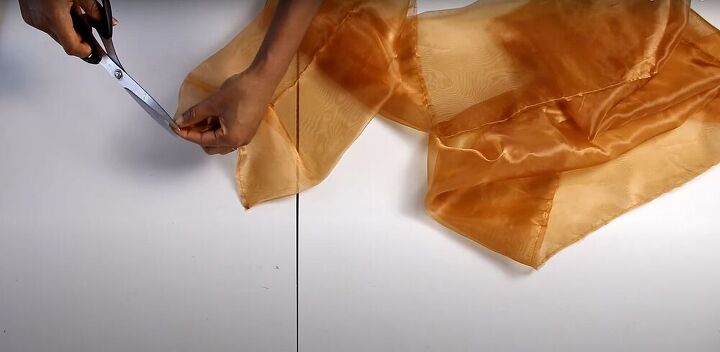
2. Cut
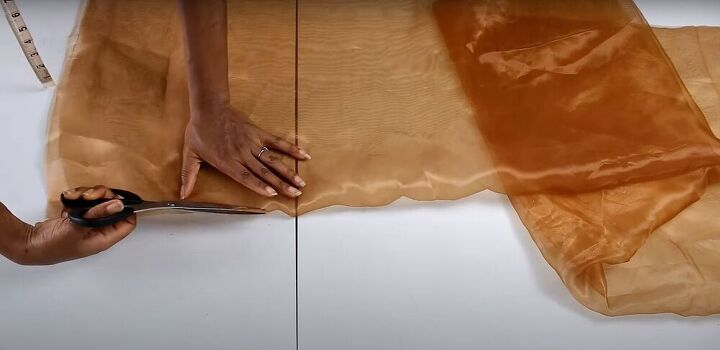
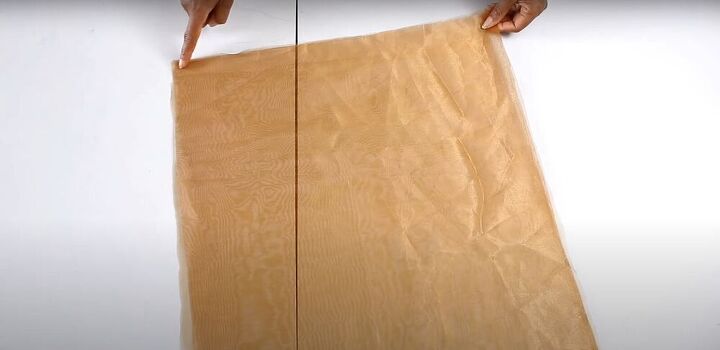
Cut two strips of fabric with the width measurements along the entire two yards of fabric.
3. Sew
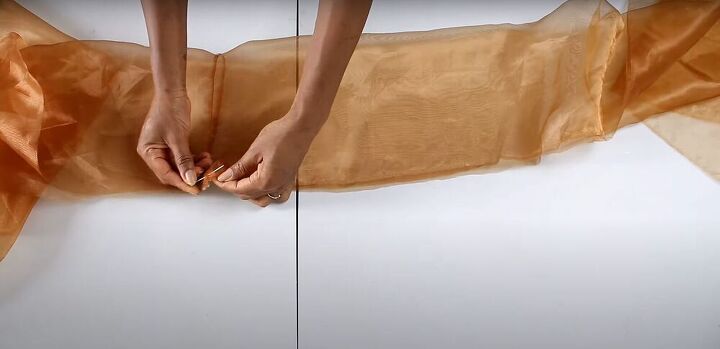
Sew the two lengths of fabric together along one short edge.
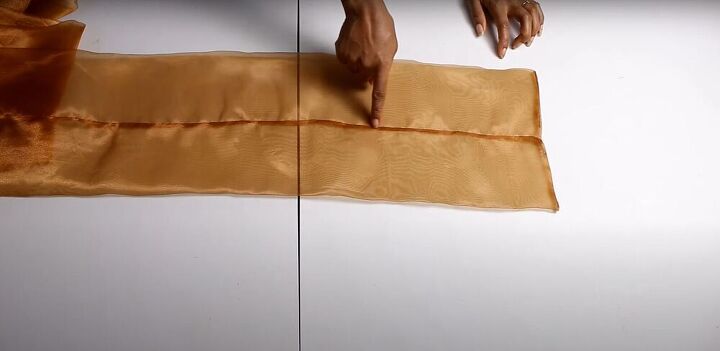
4. Pin and sew
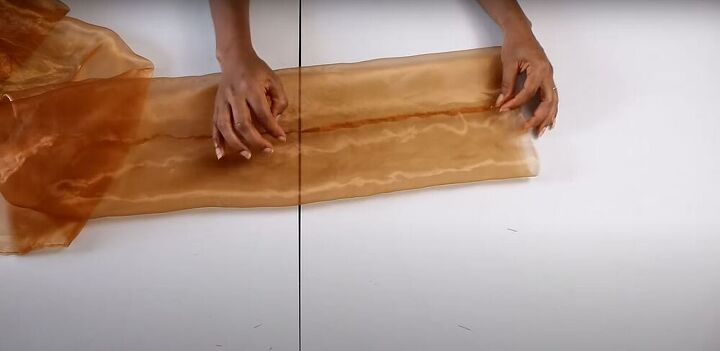
Once the fabric is sewn together, fold the entire length of it in half, right sides together. Make sure to match up the middle seams and pin down the open edge.
Then, sew the open edge down as close to the edge as possible, with about a quarter of an inch of seam allowance. Be sure to leave a 4-inch gap in the stitching, so you can turn the fabric later.
5. Adjust
Next, adjust the fabric so the seam is in the center. Depending on how you want your shawl to lay, you may want to place the seam farther to one side or the other.
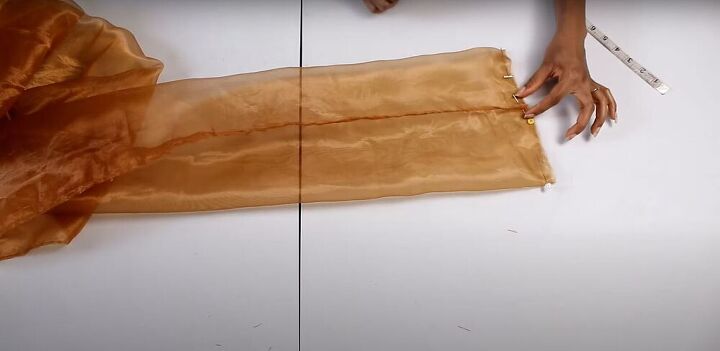
6. Pin and sew
Pin the ends closed and sew them down, leaving 0.75 inches unsewn on either side of the center seam.
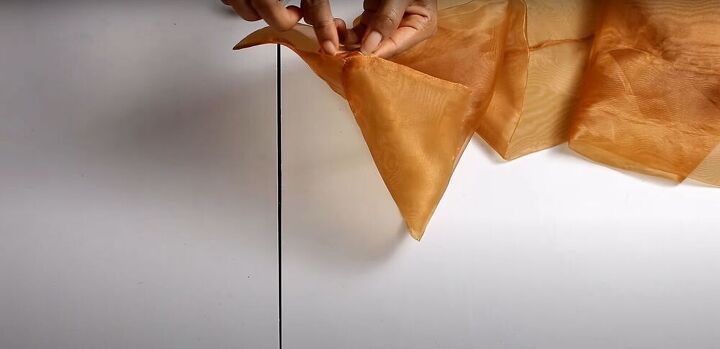
7. Snip, turn, and press
Once the ends are sewn, snip the corners, turn the fabric right side out, and press it flat.
8. Hem
Before making the channels for the ribbons, hem the raw edges of the small openings on either end of the shawl. You can do this by hand, or very carefully on your machine.
9. Stitch in the ditch
Next, sew down the center of the shawl, stitching directly over the center seam to hide the new stitches.
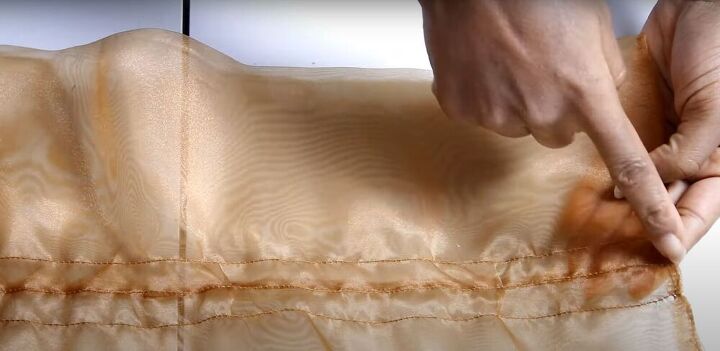
10. Sew channels
Then, sew two more rows of stitching on either side of the center seam, down the entire length of the shawl. Each row should be 0.75 inches from the center seam.
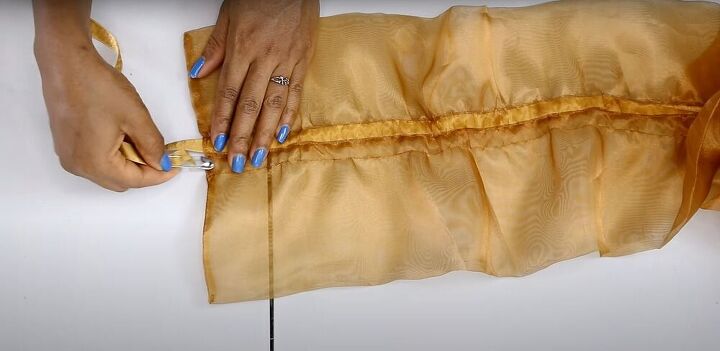
11. Insert ribbons
Once the channels are sewn, insert the ribbons into them. Use a safety pin to guide the ribbon through the fabric from one end to the other.
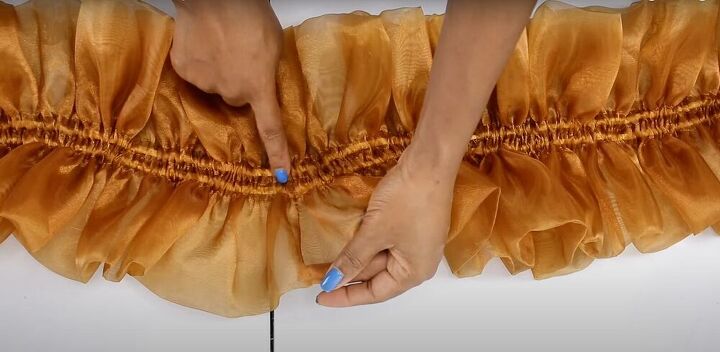
12. Sew
To prevent the ribbons from being pulled out, find the center of the shawl and sew across the ribbons at that point to secure them.
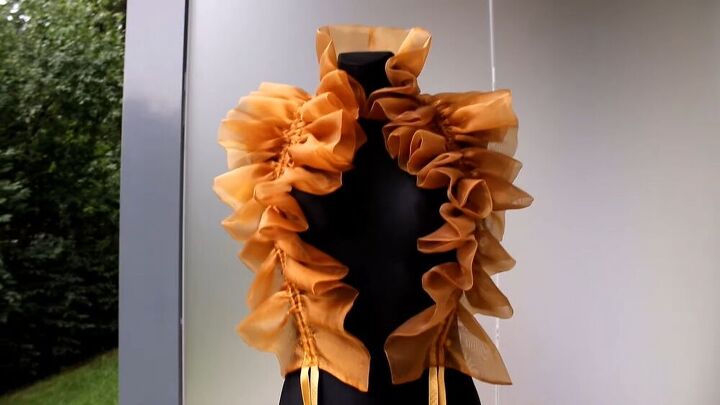
And that’s it! I cannot believe how fantastic this ruffle scarf/bolero jacket turned out.
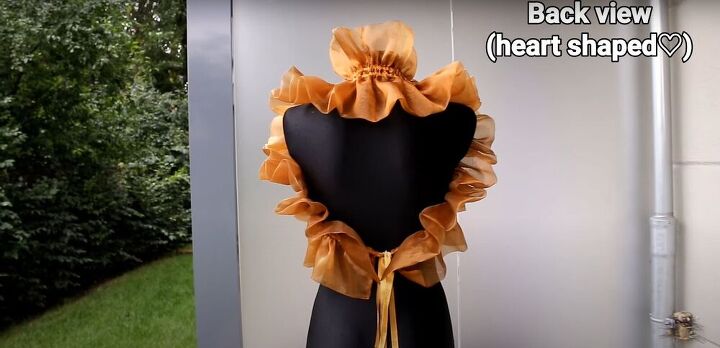
There are so many different ways to wear this, and it’s just such a fun piece to add a unique vibe to an otherwise drab outfit. How would you style this shawl? Ruffle scarf, bolero jacket, or something else?
If you use this tutorial to make a ruffle shawl of your own, I would love to see your results!
The author may collect a small share of sales from the links on this page.


Comments
Join the conversation
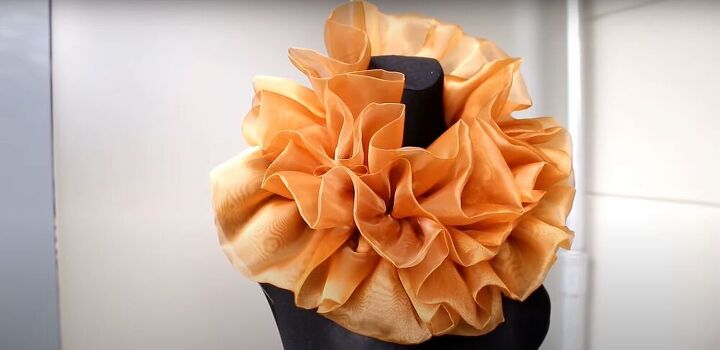
Love this! The idea is great & the fabric you used is fabulous. The slight sheen and translucence is really wonderful to add some Pow! to an outfit! Thanks.
It looks beautiful and so chic ❤️