How to Sew a Circle Coat: A Cozy, Short Coat Perfect for Winter

One of the hottest (pun intended!) trends is a circular coat. This flattering style can be worn by everyone and always looks good. If you’ve been wanting to sew your own coat and been seeking a sewing coat tutorial, you’ve found it!
Let me show you how to sew a coat you can be warm and cozy in all winter long!
Tools and materials:
- Coat fabric - 2 yards
- Bias binding
- Measuring tape
- Tailor’s chalk or marking pen
- Clips
- Scissors
- Hook and eye
- Needle and thread
1. Make the pattern
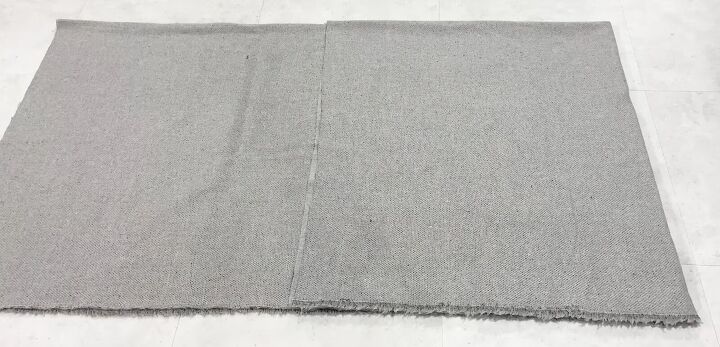
Lay the fabric on a flat surface. Fold in half, right sides together. Then fold the folded fabric in half the other way.
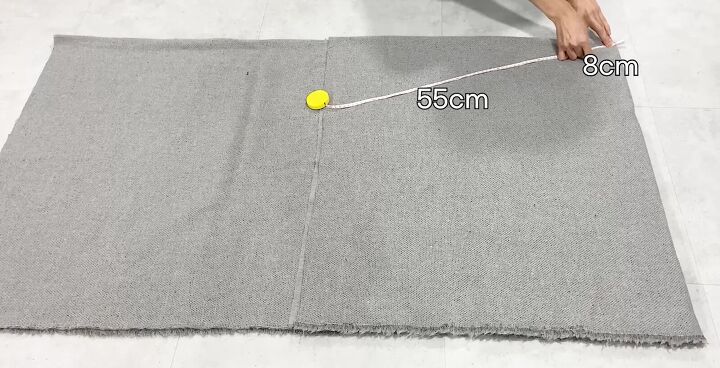
At the top of the edge of the fold, measure in from the fold 3¼ inches. From that part, measure 22 inches down. Mark the fabric at these points.
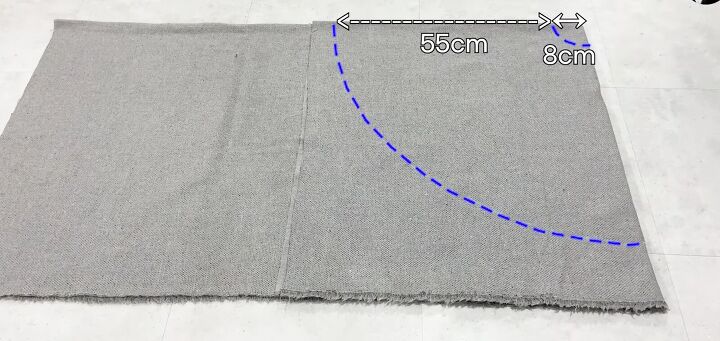
Continue these measurements across the span of the fabric. You’ll end up with a small circle at the top and a larger one at the bottom.
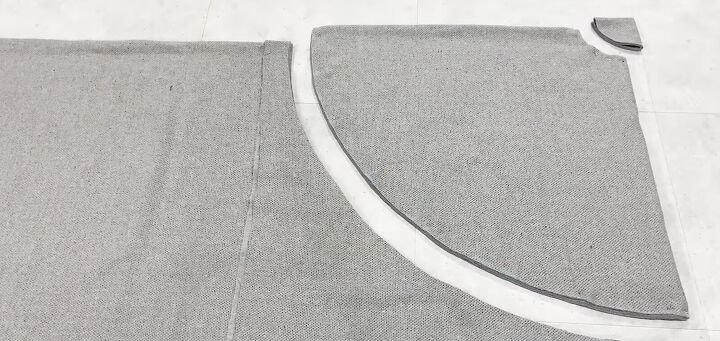
Cut through all 4 layers of fabric.

Then fold over the top fold just a few inches and cut across the fold.
2. Make the circle coat
Open up the folded fabric. It will look a full circle with a split down one side.
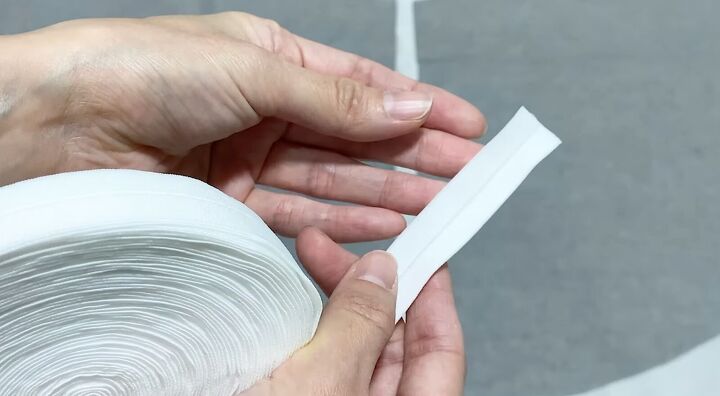
Fold the bias tape or bias binding around the front lapels.
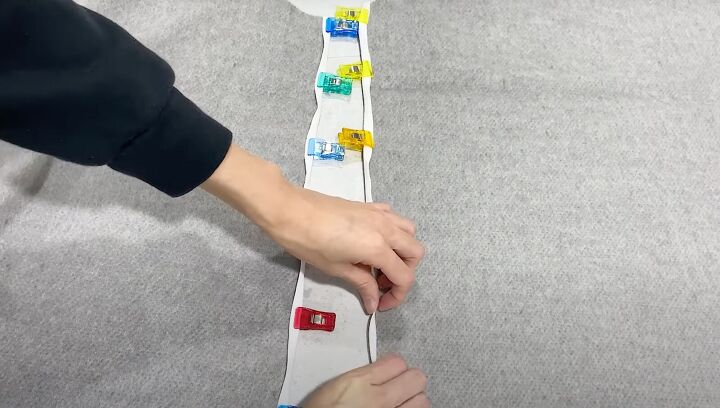
Sandwich the coat fabric in between the bias tape. Clip in place.
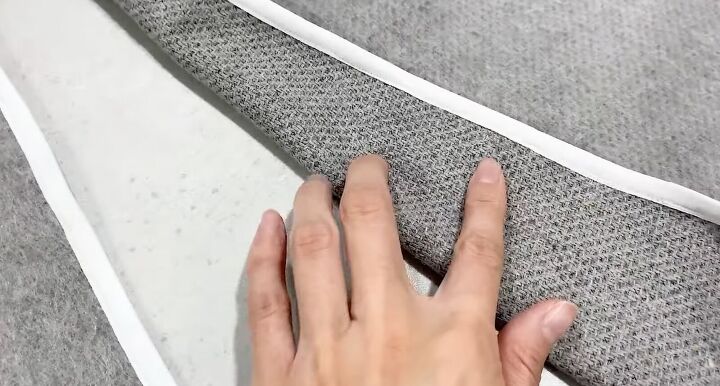
Topstitch the tape.
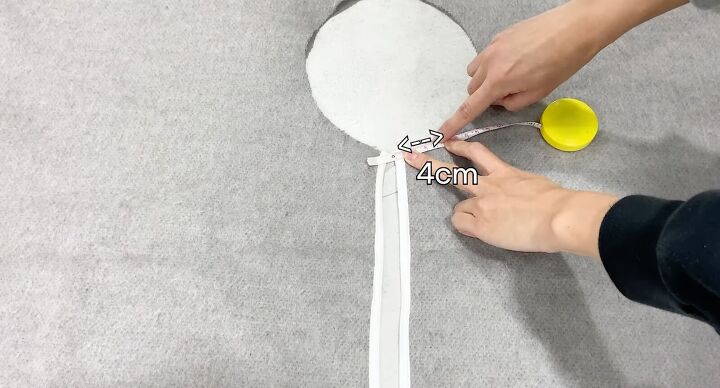
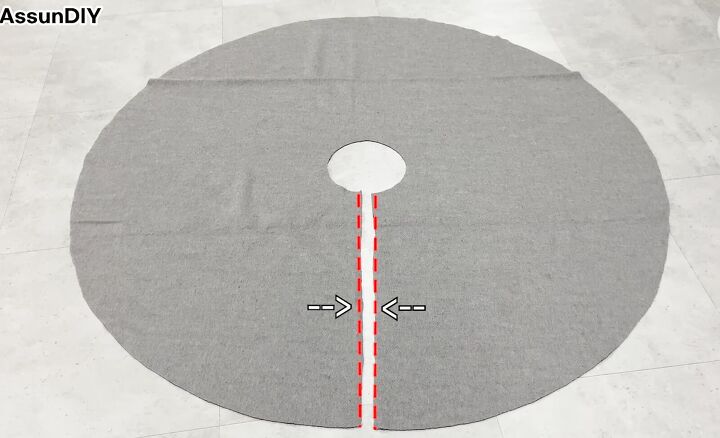
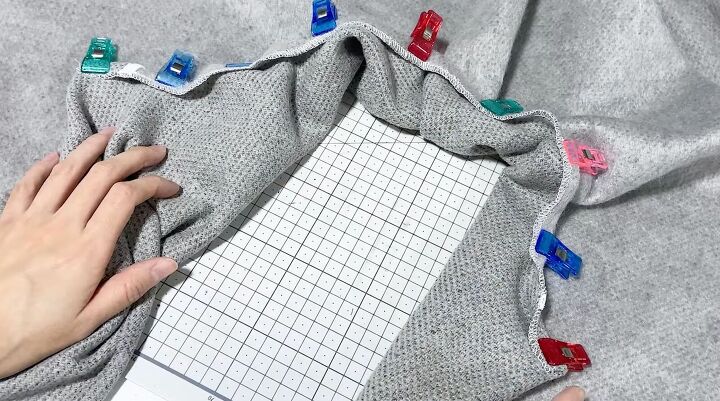
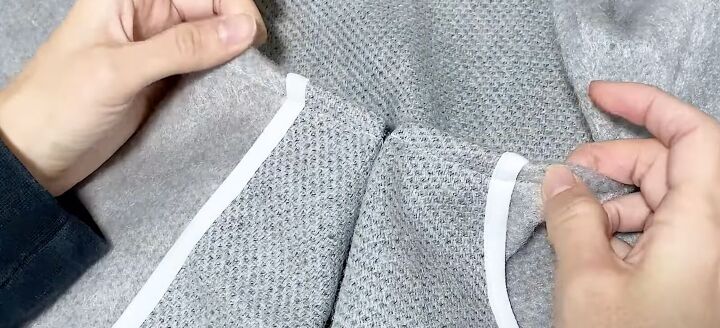
At the neckline, measure in 1½ inches on both sides of the opening.
Fold over the fabric to that mark.
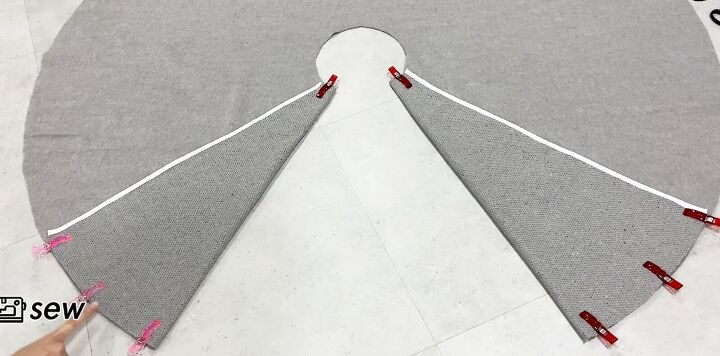
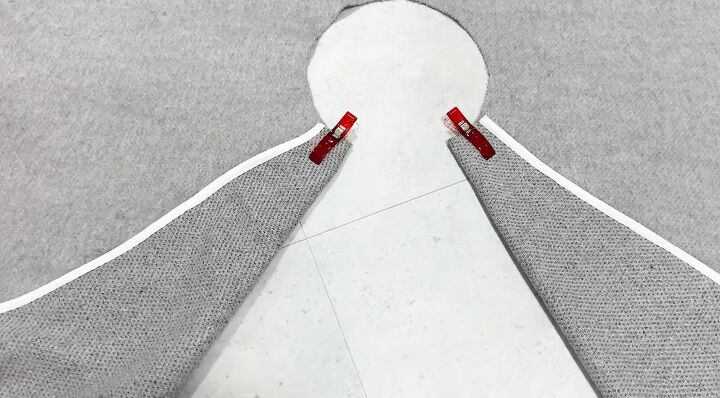
Clip in place on top and on bottom. Sew the clipped areas together with a zigzag stitch.
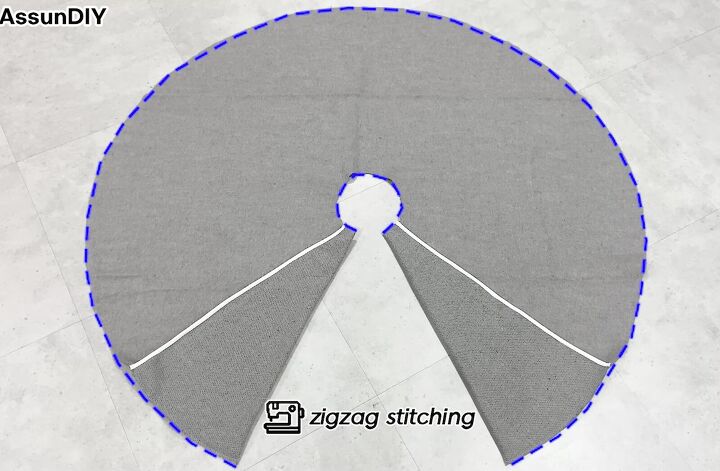
Then zigzag stitch the neckline and the hem all around.
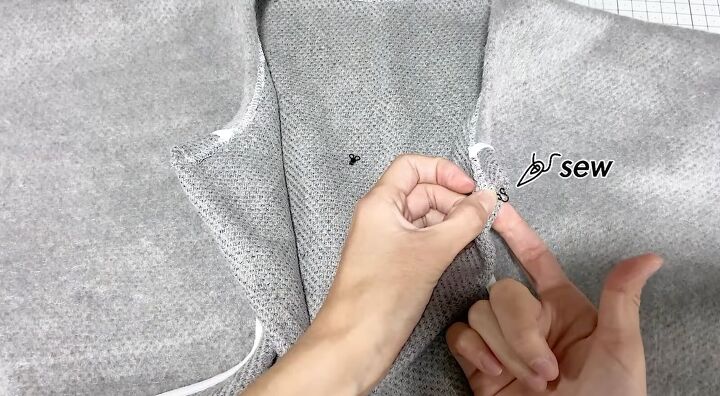
Turn the coat to the wrong side facing up.
Fold the neckline in and clip in place. Sew with a straight stitch.

Single fold the hem. Clip in place. Sew with a straight stitch.
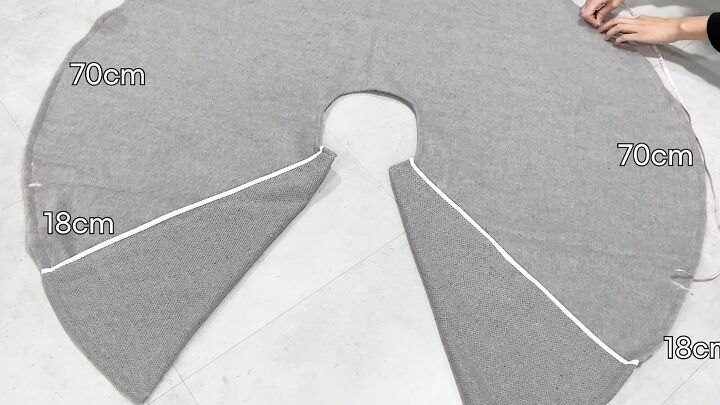
Turn the coat so the right side is facing you. On the left side of the circle, from the front opening, measure 7 inches and then 27½ inches. Mark. Do the same on the right side.
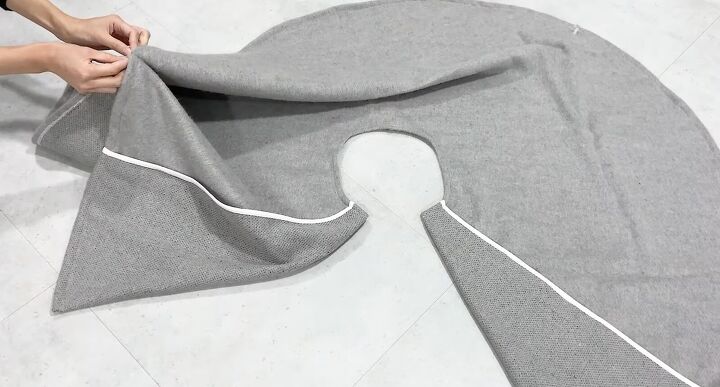
On each side, pull the marks toward each other. Pin these marks together.
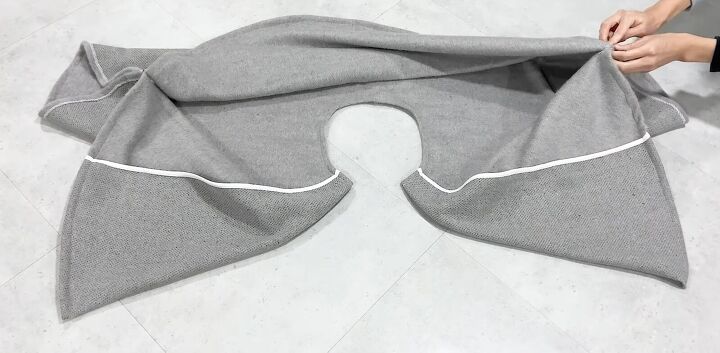
Turn the coat to the wrong side.
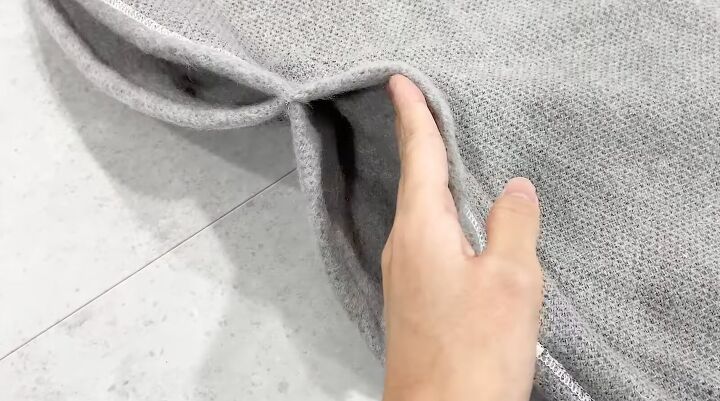
Sew these two spots in place. Flip it right side out.
3. Add the closure
Hand-sew a hook and eye closure right at the top.
This keeps the coat closed!
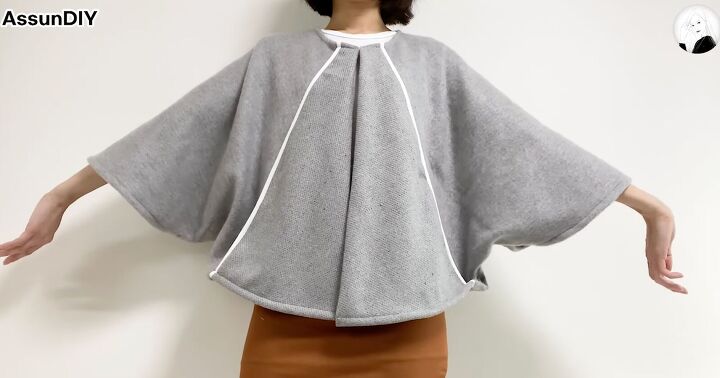
How to sew a circle coat tutorial
A gorgeous circular coat that’s perfect for chilly days! I hope this coat cutting and sewing tutorial helped you sew this pretty circule coat.
Please let me know in the comments if you made it and how many compliments you got for it!
The author may collect a small share of sales from the links on this page.


Comments
Join the conversation
So neat! Am I right that the fold overs in front create kind-of pockets?
What a unique and inspirational jacket! My cold hands would be slipping into the front lapels as soon as I hooked it on, just like Joy Smithing wrote!