Not Your Average Tamarack Jacket
Never sewn the Tamarack Jacket before? Cool, me neither. So have a read below on how I conquered this pattern, and all the self-inflicted variations that produced my now favourite item of clothing.

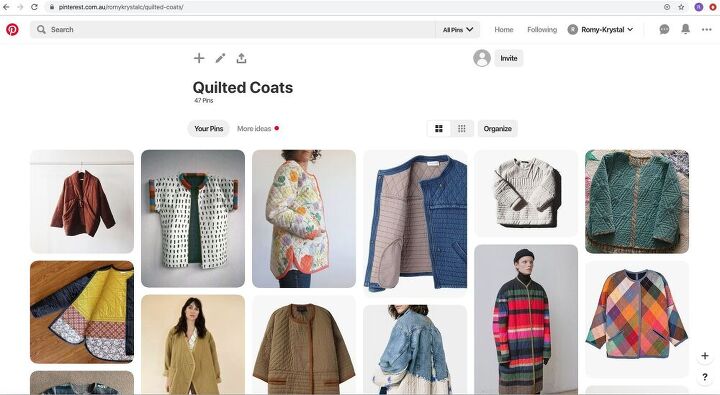
This is the longest journey I’ve had on a sewing project. All up, it took about 2 months from concept to completion. I started shifting through Pinterest and Instagram lusting over all the incredible coats out there. Some with intricate quilting designs, some super simple, some with loud print patterns and others in the basics; i.e., army green and denim. That was the simple part really: deciding what I wanted.
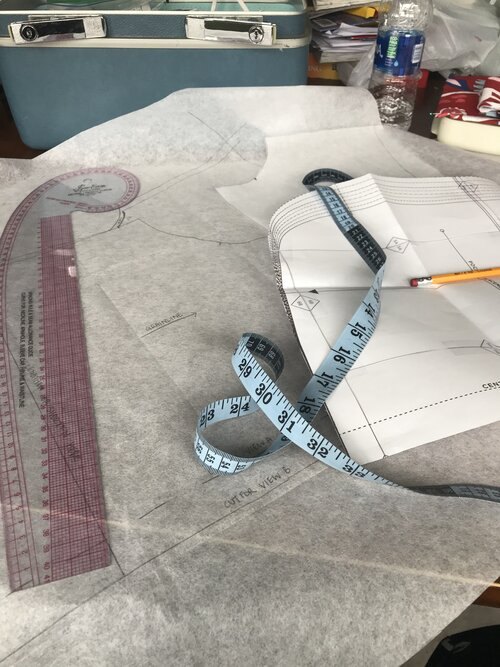
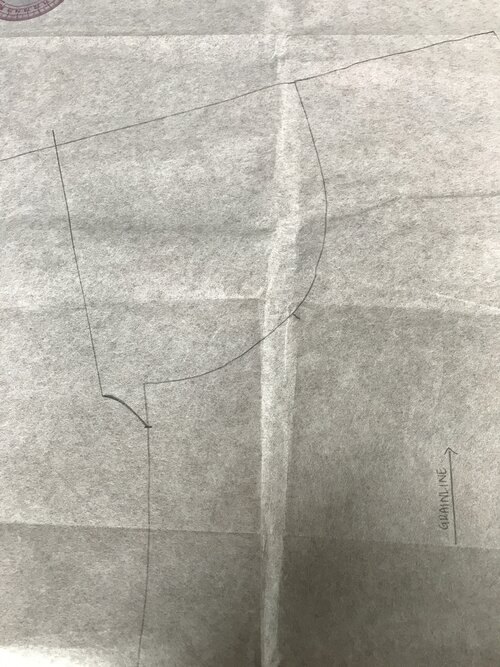
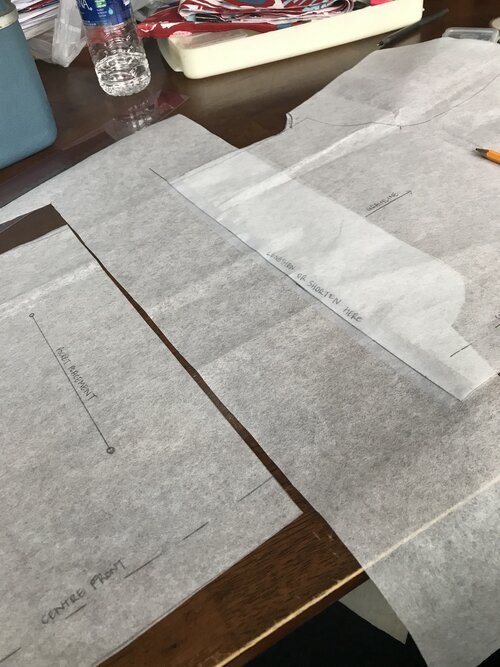
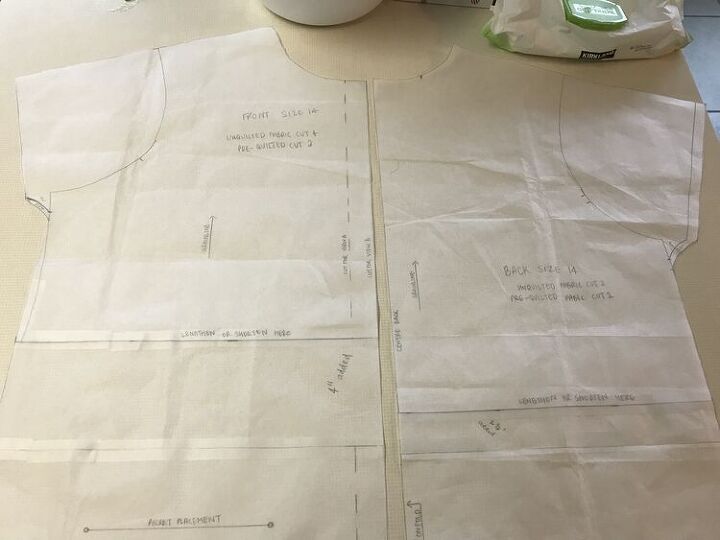
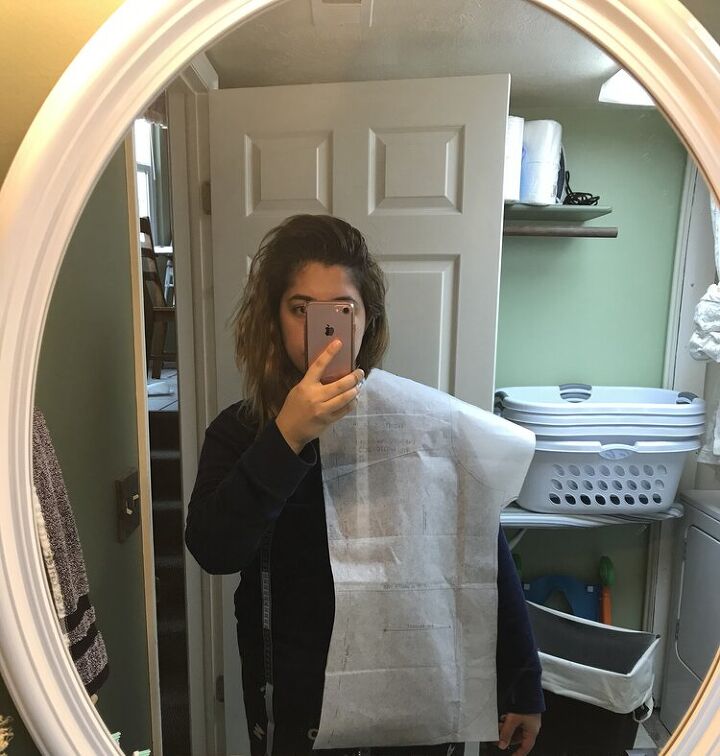
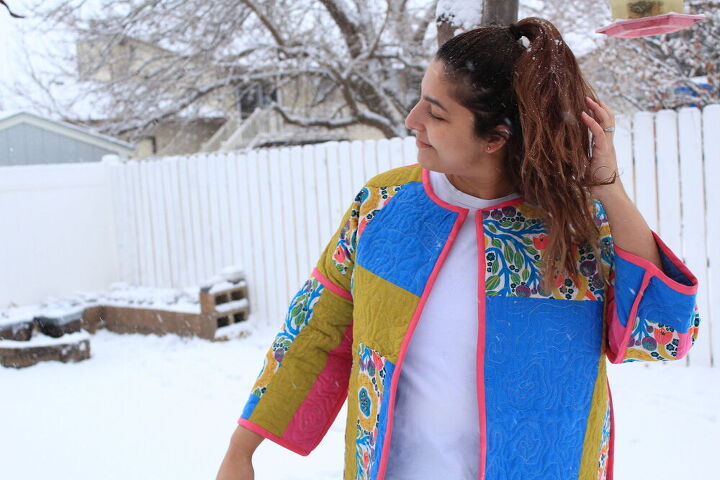
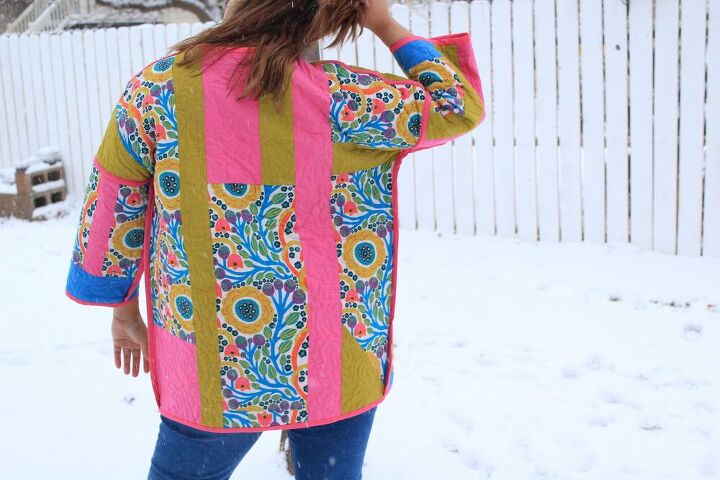
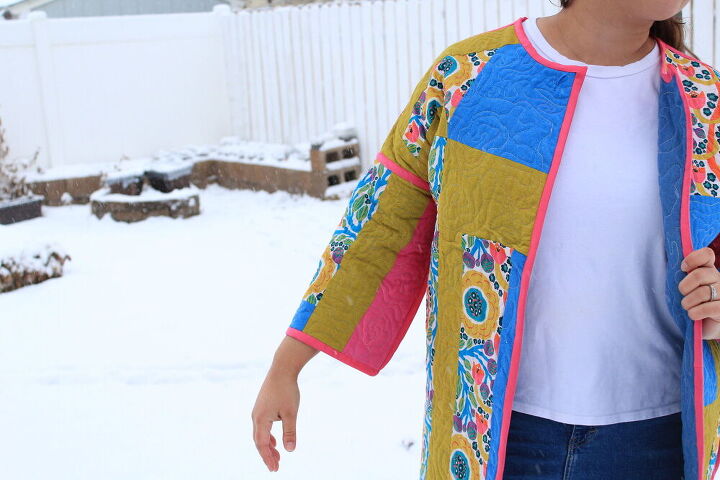
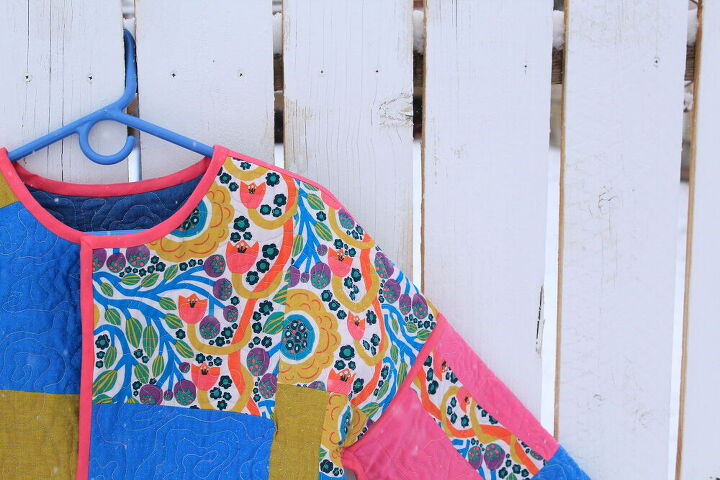
Even though I love the Tamarack Jacket from Grainline Studios in its own right, I knew that I wanted a drop sleeve, a fun quilting design and for it to be reversible. Now bear in mind, I didn’t know how to do a single one of my self-imposed demands. Why would I want to punish myself like this? Well simply put, I'm stubborn. So, the first step was figuring out...WHAT THE HELL I WAS DOING. Enter Caramiya, a lovely friend I made on Instagram (@ caramiyamaui). She's extremely talented, and I thought I'd take a chance to ask if she could help. I mean it's not like we live almost 3000 miles away from each other. No biggie. I was just determined to get this coat going. To my pleasant surprise, she was more than willing to help. So, she showed me how to alter the pattern to what I wanted, and I drafted my drop sleeve version. How did she show me? Well, she literally showed me by sending me VIDEOS! Bless modern technology, and bless Caramiya! I cut out the size 14 initially and for the fit that I was after I think I could have cut out the size up just because I was making it reversible and would want a little more wiggle room once the bias went in. So, I made note of that for next time; adding a little extra room specifically under the underarms. Oh sheesh...I totally forgot, I lengthened my Tamarack too; about 4 inches I think!
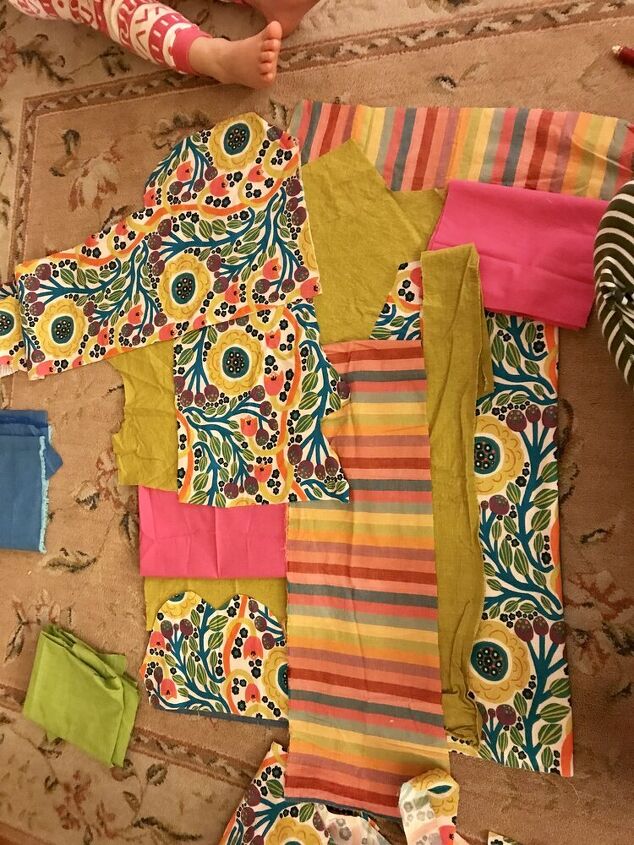
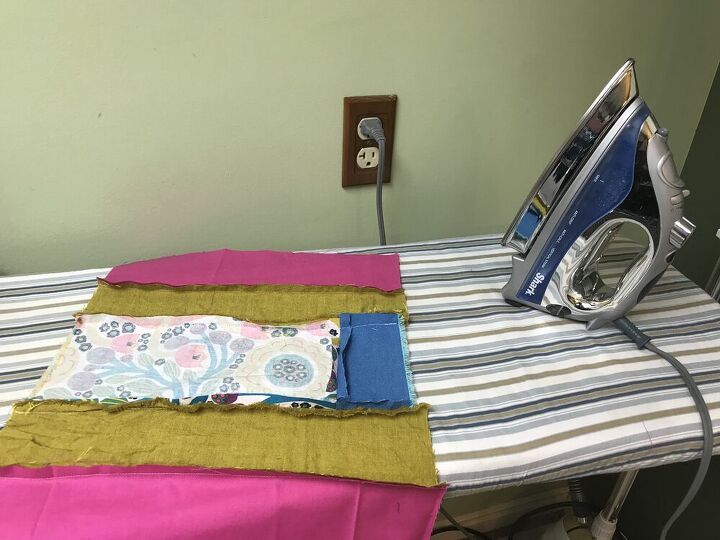
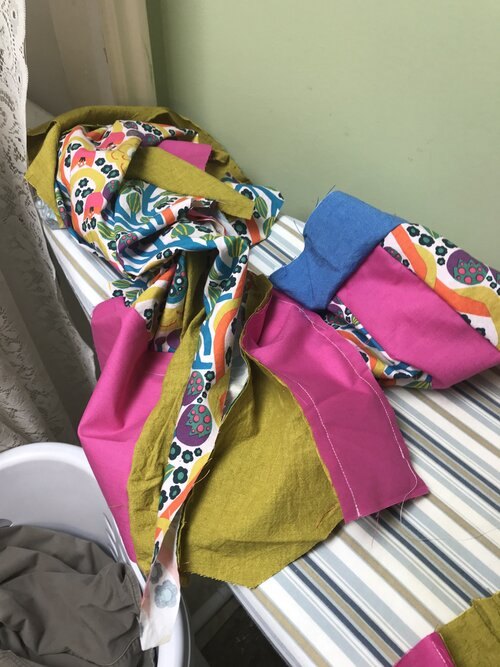
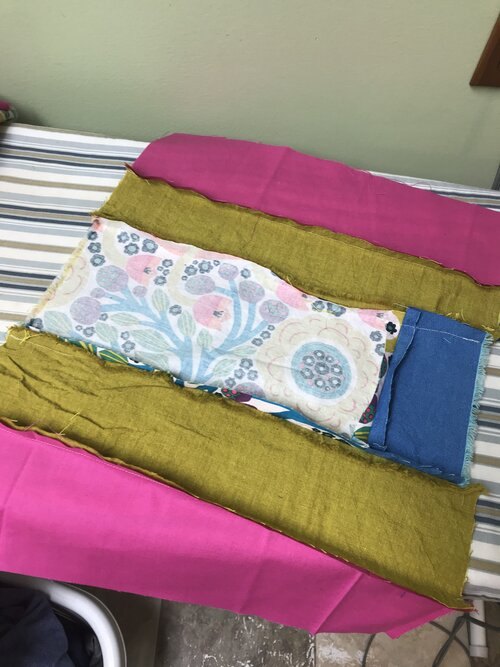
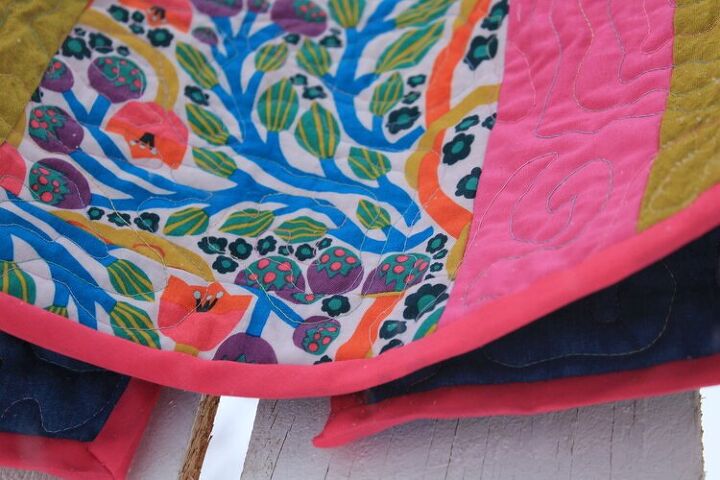
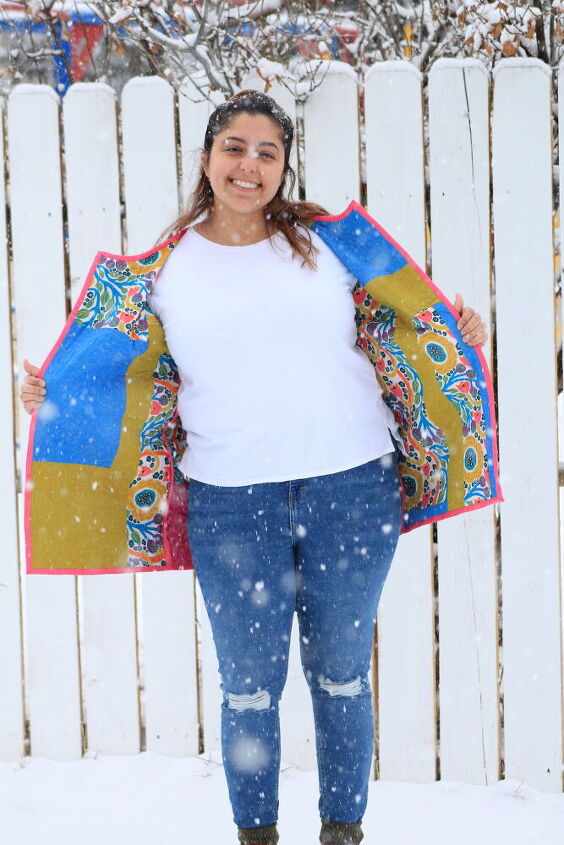
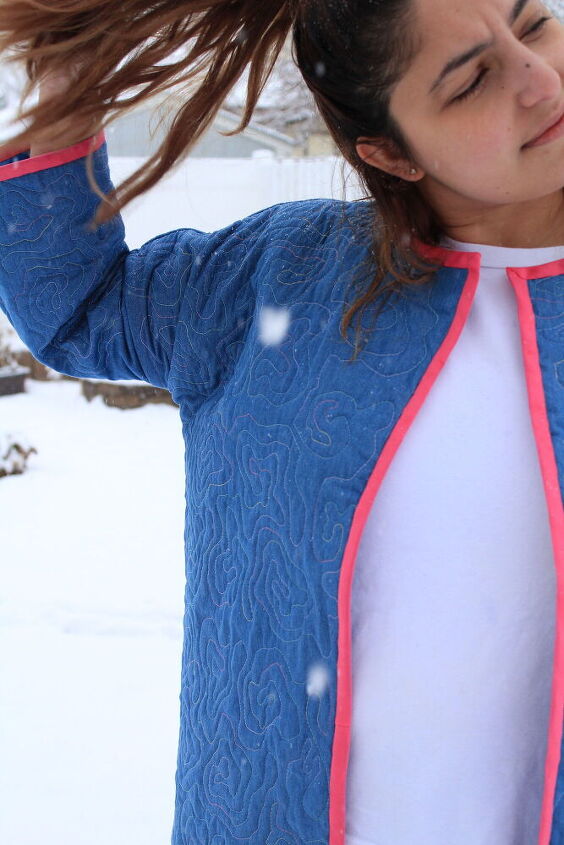
Cue the most time consuming part of this whole thing: fabric selection. Gosh the back and forth of this part was seriously ridiculous. Maybe it's because I started in the week before Christmas, and who in their right mind starts the week before Christmas? Me, that's who. Anywho, for about a week straight I sat on the floor and literally played with fabric remnants. For those who don't know, remnants are the left over pieces from previous projects that I keep so I don't add to the terrible waste that big retail giants already do. Woah, that got heavy fast. I knew I wanted that gorgeous Monika Forsberg fabric (the floral here) as the focal point, because who wouldn't. So, I played and I played until I got to a point where I had fabrics that complimented Monika's best. Then I used my rotary cutter and cutting mat to make the chosen remnants into workable shapes. I sewed them together into one "piece" of frankenstein fabric, leaving 1/2 inch seam allowance, and then placed my pattern pieces on top and cut it out. The actual sewing and cutting of the pieces took me like one night, but the decision-making around where things went was just too long for this OCD girl right here. But I did it! Oh, and the other side was just a plain denim I had in my stash from Joann, so that was done in like 10 mins.
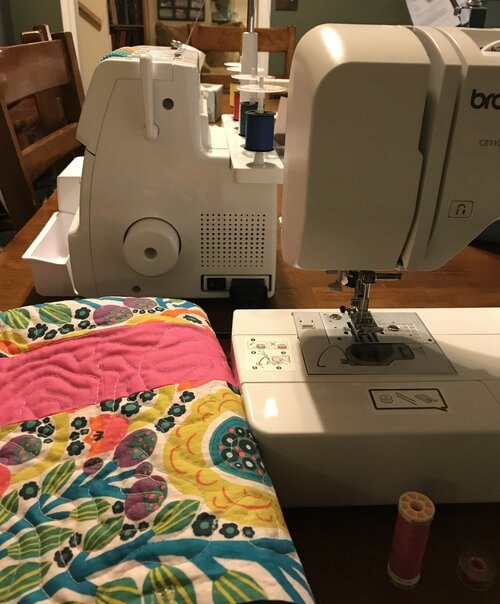
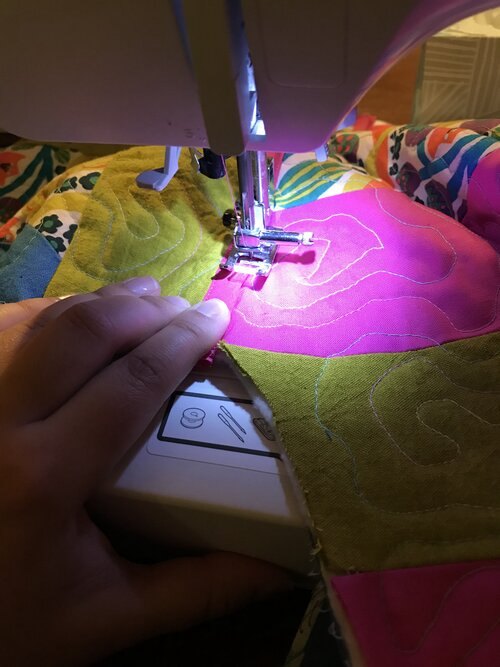
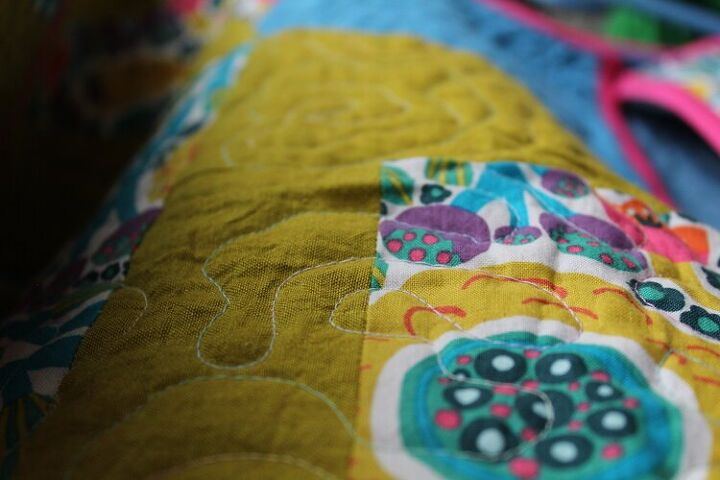
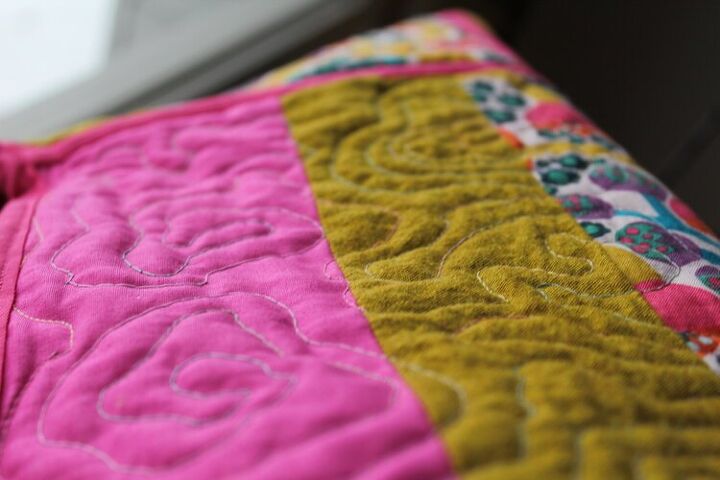
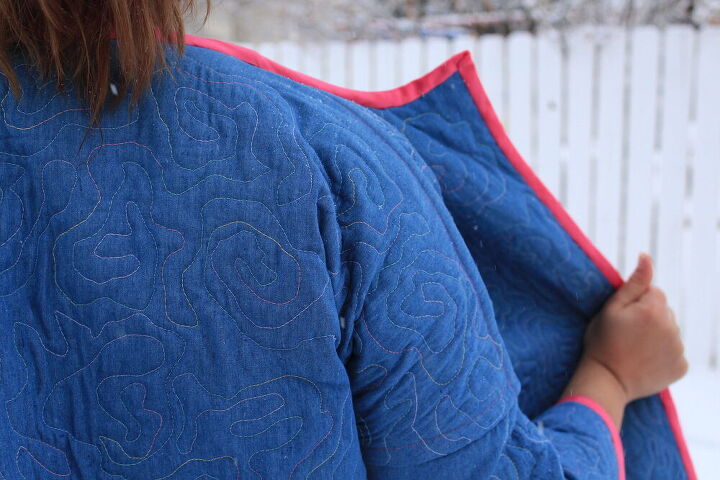
Next obstacle to tackle: quilting. Yes, I am crazy and yes I had never quilted anything in my life before this point. I had no idea where to start, so I did what anyone would do: spent hours researching on YouTube like a crazy person to teach myself free motion quilting. Just FYI, I didn't even know what free motion quilting was called. I mean, I had to google for 30 mins just to figure out that free motion quilting is what I wanted to achieve. And, you know what lead to me to this? I was reading my sewing machine manual and wouldn't you believe, I could buy an attachment for my machine to do quilting, oops, I mean free motion quilting! INSERT HUGE GASP MOMENT HERE. It’s not perfect, but guys I bought a quilting template, quilting ponce, quilting thread and I was off. So I hear some of you asking, what in the world is a quilting ponce? It's a little rectangular box that you have to fill with chalk dust and literally smash on the table 50 times (no exaggeration) to get the chalk in place. Yep, read that again. I'm not kidding. And that's what you brush over the template to reveal your design. Who said mum's that watch The Wiggles all day can't learn new tricks? Even though this was the scariest thing I've done in a long time ( I don't get out much, don't judge), it was super liberating and I did it! I quilted the whole thing! And, yes, I took a lot of “creative” liberties rather than sticking to the template, because who knew quilting ponce came off so easily!
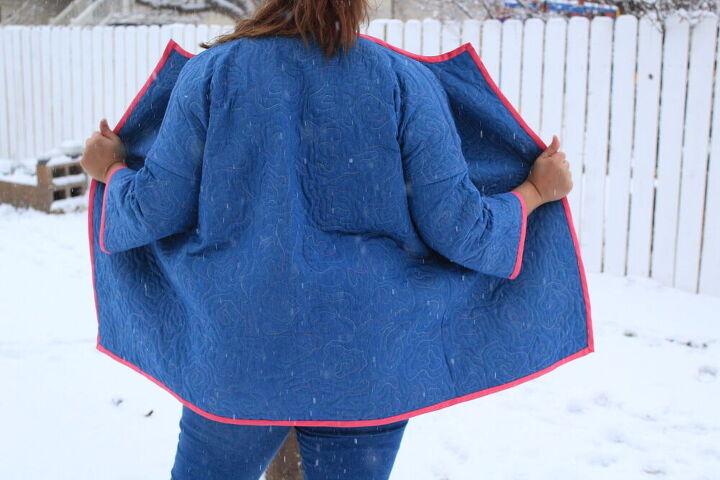
Last obstacle: making it reversible. Again, cue the amazingly wonderful Caramiya to save the day. She showed me an easy way she was able to do it, and it gave me a chance to try out my new Brother 1034D overlocker/serger too. And guess what...it worked and was super easy! Sewing up the actual jacket itself was actually so easy since I omitted the welt pockets. Shhh...don’t tell anyone. Oh right, I didn't actually mention how I made it reversible, two words: bias tape. So I went to Joann because by this point I had nothing left in the tank to make my own, even though I know how to. I matched up the pinks with a pink bias tape, serged it onto my raw edge and pulled it over and sewed in the raw edge all nice and neatly.

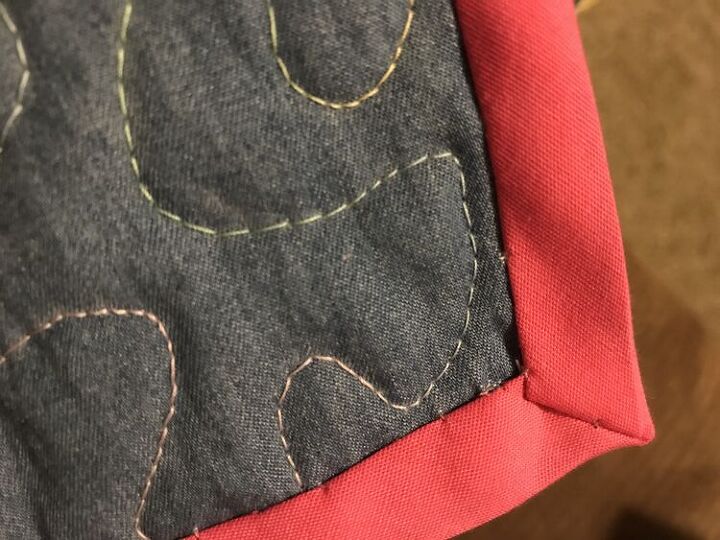
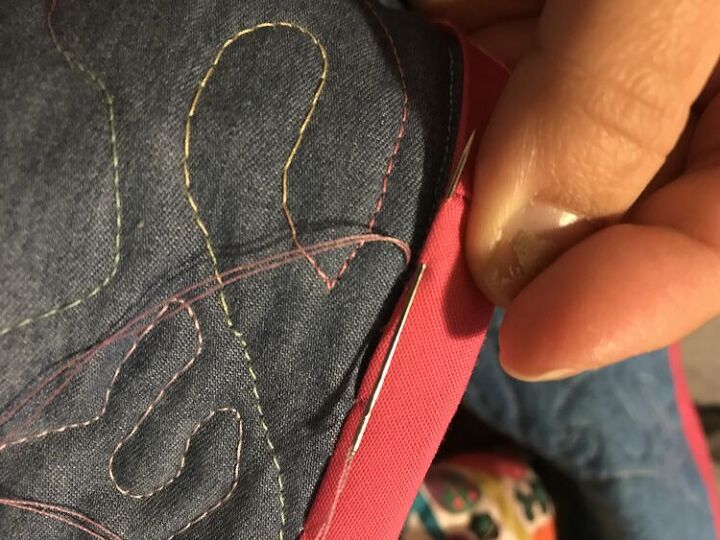
I opted for hand-sewing the bias edge since I was making it reversible, and thought that would be the best option for the long run.
Overall this project took a lot of patience. The hardest part was piecing together the off cuts on the patchwork side (surprisingly very hard for a perfectionist like me to do, go figure). The most fun was actually the quilting. Would I do a design this complicated again? Maybe not, but hey I did it!


The author may collect a small share of sales from the links on this page.


Comments
Join the conversation
Wow, what a great piece of art you created. It's not just a jacket. And kudos to you for picking up a new skill. I used to teach sewing and pattern making in a Fashion Design school and I'm having so much fun with seeing what people are doing on Upstyle
Romy, I have looked at all your projects and loved them all. I must tell you that the reversible Tamarack jacket that you quilted is the most gorgeous one of all. So beautiful! I look forward to see what you are going to sew next!