Beginner-friendly Curling Iron Hair Tutorial

Today, I’m going to show you how to curl your hair with a curling iron.
This styling technique is classic and would be a great addition to your beauty arsenal.
Let’s get started with this curling iron hair tutorial!
Best hair thermal protector!
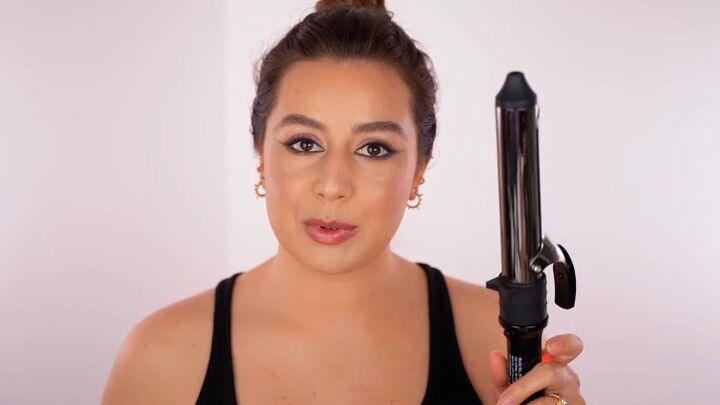
Tools and materials:
- Curling iron (optional- use 2 sizes)
- Thermal protection product
- 2 claw/alligator clips
- Hair brush
- Dry shampoo
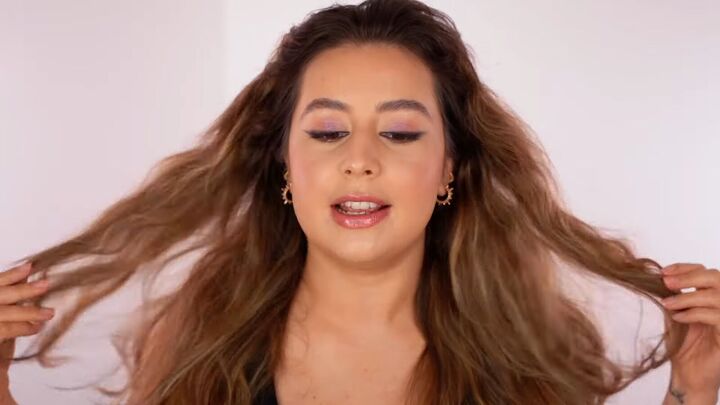
For this tutorial, I’ll be starting with my hair that was washed yesterday and then air dried.
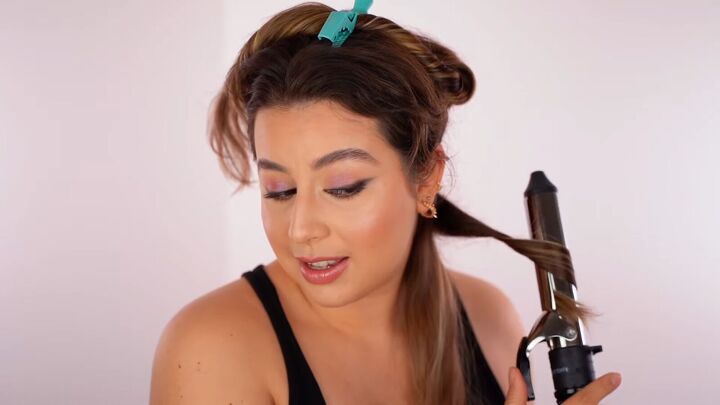
1. Apply thermal protection and divide your hair
Before applying heat, feel free to apply a thermal protection product of your choice.
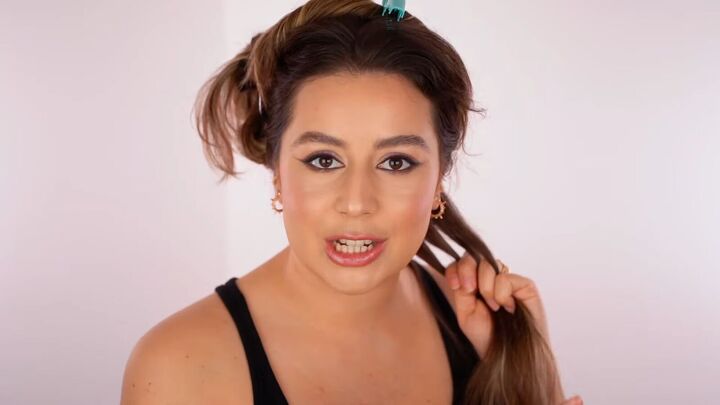
Then divide your hair in the back, down the middle, and clipping a section on top with a claw clip.
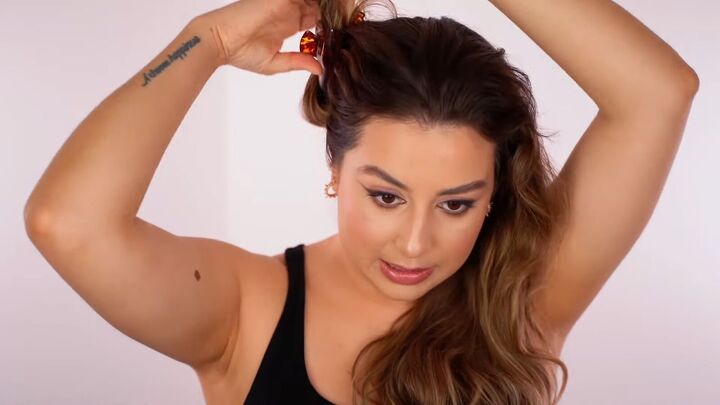
Separate another thin section for the hair that’s down, and clip up the rest.
In general, we will split this further into smaller sections. I recommend working from the back section and moving forward.
This way, you can toss a finished curl to the back so it will be out of the way.
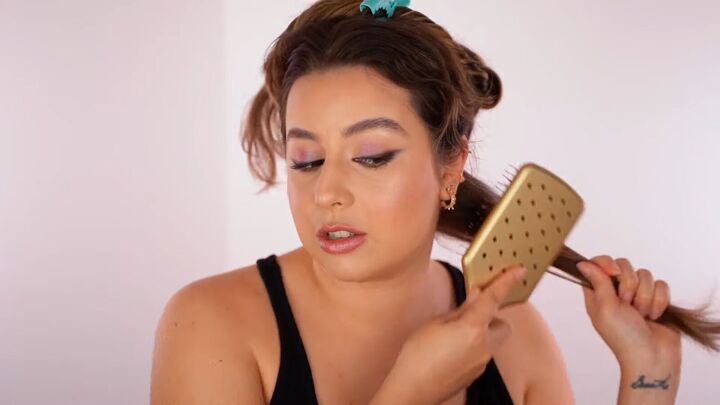
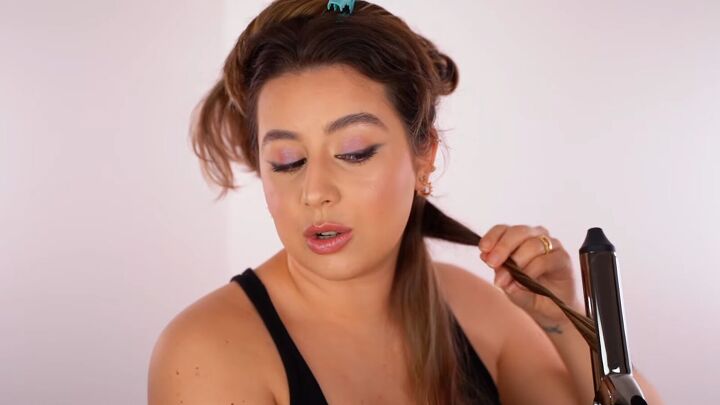
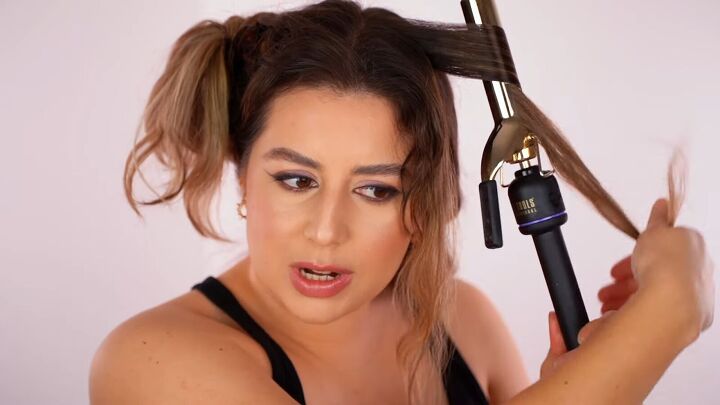
2. Prep for your first curl
Run a brush through to ensure the hair you’re about to curl is detangled.
Before curling, clamp the wand toward the roots and run it down, like a straightener. Adjust the heat as needed.
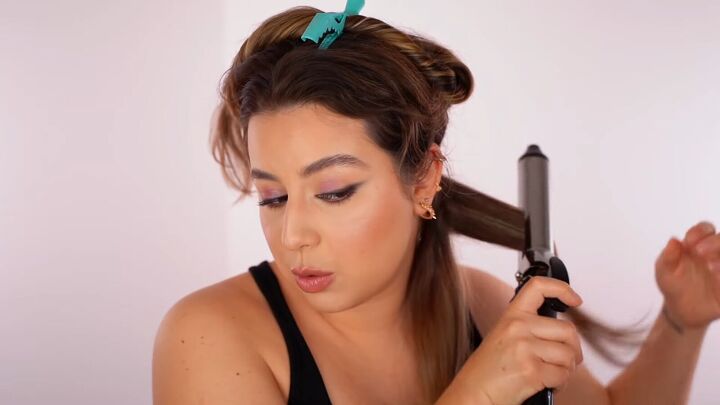
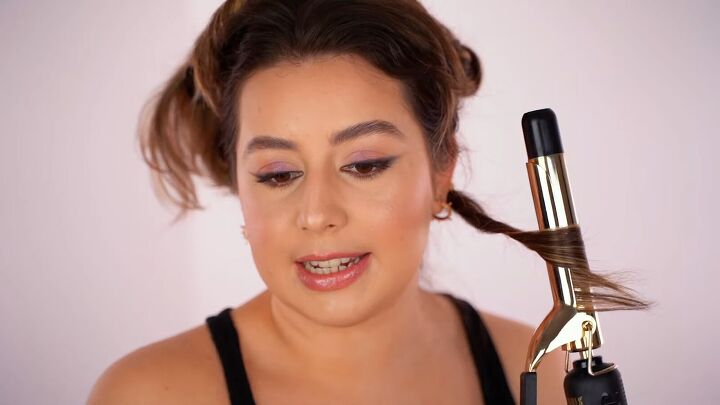
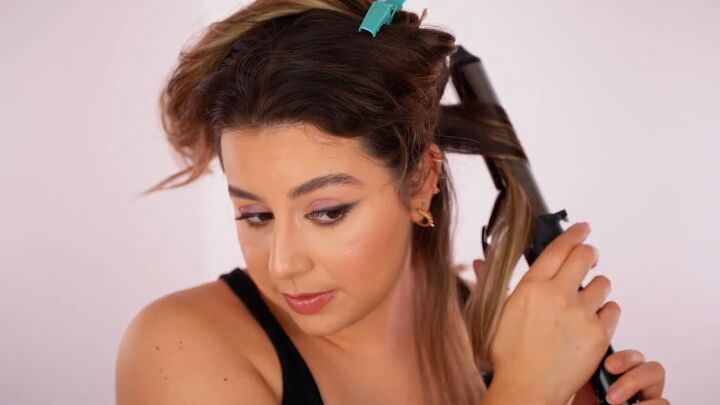
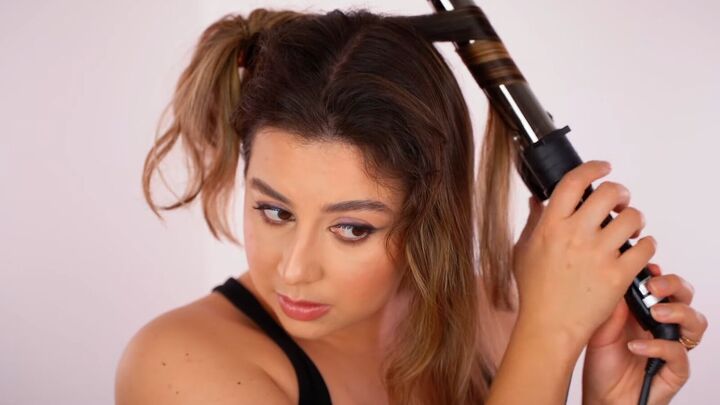
3. Curl, twist, repeat
Start with the wand by the root and curl the hair away from your face. Hold this for a second.
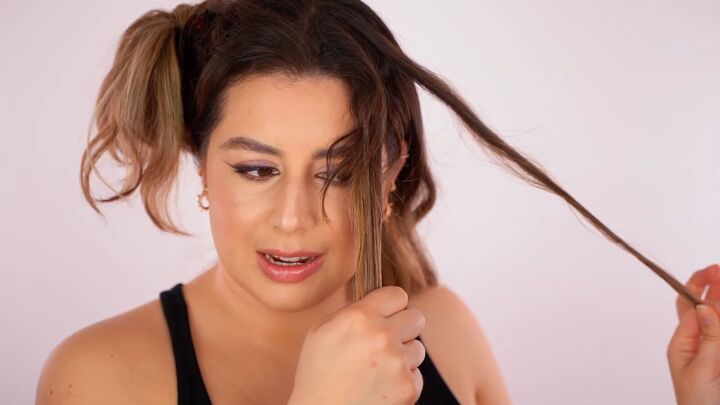
Next, let that curl go, without opening the clamp, then twist the iron again to make a 2nd curl.
Leave that for another second. Then smooth the ends as you pull off the iron, followed by brushing through that section with your fingers.
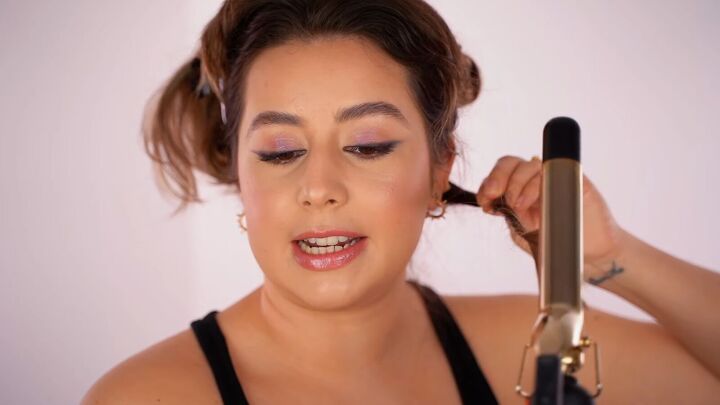
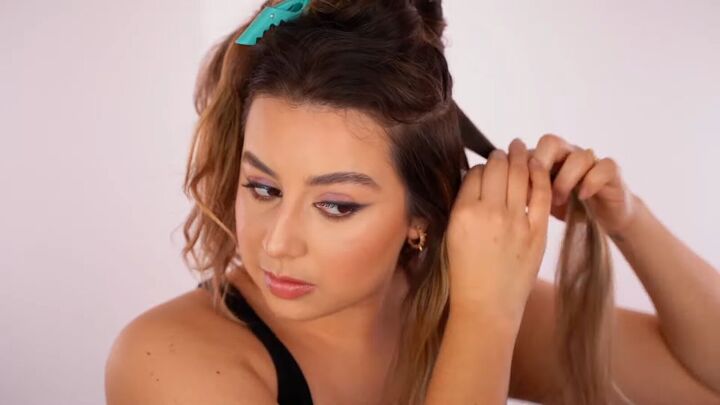
Depending on your hair length, repeat this, working down this section of hair, twisting and curling the last part until you’re left with just a small tail at the end.
Undo this final twist and then slide the clamped iron down that little bit of hair at the tip to smooth it.
Then run your fingers through the curled section for a more relaxed wave.
Tip: If you’re a beginner to heat styling tools, try out this curling motion 1st when the iron is turned off, just to get comfortable with how to work with the iron.
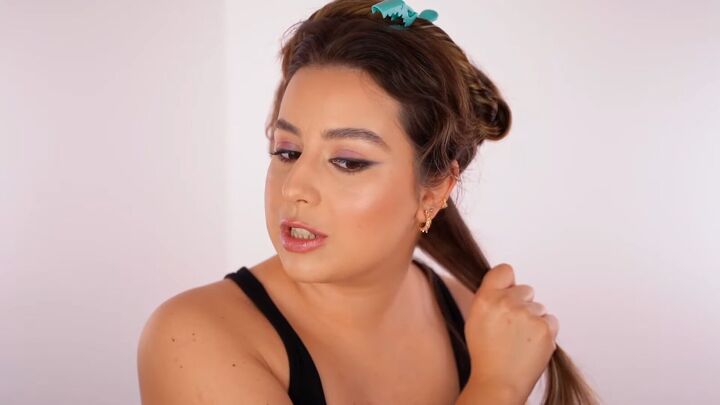
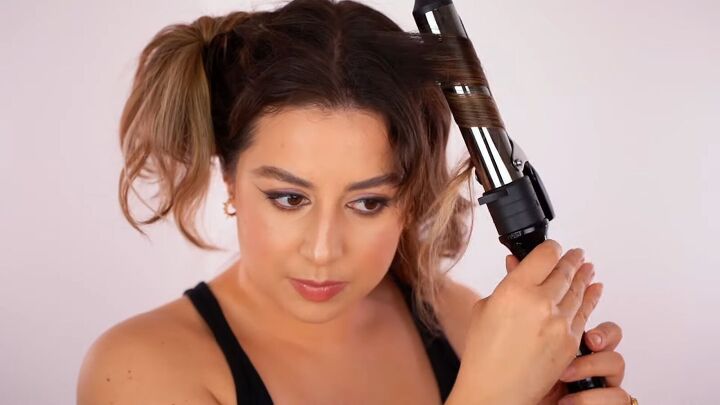
4. Repeat for the bottom sections of hair
Use the same process to curl-twist-curl-smooth more small sections of hair, moving forward and tossing the finished curls to the back.
Tip: Work in small sections!
I know this seems counterintuitive, but working in smaller sections for these curling iron waves is actually going to save you a lot of time in the end.
Tip: Maintain a vertical hold with your curling iron for this technique.
Feel free to change your angle slightly to achieve a more natural, randomness, but in general, the more horizontal you hold the iron, the more curly your hair will look (as opposed to wavy).
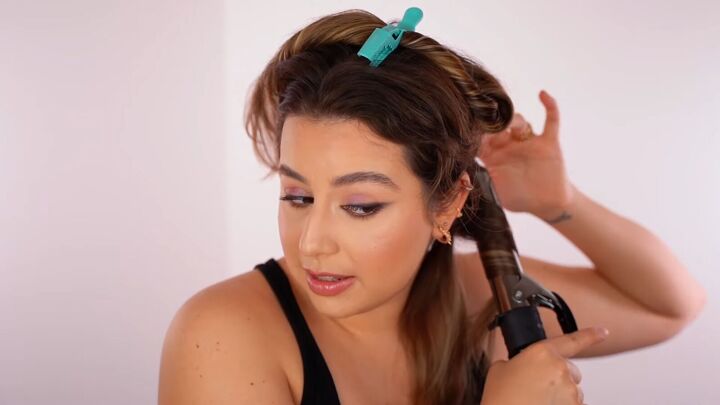
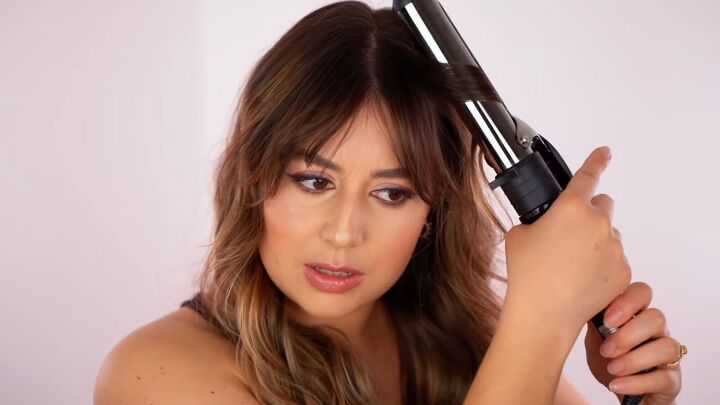
5. For the top section, alternate between thin and wide curling irons
For more variation in the waves, you can use 2 sizes of curling wands for these curling iron waves.
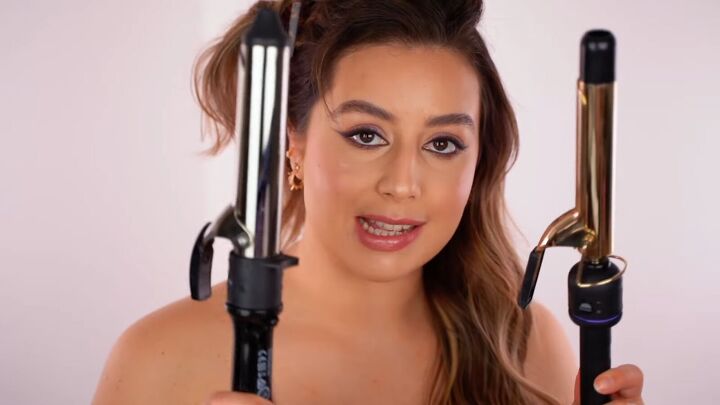
For the back-most section of this top layer, use the same size barrel as before. Curl in the same pattern.
For the next section, curl in the same pattern with a thinner barrel.
Especially with the thinner iron, you want to hold it as vertical as possible.
If it looks too curly, pull the curl gently until it cools.
Switch off curling with the wider and thinner curling irons. If you have bangs, leave them out for the moment.
6. Curl to blend your bangs
Grab just the longer pieces of your bangs and use the same curling method.
7. Use dry shampoo
Spray on dry shampoo to add texture and volume.
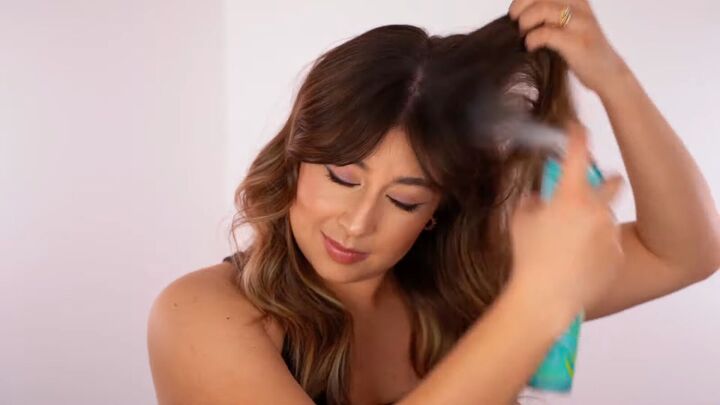
Massage it in.
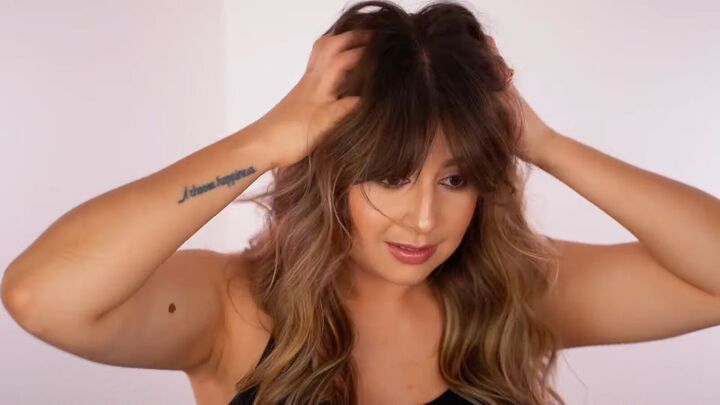
There you have it! How to make waves with a curling iron:
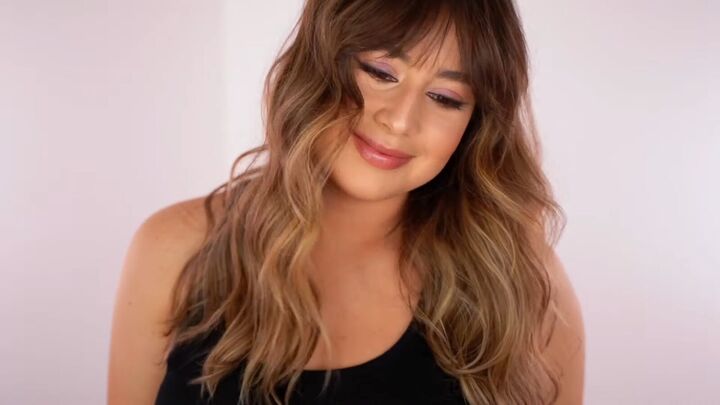
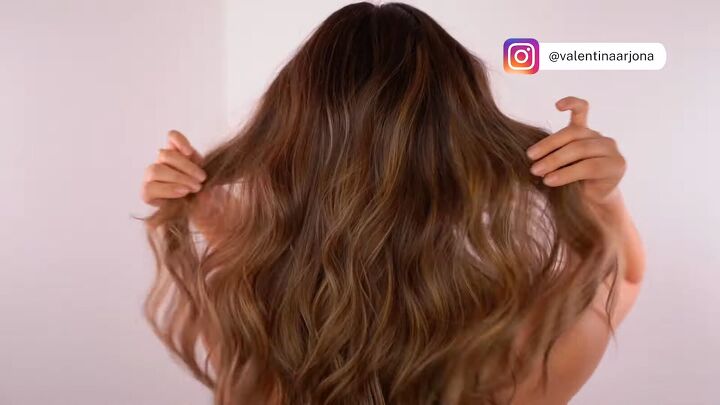
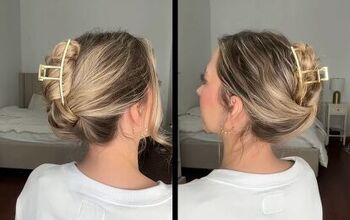
Curling iron waves
I hope you found this curling iron hair tutorial to be helpful! If so, leave a comment.
Next, learn 3 easy ways to style curtain bangs.
The author may collect a small share of sales from the links on this page.


Comments
Join the conversation