Easy Nail Tutorial: DIY French Manicure With Designer Nail Stickers

I’m going to show you how to apply some designer nail stickers to your nails.
We’ll be starting off with a classic French manicure and then adding some designer nail decals to embellish the nails. If you love designer brands, this DIY is not to be missed!
Tools and materials:
- Q-tips
- Nail polish remover
- Cotton balls
- Nail filer
- Nail hardener
- Nail polish
- Nail protector
- Nail decals
- Tweezers
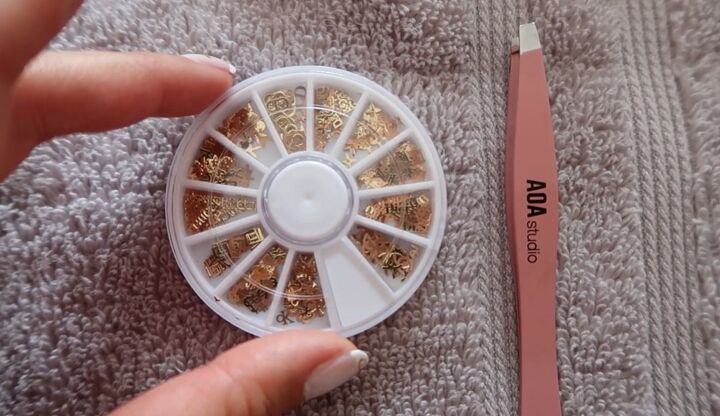
I’m using a nail decal set that has the logos of all the top designer brands - Calvin Klein, Chanel, Dior, Louis Vuitton, and more. It even has little dollar signs that I think are so adorable.
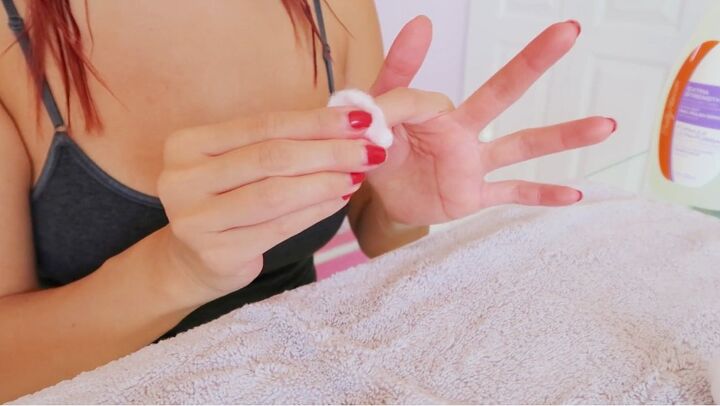
1. Remove nail polish
Remove any nail polish that you currently have on with some nail polish remover and a cotton ball.
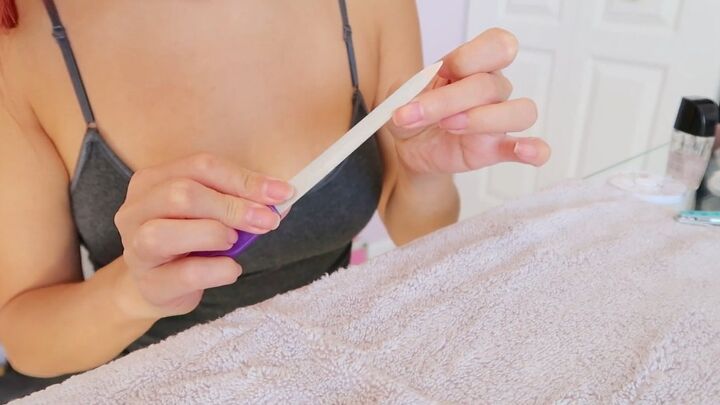
2. File your nails
File your nails to the shape that you want them, I personally like a square shape with a rounded tip.
To achieve this look, I file straight across on the top and then round out the edges.
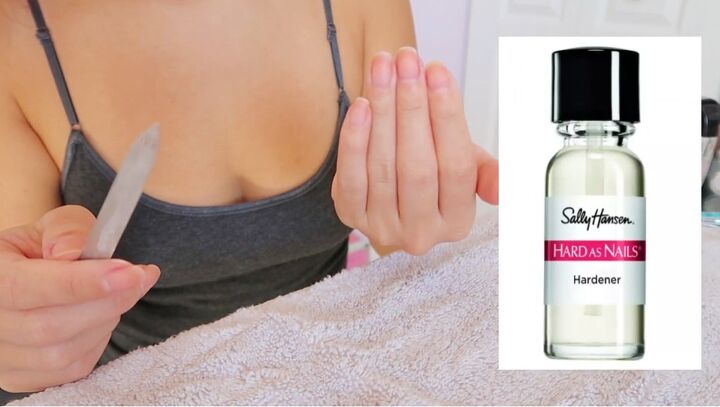
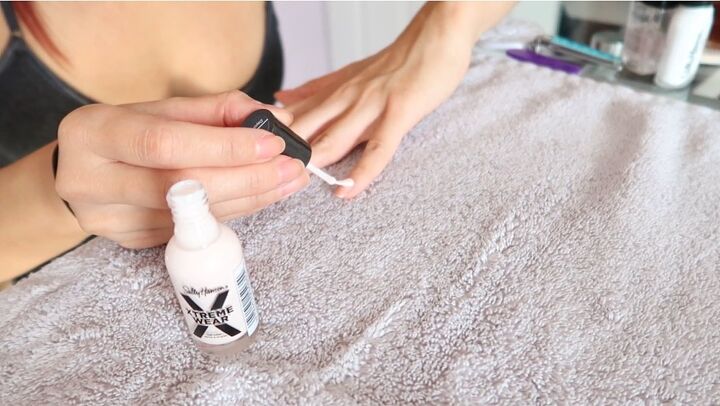
3. Apply nail hardener
My secret to long, strong nails is using a nail hardener. Apply that to your nails.
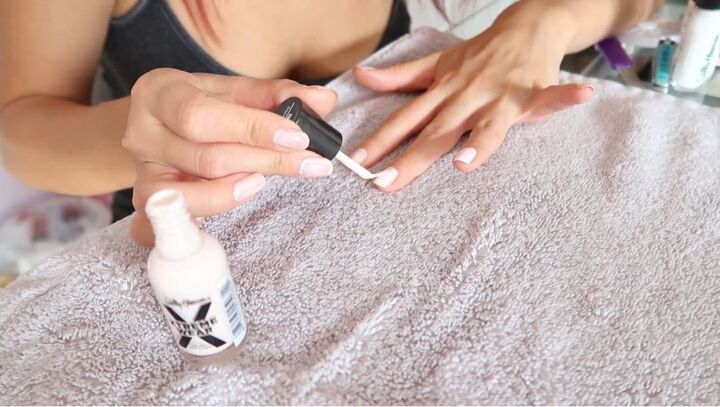
4. Apply the first coat
Apply the first coat of nail polish in the color cream.
Put one light layer of nail polish on each of your nails and leave it to dry or put your nails under a UV light to speed up the process.
5. Apply a second layer
When done, apply a second layer and let that dry.
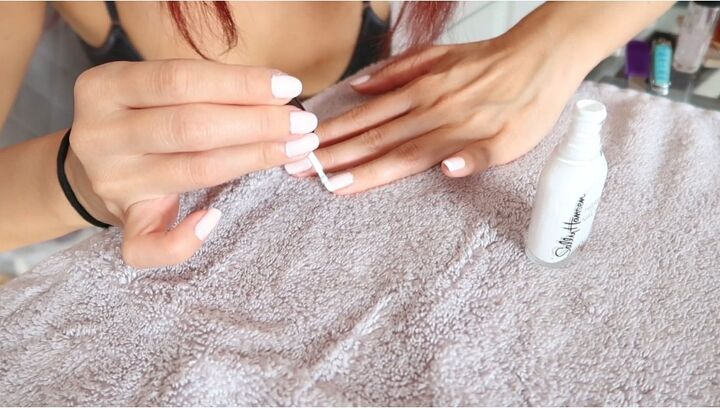
6. Paint the tips
Now go in with a white color nail polish to create the tips.
I like to create a flat brush and glide it across the top of my nails. The glide is across in the other direction and then even the line out. Just make sure that your line is nice and straight.
This technique takes a little bit of practice, but you will definitely get it eventually.

If you accidentally get polish on the skin around your nails, just take a Q-tip and some nail polish remover and rub that nail polish right off of your skin. This will let you have a nice, clean finish.
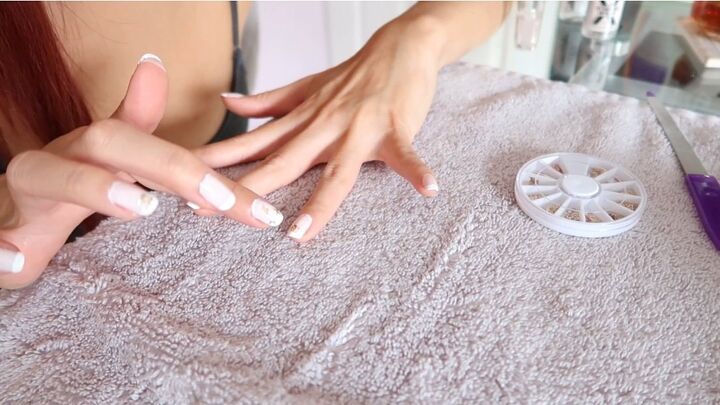
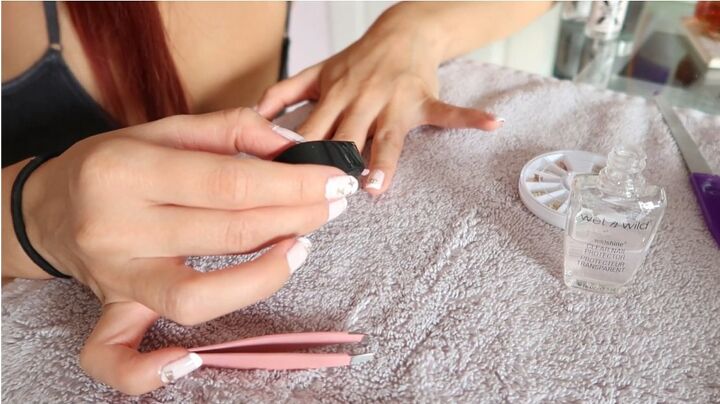
7. Add the decal
Now for the fun luxury part.
Take a pair of tweezers, grab the Chanel decal (or another decal of your choice) and squeeze them and bend them to fit the shape of your nail because they come flat, and our nails are a little rounded.
So bend them so that they lay flat on your nail.
8. Apply a clear coat
Next, put a blob of clear coat right on top to secure the decal. Then put the clear coat all over the rest of your nail.
Make sure you have enough clear coat to cover the decal because you don't want any of the parts poking out. If they are poking out, they could get snagged on your hair or your clothes and then come off or get ripped off partially.
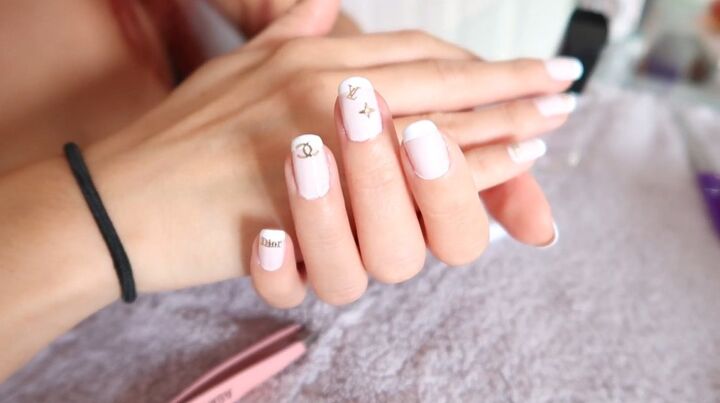
Designer nail stickers DIY
Here are the finished nails and they are so freaking cute!
I’ve added all manner of different designer decals, in different places on my nails and I’m in love with this look.
The French manicure is spot on and the decals add a gorgeous glam touch. I hope you learned something new from this tutorial and you’ll give it a go for yourself!
If you enjoyed this tutorial, check out my post on How to DIY 3 Cute Designer Dupe Necklaces.
The author may collect a small share of sales from the links on this page.


Comments
Join the conversation
FYI, nail professionals learn in school that "YOU PAINT WALLS, YOU POLISH NAILS"