How to Sew a Maxi Dress: This Elegant Eid Dress is Great For Beginners

In this DIY maxi dress tutorial, I’ll show you how to sew a maxi dress that goes perfectly with an evening or formal setup. This elegant Eid dress in silk-satin fabric has pearl bead detailing, three-quarter-length puff sleeves, and an embellished belt. Sounds complicated, but it's super-easy to make!
I’ll also walk you through how to make a quick DIY maxi dress pattern using clothes you already have in your wardrobe.
Tools and materials:
- Fabric
- Measuring tape
- Ruler
- Pearls
- Embellishments
- Sewing machine
- Matching thread
- Loose-fitting top
- Pins
- Scissors
1. Make the DIY maxi dress pattern
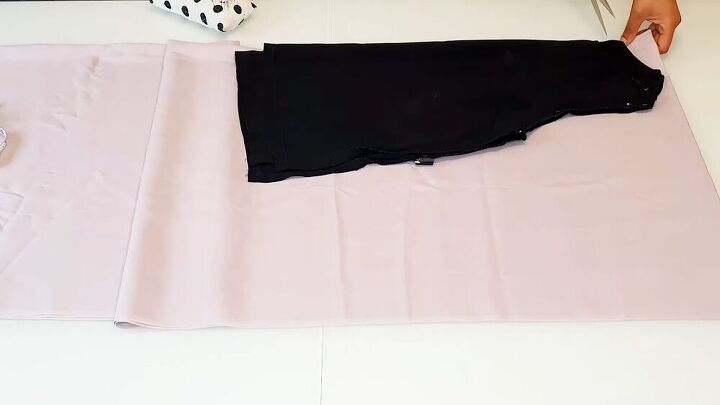
Your fabric should be around 1.5 yards for this tutorial. Fold your fabric into four and place a loose-fitting blouse on the folded edge.

Then, carefully cut around the top, leaving enough for seam allowance.
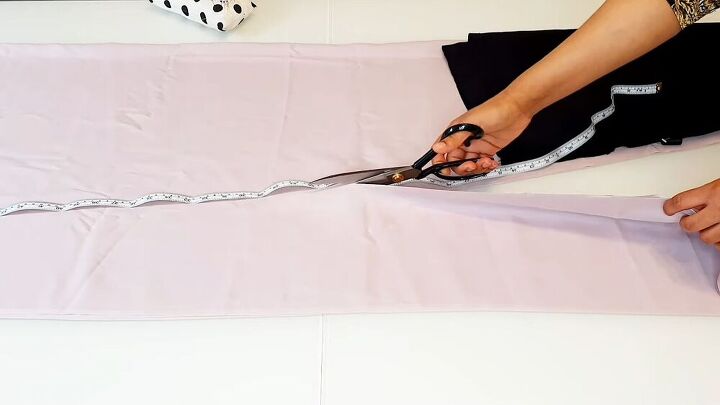
When you get to the bottom, extend the side cut diagonally. Use your measuring tape to mark your length and guide you.
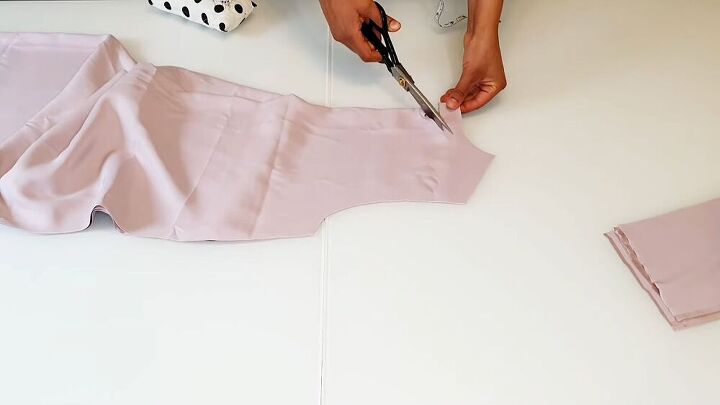
Next, take one bodice piece and extend the neckline by 1.5 inches. To do this, measure 1.5 inches by the folded edge, make a mark, and cut upward towards the shoulder seam. This will be the front of the dress.

Place both pieces together and pin at the shoulders.
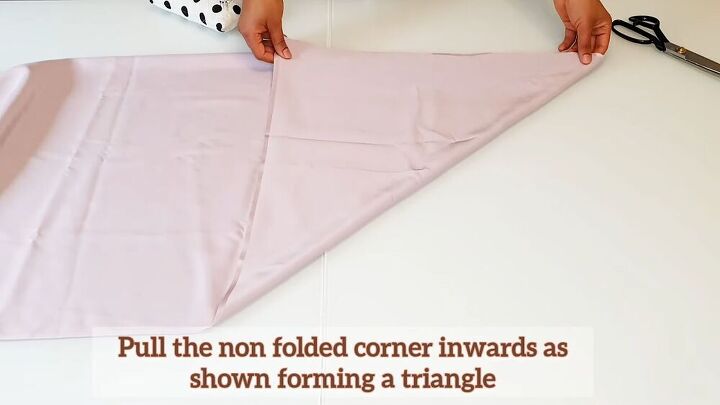
2. Make the sleeves for the DIY maxi dress
For the sleeves, fold your fabric once, then pull the non-folded corner inwards so that it forms a triangle.
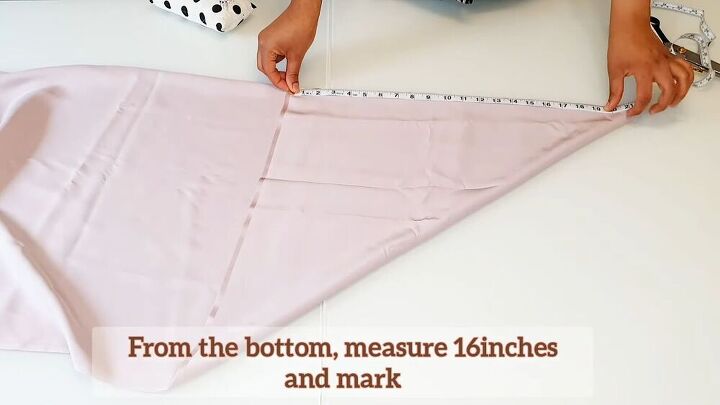
From the bottom of the triangle, measure 16 inches and make a mark with your chalk.

Now, continue this process to mark a curve at the top and bottom, all the way around the triangle, as shown.
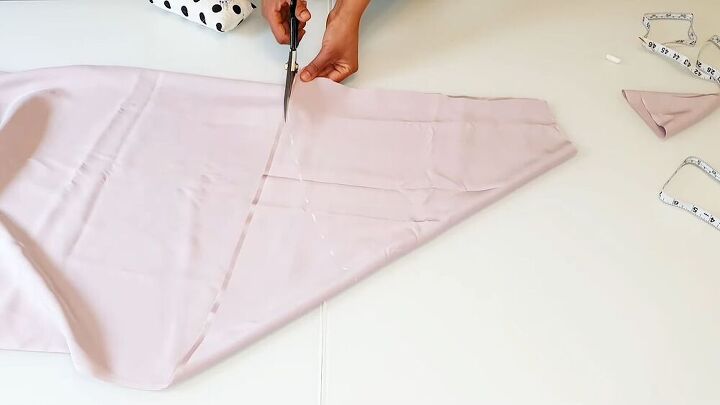
Carefully cut the top and lower sections.
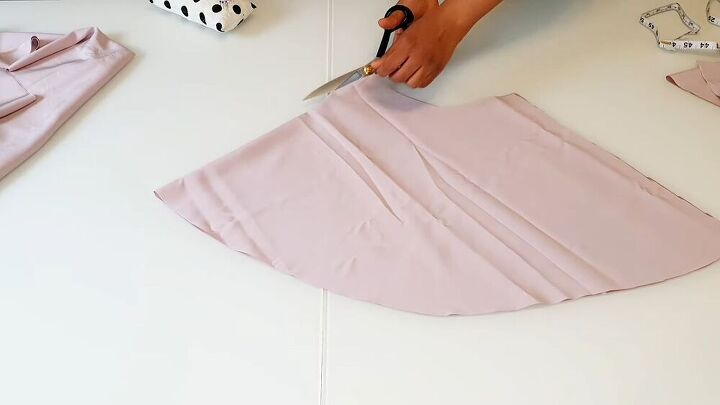
Next, open the pattern piece and cut the folded edge. You should have two sleeve pattern pieces!
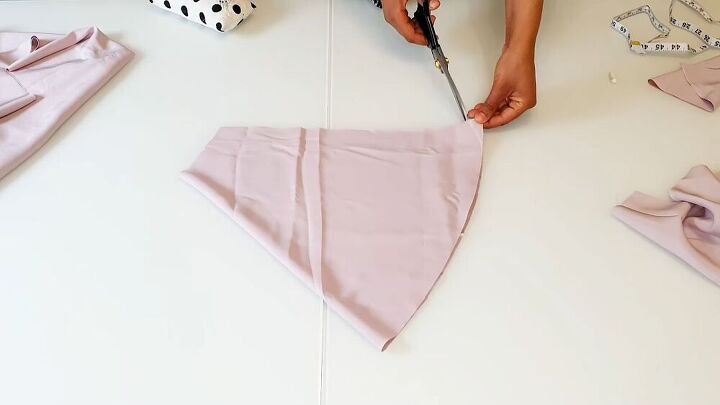
Now, fold one sleeve right sides together. Curve out the non-folding edge with chalk, then cut.
Repeat all steps for the second sleeve, using your first sleeve piece as a guide.

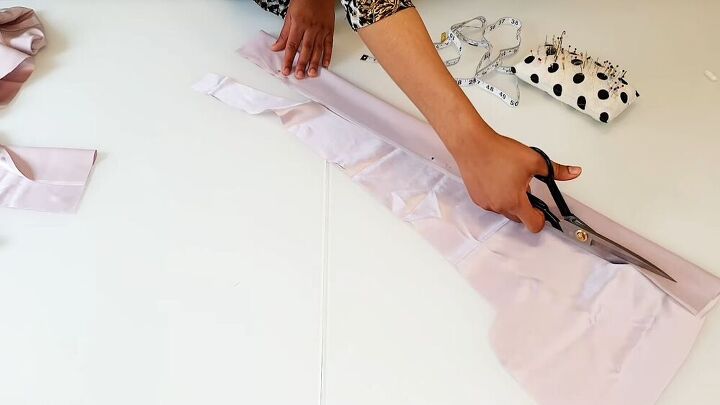
3. Make the belt & cuffs
Measure a piece of fabric that’s 3 inches wide and 1.5 yards long. Fold it so the fabric is right sides facing and pin along the edge to secure.
For the cuffs, measure a 3-inch wide piece (on the fold). The length of the fabric should be the width of your wrist x2. Don't forget to include seam allowance.
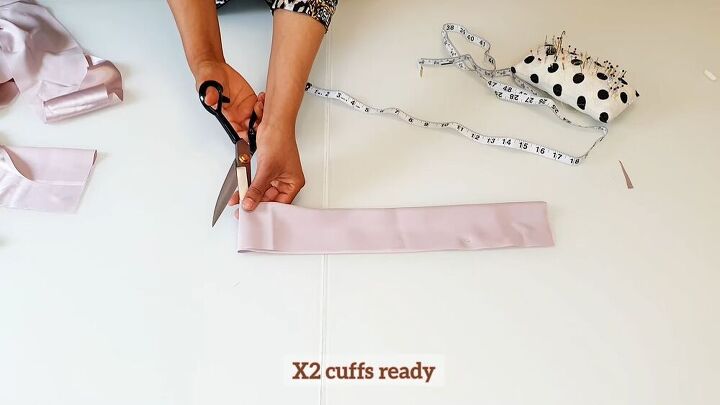
Fold the whole strip in half, then cut along the fold so that you have two equal strips.
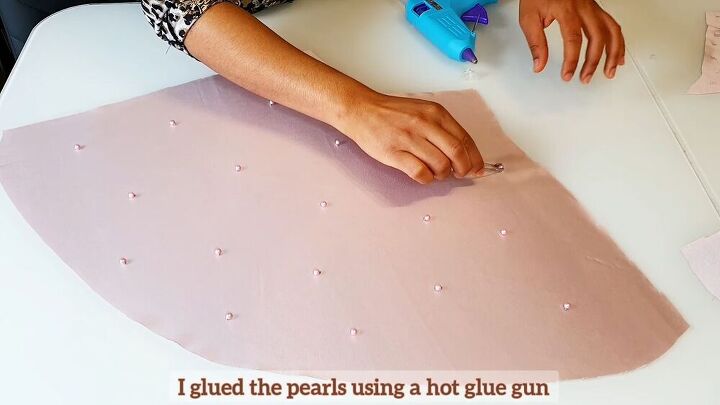
4. Add pearls
Before assembling the DIY maxi dress, add decorative pearls to the sleeve using a hot glue gun. This part of the maxi dress tutorial is optional.
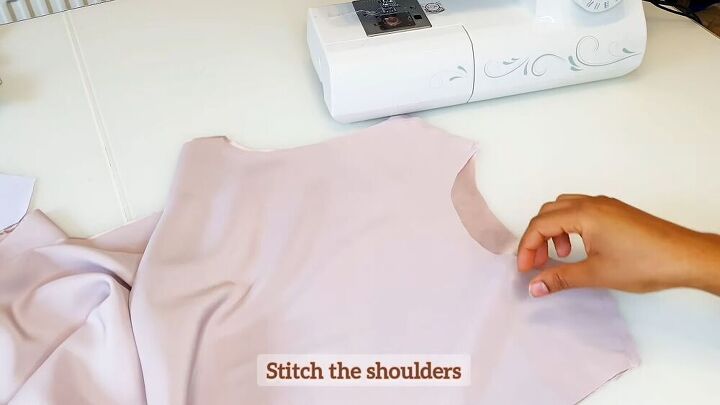
5. Assemble the maxi dress
Begin by stitching the shoulders of your maxi dress.
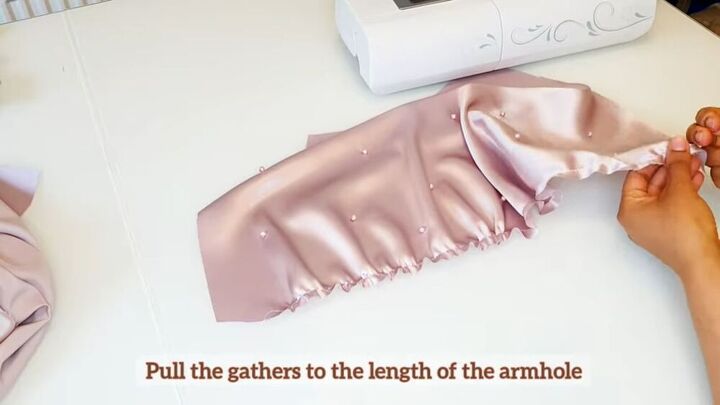
Next, add a basting stitch on the rounded part of the sleeve. Pull the thread to create gathers. Pull this to the size of the armhole.
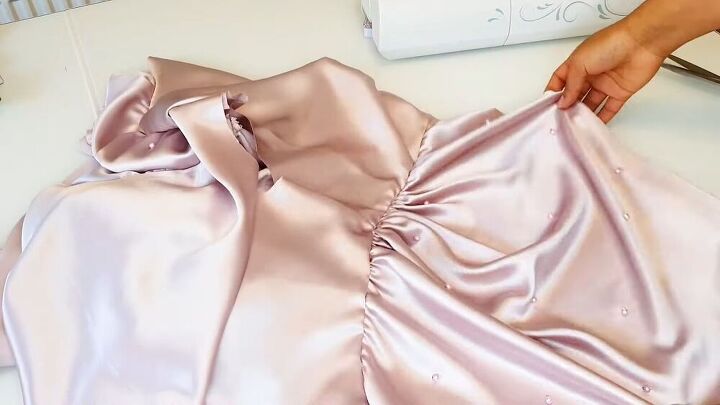
Place the gathered part of the sleeve on the armhole of the maxi dress, right sides together. Pin and sew.
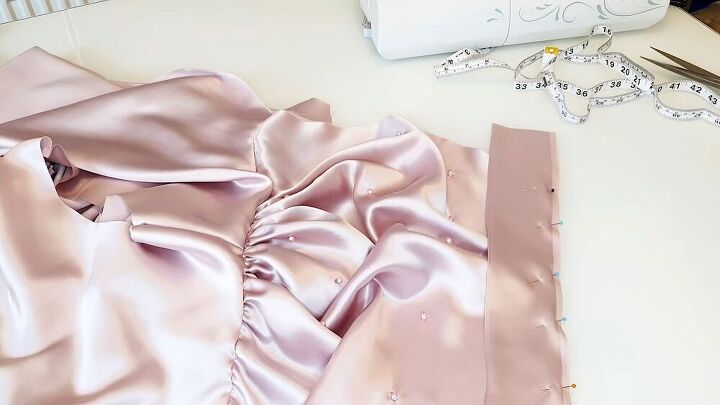
Place the raw edge of the cuff on the raw edge of the sleeve, right sides facing, and pin. Then, sew to secure.
Tip: You’ll notice the ends of the cuffs are longer than the sleeve. Remove the excess only after sewing the cuff to the sleeve.
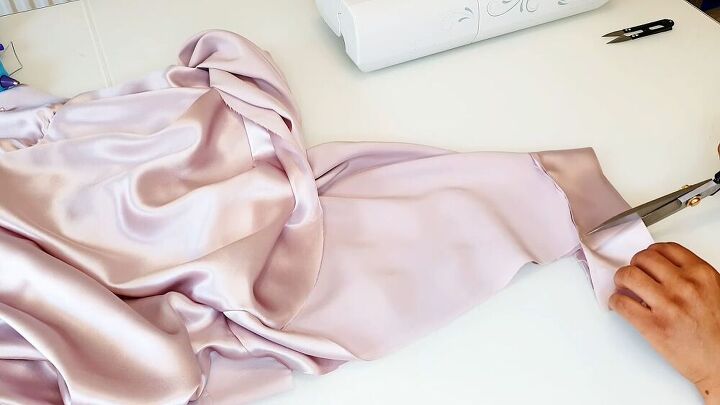
Now fold the sleeve in half, remove any excess material, and pin the raw edges of the sleeve. Then, stitch the sides. Repeat on the other side, too.
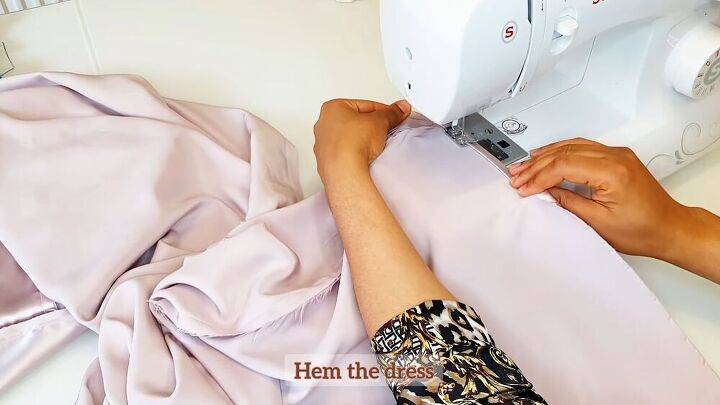
Finally, go ahead and hem the dress. I folded the raw edge over once, as shown.
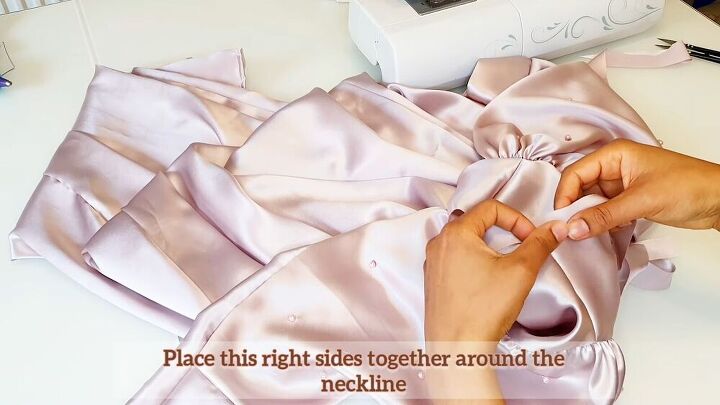
6. Finish the neckline
To finish the neckline, cut a one-inch strip on the bias. Then, pin the strip, right sides together on the neckline.
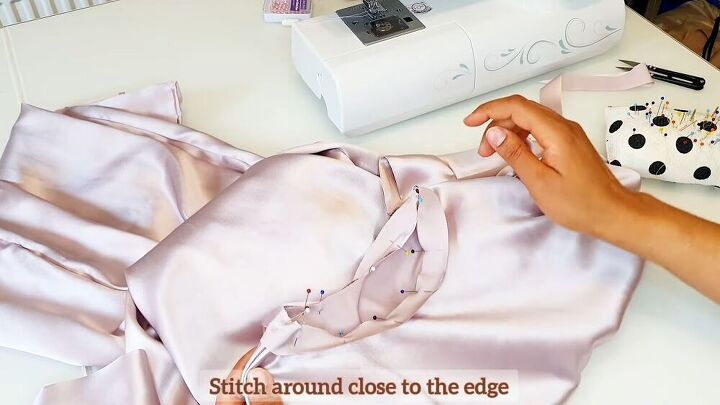
Stitch the strap in place, as close to the edge as possible.
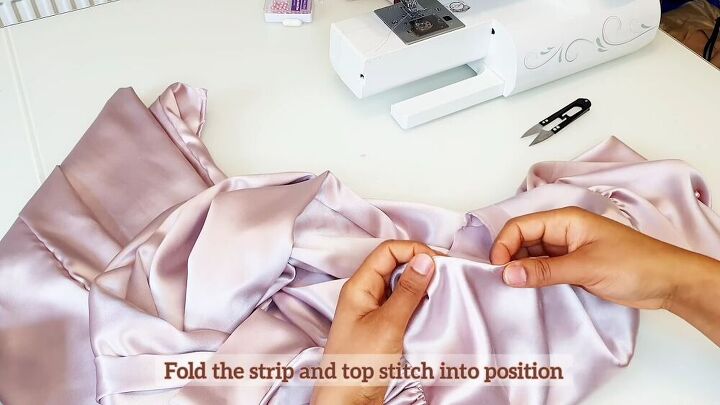
Now, fold the strip twice inwards and topstitch to secure. This will ensure a lovely, clean finish.
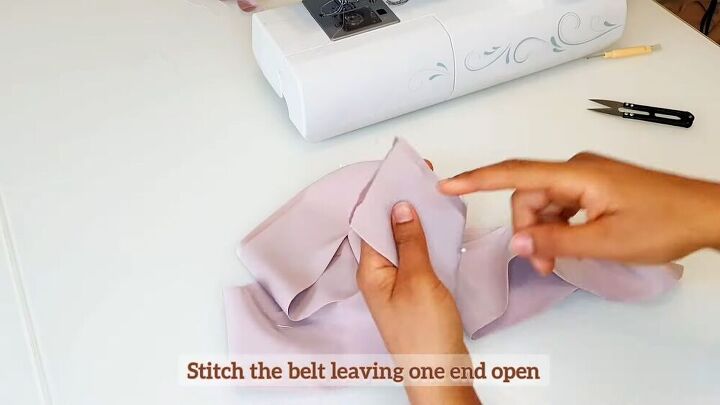
7. Finish off the belt
Stitch the side of the belt, leaving one end open. Then, turn the belt inside out.

Stitch the end by folding in the raw edges.
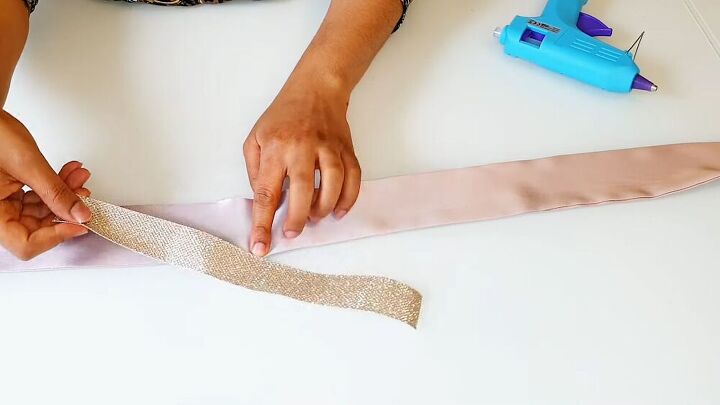
This part is totally optional. Take a lovely embellishment and place it on top of the center of the belt. For this part, you can also use a hot glue gun.
How to sew a maxi dress
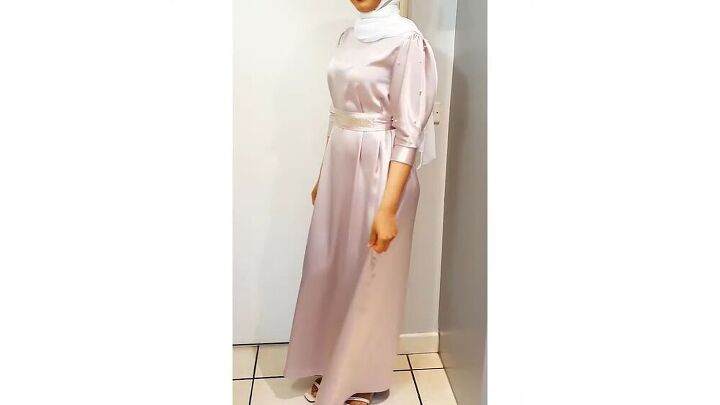
Here’s the final DIY maxi dress. I actually wore this dress for my Eid celebrations. The silk fabric catches the light, and the pearls and embellishments look pretty striking too. What do you think of this tutorial on how to sew a maxi dress?
The author may collect a small share of sales from the links on this page.


Comments
Join the conversation