How To Sew The Angie Dress Pattern
The Angie Dress is a classic, atemporal and timeless dress that offers comfort and style without trying too hard. Sounds dreamy, huh? Well, it is.
When we first designed this dress with designer Celia Baez we were thinking of inclusion, something every woman no matter their body type could wear and look fabulous. We tried to offer a one-size-fits-all dress, but we thought it was better if every woman could have a dress in their exact size. Something made just and especially for them.
You might be here from purchasing the patterns of this dress, or simply because you found the dress pretty and want to make your own.
This tutorial will help you sew one of the comfiest dresses you’ll ever own. Follow these steps, and if you have any questions don’t hesitate to let us know, we’re here to help you.
If you still don’t have your patterns, make sure to get yours:
Get your Angie Dress One Size Only Pattern HERE!
and HERE if you want custom size patterns made just for you.
Materials you’ll need:
- 2 meters of the Fabric of your choice (knits like Jersey, Lycra, Interlook, Rib, or even a woven fabric)
- Scissors
- Sewing Machine
- Angie Dress Pattern
- Pins
Preparing the Patterns
To start you’ll need to print your patterns, they come in a PDF file. You’ll have to stick the sheets in order.
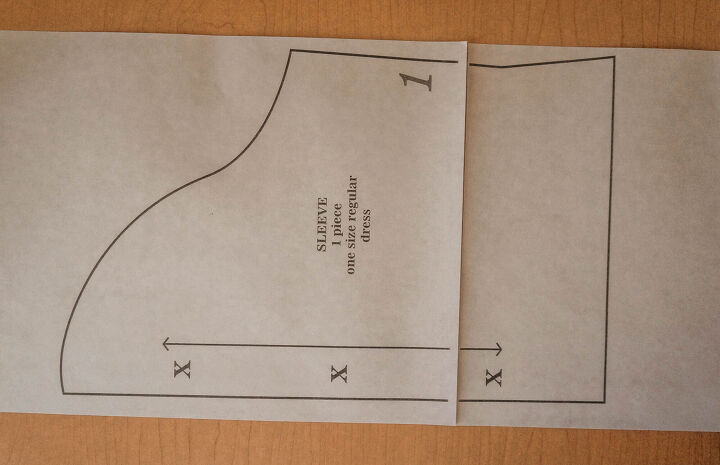
You don’t need to make the lines meet completely, just the edge of the sheet with the edge on the line on the other sheet. As shown in the previous pictures. There’s no need to cut the sheets of paper for the edges to meet.
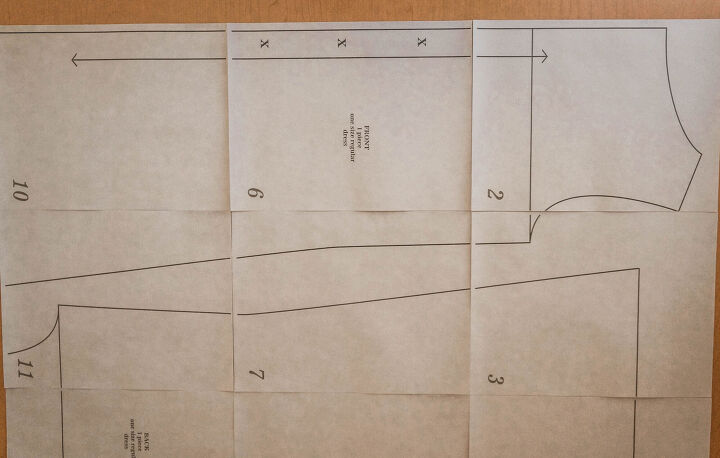
Follow the guide on your pdf to get the full assembly of the pages.
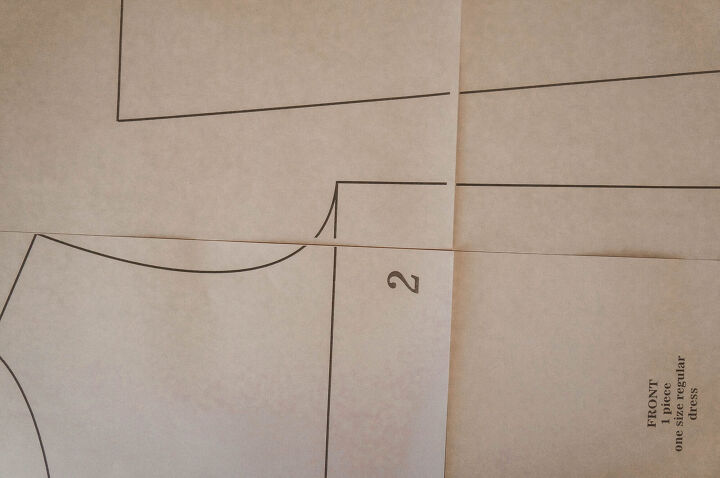
Once you’ve glued them together in order, you can cut each pattern by following the lines.
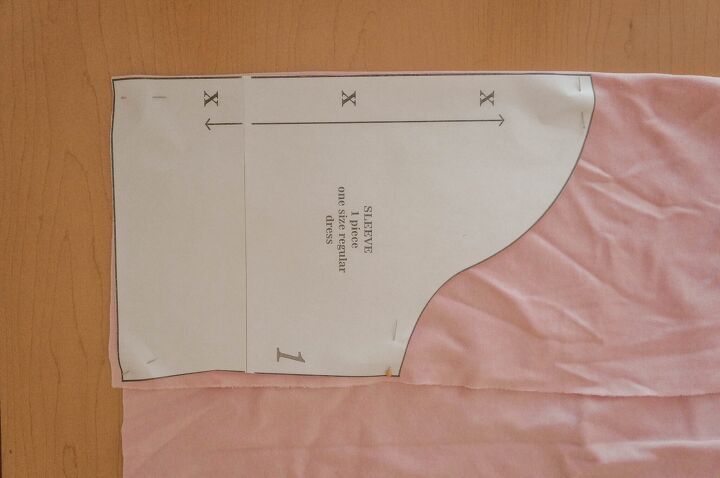
Before you start cutting your fabric, I just need to explain a few things from the pattern.
- The X’s means that you should place the fabric fold there.
- The arrow means the direction of the fabric.
- The # of pieces is how many pieces you’ll need to cut, or how many times you need to cut that mold.
Cutting
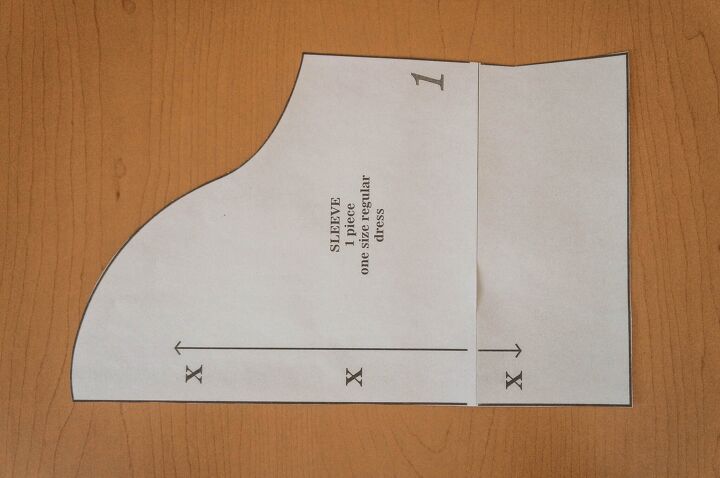
First, you’re going to fold your fabric by the width of the sleeve. Take your sleeve pattern and place it on the fold of the fabric, pin it so it doesn’t move. Cut TWO pieces.
*You don’t need to leave a seam allowance.
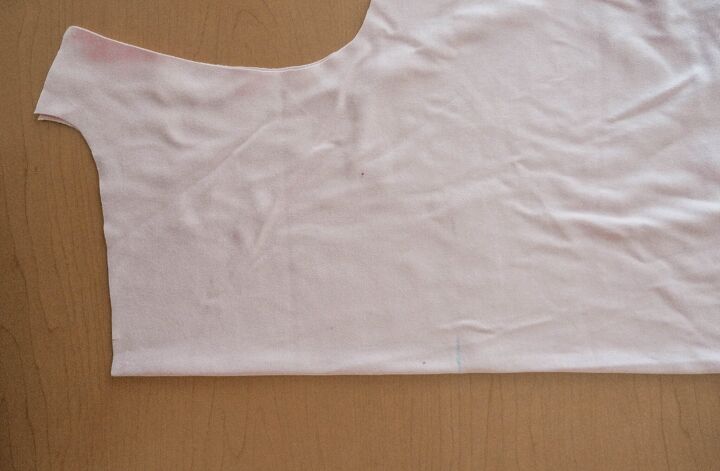
Now cut the other pieces, the front side, and the backside. You’ll need ONE of each.
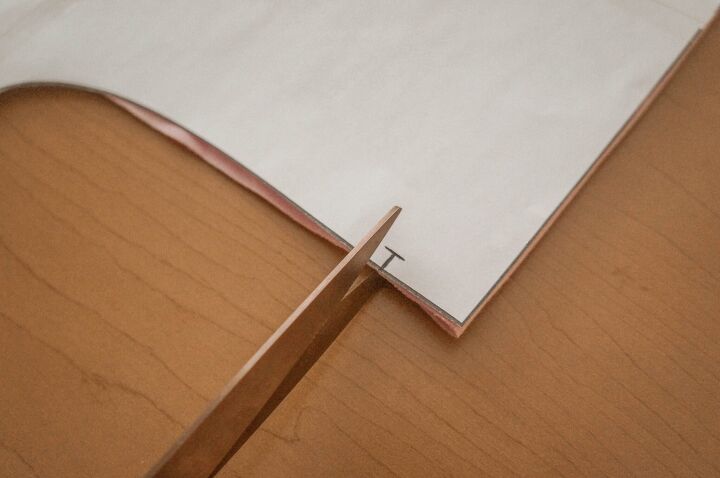
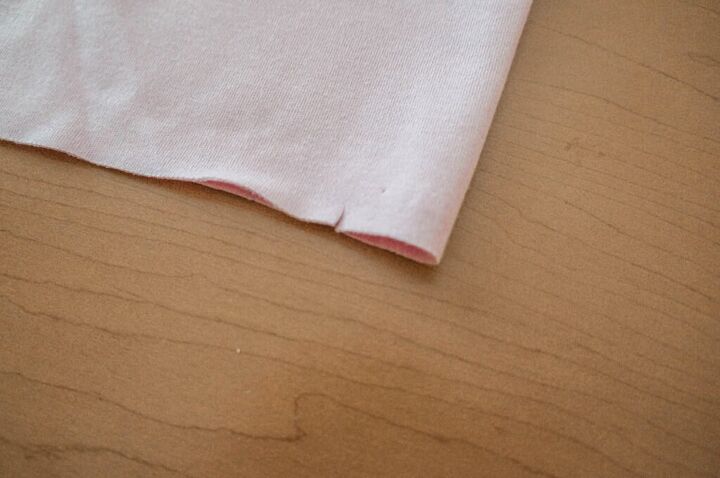
On the backside you’ll find a notch or a mark, where you need to cut the fabric a little bit to make a mark where the dart will be, you’ll see on a later step.
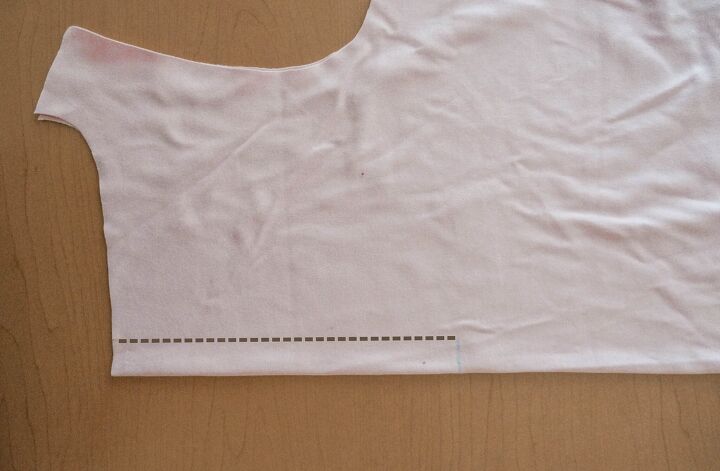
Finally, make a mark with a pencil on the backside. Fold the piece in half and make the mark at 24 cm, from the neckline down. The length of this mark is 2.5 cm.
Sewing
Now that you have all your pieces cut, you can start sewing your dress.
Step 1
Sew the dart in a straight line from the first mark you cut to the line you marked with a pencil. Like this…
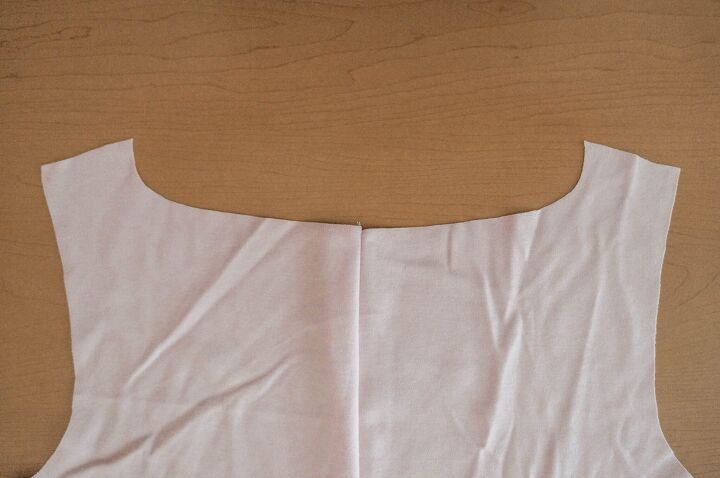
Step 2
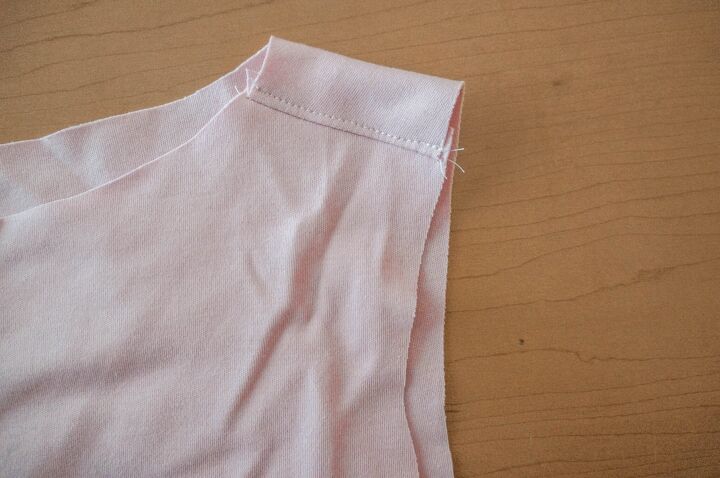
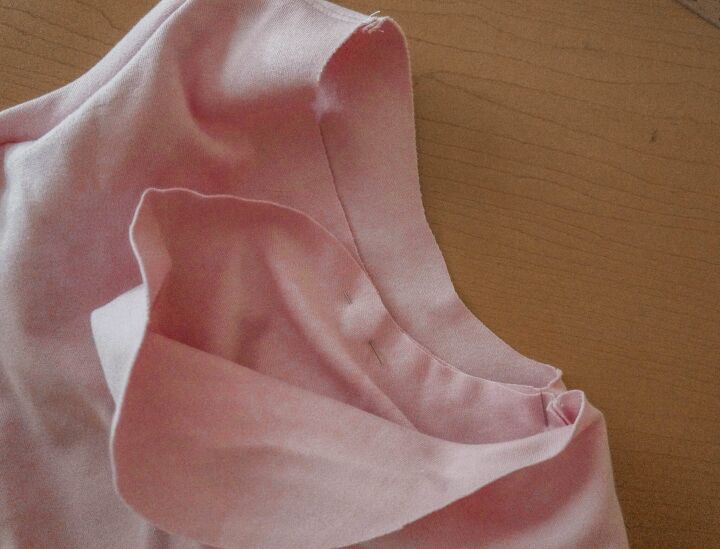
Sew the shoulders together.
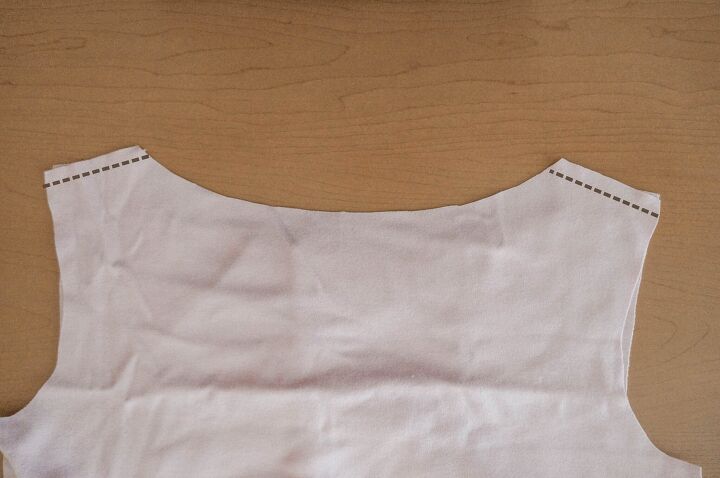
Now, turn the shoulders around, push the seam allowance to the backside and make another stitch on top to secure the shoulder and the seam allowance.
Step 3
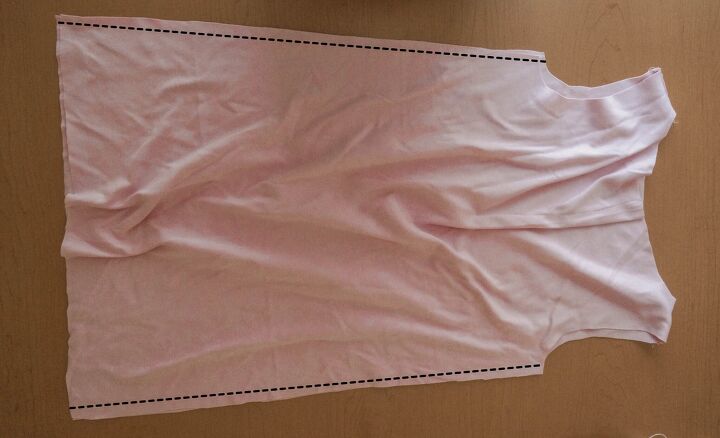
Sew the sides together.
Step 4
The neckline…
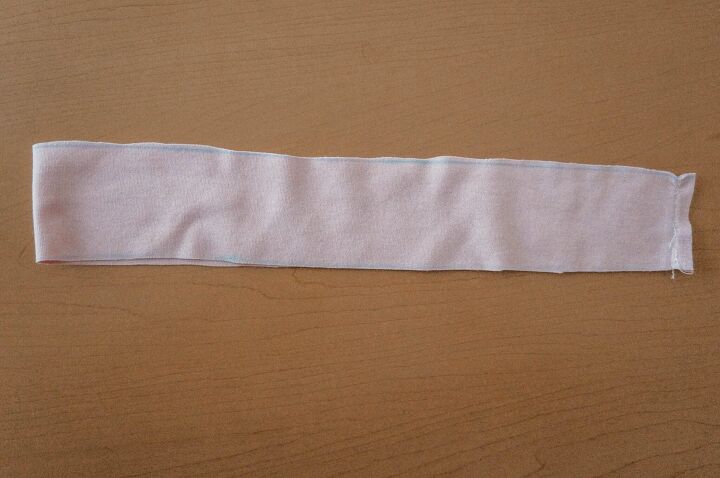
To give it a good finish to the dress, you’ll be adding a neckband. Cut a rectangle of “78 cm X 5 cm” or to make it easier, you can fold the fabric in half and trace a rectangle of “39 cm X 5 cm” that way you’ll be cutting the rectangle faster and straighter.
Then, sew the ends together.
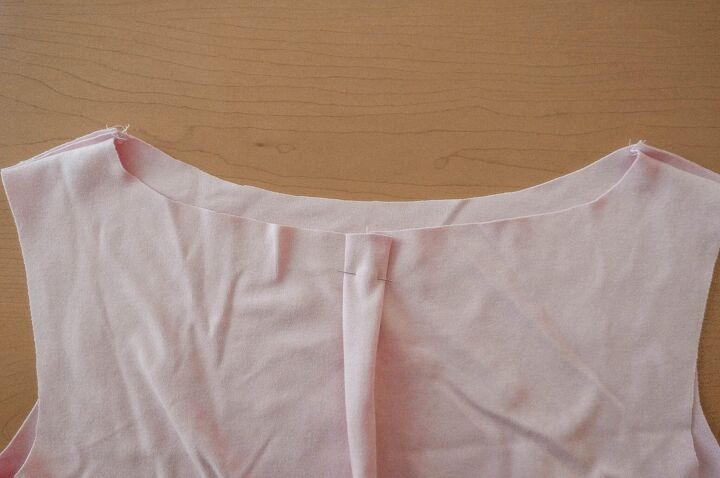
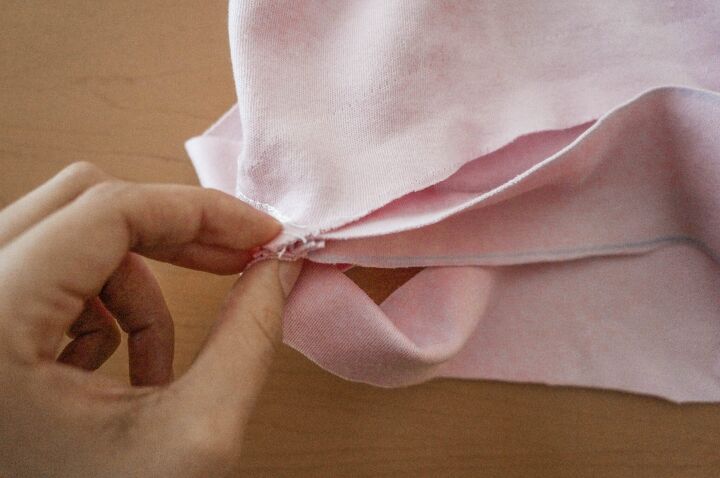
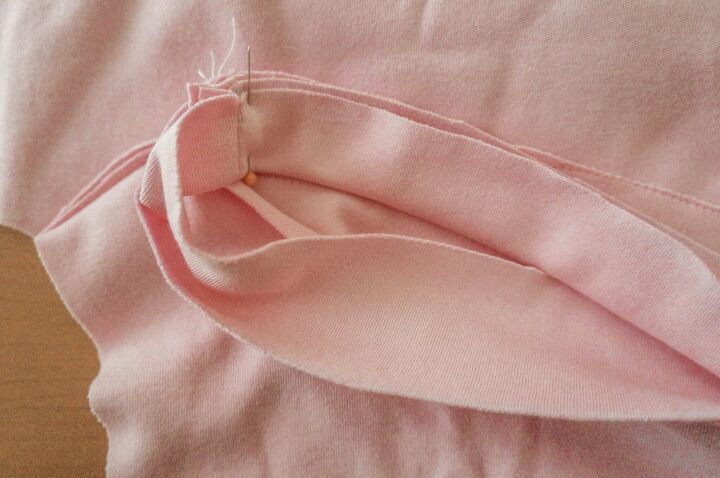
Now, take your dress and on the backside where you sew the dart, you will open that extra fabric and divide it in half to make it flat. Pin it to secure it or you can iron it as well.
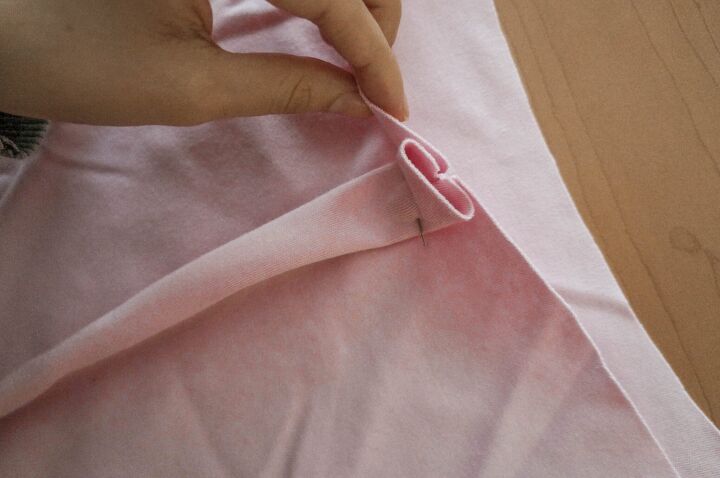
Go back to your strip, open the seam allowance and fold it in half length-wise.
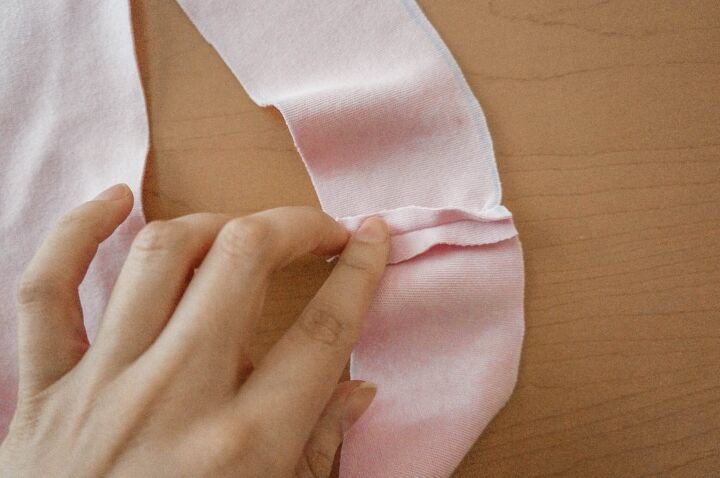
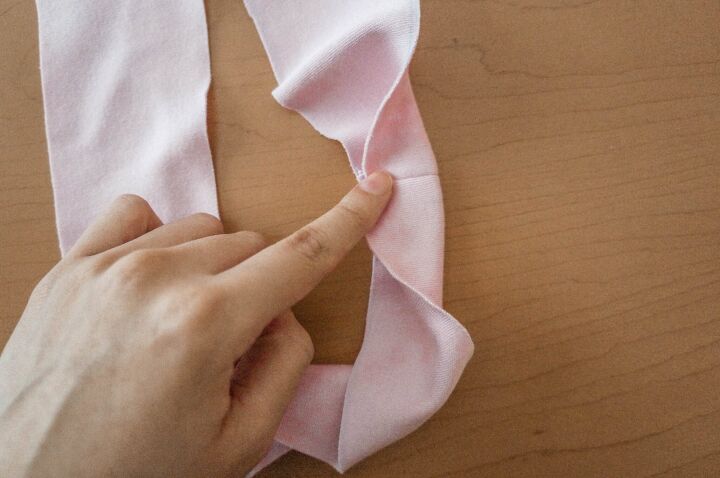
Aline the seams of the strip to the seams of the shoulder and pin it so that it stays in place, you can pin the center of the strip with the center of the backside of the dress (where the dart is). Remember, the right sides of the strip and the dress facing each other.
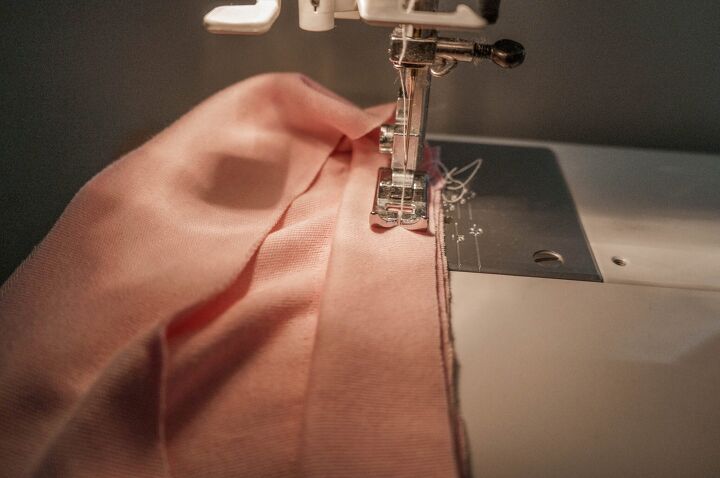
Sew it all around, leaving 1 cm of seam allowance.
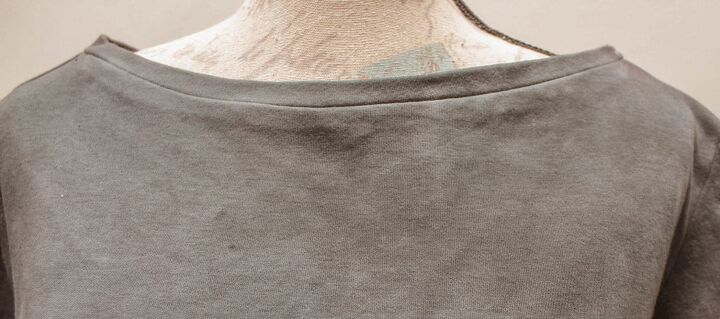
You should have a neckline like this one.
You can iron it so that the edges stay down and don’t peek out.
Step 4
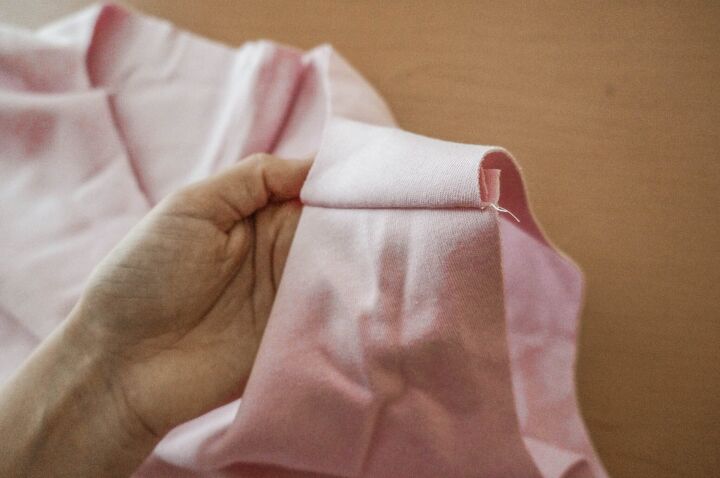
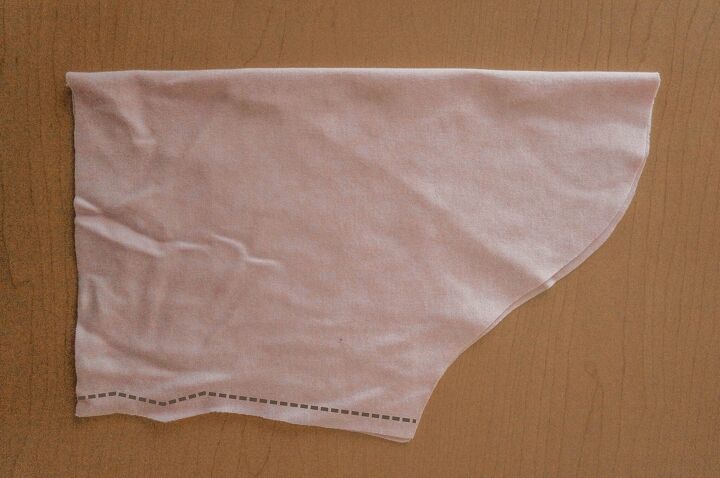
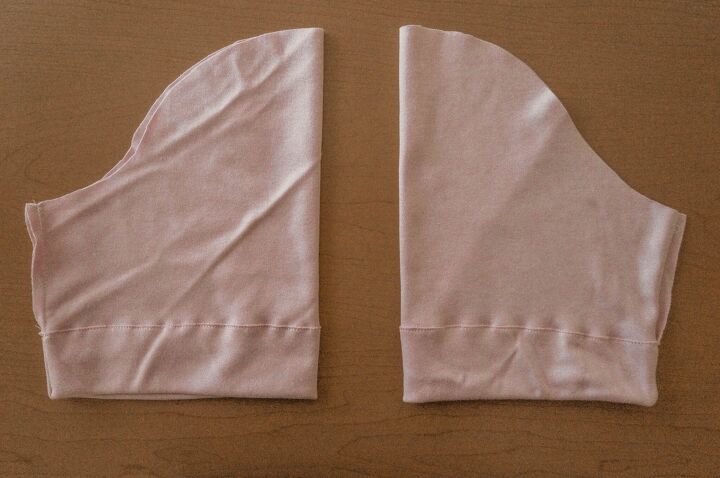
Take your sleeves and fold them in half.

Sew the sides to close them. Leaving the same of the seam allowance.
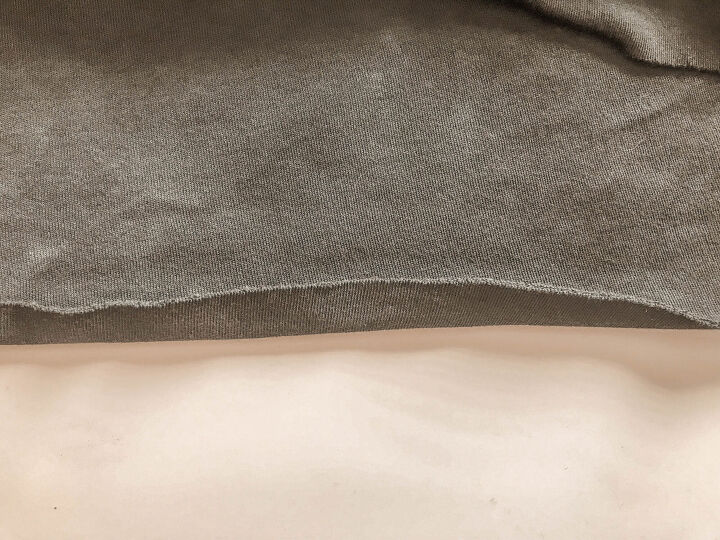
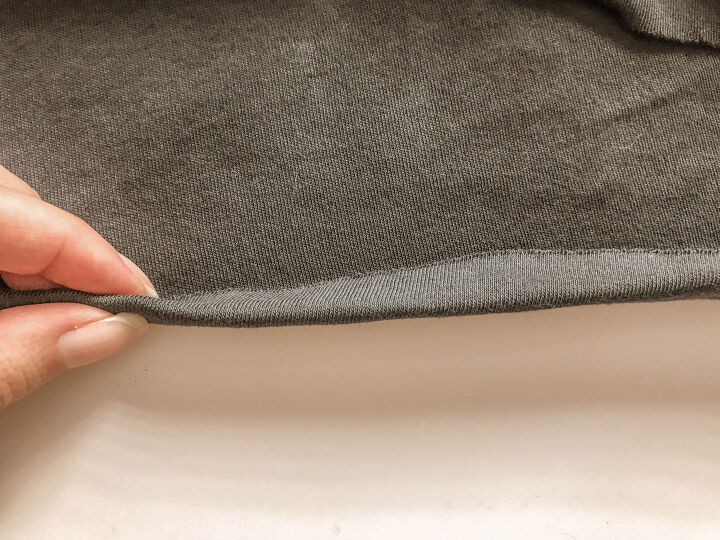
Fold the end of the sleeve to the inside, 2 inches or 5 cm.
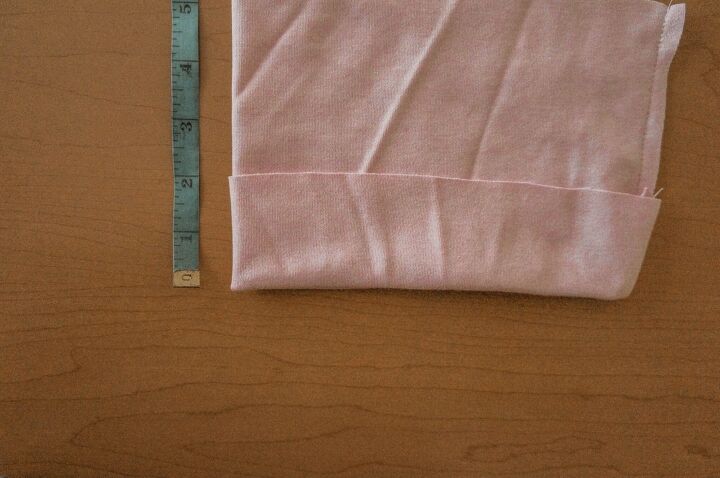
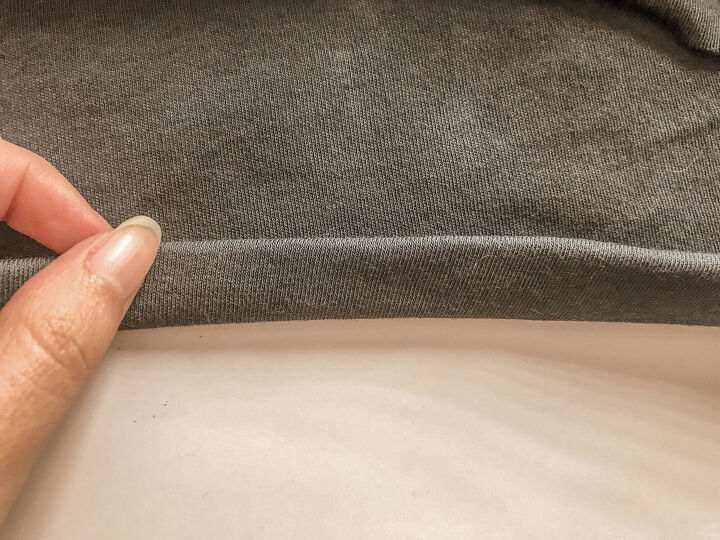
Sew that but first, fold 1 cm to cover that raw edge. You should end up with something like this.
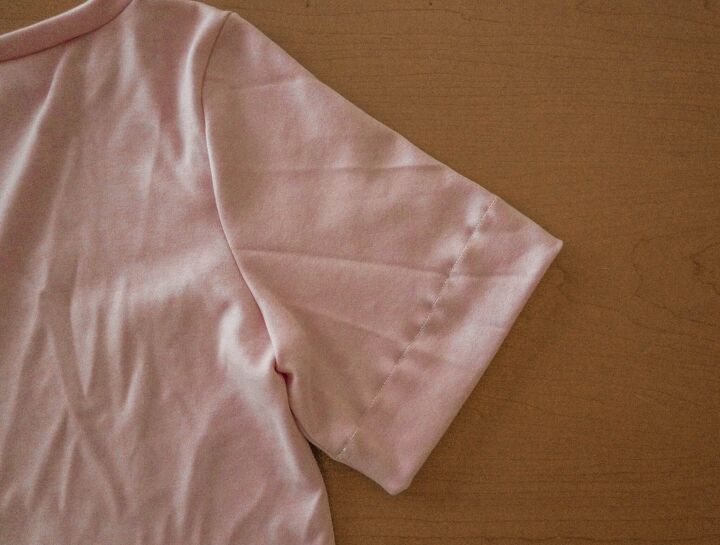
Then sew the sleeves joint to the dress. Right sides together. Aline the seam of the sleeve with the side of the dress to center it.
This might be a tricky stitch but you just got to be patient and not stretch the fabric at all.
Sew both sleeves like that, and you should have something like this…
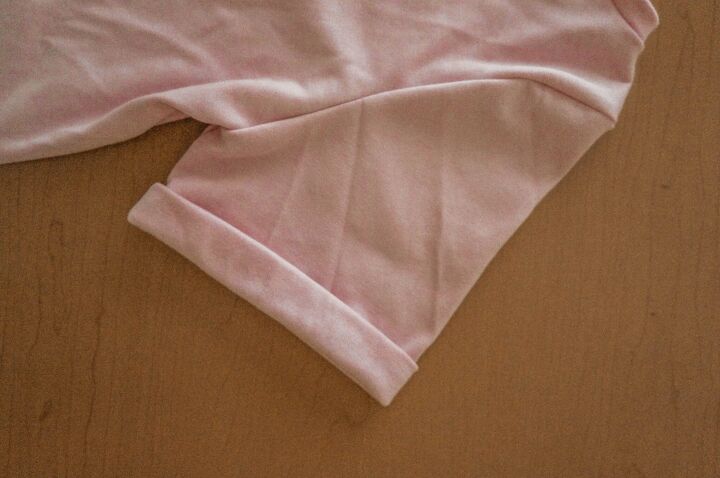
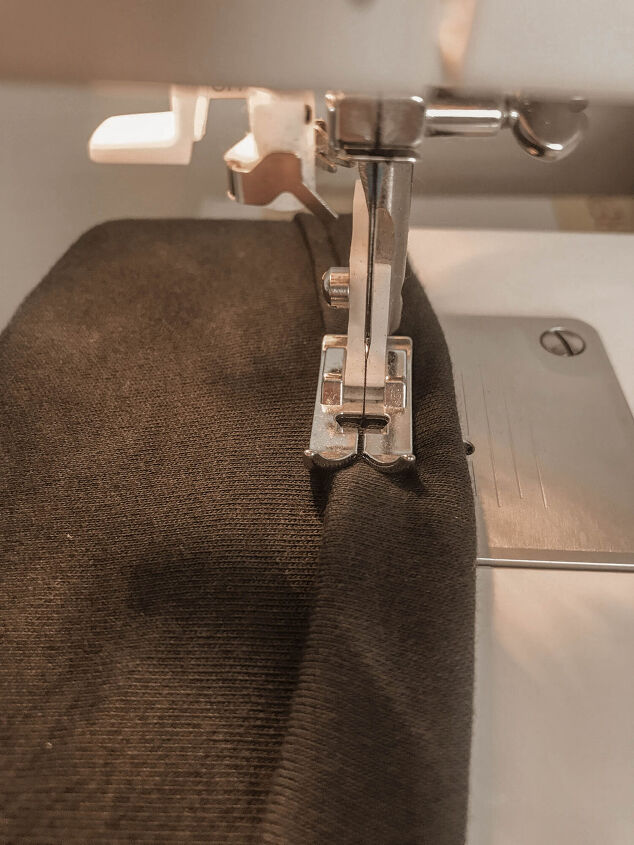
Finally, to make the sleeve have a better finish we will roll it to the outside once.
You don’t need to make a stitch there you can just iron it to keep it in place.
Step 5
To finish your dress, make a hem at the end. Fold 1 cm in and then another 1 cm in. Like a normal hem, but if you prefer it you can make a bigger hem by folding 1 cm and then 2 cm.
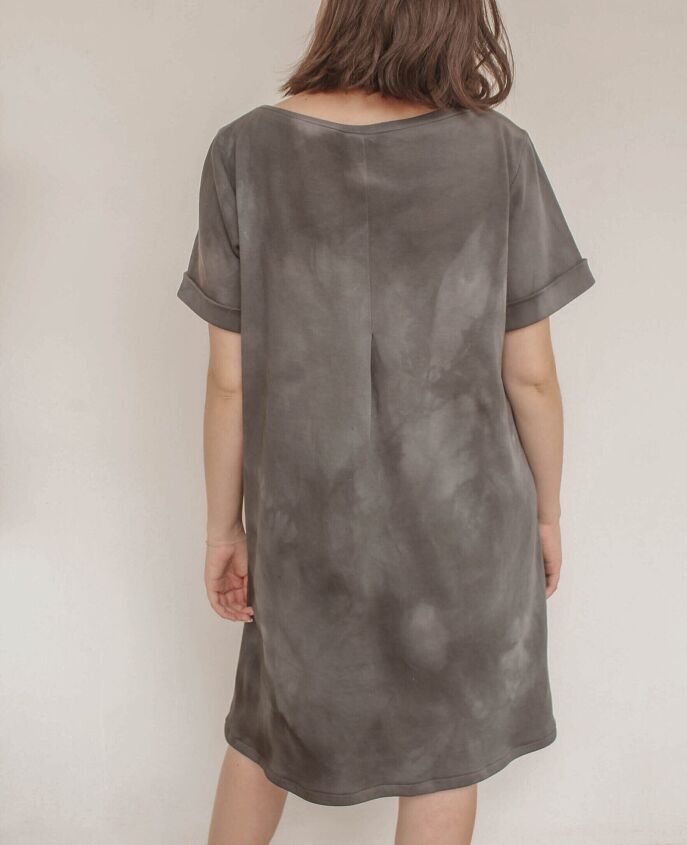
And that’s it!
You have your new dress… try it on! How does it look like? It’s so comfortable, isn’t it?
I hope you found this tutorial helpful. If you have any doubts you can leave a comment and we can answer them.
If you still don’t have your pattern you can get it HERE!

The author may collect a small share of sales from the links on this page.


Comments
Join the conversation
The word is "align." It means to make the two sides even, or matched up. "A-line" is the name of the dress style where the sides flare out with added width, much like the dress you are describing here.