How to Sew Your Own Maxi Dress Using a Boho-Style Maxi Dress Pattern

If you wanted to know how to sew your own maxi dress, this tutorial is for you. Here, I'll show you how to make a DIY boho maxi dress with a beautiful ruffle, using the Mila dress pattern.
Perfect for any occasion, easy to dress up or down, learn how to make your own maxi dress today!
Tools and materials:
- Boho maxi Mila dress pattern
- Fabric - follow the directions
- Coordinating thread and needle
- Sewing machine
- Weights
- Pins
- Ruler
- Iron
- Clapper
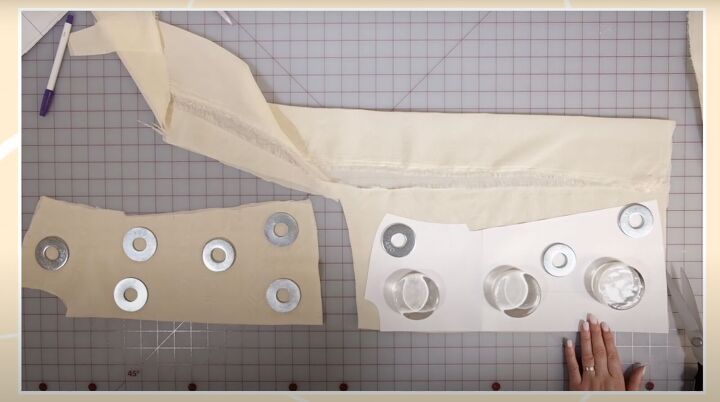
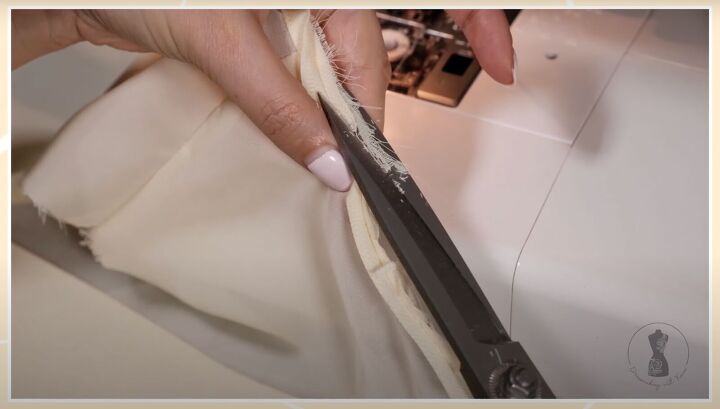
1. Prepare the fabric
Follow the pattern for layout and fabric cutting tips. Use weights on the pattern or clips to keep it straight on the fabric. Make sure to snip the notches. Cut off any selvage.
Watch the video to learn how to make bias strips from 1:25 to 2:04. For this pattern, you will need 5 bias strips, the front and back, 2 ruffle pieces, and the belt.
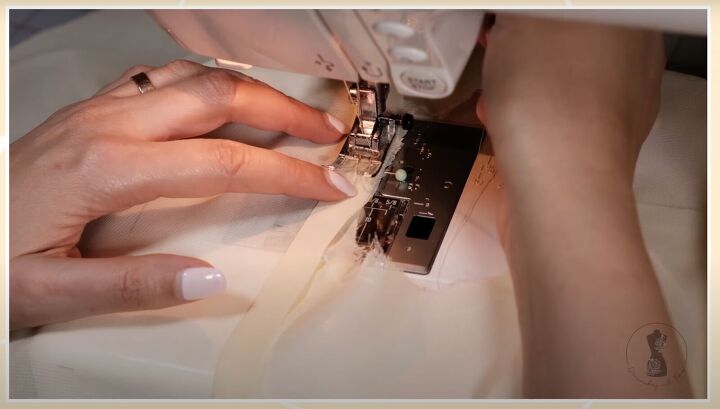
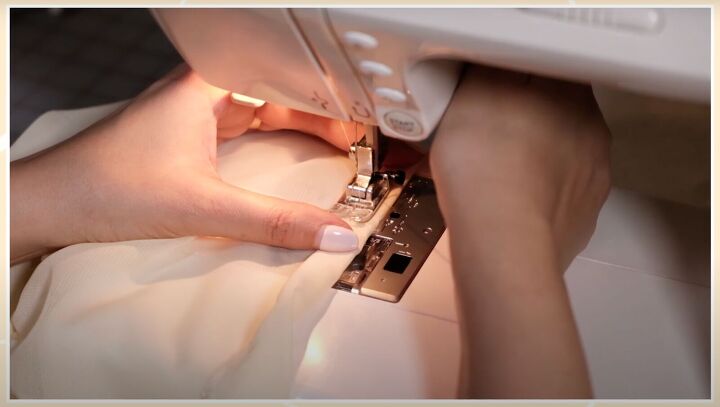
2. Sew the shoulders
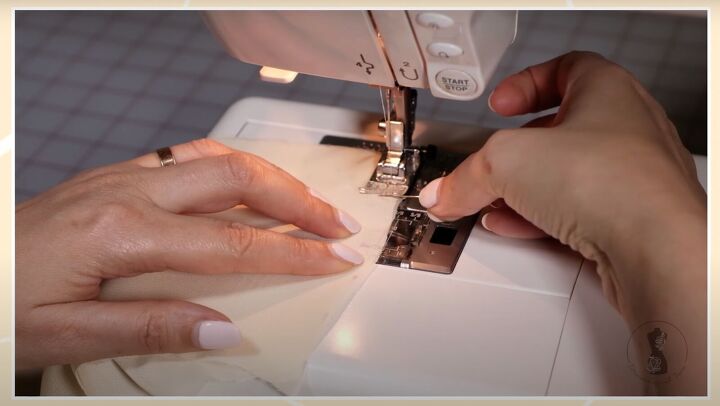
Sew the shoulder seams using a French seam. Place the front and back wrong sides together, matching the notches at the shoulder. Sew ¼ inch from the edge.
Use a needle to help guide the fabric if you’re using a slippery fabric. Backstitch at the beginning and end. Trim the seam allowance.
Turn the fabric right sides together and press your seam on the wrong side of the fabric. Sew a ¼ inch from the edge. The seam allowance will be inside the seam.
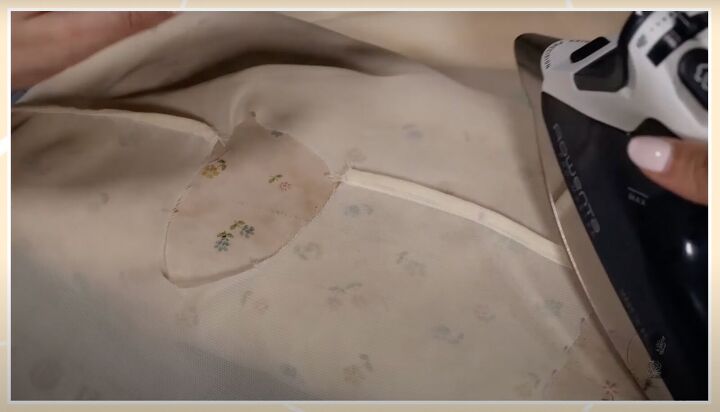
Do the same to the other shoulder. Press the seams toward the back. Cool the fabric with a clapper.
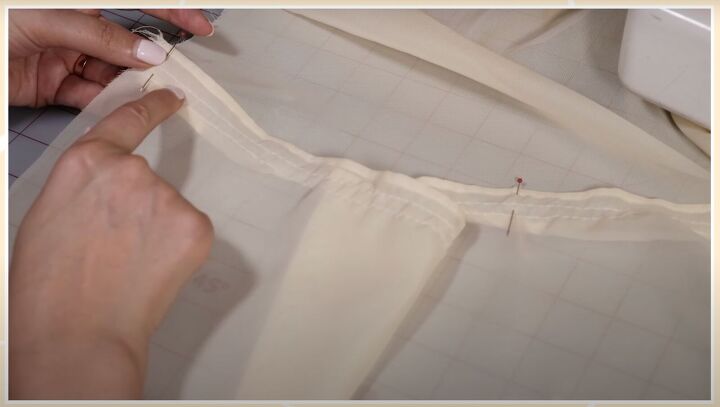
Sew the folded bias strip to the right side of the bodice. The folded edge of the strip should face away from the edge. The width of the seam is ¼ inch and the edge should be aligned with the machine.
Fold the bias strip towards the seam allowance. Topstitch the bias strip very close to the seam. Don’t backstitch.
Trim the seam allowance. Place the bodice wrong side up and fold the bias strip towards the wrong side.

Pin at the center of the sleeve. Sew close to the edge on the other side of the bias strip. Repeat for the other shoulder. Press and cool down.
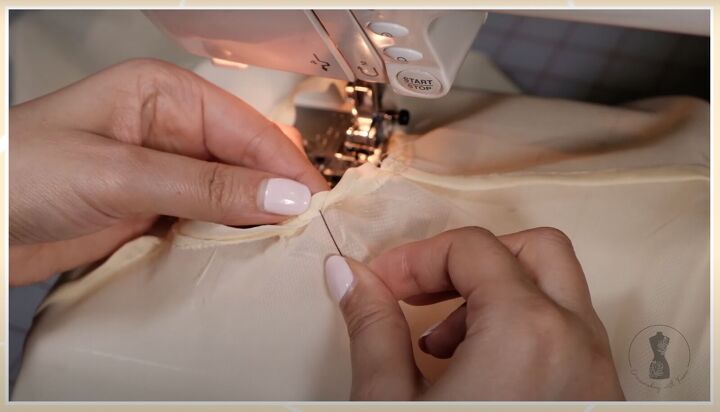
3. Sew the neckline
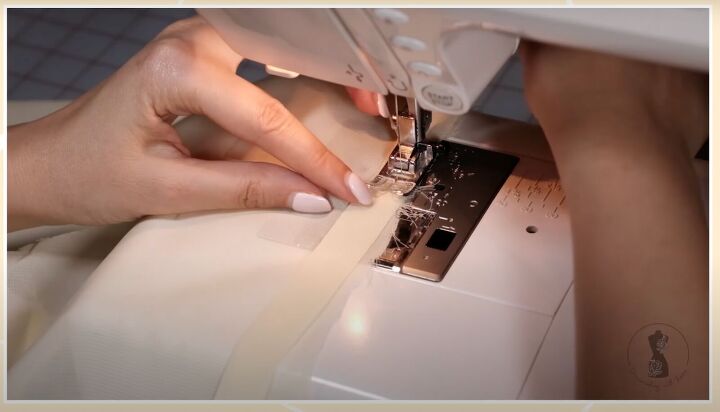
Staystitch the neckline. Take an ironed bias strip, fold it in half, and make sure it’s longer than the neckline. Start from the center back and leave 1 inch of bias strip unsewn. Sew a ¼ inch from the edge.
Lay the bias strip on the curve of the neckline, carefully sewing it, making little adjustments as you go. Don’t stretch the bias strip as you won’t have an even result at the end.
When you reach the end, take the beginning of the bias strip and fold it back. Take the other piece of bias strip and place it on top, following the curve and fold it on an angle to make a neat corner.
Take the beginning of the strip and place it over the folded area not lining it up completely. Go over the previous stitches. Trim any excess.
Fold the bias strip towards the seam allowance, covering it. Topstitch as close as you can to the seam. Trim the seam allowance.
Turn the bias strip towards the wrong side and pin at the shoulder seams center front and center back so the strip lays correctly and doesn’t twist.
Start at the shoulder seam, sewing close to the edge of the bias strip. Once you’re done, remove the staystitch.
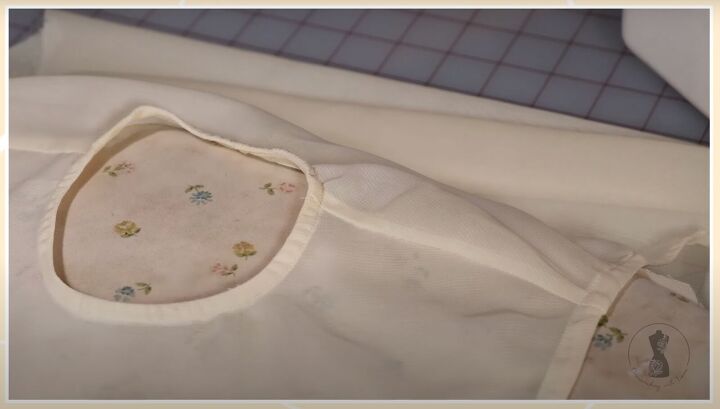
Press the neckline.

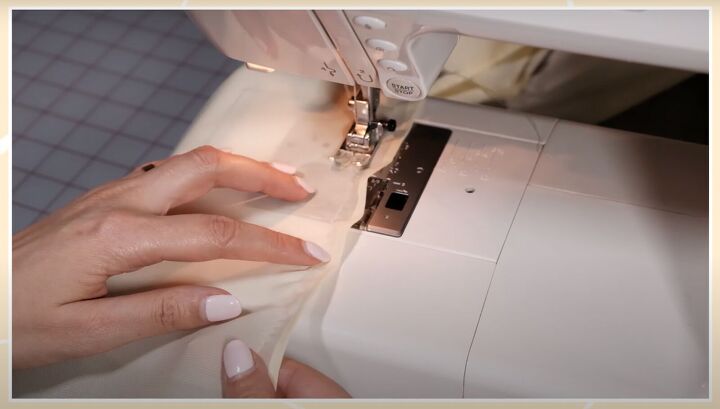
4. Hem the bodice
Fold in ⅛ of an inch towards the wrong side and then fold it again on one side of the bodice. Sew. Repeat for the other side. Press.
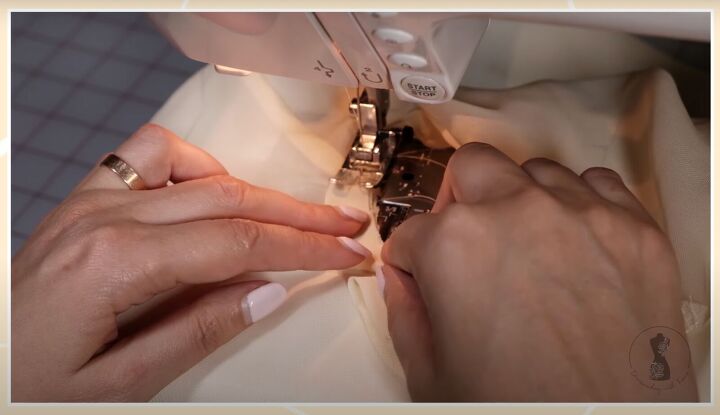
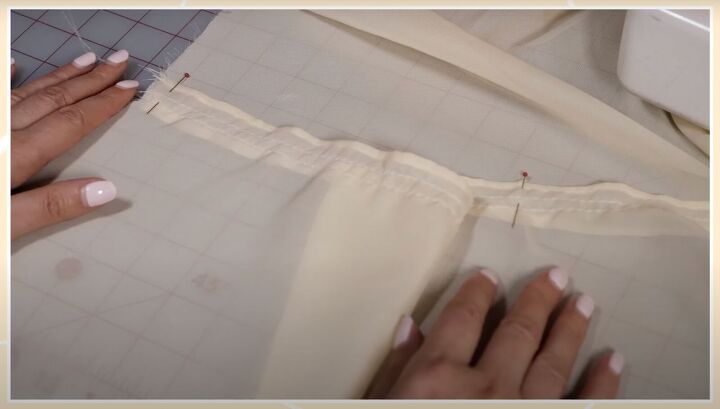
5. Gather the ruffles
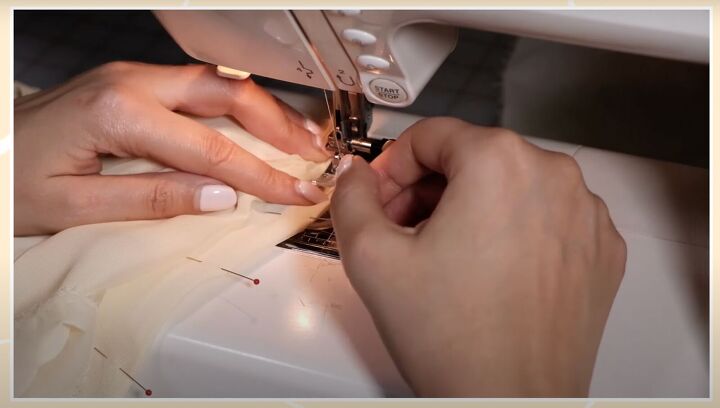
Change the length of the stitch to max, subtracting 5 points and at a ¼ inch from the edge. Sew a seam without a backstitch. Sew a second seam, about ¼ inch away from the first seam.
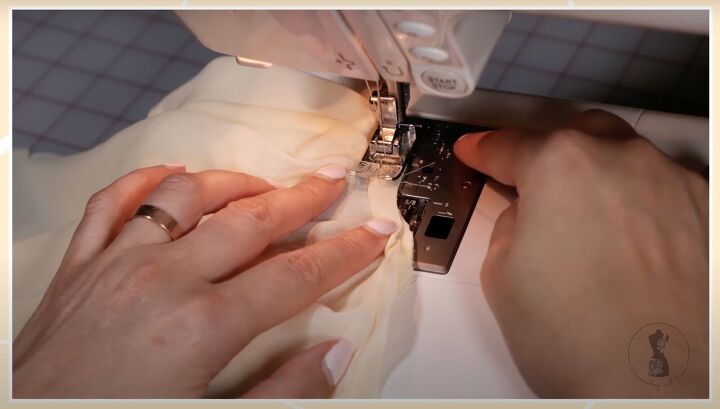
6. Attach the ruffle to the bodice
Find the center of the ruffle and pin it to match the bodice hem. Place the ruffle on top of the bodice overlapping about ½ inch. This could change depending on how wide you want the ruffle to be.
Pin at the beginning and end.
The attachment seam will go in between the two gathered seams. Find the middle point between the pinned fabric.
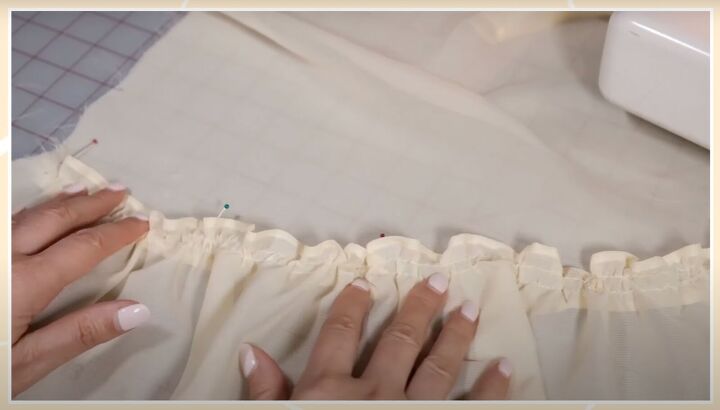
Take the bottom two threads of the gather and pull to gather the ruffle and space it out evenly and equal to the bottom of the dress. Do the same for the back of the bodice.
Sew in between the seams. Take out the gathered seam so your work is clean. Press the ruffle on the right and wrong sides.
7. Sew the ruffle seams
Use a French seam. Pin together the side seams of the ruffle, wrong sides together. Trim any excess. Turn to the wrong side and sew again.
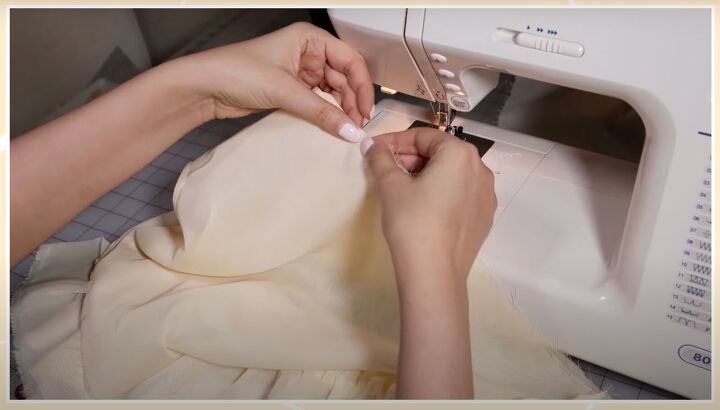
8. Sew the side seams
Have the dress wrong sides together, matching the notches. Sew at ¼ inch from the edge. Trim any excess. Turn the dress to the right side. Trim any excess threads. Secure the ruffle to the sides.
9. Hem the ruffle
Fold in ½ inch and then again.

Sew in place.

10. Make the belt
Fold the fabric in half. Start sewing it in the middle going down each side. Leave a gap of about 2 inches. Flip the belt inside out. Press. Hand-sew the gap closed.
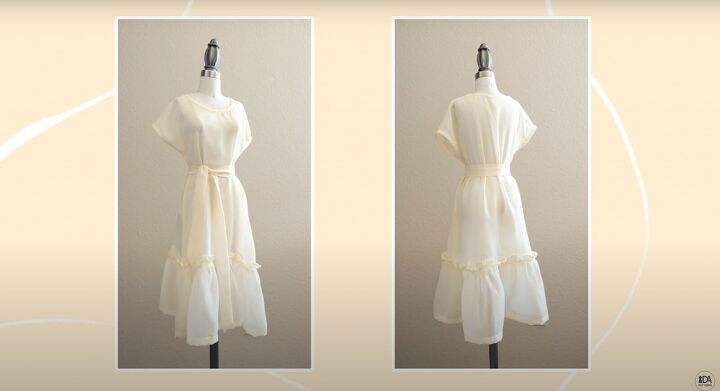


How to sew your own maxi dress
You’ve just made a DIY maxi dress! The shorter-looking one is the one we made in the tutorial at half scale. The others are from the same pattern.
Please let me know in the comments if this tutorial on how to make a maxi dress helped you make this beautiful dress!
The author may collect a small share of sales from the links on this page.


Comments
Join the conversation