Sew Your Own DIY Maxi Dress With This Easy Step-by-Step Tutorial

Today, I’m going to show you how to sew your own maxi dress from scratch without using a pattern. This DIY maxi dress has long sleeves, puff detailing, and a bottom ruffle tier, but it really isn’t that difficult to make.
Follow along with this tutorial to learn how to easily sew a modest maxi dress, perfect for any occasion.
Tools and materials:
- Fabric
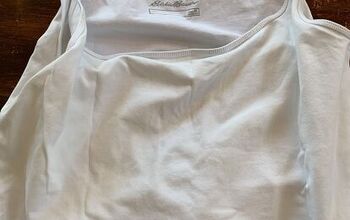
- Loose top
- Measuring tape
- Scissors
- Pins
- Sewing machine
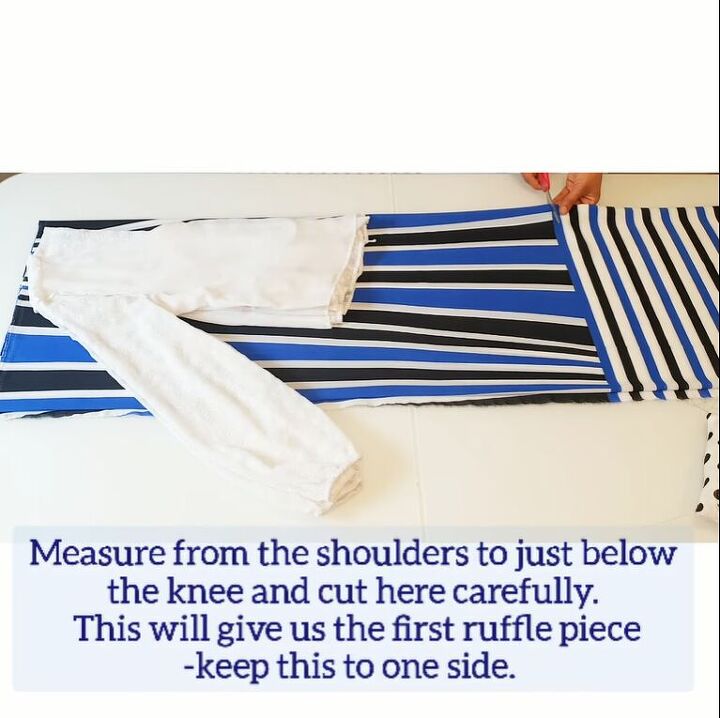
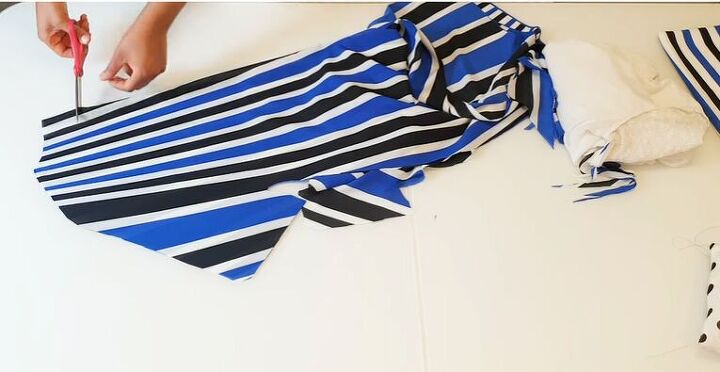
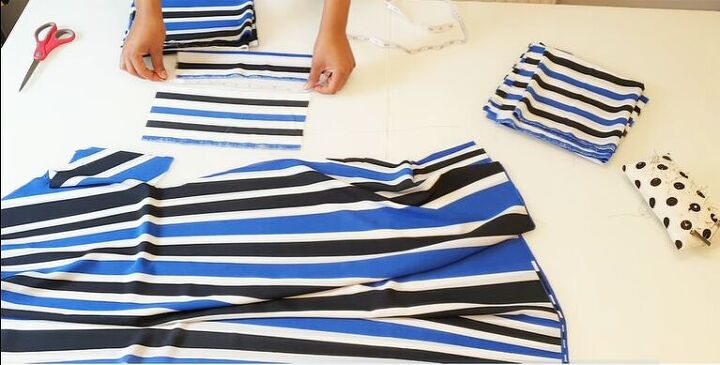
1. Fold, measure, and cut the fabric
Fold your fabric in half one way, then the other way, to create a square or rectangle of fabric with four equal layers. Take a top that fits you loosely, fold it in half down the center of the bodice, and lay it on the fold, as shown.
Measure from your shoulder to just below the knee. Then, measure the same along the fold and cut across your fabric at this mark.
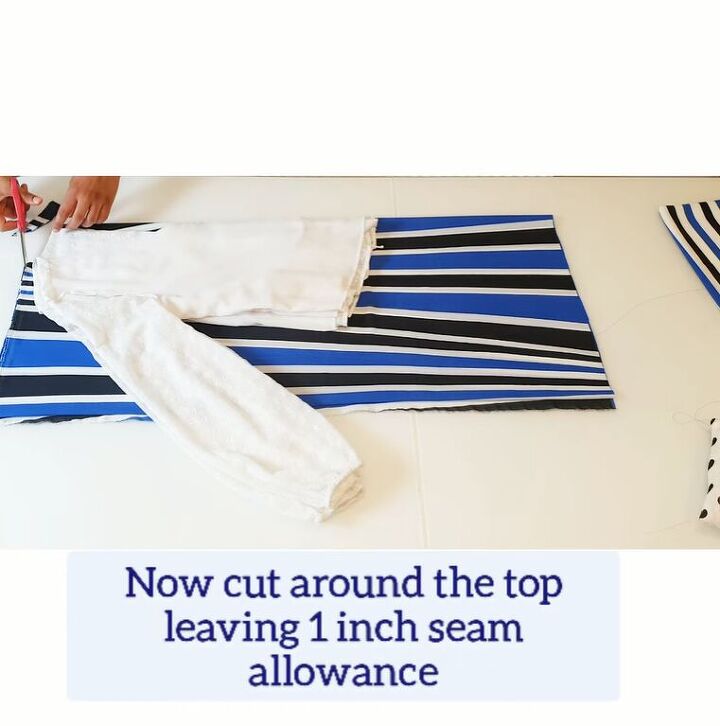
2. Cut the bodice
Carefully cut around your top, leaving a one-inch seam allowance.
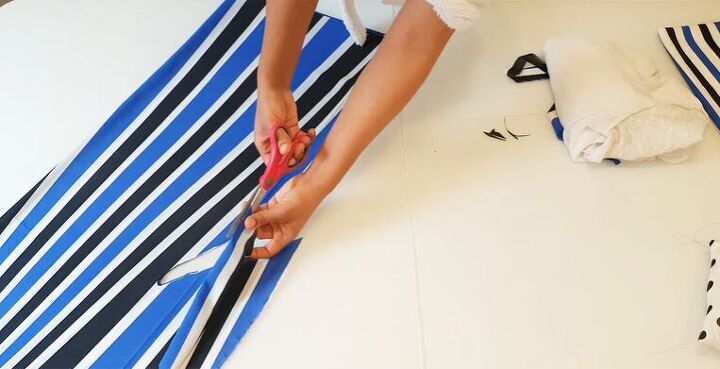
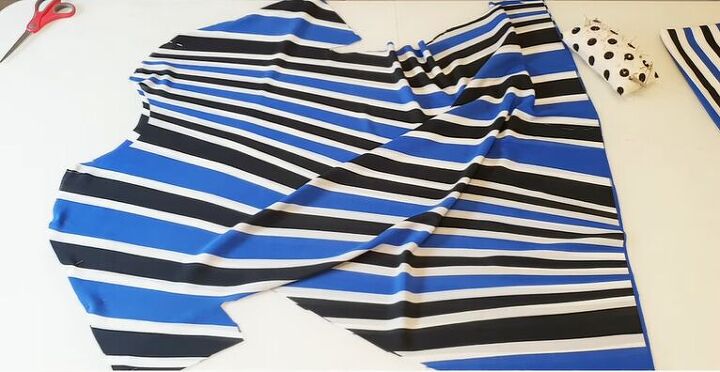
3. Cut open the armhole
Cut open the armhole along the fold. You may also have to trim a little where the bodice ends to connect it with the skirt.
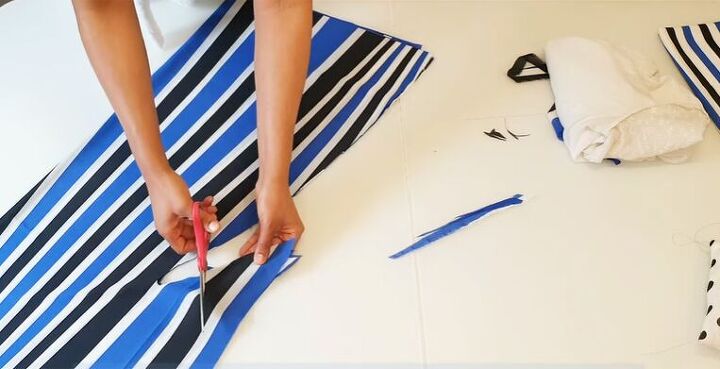
4. Remove the sharp angle of the sleeve
Cut out the sharp angle at the bottom of the sleeves, as shown.
5. Extend the neckline
Extend the neckline by cutting around 3 inches from the fold.
6. Pin the pattern pieces together
Place the front and back pieces right sides together, and pin along the shoulder seam.
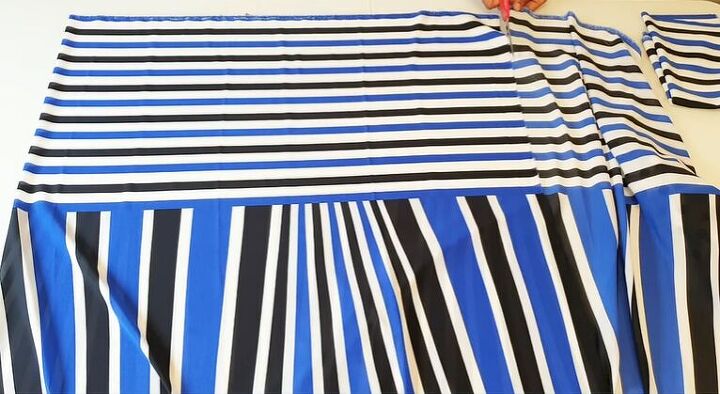
7. Cut out the ruffle piece
Use the fabric leftover from before to cut out a second piece of the same size. This will give us two ruffle pieces: one for the front and one for the back.
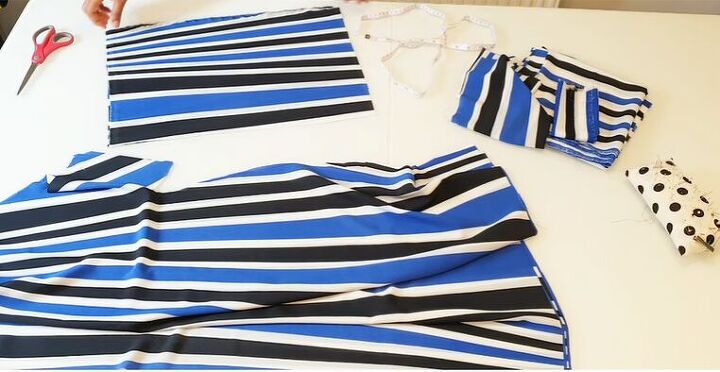
8. Cut out the sleeve pieces
Our DIY maxi dress is going to have long puff sleeves. So, cut out 4 rectangles of fabric measuring 12 inches x 7 inches.
9. Measure the cuffs
For the cuffs, measure your wrist loosely and cut two pieces approximately 5 inches wide.

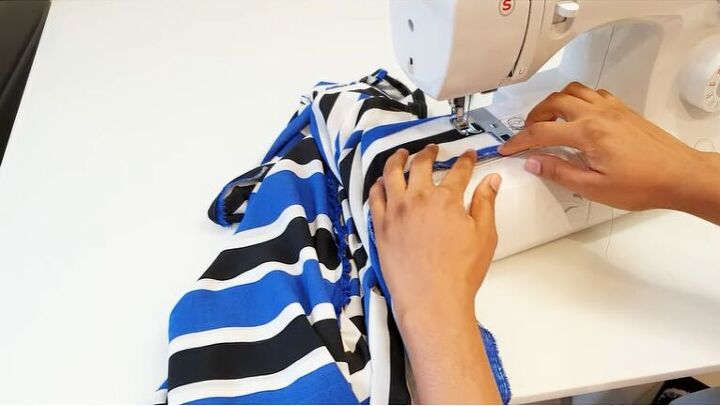
10. Sew the shoulder seams
All the pattern pieces are ready and it’s time to sew the maxi dress. Start by stitching the shoulders.

11. Sew the sleeves
Place two of the sleeve pieces on top of each other, pin them right sides together, then sew along one side seam only. Repeat for the other sleeve.
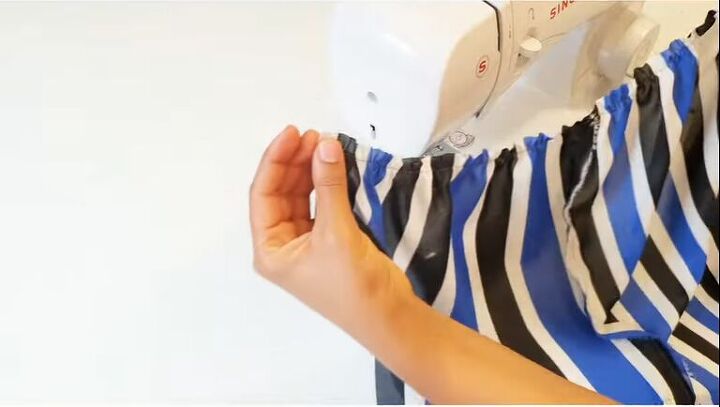
12. Create the gathers on the sleeve
To get that ruffled look on the sleeves, sew a basting stitch along both ends of the two sleeve pieces.
13. Attach the sleeves to the maxi dress
Pin the sleeves to the bodice armholes, pulling at the basting stitch as you go to create gathers. Then, carefully sew along the seam.
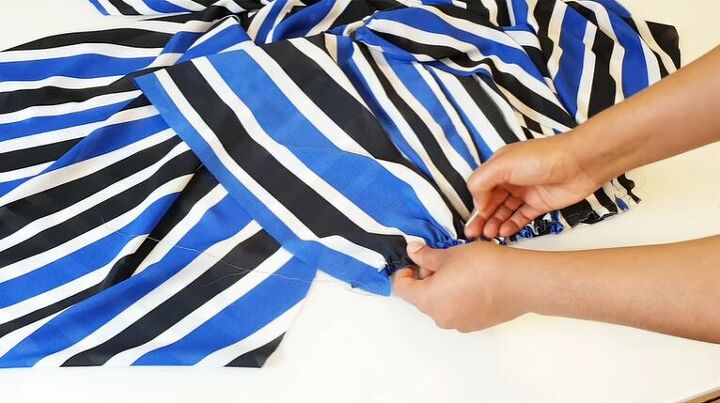
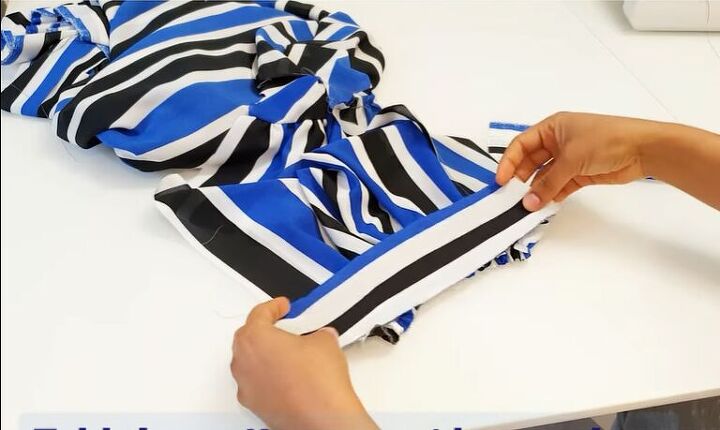
14. Create the ruffle for the skirt
Run a basting stitch along the top edge of each ruffle piece, just like you just did with the sleeves. Pin the ruffles to the front and back of the DIY maxi dress and carefully sew along the seam.
15. Attach the cuffs to the sleeves
Pull at the basting stitch until the gathers fit your wrist. Then, fold the cuff piece in half lengthwise and pin it to the ruffled edge. Repeat for the other side and sew down
16. Trim, pin, and sew the cuffs
Trim off any excess fabric, pin the ends of the cuffs together and sew down.
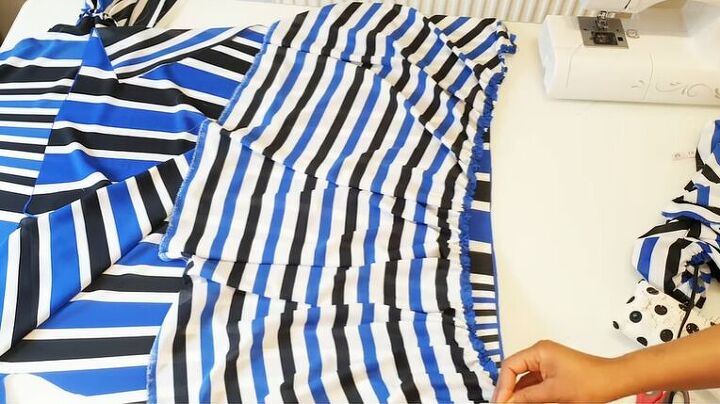
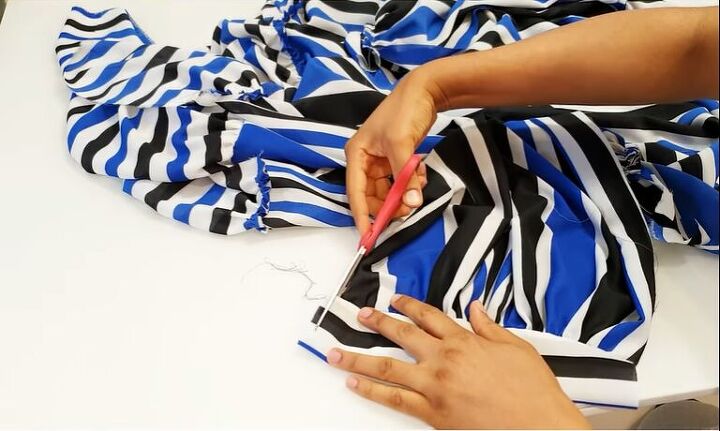
17. Pin and sew the side seams
Pin and sew all the remaining side seams, then hem the bottom of the maxi dress.
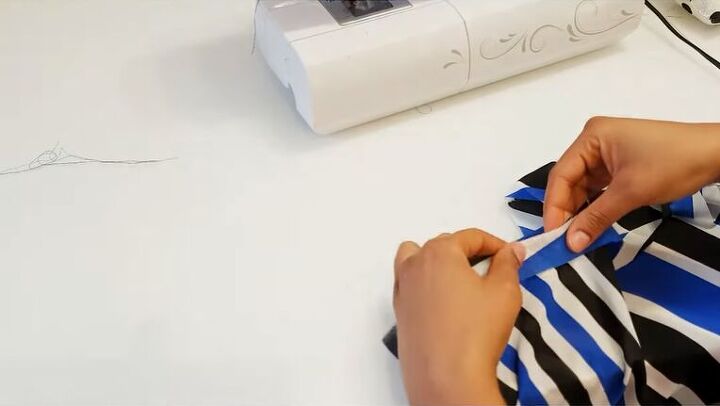
18. Finish the neckline
To hem the neckline, cut a piece of fabric one inch wide and the length of the neckline of the dress. Pin it to the neckline, right sides together, and sew down as close to the neckline as possible. Then, fold the strip in on itself and carefully stitch the top.
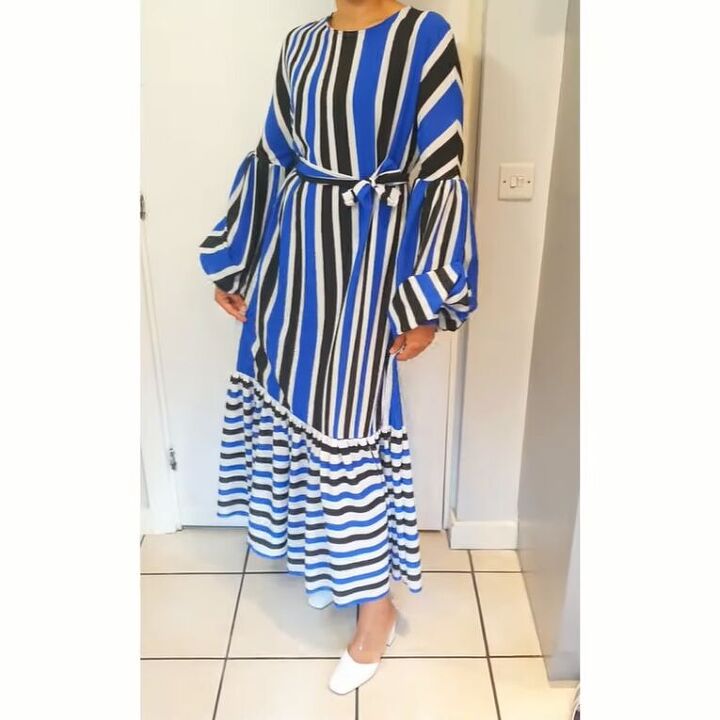
DIY maxi dress tutorial
Here’s the final look! I styled my DIY maxi dress with a belt made from the same fabric. Let me know what you think of this tutorial on how to sew your own maxi dress with long puffed sleeves and a bottom ruffle.
The author may collect a small share of sales from the links on this page.


Comments
Join the conversation