Eyeshadow Placement Guide: How to Make Eyes Look Bigger & Brighter

The old saying “Eyes are the window to the soul” is true! As we get older though, our eyes sort of begin to fade to the background. Eyeshadow placement can really make the difference and help bring your eyes back, sparkling and full of life.
I'm using makeup from Look Fabulous Forever, but you could replicate the same techniques with your own makeup.
This eyeshadow placement tutorial will teach you how to define your eyes, making them look bigger and prettier! I’ll show you my technique and what I think is the best way to apply eyeshadow for eye shapes for mature eyes. Let’s see how amazing the transformation is on one eye...
Tools and materials:
- Eyelid primer
- Eyeshadow palette with light, medium, and dark shade
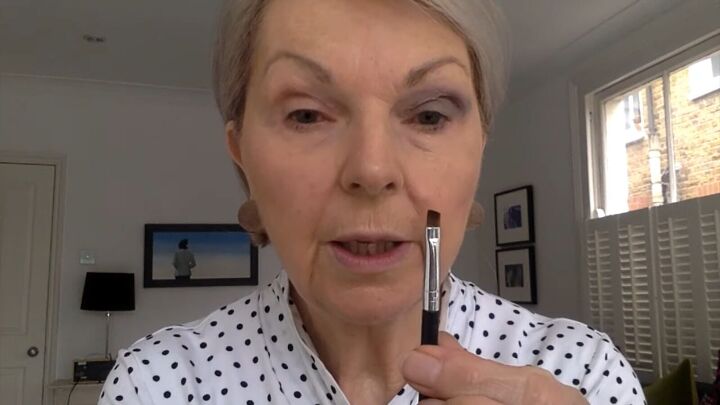
- Eyeshadow brushes including blending and short tipped flat wedge brush
- Mascara
- Highlighter
- Q-tips (cotton buds)
- Fluffy brush (optional)
1. Prime the eye
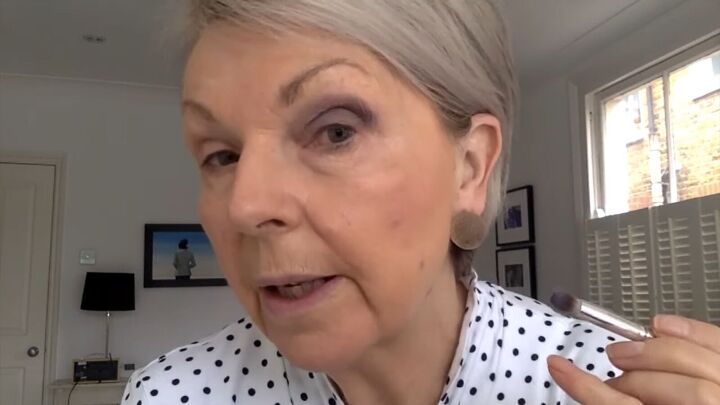
You can see how bleached out I look without any eye makeup on! Apply eyelid primer to your upper lids. Don’t skip this step. Primer helps to even out any crepiness and keeps the eyeshadow in place.
If your brows are a bit faded, do use brow pencil, pomade, or gel before applying eye makeup.
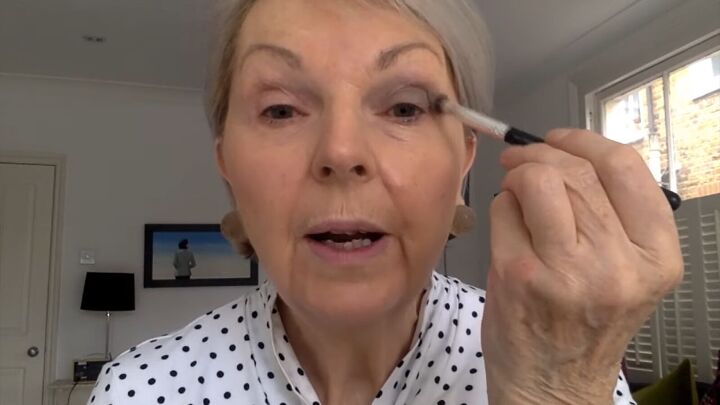
2. Light goes on first
Apply the palest shadow from your palette first fairly liberally over your upper lid. Don’t worry too much about precision as this is the base. Put some just slightly above your natural eyelid crease. Now for some of you, this is enough for daily wear.
But do continue because you’ll see how adding definition can even help change your eye shape!
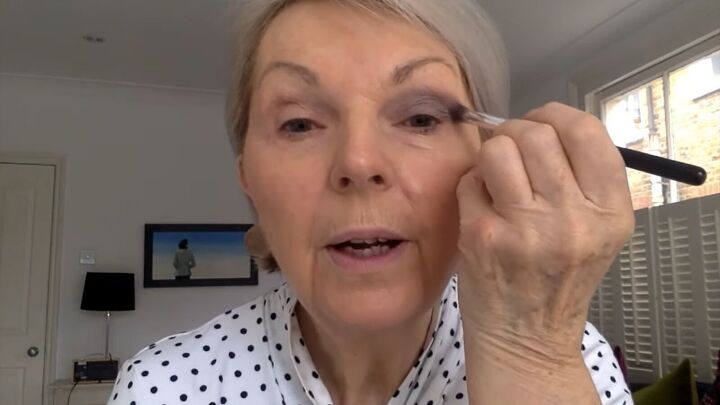
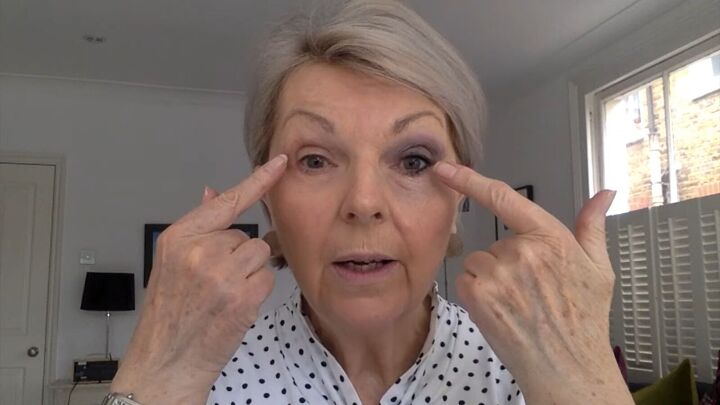
3. Apply the medium shade
Now apply the medium shade in the socket just a bit above the crease line. It looks like an arc. If you rest your hand on your cheek, it will help control your hand so you’re not too wobbly.
At just the top of the brow bone, I’ve added a bit of highlighter just to bring that area a bit more forward.
I do want to change my round eyes to more of an almond shape. To do this, I pull the dark shadow out a bit to extend the eye further. It’s all about creating an illusion that my eyes are longer than they actually are.
Blend the shadow thoroughly so there are no obvious marks. This softens the entire eye area, diffusing the color beautifully.
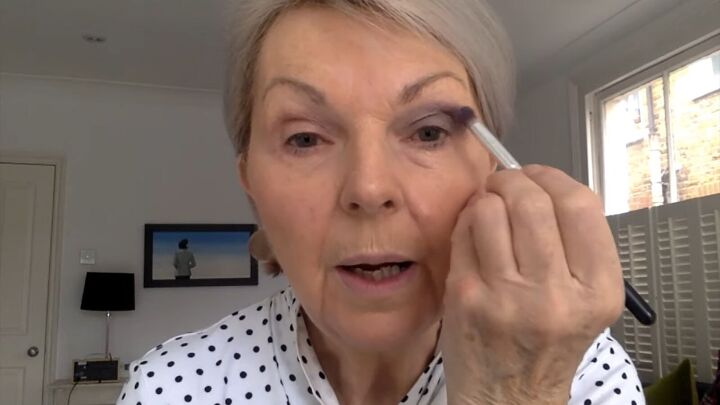
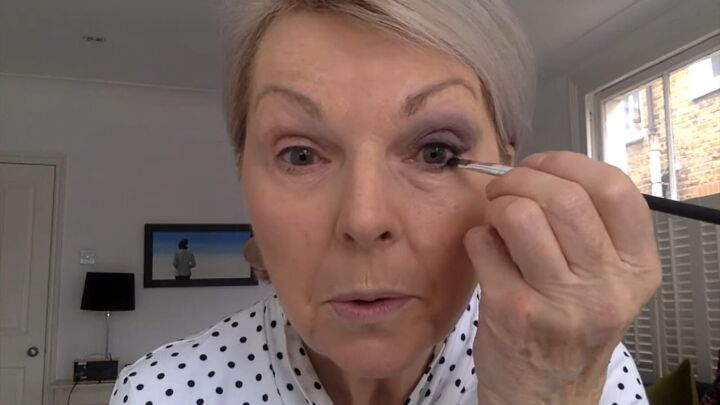
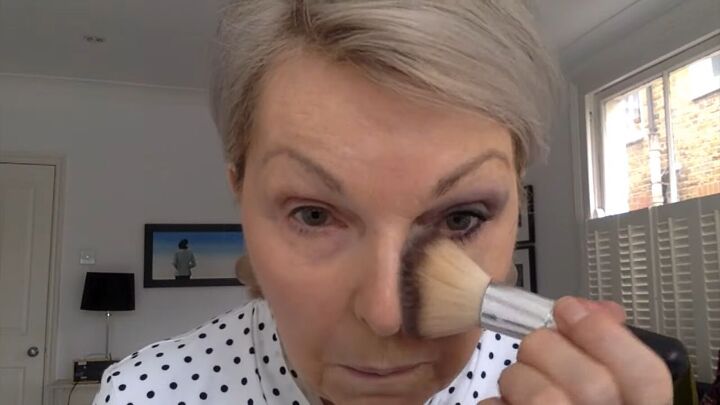
4. Add the darkest shade
Use the wedge brush and dip it into the darkest shade.
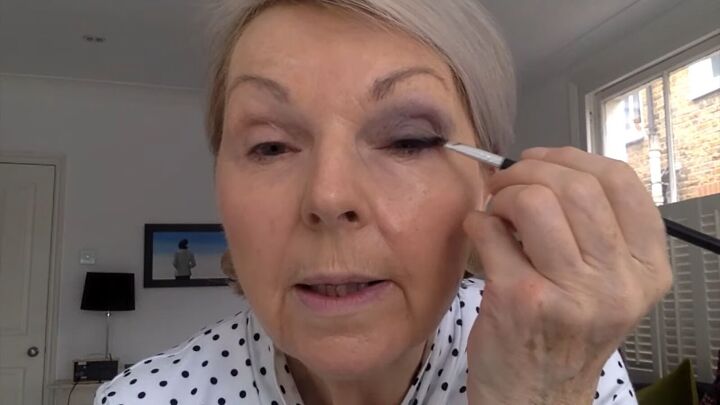
Apply this dark color at the lash line, stamping it a bit in and then rubbing it gently back and forth. Again, you don’t need to be precise here with the placement because we are going for that soft, pretty, smoky, smudged look.
You can also extend the darker line at the outer corner of the eye to heighten the almond eye effect.
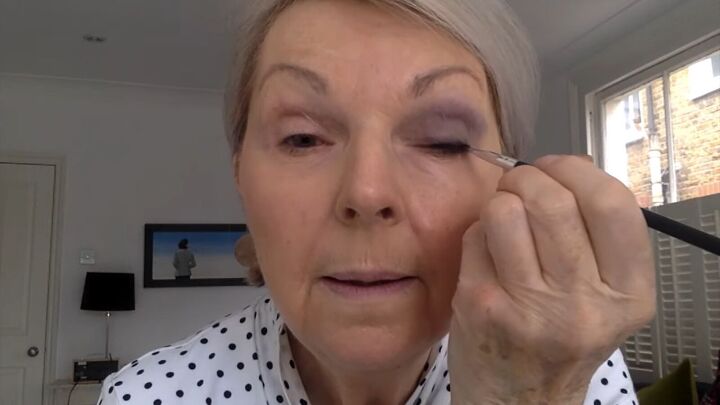
Then apply the darker shade to the base of the lower lash line, starting from the outside and working your way inward.
Keep checking in the mirror as you go along.
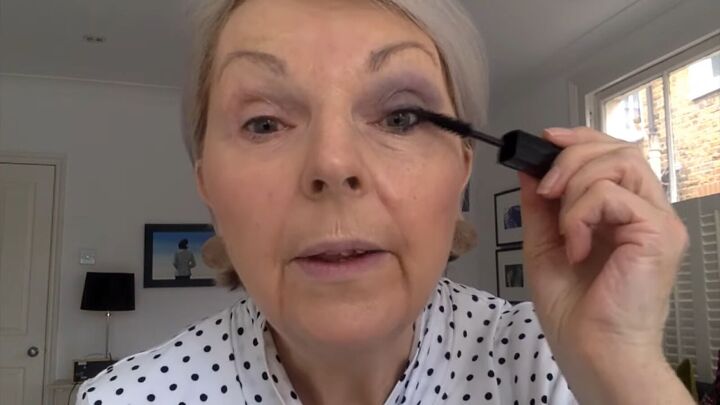
5. Lashes
Finish the eyes with a coat or two (or more!) of mascara on both the upper and lower eyelids. Mascara is wonderful because it adds darkness to the lashes and really helps to frame the eyes.
Keep applying mascara as needed but beware of spidery or spiked lashes. You want the lashes to look soft and pliable.
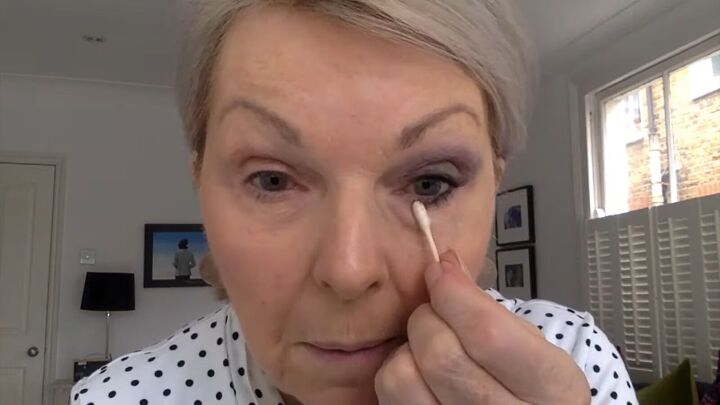
6. Finishing up
Run a Q-tip to tidy up any errors.
If you notice speckles of eyeshadow powder on your cheeks, use a fluffy brush to brush them away.
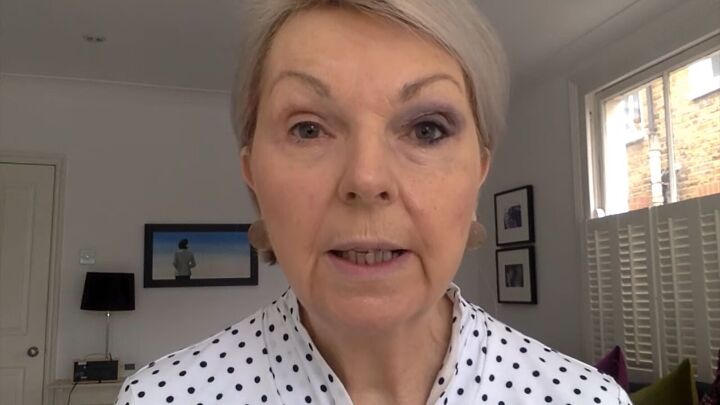
You can see the impact eyeshadow placement has! It really does make a difference!
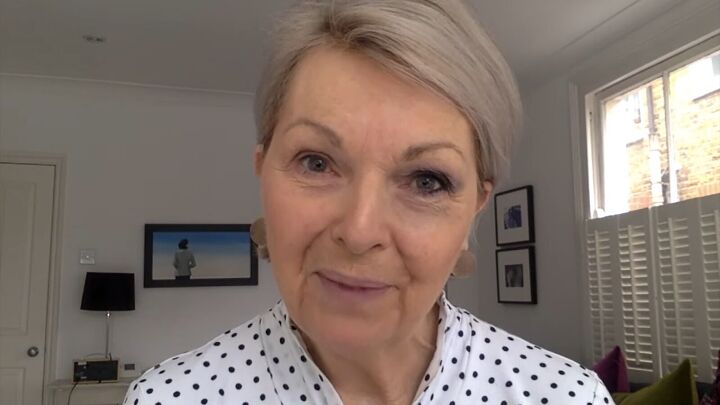
Eyeshadow placement tutorial
Please let me know in the comments if my eyeshadow placement guide helped you make your eyes look better, brighter, and more beautiful!
The author may collect a small share of sales from the links on this page.


Comments
Join the conversation
Great job, I use the 3 color method and it does really make a difference. I am going to get the short wedge brush, that will make a difference I think. I am 73 so I know what you mean by not being as large any longer. One thing ladies, make sure you are using a good night cream and eye cream. It really helps with the wrinkles. One that has the tightening properties, we don't have to look older any longer. Thank you for sharing, I am going to try your method and see if it works better. Have a great Christmas everyone.
This is wonderful! I'm 57 and have small eyes. I've just watched your video, and I must say, this is one of the best eye makeup tutorials I've watched. This technique worked so well for me. Thank you so much for the help!!