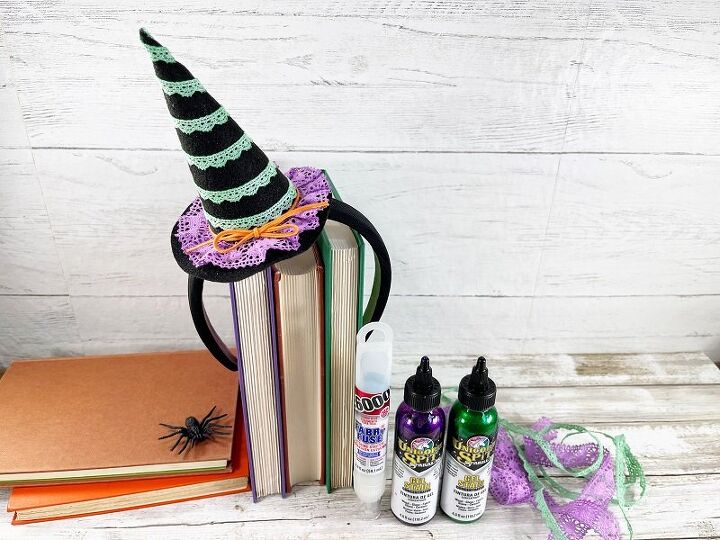
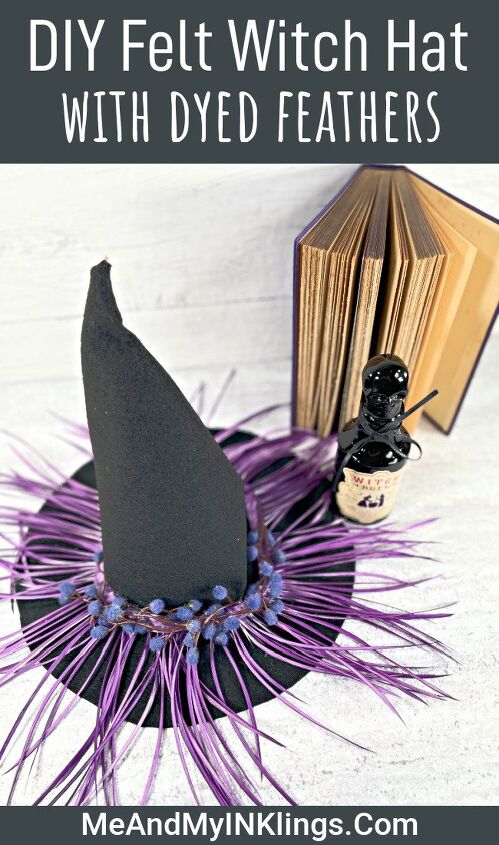
Felt Witch Hat DIY With Dyed Feathers
Create remarkable Halloween decor like this felt witch hat diy with E-6000 Fabri-Fuse , fun trims and felt.
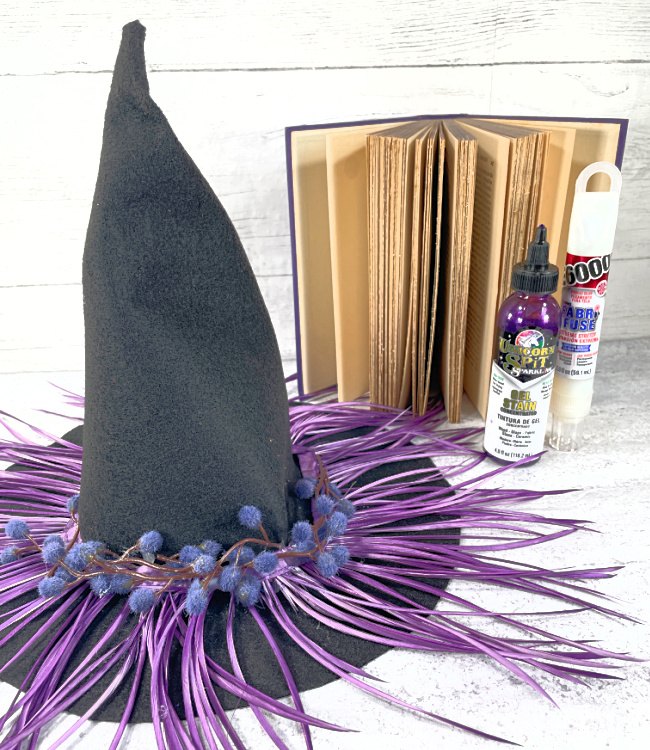
This project was exceptionally fun to make because it brings together two crafts that I love, FELT and dyeing all the things. The ostrich feathers have been in my craft stash for YEARS waiting for the perfect use and this definitely met all expectations. Not only did the UNICORN SPiT® dye them a gorgeous purple color but the Fabri-Fuse adhered them to the felt perfectly. A Felt Witch Hat like this is one of a kind!
Materials and Supplied Needed for Felt Witch Hat DIYThis list of supplies could be changed to meet the needs of the witch hat of your dreams. Different colors could be used as well as different feathers or trims.
- E-6000 Fabri-Fuse Adhesive
- Black Kunin Felt
- Scissors
- Dyed Feathers or Trims Using UNICORN SPiT®
Directions
Start by prepping your E-6000 FabriFuse. When it is first opened, there is a protective seal that must be removed. My favorite way to do this is with the end of straight pin by sticking it in then pulling the covering gently off with the pin.
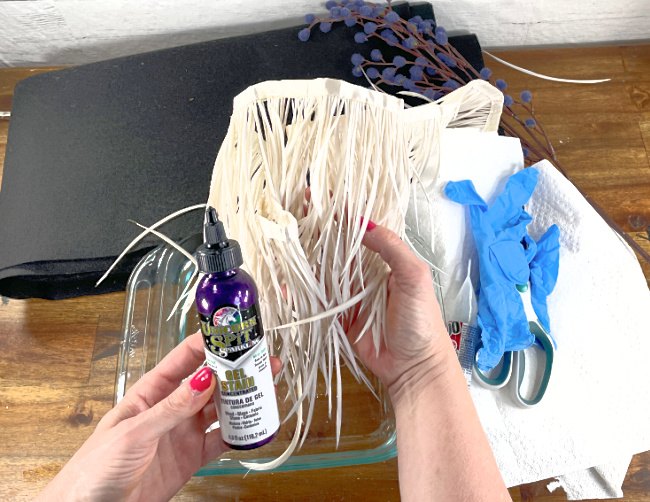
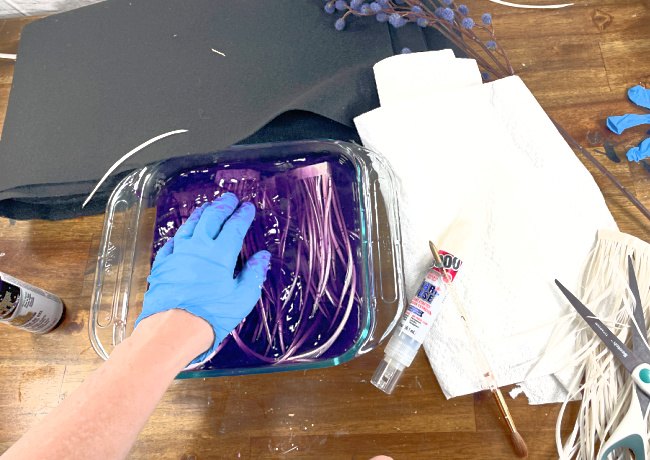
Step OneThe first step for this felt witch hat diy is to dye your feathers or trims and allow it time to totally dry. This is best done the day before actually making the project. For this witch hat, the trim is dyed with a mixture of Unicorn Spit and HOT water.
UNICORN SPiT® is a magical art medium that creates the most amazing masterpieces. Mix the Unicorn Spit with water in a shallow dish then gently place feathers or trim in. Wear gloves if desired to push the trim down under the water and make sure it gets totally covered. Leave the trim in until dyed to the desired color then lay out on paper towels to dry.
Step Two
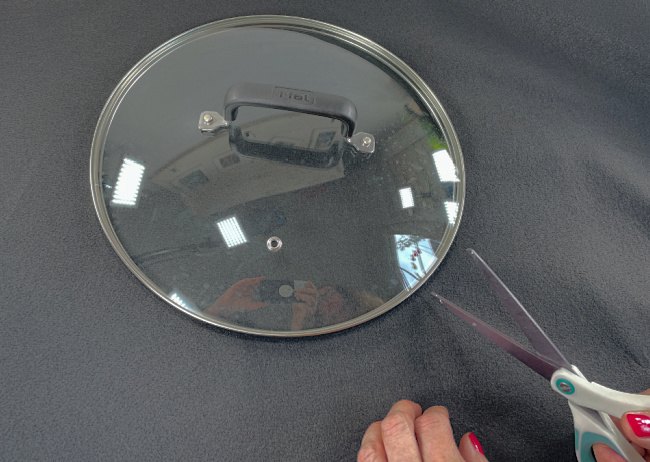
To make the witch hat, cut a circle the size of the base you want, It works to use a pan lid or a larger lid from a garbage can too.
Step Three
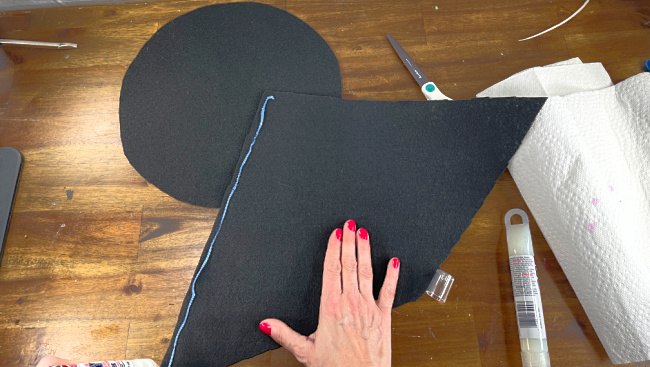
To make the top of the felt witch hat diy, cut piece of black felt into a wide triangle shape then round the bottom a bit with the scissors. This can be done in different sizes depending on whether you want it to be tall or short. It can always be trimmed down once the glue has set.
Put a thick line of Fabri-Fuse down one side then wrap around the other and press together. The glue is going to take a bit to dry. Clip can be added to hold the piece together while moving to the next step.
Step Four
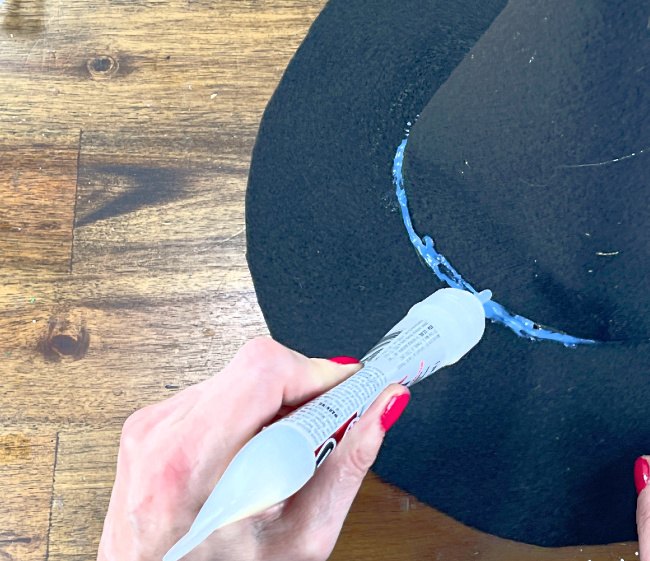
Glue the top of the hat to the base with the Fabri-Fuse. Don’t worry about using too much. It will soon be covered with trims AND it will dry clear!
Step Five
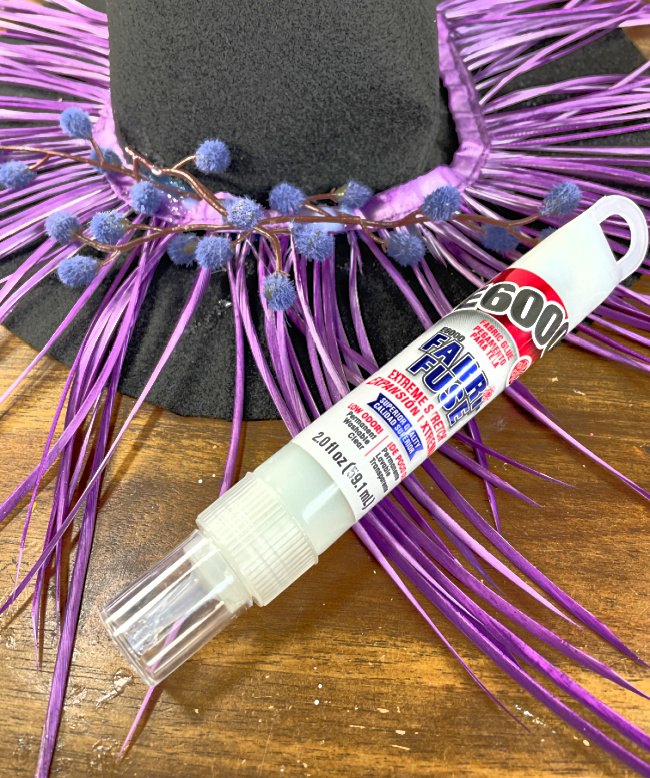
Add the dried dyed trims and any other trims of your liking. The ostrich feather trim is perfect for this felt witch hat DIY. Let the E-6000 Fabri- Fuse dry overnight before using the witch hat for decorating.
This felt witch hat project could be done in so many different sizes and colors. The possibilities with all of the colors of UNICORN SPiT® .
About Fabri-FuseFabri-Fuse is part of the E-6000 adhesive family from Eclectic and I LOVE it, It works on projects that use fabric and felt along with so many other surface including metal, wood, glass, rubber and much more! Here are some of the best facts about this amazing adhesive.
- It dries CLEAR.
- E-6000 Fabri-Fuse is acid-free.
- Once dried, it is washable.
- There isn’t much of any odor.
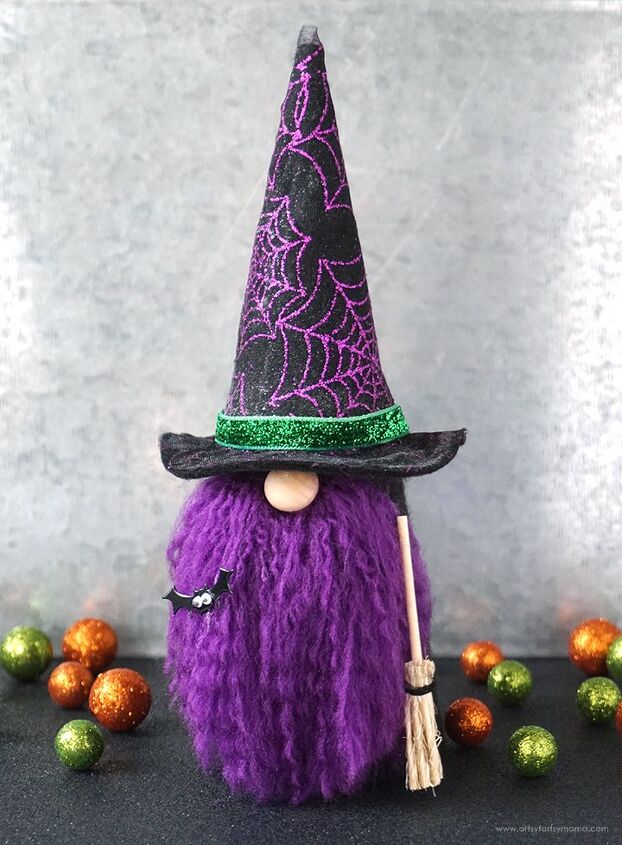
Two More Felt Witch Hat DIYS!
Sharing is Caring! Too busy to make this right away?! Pin it for later! Pin this project to your favorite craft board on Pinterest and it’ll be waiting for you when you’re ready.
I would really love to hear what you think about this fun Halloween felt witch hat diy! If you try it out, I would sure like to see it! Share on Instagram, Facebook, or leave a comment/photo on the project pin on Pinterest!
This post contains affiliate links. If you make a purchase, it is no extra cost to you but supports me and my small business.
Cheers To ALL THINGS Witchy,
Laura
The author may collect a small share of sales from the links on this page.


Comments
Join the conversation