Looking for Quick Glam? Try This Get Ready With Me Makeup Tutorial

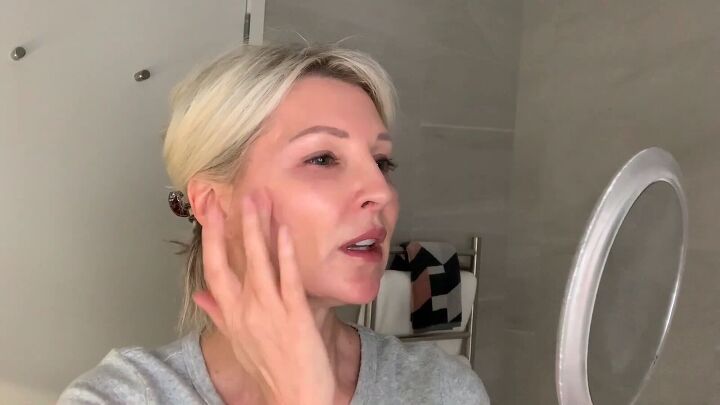
Hi, everyone. I’m going to do a really quick "get ready with me" makeup tutorial to show you how I did today’s date night look in just a few minutes. The GRWM (get ready with me) trend is so much fun, so follow along as I get glammed up for an evening out with my husband. Let’s get started!
Tools and materials:
- Foundation
- Concealer
- Setting powder
- Eyeshadow
- Powdered eyeliner
- Brow gel
- Mascara
- Bronzer
- Blush
- Lipliner
- Lip tint
- Lipgloss
1. Apply foundation
We’re jumping straight into foundation—no primer—to keep this look as quick as possible.
Rub the foundation into your skin and over your lids with your fingertips as if it were a moisturizer. This will cover the face beautifully, covering open pores, hyperpigmentation, and redness.
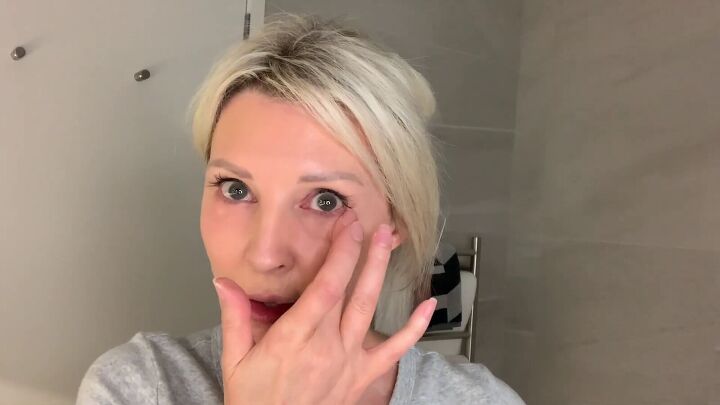
2. Add concealer to the under-eye
Start by dabbing a concealer under your eyelids as it’s a lot lighter and brightens the area up well.
Then, looking down, apply a lighter concealer where you can see the shadow as well as in both inner and outer corners of the eye area because those areas can get really dark. Pat that in with your fingertips.
3. Apply setting powder to set the foundation and oily areas
Use a setting powder all over your T-zone to help avoid shiny and oily skin in this area.
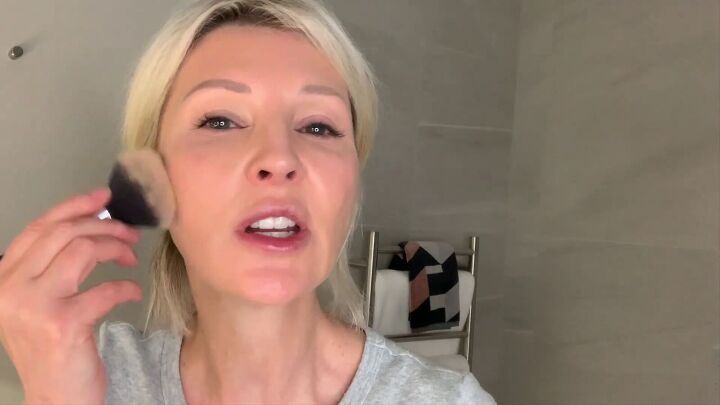
Then, use a big brush to sweep the powder across the rest of your face. By applying powder this way, there won’t be any drag.
You don’t need a lot as you want the glow from within to come through and avoid cakiness.
4. Apply a light eyeshadow shade
Brush a light shade across your lid area as a base. This will help any other color you use on the lid to look more true and vibrant.
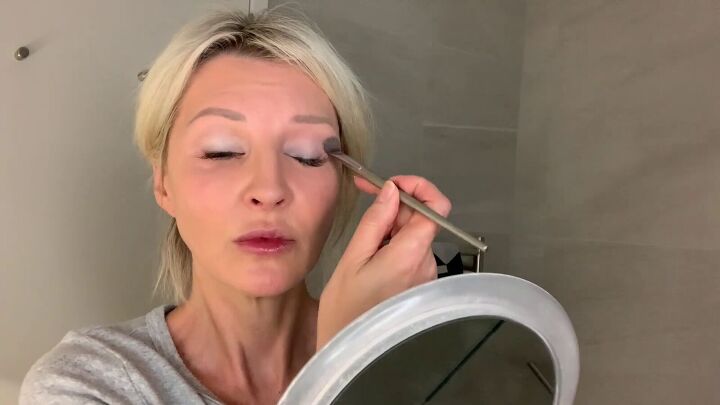
5. Apply a medium eyeshadow shade to your lid and lower lash line
Next, grab your mid-tone eyeshadow and apply it across your brow area to give a little bit of definition. Because I have hooded lids, I don’t take deep shades down onto my lid because they won’t be visible.
Then use that same mid-shade underneath your eye as well.
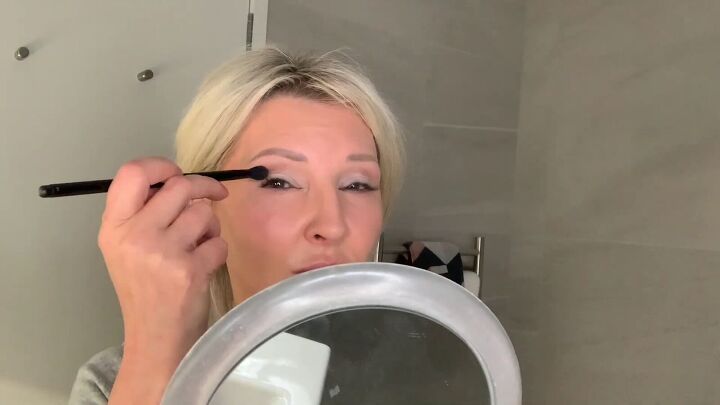
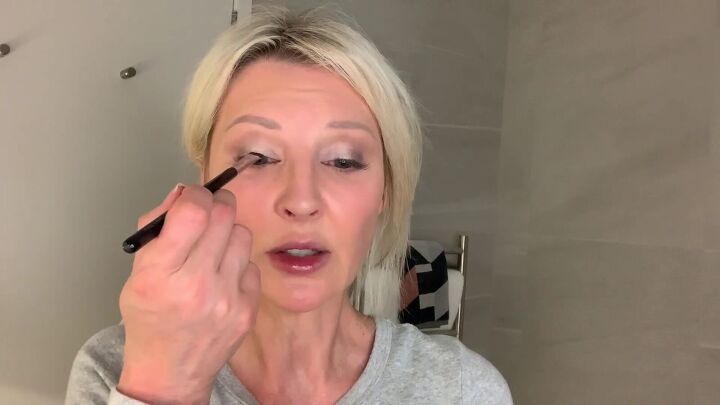
6. Apply a deeper eyeshadow shade
With a slightly deeper eyeshadow color, apply to the outer corner of your lid. I just want a little bit of definition there so it doesn’t look like I just have a white lid.
7. Apply shimmer to the center of your lid
Because this "get ready with me" is for a going-out evening look, I’m going to apply a little bit of shimmer to the center of my lid with my finger.
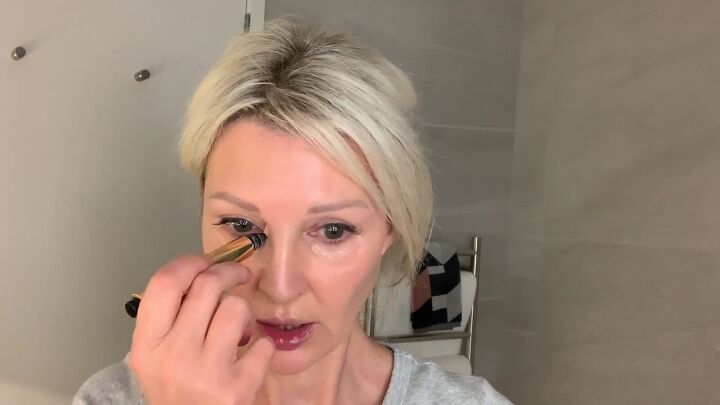
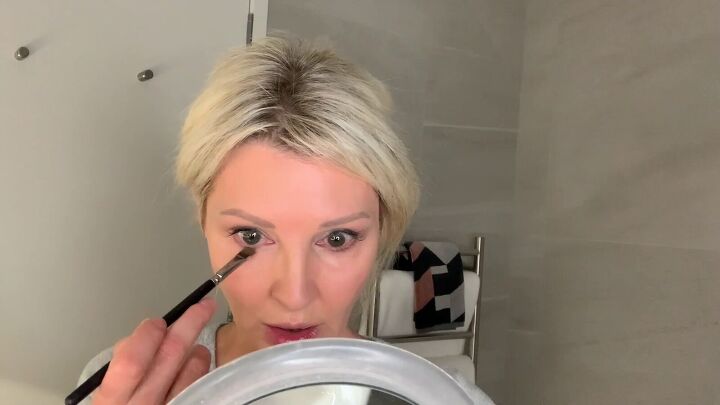
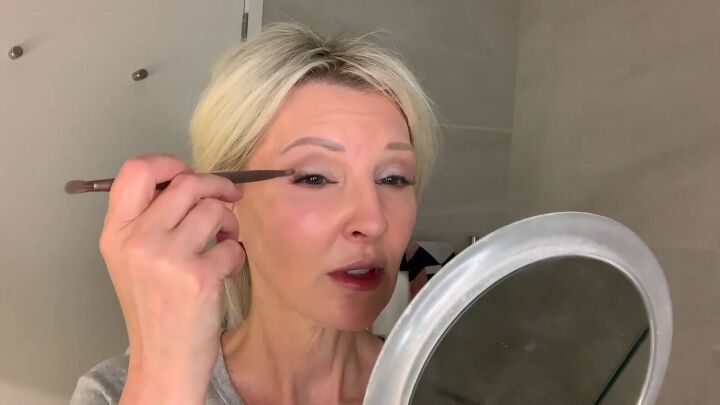
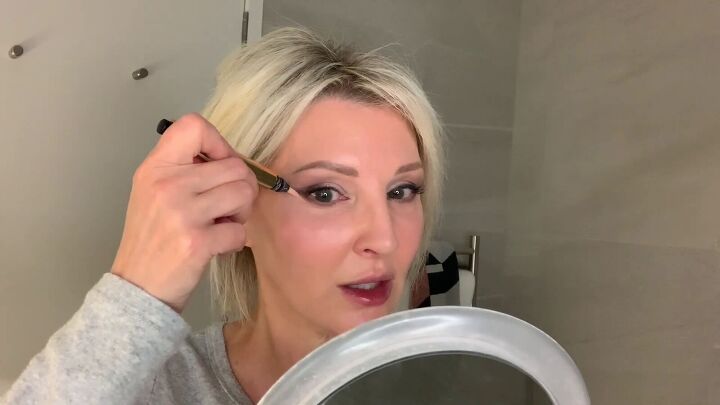
8. Apply powdered eyeliner to your lash line
To finish off the eyeshadow, I’m going to apply a powdered eyeliner right against my lash line. I would normally wet the brush, but today I didn’t. When it’s wet, though, it gives a much deeper look.
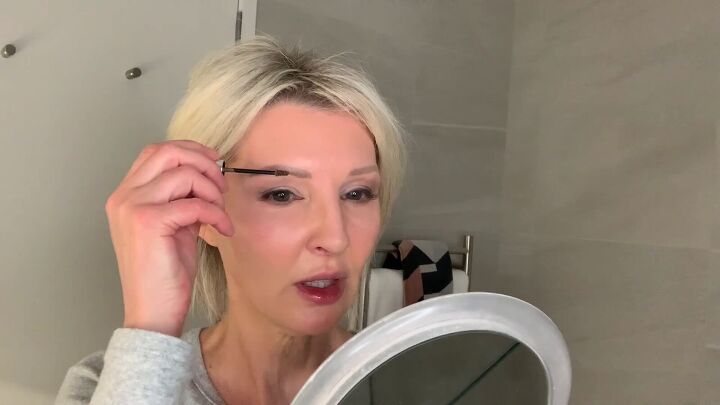
9. Fill in your brows with brow gel
Use a brow gel to fill in and darken up your brows to really frame the face.
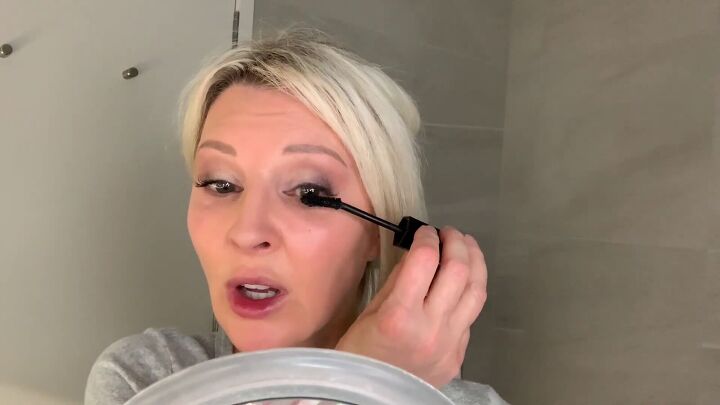
10. Apply mascara
Finally, finish up the eyes with a bit of mascara.
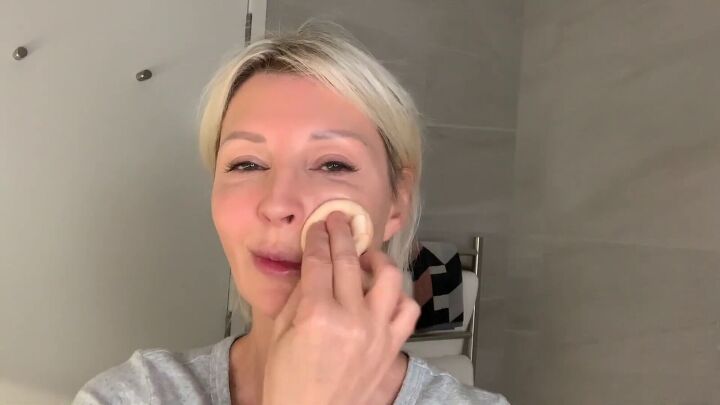
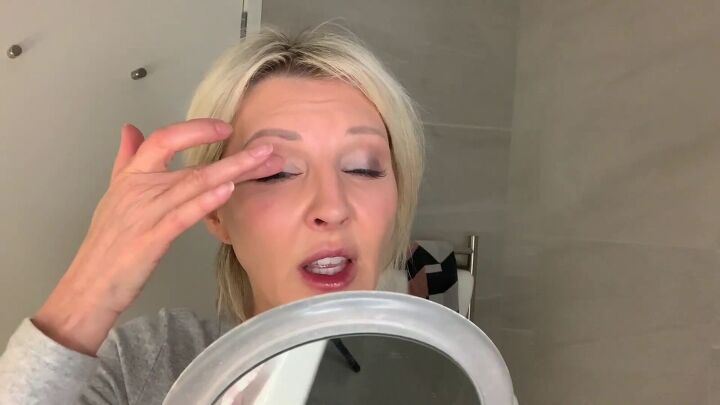
11. Clean up your makeup
This step is optional, but if you have any eyeshadow that’s dragging your eye down as I did, you can clean it up with concealer and blend it in with a sponge to avoid harsh lines. That’ll help give you a really lovely lift.
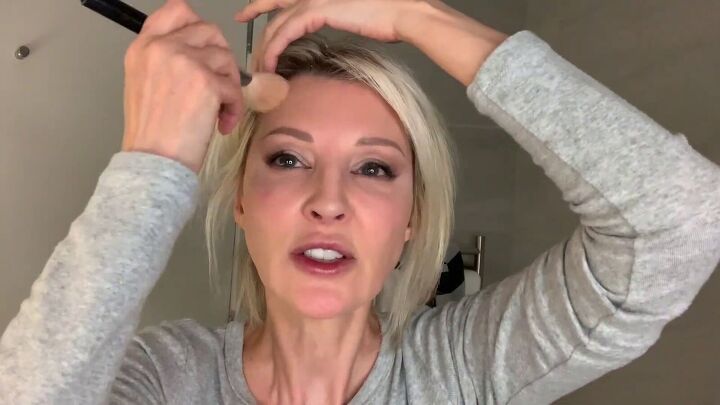
12. Apply bronzer
Add a bit of bronzer along the top of your forehead, just under your cheekbones, and under your chin.
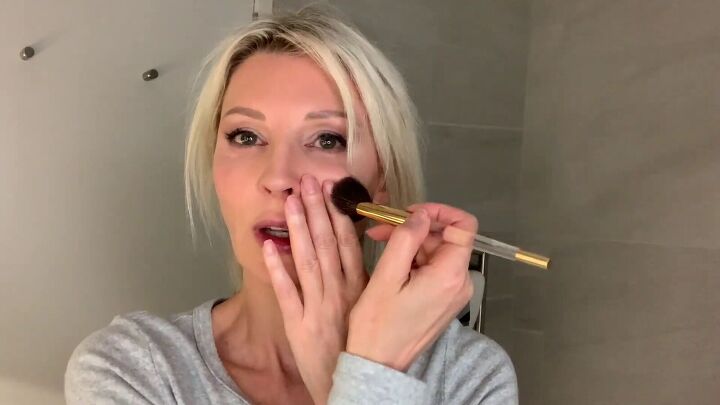
13. Apply blush to cheekbones
Add blush to the cheekbones for a hint of color. I prefer to go lighter with blush when I have a red lip, so not too many parts are competing on my face.
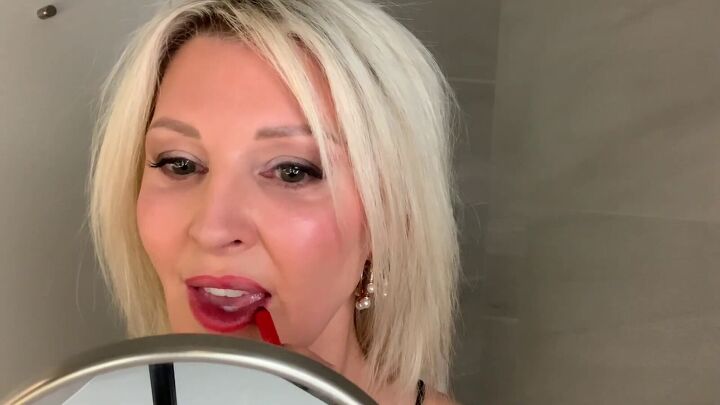
14. Apply lip liner, lip tint, and lipgloss to your lips
Lastly, let’s do our lips. Start with a lip liner. I’m going to outline my lips, but I’m also going to add most of my red color with the pencil as it lasts longer and doesn’t smudge as much. Remember to never overline with red.
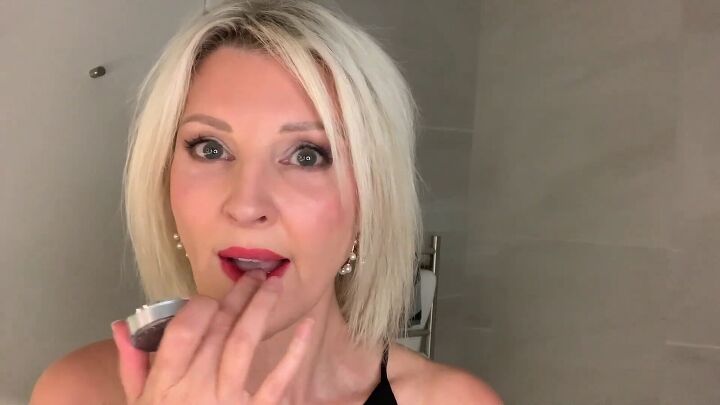
Add a bit of lip tint to your lips.

Then, finish up with a lipgloss.

Get ready with me makeup
That’s the finished "get ready with me" makeup look! If you like this get ready with me makeup tutorial, let me know down below. Thanks for joining.
Products used:
- IT Cosmetics Your Skin But Better CC+ Cream, Medium (W)
- Charlotte Tilbury Magic Vanish! Color Corrector Medium
- Yves Saint Laurent Touche Eclat Radiant Touch Concealer 0.08, No. 2 Luminous Ivory
- Fenty Beauty by Rihanna Pro Filt'r Retouch Setting Powder - Butter
- Charlotte Tilbury Airbrush Bronzer - Medium
- NARS Blush - Color: Orgasm X
- Too Faced Natural Matte Eyeshadow Palette
- Charlotte Tilbury Bigger, Brighter Eyes - Exaggereyes
- Laura Mercier Tightline Cake Eyeliner
- Marc Jacobs Beauty Velvet Noir Major Volume Mascara in Black
- Benefit Gimme Brow+ Volumizing Eyebrow Gel
- Hourglass Panoramic Long Wear Lip Liner
- Trinny London Lip2Cheek
- Anastasia Beverly Hills - Lip Gloss - Freya
- Zoeva Powder Brush 106 (Loose Powder)
- Zoeva Luxe Cheek Finish 126 (Used for Bronzer)
- Marc Jacobs Eyeshadow Brush - The Crease Brush
- Sigma Beauty Flat Definer Brush E15 (Used for Tightlining)
The author may collect a small share of sales from the links on this page.


Comments
Join the conversation