Make a Unique DIY Fanny Pack With This Fun Bag Painting Tutorial

Have a belt bag lying around looking boring and plain? Whip out some paint and studs and bring it back to life with this DIY fanny pack bag painting tutorial!
I love painting and decorating bags because I can show off my own personal style and creativity, making the DIY belt bag rather unique and fun.
This tutorial is super simple, and the process is so fun. Let’s start bag painting!
Tools and materials:
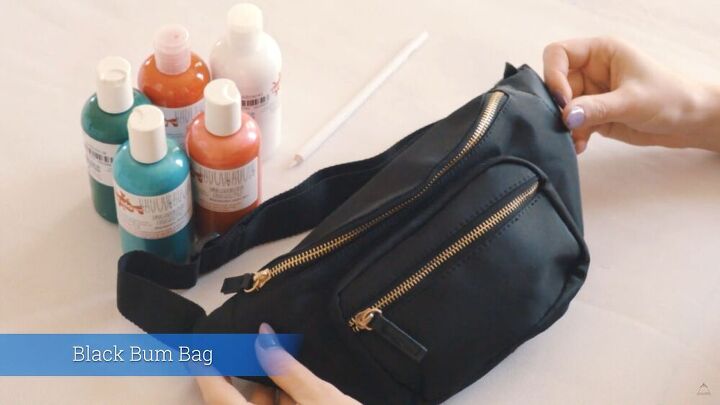
- Belt bag
- White pencil
- Fabric paint
- Pattern inspirations
- Various-sized brushes
- Glue gun
- Tweezers
- Studs
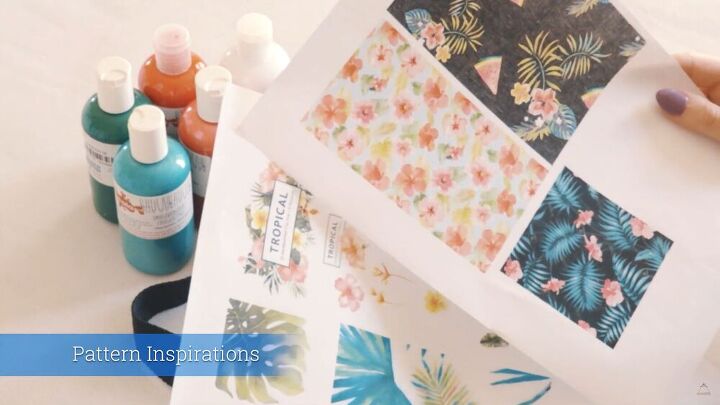
1. Get inspired
To get hand-painted bags done right, it’s best to start the whole process with a pattern in mind already. If you need some inspiration, head on over to the Internet and check out vectors, images, and themes that will get you inspired for this project.
I wanted a fun, tropical theme, and as you can see, I have a couple of patterns and prints to choose from. The theme is up to you, so let your imagination run wild!
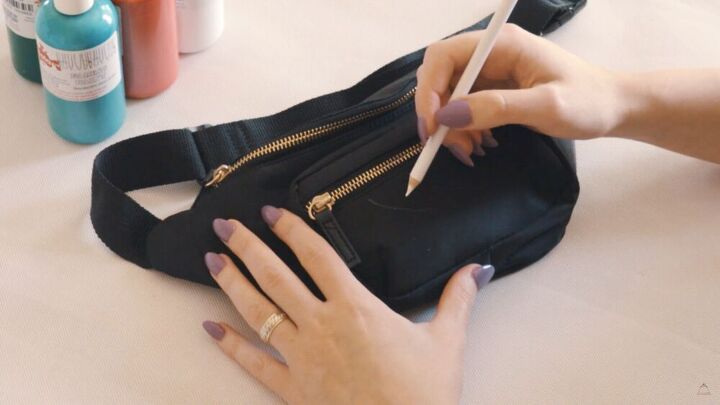
2. Draw freehand
Ok, so once you have your desired pattern in mind, draw it out on your bag, freehand, with a white pencil. It doesn’t have to be on a Van Gogh level - remember, this is your art! So, go ahead and draw all the shapes, details, and pictures on your DIY belt bag.
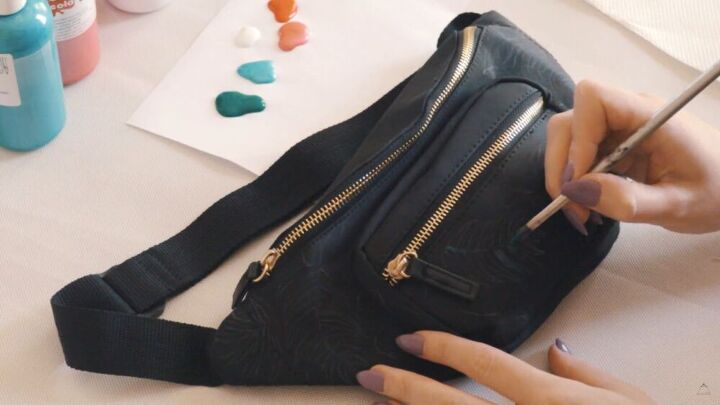
3. Start bag painting
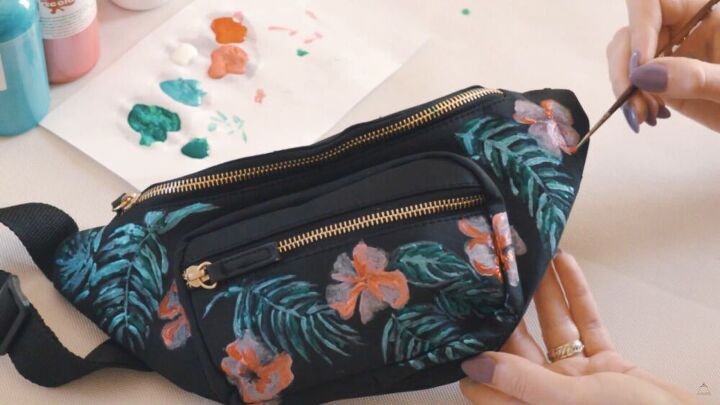
Now, the fun part begins! Once you have drawn your design on your belt bag, start painting with colored fabric paint to add some life and color to your bag.
Tip: Add blobs of paint on a palette or piece of paper. That way it will be easier to alternate between colors.
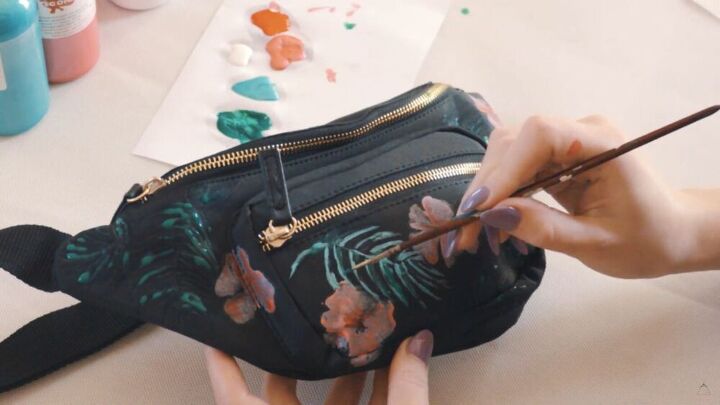
Add more depth to your painting by alternating between light and dark colors. I did this for the leaves and tropical flowers, as shown.
When creating hand-painted bags, especially belt bags, be sure to paint the corners, too.
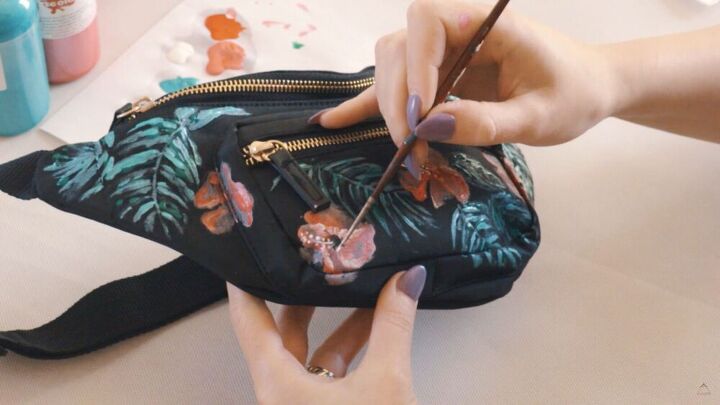
Add details where necessary. Here, I added some white dots to the petals to make them look as life-like as possible. Adding detail really takes bag painting to another level.
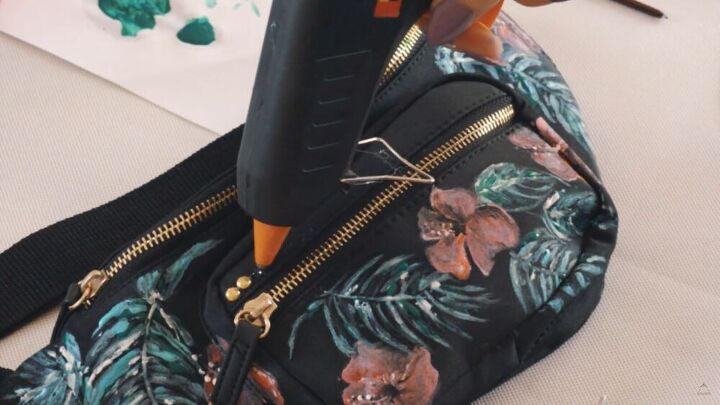
4. Stud it up!
Ok, so once your DIY fanny pack is complete and you are happy with how it looks, go ahead and add some embellishments to give it a touch of dazzle and boldness.
Here, I chose lovely gold studs and glued them just above the main zipper in front. It really makes a difference to the whole look and feel of the bag.
Tip: When gluing the studs, work in increments. Add a little glue at a time. If you add glue to the whole length of the zipper, it may dry out by the time you reach the end.
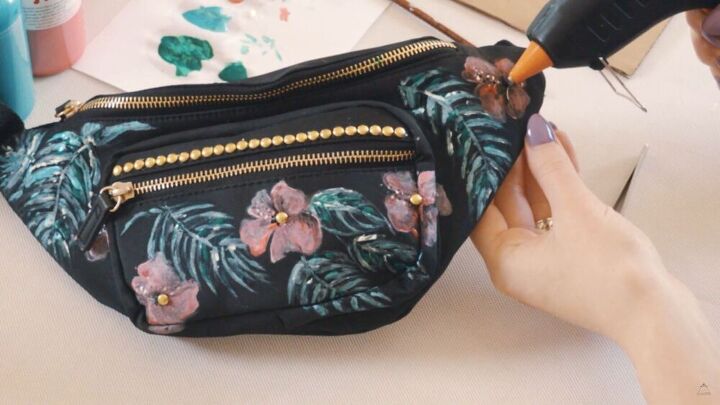
I got super creative and added studs to the middle of the tropical flowers. I loved how it looks!
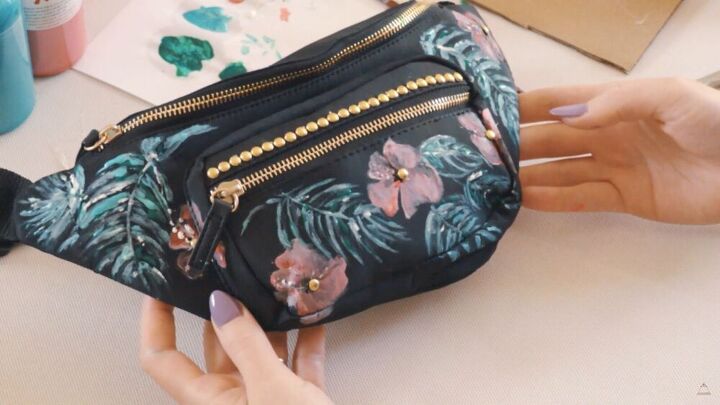
DIY fanny pack bag painting tutorial
Yup, that’s it. Easy, huh? Prep, draw, paint, and glue. Painting and decorating bags is such a fun art project. You can even bring some friends over and do this together!
I hope you enjoyed this bag painting tutorial and that you have some instant inspiration to do your own! Also, it doesn't have to be a belt bag, and you can do this on most bags that are plain in color. Just let your imagination lead you, and most of all, have fun!
The author may collect a small share of sales from the links on this page.


Comments
Join the conversation
Thanks for this I'm no good at art but I'm not going to let that stop me just need a pattern aztec is nice would acrylic paint work?
Yes, I'm going to do this, on a summer evening. This will be fun after a warm day.