Cute Christmas Gift Idea: DIY Makeup Bag

Here, I’m going to show you how to make a DIY makeup bag which is a great Christmas present for friends and family.
Follow along as I take you through the design process step-by-step. Let's get started on sewing this cute Christmas gift idea.
Tools and materials:
- Two outer fabrics
- Inner fabric
- Fusible fleece
- Pins
- Zip
- Scissors
- Sewing machine
- Iron
- Needle and thread for embroidery (optional)
1. Cut out the fabric pieces
Start by cutting the materials. For the outer fabric, you need:
- Two pieces of 29.5cm × 19cm (11.5 x 7.5 inches)
- Two pieces of 12.5cm × 5cm (5x2 inches) for the handles
For the inner fabric, you need:
- Two pieces of 29.5cm × 19cm (11.5 x 7.5 inches)
For the fusible fleece, you need:
- Two pieces of 27.5cm x 17cm (10.8 x 6.7 inches)
You also need:
- A zip that measures 20cm (7.8 inches)
You can either cut straight into the fabrics or first prepare templates and then trace the measurements onto the fabrics.
I will be using two different types of outer fabric because I like it when there are two different fabrics on the pouch.
This means that I cut one piece of the outer fabric in each design (I used a patterned fabric and a plain fabric). You can, however, just use one type of fabric if you prefer.
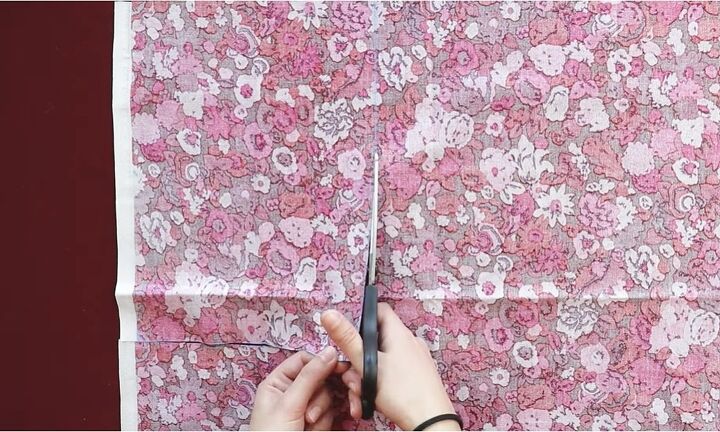
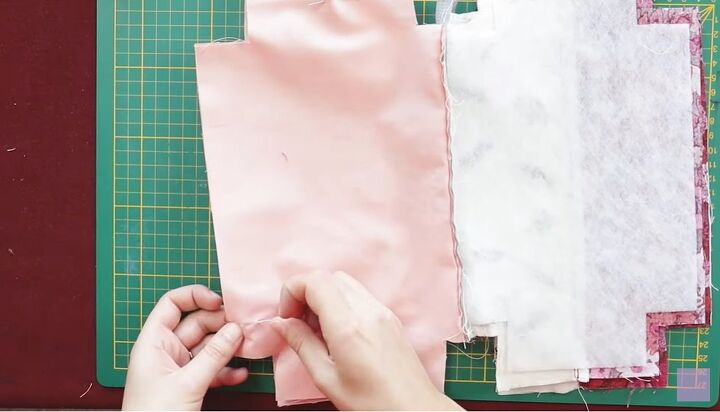
2. Trim down the outer fabric
Fold each piece of the outer fabric in half lengthways and pin them at the top.
Then, cut through the middle crease, and you will have two equal-sized pieces of fabric.
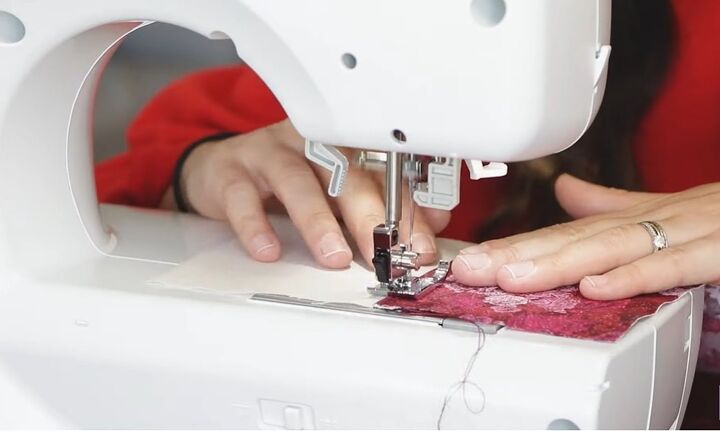
3. Sew the two pieces together
Pin the inner fabric on top of the outer fabric along one of the long sides and then sew along this edge.
Next, open the two pieces of fabric up and do a top stitch along where the initial stitch is.
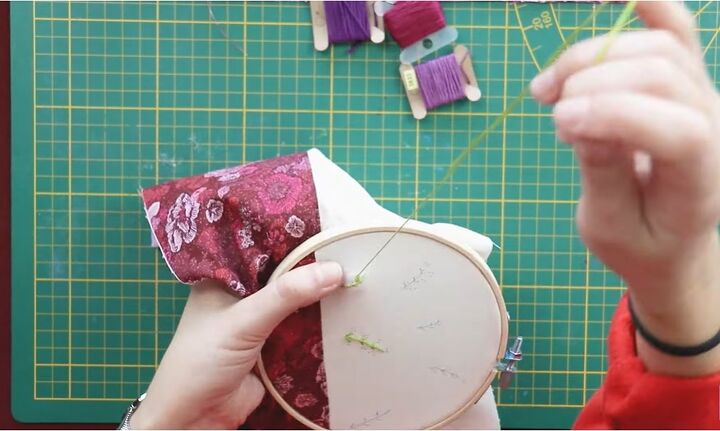
4. Embroider the material (optional)
I didn’t want to keep the cream fabric plain, so I drew on some designs ready to do some embroidery to add a little personal touch. I then embroidered on top of the sketches.
This step is entirely optional, but I just love embroidery, so wanted to add some to my design.
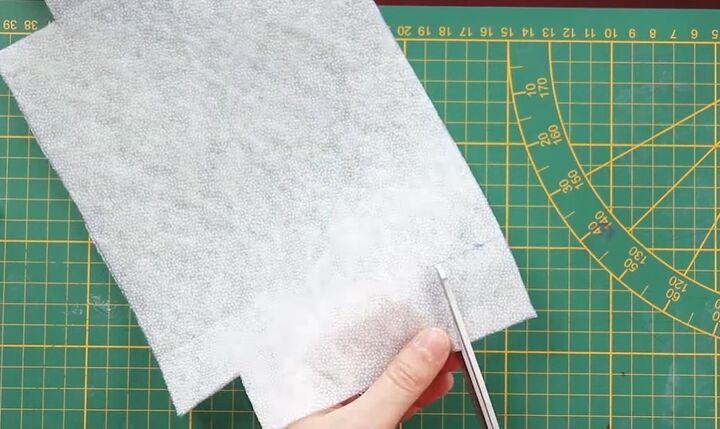
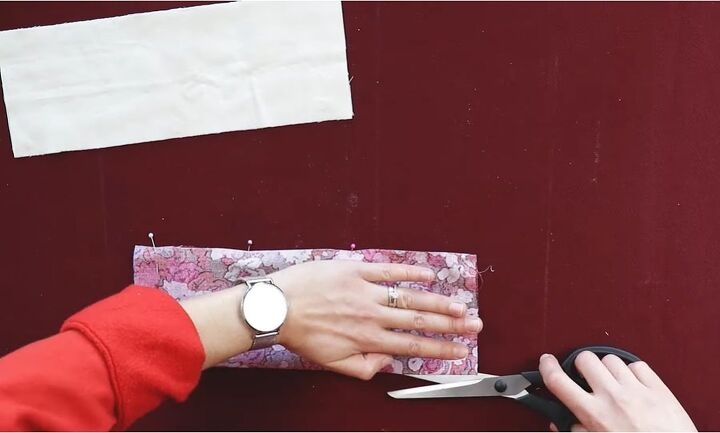
5. Draw and cut squares
Take the two pieces of fusible fleece and trace squares of 3.5cm (1.4 inches) around the corners. Then cut those squares out.
6. Iron the fusible fleece and cut the corners
Place the pieces of fusible fleece on the wrong sides of the outer fabric and iron them down to make them stick.
Then cut out the corners of the outer fabric. Also, cut out the corners of the inner fabric.
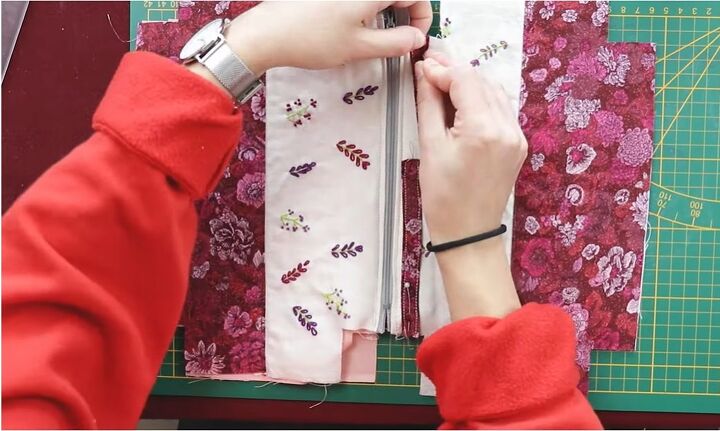
7. Attach the zip
Pin the outer fabric and inner fabric to the zip.
Make sure that the fabrics are inside out when you do this.
Do the same to the other side and then do a top stitch along the zip to secure the fabrics to the zip.
As a tip, it's always easier to sew with the zip open.
8. Attach the handles
Prepare and sew the fabrics for the handles and attach them to the outer fabric of the pouch.
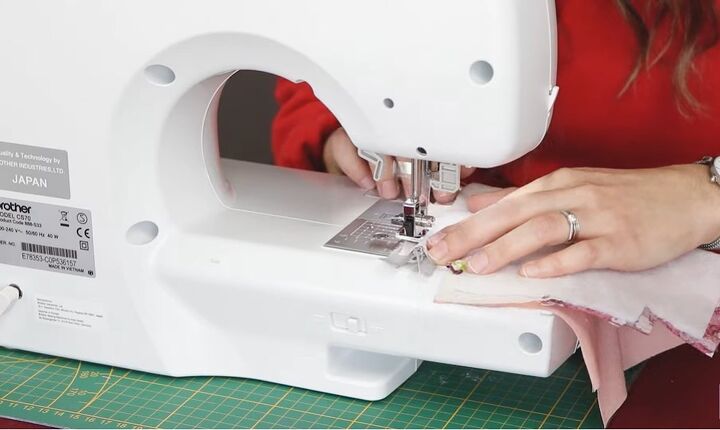
9. Pin the inner fabrics and the outer fabrics
Pin the inner fabrics together and then the outer fabrics together.
Sew all along the edges but leave the corner squares stitch-free for the moment.
Also, leave a gap in the inner fabric, as we will need this to turn the pouch right side out later on.
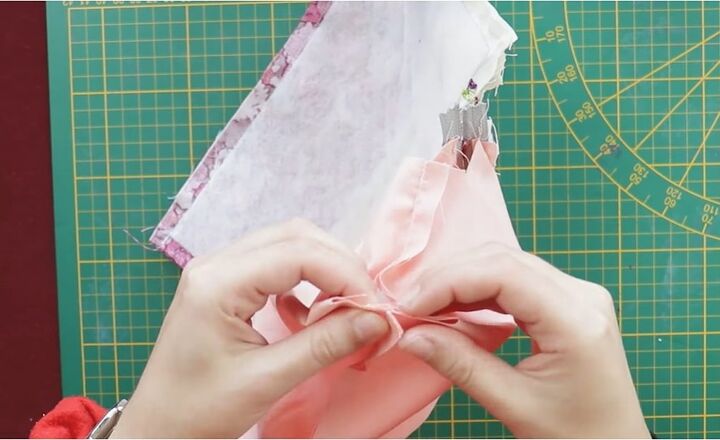
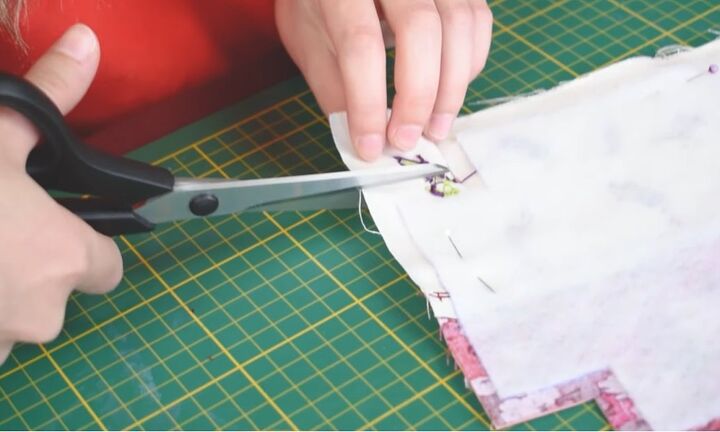
10. Pin and sew the corners
Pin the corner squares together and then sew the edges. Then cut off any extra fabric from the corners.
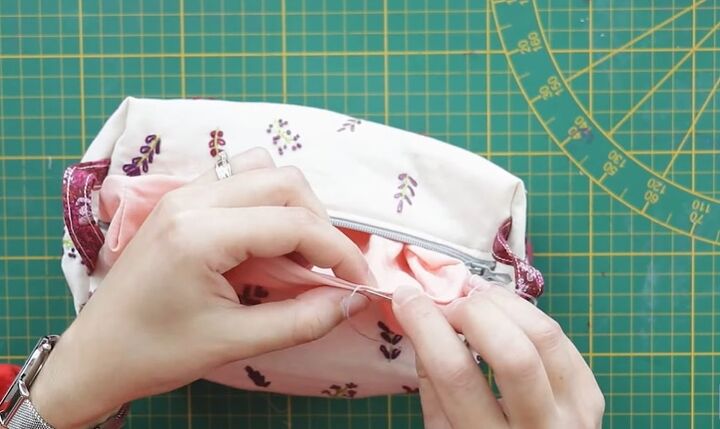
11. Sew up the gap
Finally, turn the pouch the right way out from the inner fabric gap that we left earlier.
Sew the inner fabric gap shut by hand. It's better to do this with the inner fabric than the outer fabric, as the inner fabric is hidden inside the pouch, so no stitch marks will be seen.
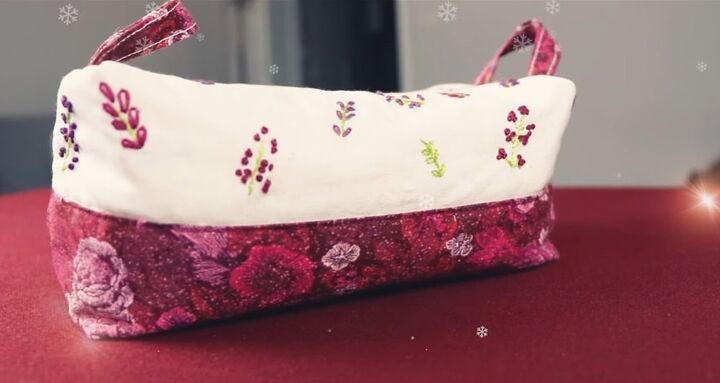
DIY makeup bag
Here we have our finished DIY makeup bag!
I love the contrast between the two materials that I’ve used - the dark floral print on the bottom and the cream on top with the gorgeous, delicate embroidery.
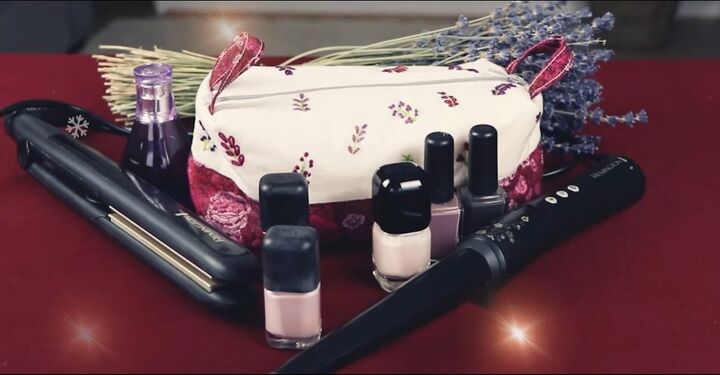
This makeup pouch will hold all the essentials that you need, and your friends and family will be so happy to receive this handmade present from you this festive season.
Who will you gift this to? Let me know in the comments!
The author may collect a small share of sales from the links on this page.


Comments
Join the conversation