How to DIY a Super Cute Pyramid Bag From Fabric Scraps

I had lots of fabric scraps from all the items I've made, so I decided it would be fun to make them into a pyramid bag.
I love doing scrap fabric sewing projects and this triangle bag pattern is easy to make.
As far as possible, make sure your scraps are of a similar weight or thickness of fabric.
Tools and materials:
- Fabric scraps
- Fusible interfacing
- Lining fabric
- Bias binding tape
- 10.25" (26 cm) zipper
- Small D ring
- Wrist strap
- Scissors
- Pins or fabric clips
- Needle and thread
- Sewing machine
- Zipper foot
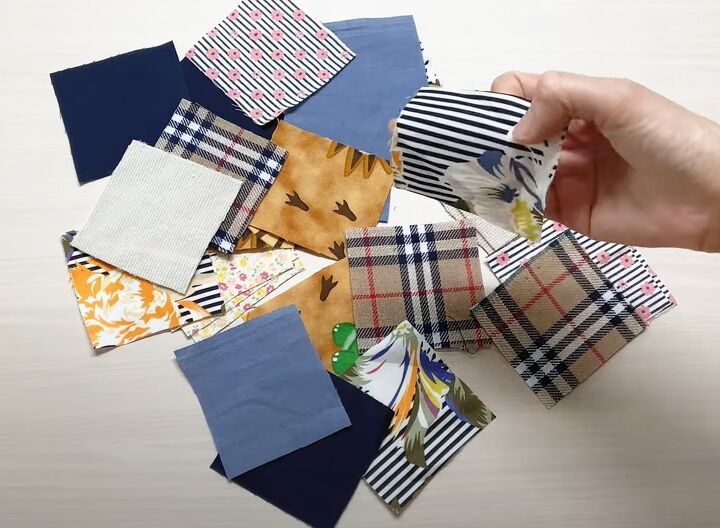
1. Prepare scraps
Cut your scraps into squares and rectangles.
They don't all have to be the same size but I'd suggest making them approximately 2 - 3 inches square so they're easier to handle.
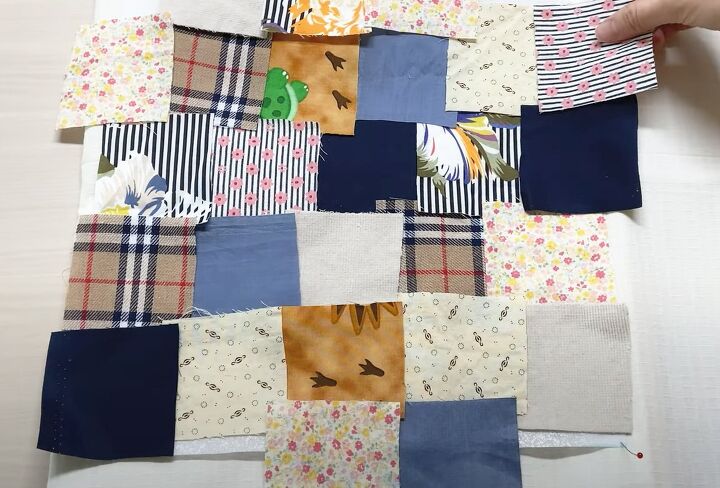
2. Arrange scraps
Cut a piece of fusible interfacing 11.8 inches (30 cm) square. Place it shiny (fusible) side up and pin the corners to a firm surface.
Arrange the fabric scraps on it, overlapping them until you get an effect you like. Allow some scraps to overlap the edges of the interfacing.
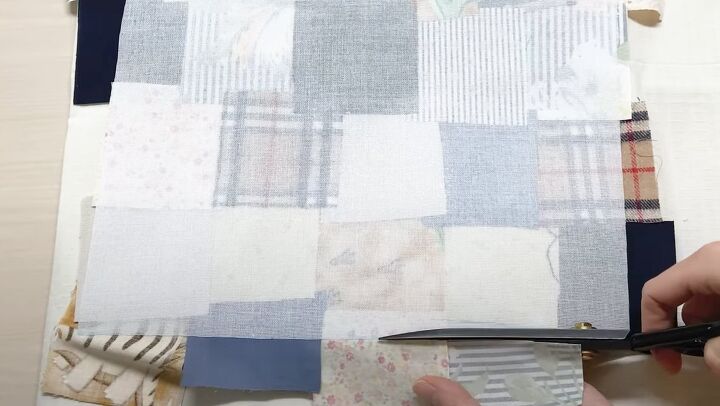
Use a hot iron to fuse the scraps to the interfacing. Turn the fabric over and cut off the excess.

3. Outline scraps
Outline the visible edge of each scrap with a zigzag stitch. I used a white thread but you could choose a contrast color if you prefer.
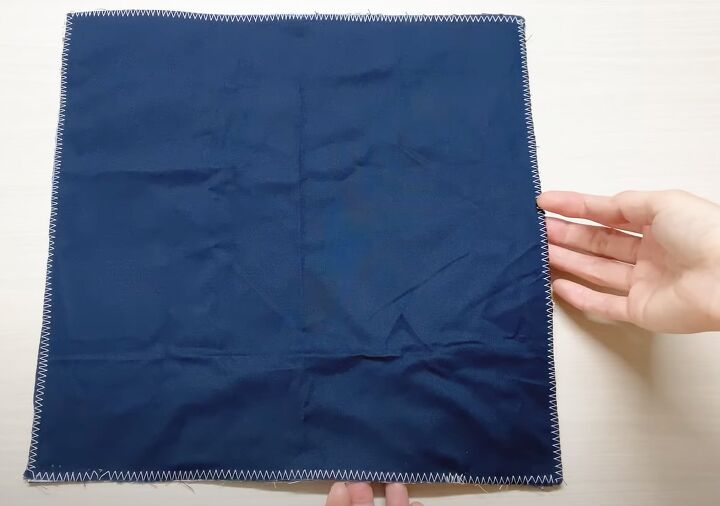
4. Lining
Cut a piece of lining the same size as the interfacing, 11.8 inches (30 cm) square.
Sew it to the wrong side of the outer bag with a zigzag stitch around the edges.
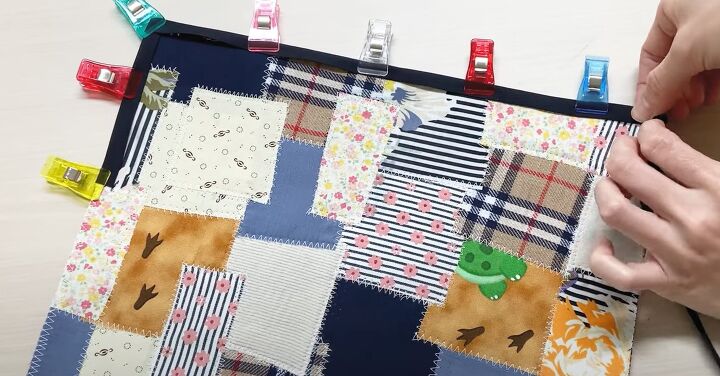
5. Bias binding
Open the bias tape and pin or clip it over the edges of the fabric in a continuous piece.
Sew it with a straight stitch on the right side around all 4 edges, snipping and mitering the corners as you sew.
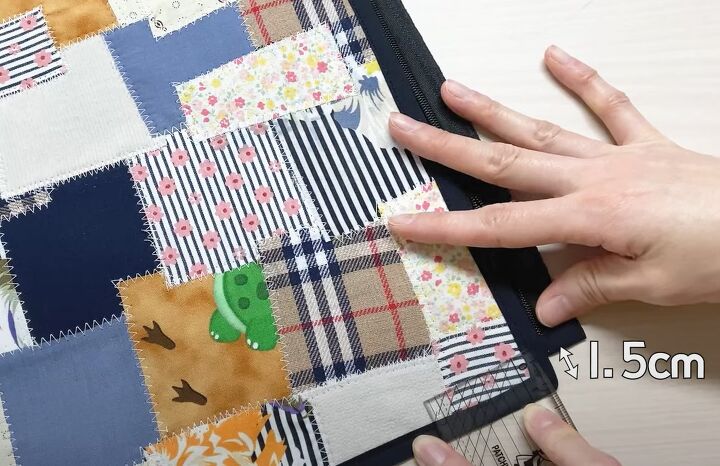
6. Insert zipper
Cut a small piece of bias tape and sew it over the bottom of the zipper, enclosing the tape ends.
Pin the zipper to one side of the bag with the taped end 0.6 inches (1.5 cm) from the corner.
Mark the top of the tape a half inch (1 cm) from the end and fold it to the wrong side of the fabric. Sew the zipper close to the teeth on the right side.
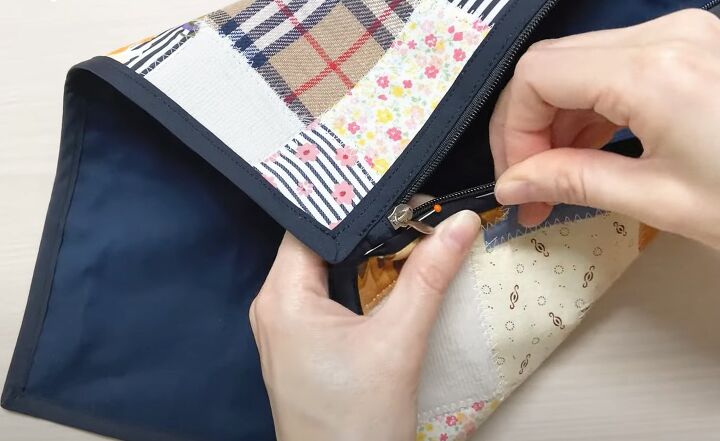
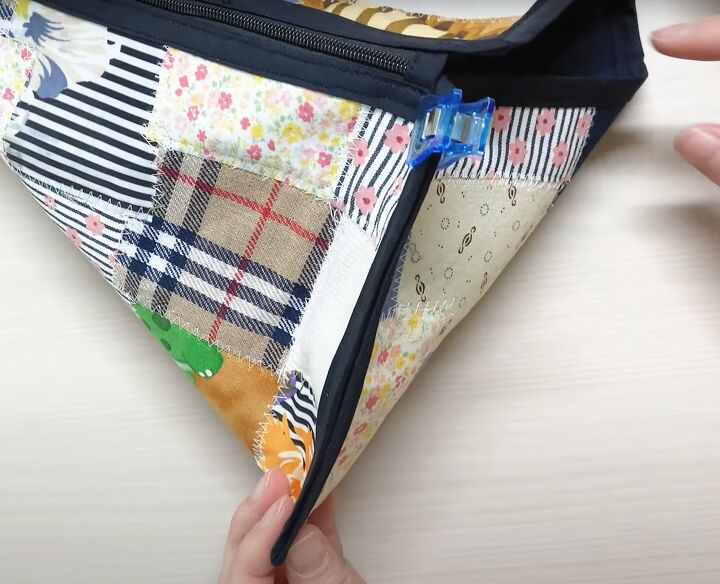
Pin the free side of the zipper to the adjacent edge of the bag, folding the bag to make a triangle shape.

Sew in place, turning the top of the tape to the wrong side as before.

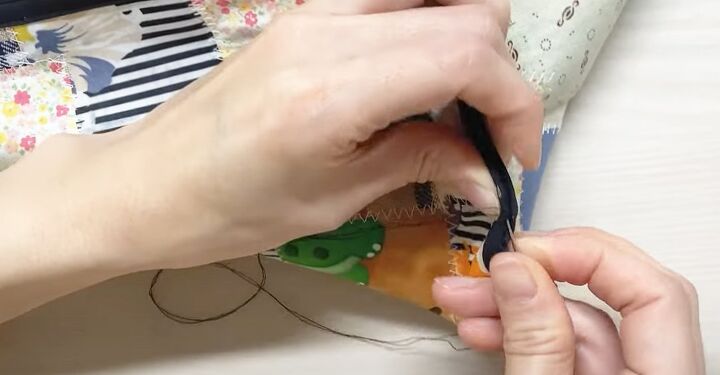
7. Attach D ring
Cut a 2 inch (5 cm) piece of bias tape and feed it through the D ring.
Fold it in half and stitch it securely to the point of the triangle bag.
8. Sew base
Matching the point of the base to the inner corners of the bag, pin the base to the lower edges of the bag with wrong sides together.
Hand sew the base to the bottom of the bag from the outer to the inner corner on both sides.
Sew on the right side, using invisible or ladder stitch.
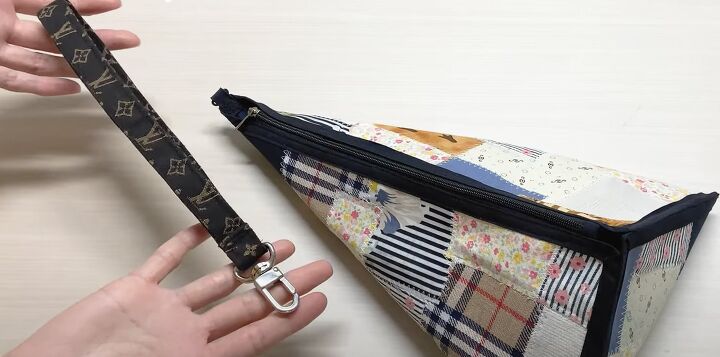
9. Finishing
Attach a wrist strap to the D ring.
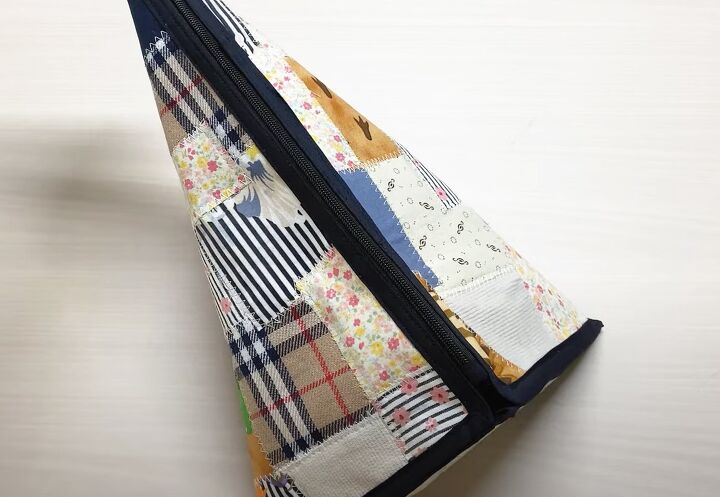
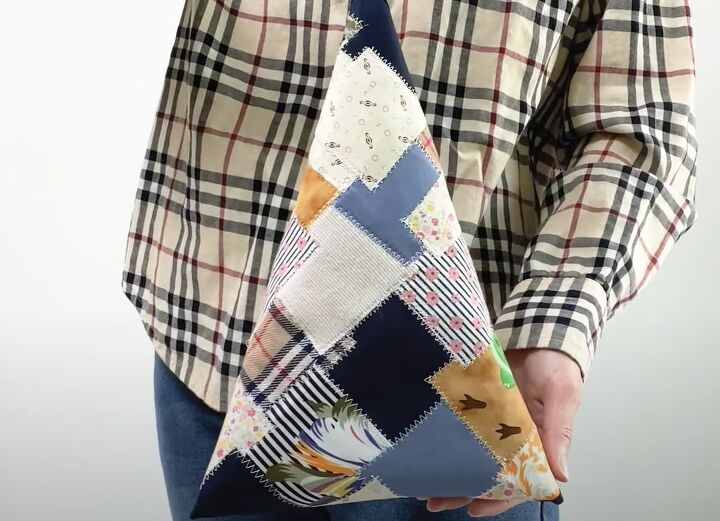
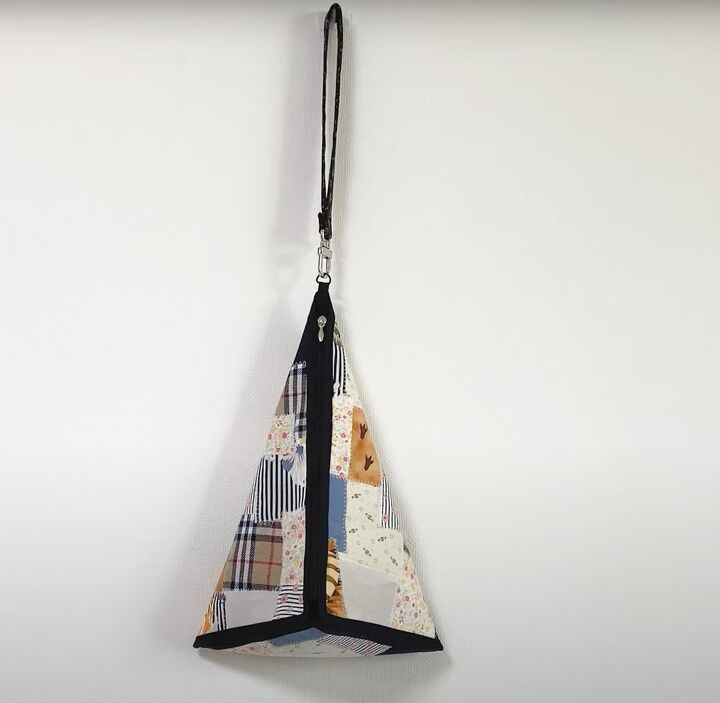
DIY pyramid bag
There is a lot of scope for creativity in making this bag, from the choice of scraps you use to the color of the bias tape and the lining.
I hope you enjoyed seeing how to sew a zippered bag and that you'll make your own.
If you do, I'd love to hear about it in the comments below!
The author may collect a small share of sales from the links on this page.


Comments
Join the conversation
What a great idea to use up scraps that pile up in bags! I’m going to try a longer strap to make it a backpack style. Thanks for the great idea!
suddenly it was with stitches on in, am I wrong or is there missing a step?