Check Out This Gorgeous DIY Fanny Pack Bag

I absolutely love bags! In fact, I just can’t get enough. I decided to add a new one to my collection and this time I got creative and made a DIY fanny pack bag. I found some super-cute polka dot fabric I had in the house and got started on this fun and easy project! The fanny pack bag turned out even better than I expected and can be used for almost all occasions! If you want to learn all the tips and tricks to making this totally amazing bag, my tutorial is definitely for you! Follow my simple, step-by-step guide and get started on this awesome DIY.
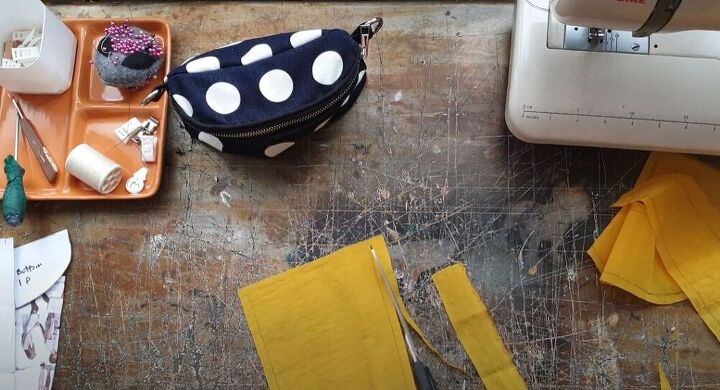
Tools and materials:
- Fabric
- Scissors
- Pins
- Needle and thread
- Sewing machine
- Piping
- Bias tape
- Zipper
- D rings
- Webbing
- Adjustable straps
- FREE pattern
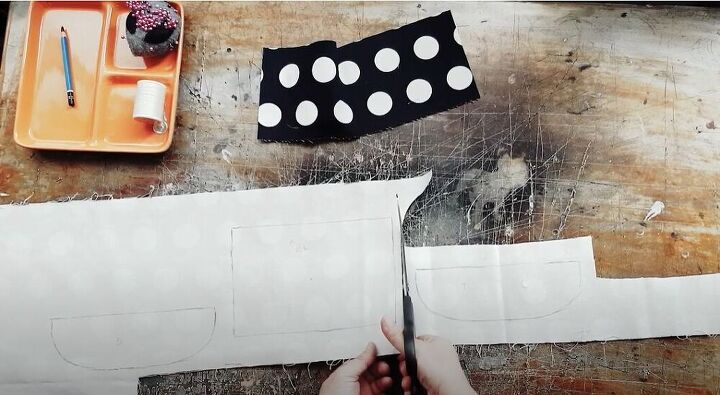
Cut out your fabric
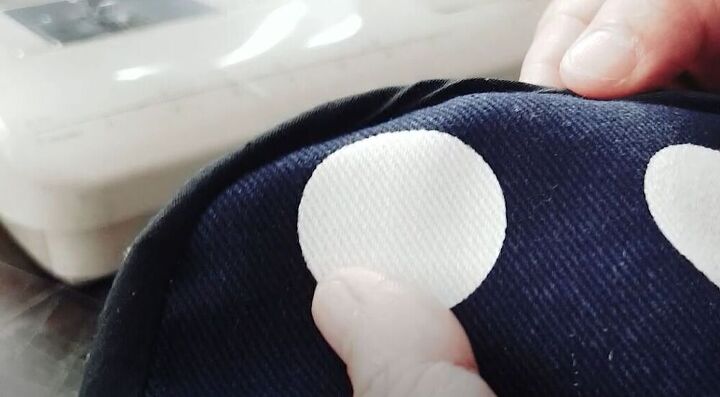
To kick off this awesome DIY, I traced my pattern pieces onto the back of my fabric. When I cut the pieces out, I made sure to leave 1 cm (0.4-inches) for seam allowance. I chose to use a super-cute polka dot fabric so I checked to see that the back and front pieces would line up to give my bag a professional finish.
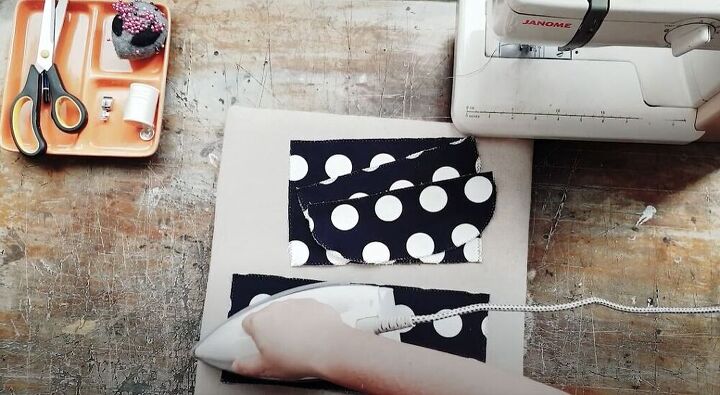
I only needed four pieces of fabric for the outer area of the bag. I zig-zag stitched around all the edges of the pieces and ironed them before I began.
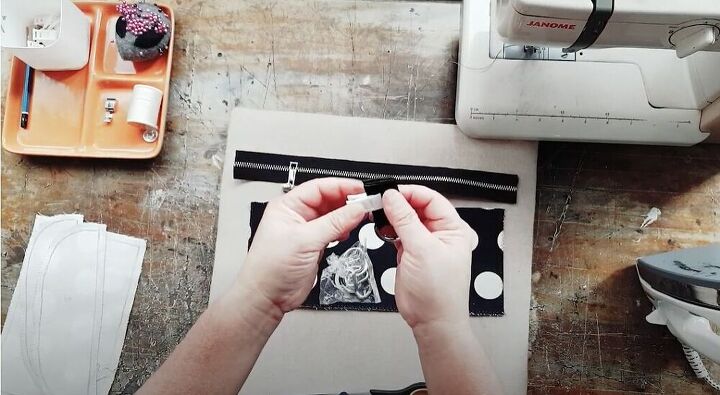
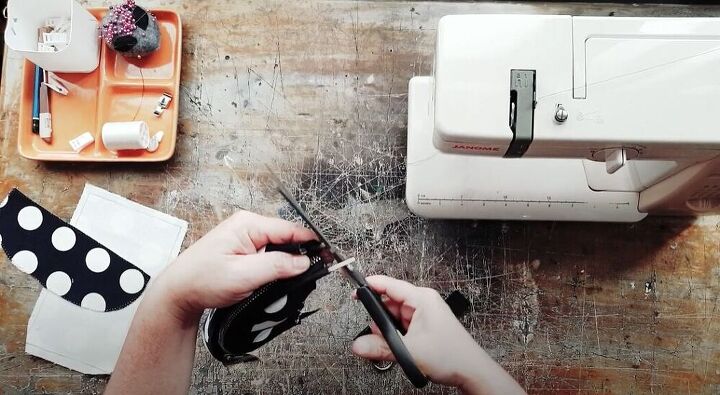
Attach a zipper
I bought a zipper and cut it just a little longer than I needed it to be. I also made sure that I had two D rings and webbing that matched my bag. I cut the webbing and thread it through the D ring. I then clipped the webbing together so that it would hold in place until I sewed it together.
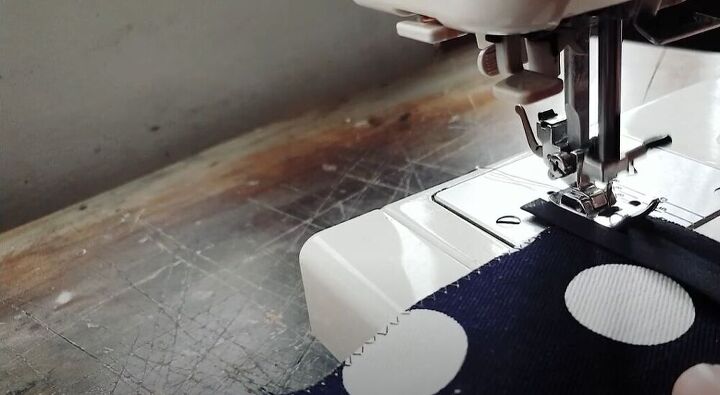
I decided to add piping along the edges of the zipper. First I used bias tape and sewed it along the edge of my fabric to create a channel for the piping. I sewed one edge of the tape and then sewed the other folded towards the middle so that it would be easy to thread my piping through.
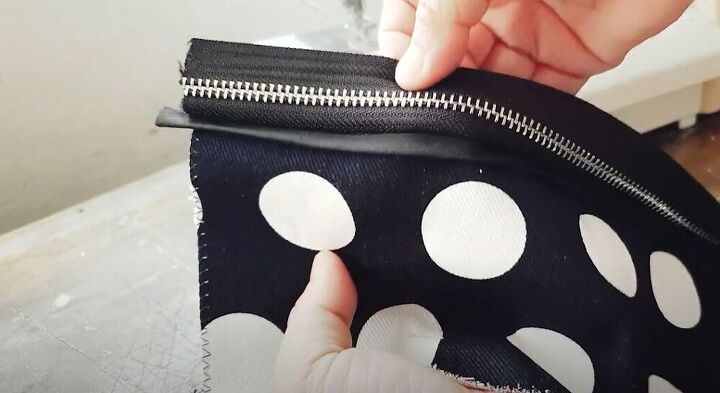
With the zipper facing the wrong side, I sewed it along the same seam I had sewed for the bias tape, only this time I used a zipper foot.
The trickiest part of the project was sewing the piping channel along the curved edges. If I had used rope for my piping it would have looked better but I used plastic so I could see a few twists along the curves.
In order to attach the second side of the zipper, I cut a small notch in the middle of the top piece and the middle of the zipper tape. I used my notches as a guide to pin the zipper in place. I then sewed it on. I sewed from the middle towards the sides, to keep everything as centered as possible.
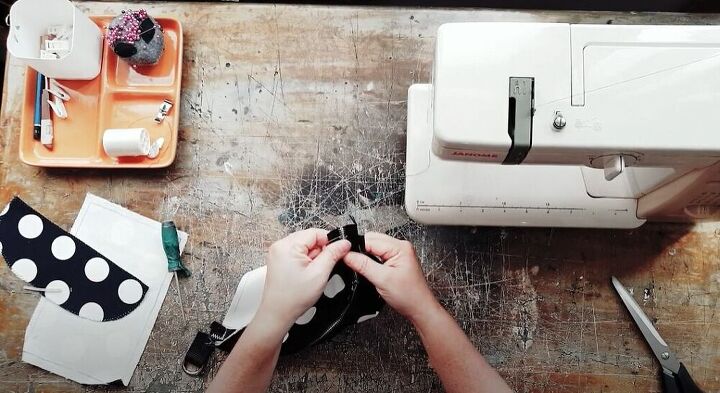
Insert the piping
I pushed my plastic piping through the bias tape channel and hand sewed the gap between the channel and the fabric piece. This step also helped secure the zipper tape.
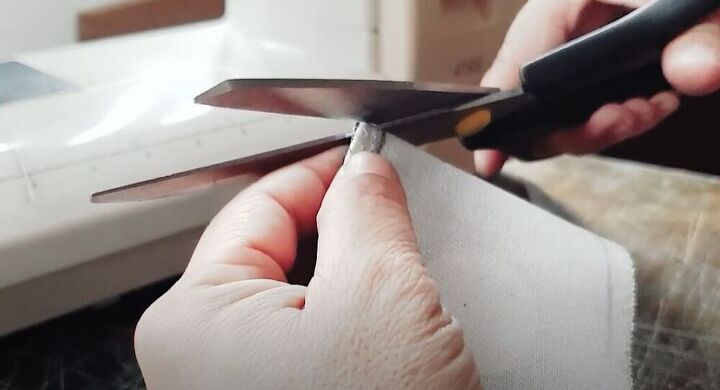
Next, I cut off the excess plastic piping, leaving enough space on each end for my sewing machine to sew.
Attach the D rings
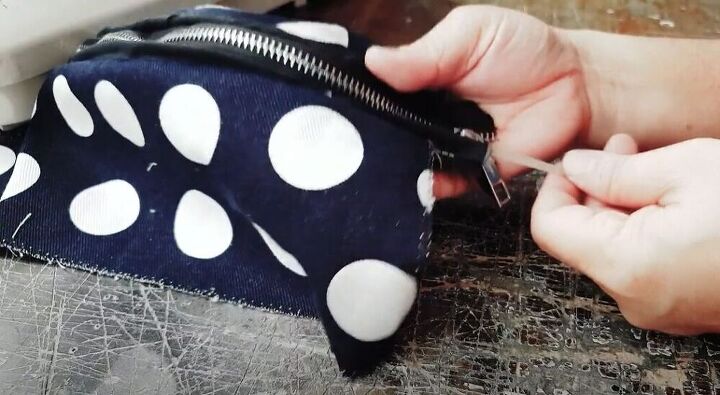
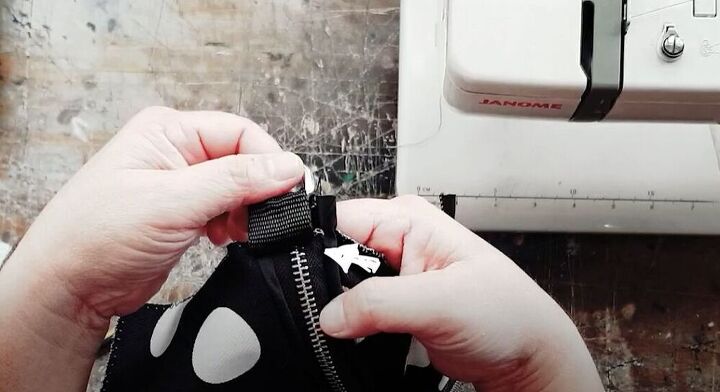
To attach the D rings, I positioned the webbing so that the D ring would face towards the bag. I made sure that the edges of the webbing didn’t extend beyond the zipper tape.
For the other side, I hand sewed the zipper together before attaching the D ring.

Add the back piece
The front of the bag was looking fabulous and it was time to attach the back piece. I opened up the zipper halfway so that I could turn the bag right side out afterward. To make sure I was attaching the piece correctly, I made notches on the pieces so that I could line them up perfectly.
I sewed the sides one at a time and when I was done sewing I could see that all the lines were at a right angle. I turned the bag right side out and it looked amazing!
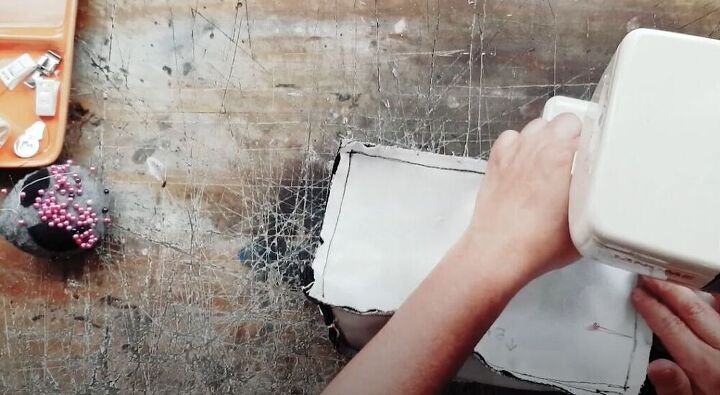
Add lining
To create a lining, I used a wipeable nylon fabric. I cut out the same pattern pieces as I had before. The only difference is that I added a 2 cm (0.9-inches) seam allowance to the pieces around the zipper.
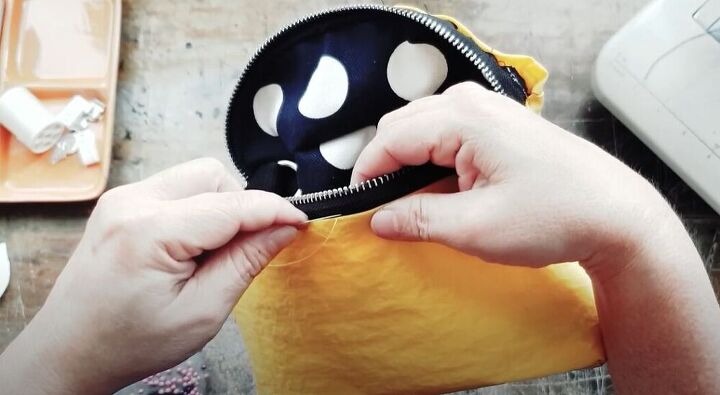
I sewed the lining pieces together and turned the fabric right side out. I then turned my bag inside out and slotted it into the lining. I made a double fold at the edge of the lining and hand sewed it onto the zipper tape. The lining helps cover all the seams on the inside of the bag and gives it a neat and professional finish!
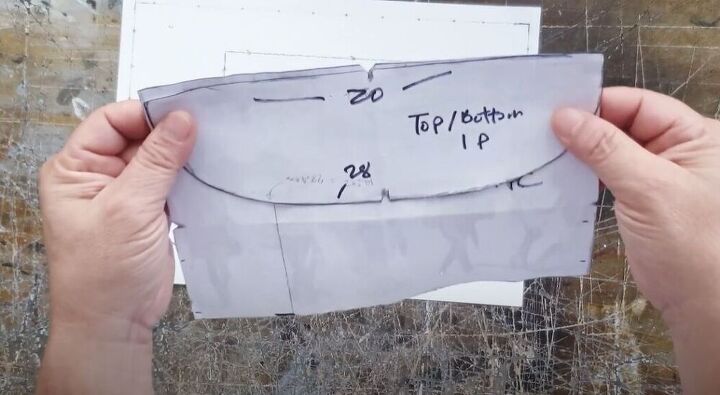
Learn to draft or edit the pattern
As an added bonus to this tutorial, I want to show you how to draft a pattern for this gorgeous fanny pack or make it bigger or smaller. I like to start with the top part of the bag. I make sure that the straight line is the same width as the back, square piece.
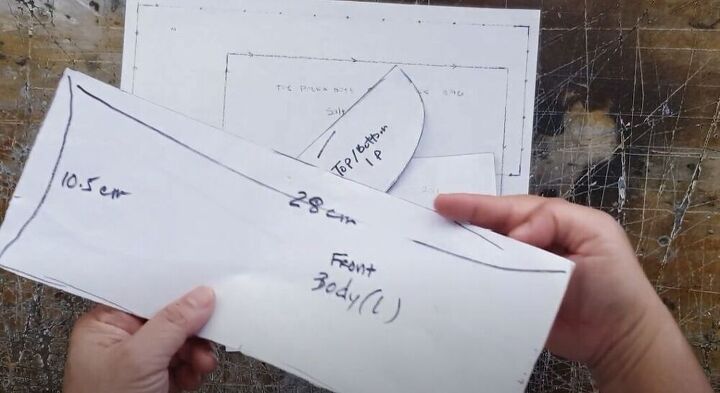
The curved line of the top piece has the same measurement as the long side of the rectangular piece.
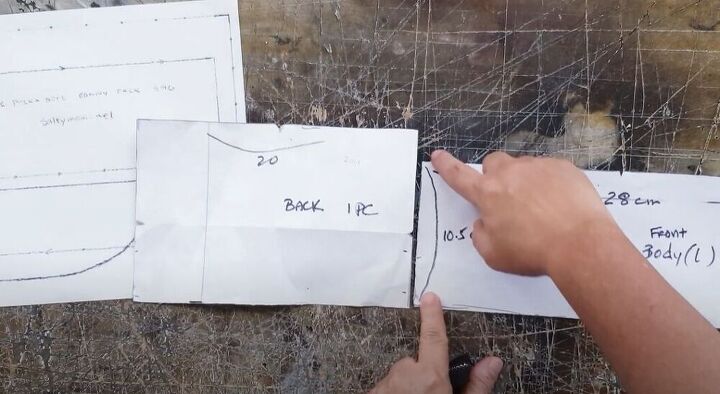
For the height, the back square piece will be a bit longer because the front, rectangular piece is attached to the zipper. To get the length for the square piece I added about 2.4 cm (0.9 inches) to cover the zipper height.

This fanny pack is fabulous and functional! What fabric would you use to make this bag? Let me know in the comments below!
The author may collect a small share of sales from the links on this page.


Comments
Join the conversation
Hi Salty, your bag came out wonderfully and the yellow lining is perfect. Thank you for sharing your project.
I see all the time but I was totally lost on your directions. Cute, though