Check Out This DIY Denim Tote Bag

One can never have too many bags! For this DIY I created the most amazing denim tote bag. In my simple and easy tutorial, I will show you all the tips and tricks to making this gorgeous bag. To make this piece, I upcycled a pair of old jeans and I am so excited about how the bag turned out. This piece is the perfect size for shopping or can be used as your everyday handbag. Follow my step-by-step guide and get started on this awesome DIY.
Tools and materials:
- Denim Material
- Sewing machine
- Ruler
- Chalk
- Scissors
- Pins
- Iron
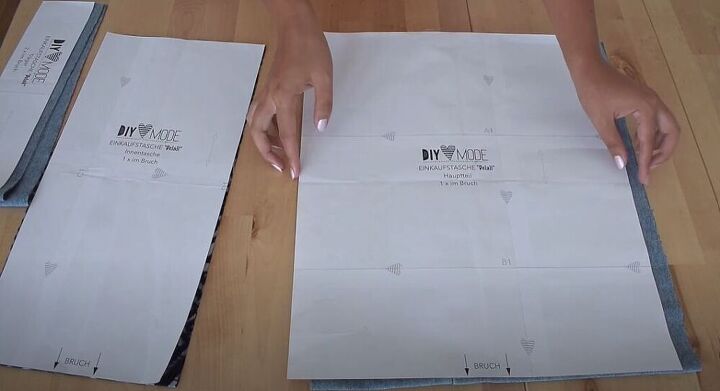
Cut out the fabric
The first thing you need to do is cut out your fabric. Click here for the free pattern. Make sure to cut body 1x on the fold of the fabric and straps 2x on the fold as well. Then cut pocket 1x on the fold too.
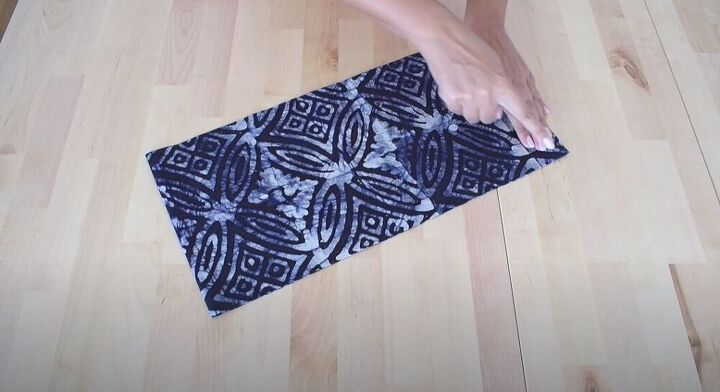
Make the pocket
To get started, fold the side seam of the pocket, right sides together.
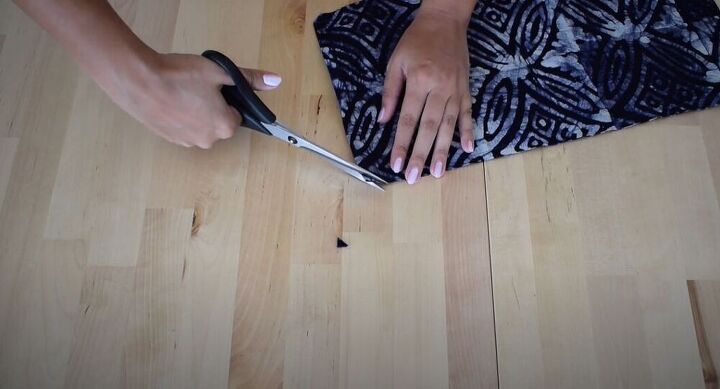
Once you’ve finished sewing, cut off the seam allowance. Turn the pocket right side and out and press the fabric so that it holds perfectly.
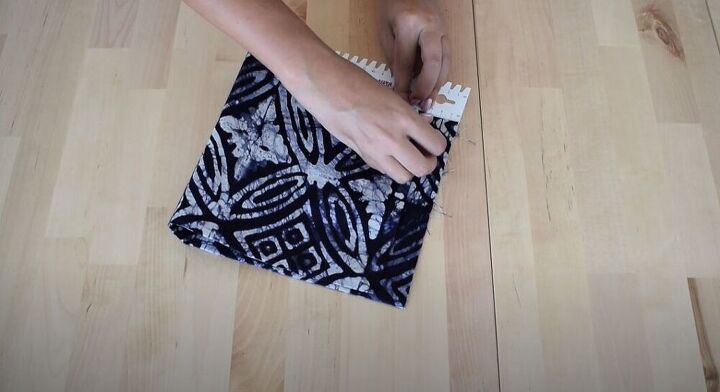
Fold the pocket over making sure that the open end sticks out 3 cm (1.2-inches) from the top. Pin the fold in place and then sew all of the side seams as close to the edge as possible to get the perfect finish.
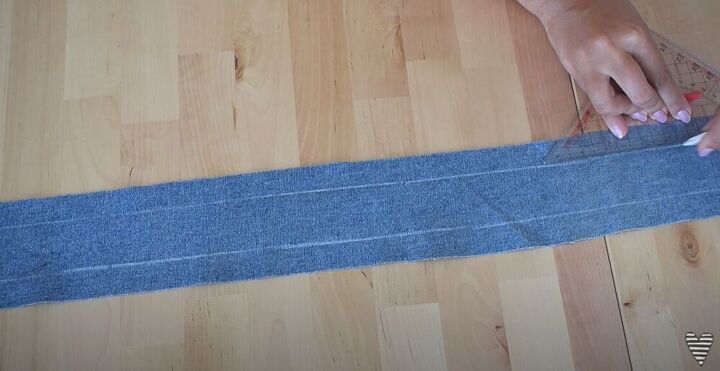
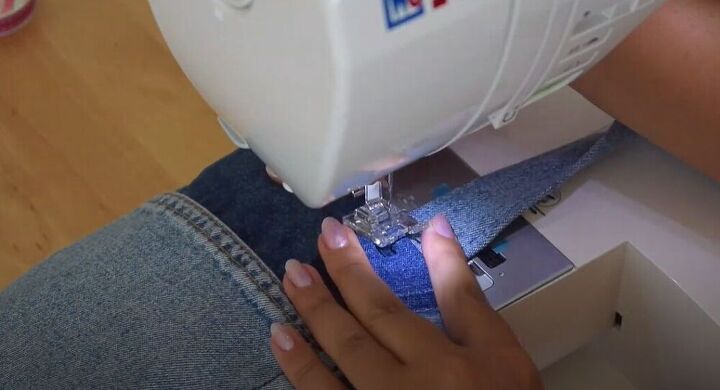
Make the straps
To make the straps for this amazing tote bag, start by drawing lines 2 cm (0.7-inches) from each edge.
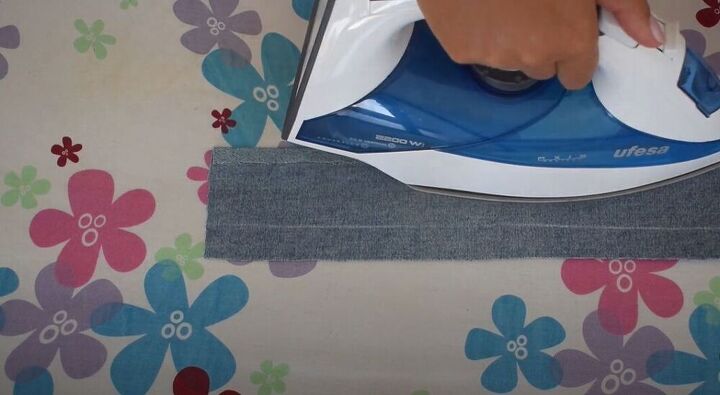
Fold the edge to meet the line and press the fold down with an iron. Then fold the strap in half lengthwise and press the fabric flat.
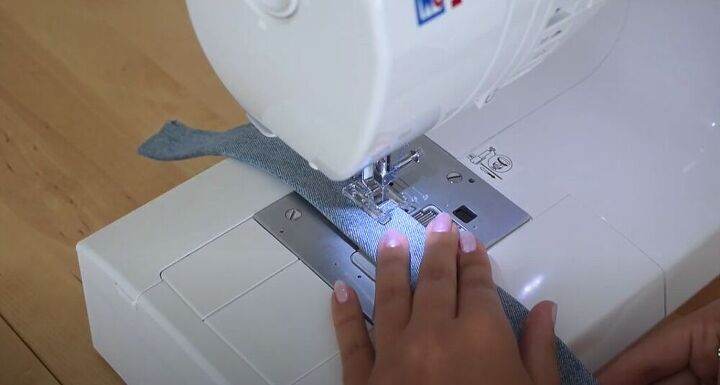
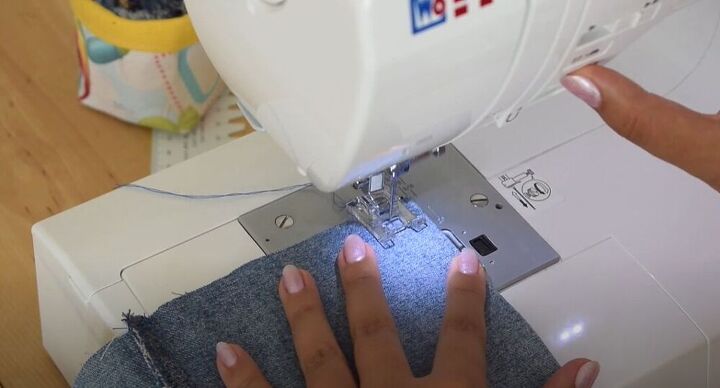
Hop back on over to your sewing machine and sew around the strap, close to the edge.

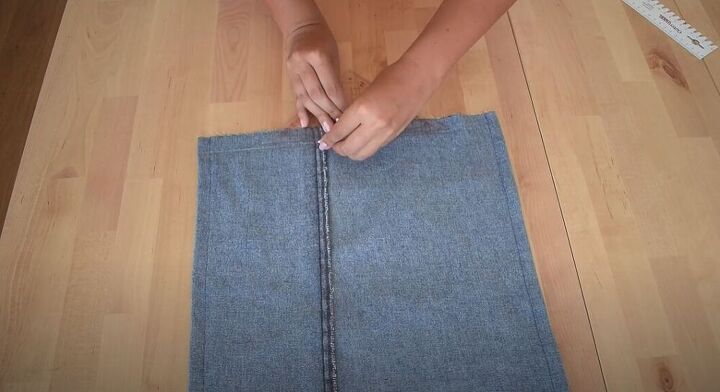
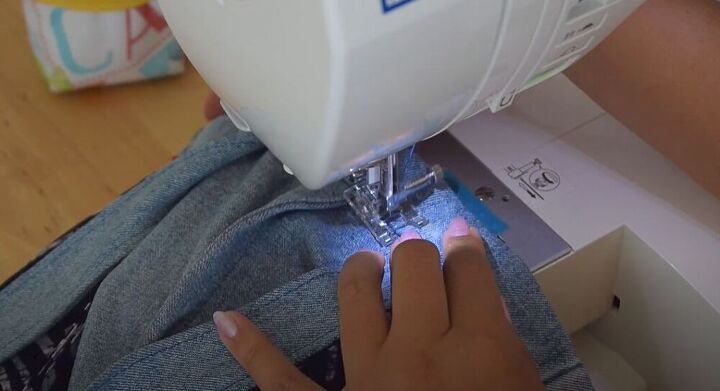
Make the body
To make the main part of this stunning denim bag, sew the side seams of the body with the fabric facing the right side out. Try and sew as close to the edge as possible to get a professional finish. Once the piece has been sewed, cut off the seam allowance, turn the bag inside out, and press the fabric.
Keep the fabric inside out and sew along the side seams again this time leaving 1.5 cm (0.6-inches) of seam allowance.
In the next step, use a ruler to mark a line 2 cm (0.8-inches) from the top and then a second line 7 cm (2.8-inches) from the top.
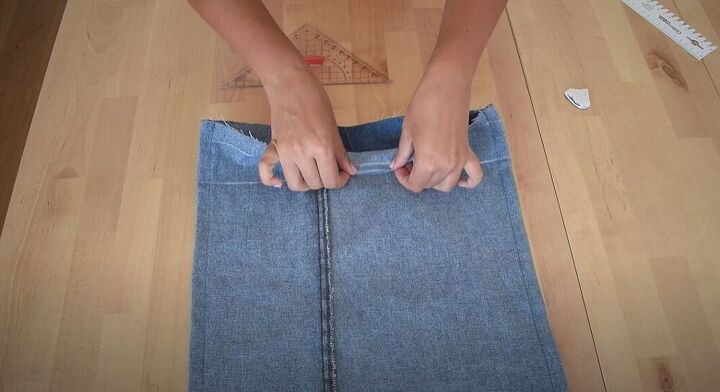
It’s time to get out that iron. Fold the fabric 1 cm (0.4-inches) from the top and then another 3 cm (1.2-inches) and press flat.
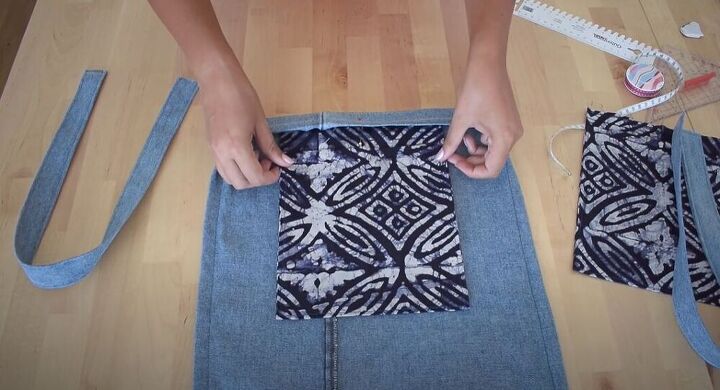
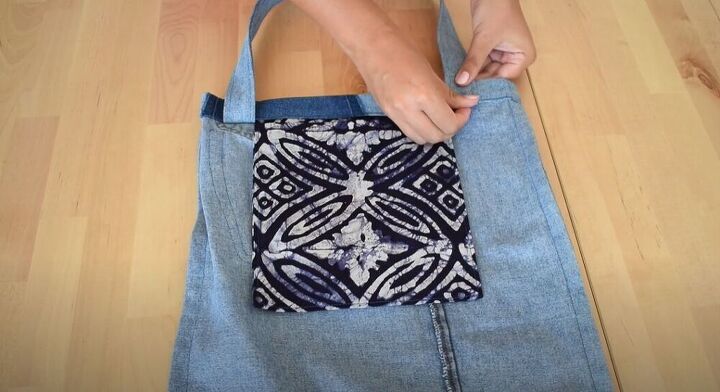
Assemble the bag
Mark the center at the top of the bag body and the center of the pocket. Line up the two markings and slide the pocket under the fold of the denim. From this step, I could already tell it was going to be an amazing bag!
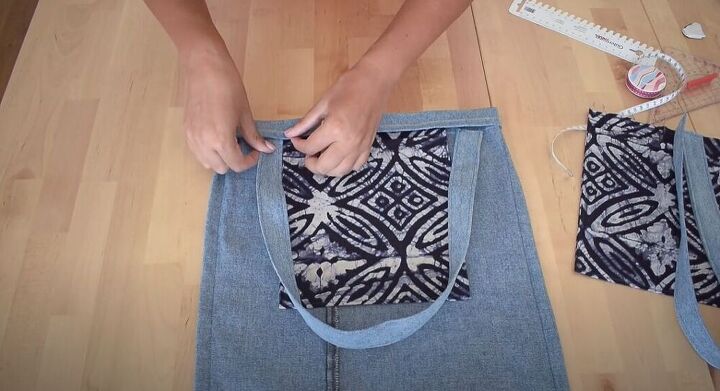
Next, attach the strap right next to the pocket by sliding the two ends under the denim fold. Make sure to pin all the pieces in place! Then repeat the same for the other side of the bag.
Sew all the way around to secure your pockets and straps in place on this amazing denim tote bag.
Next, turn the straps upwards and pin them at the top of the bag.
Finally, turn your bag right side out, sew the straps in the right position, and finish off any edges.

This bag is awesome and so easy to make! What details would you add to this piece? Let me know in the comments below!
The author may collect a small share of sales from the links on this page.


Comments
Join the conversation
I would make longer straps and box the bottom. Nice bag.
Love the grocery bag idea. Might add a pocket for a cell phone and a clip for keys so they don’t get lost in the bag.