How to DIY a Cute Patchwork Denim Tote Bag

This patchwork tote bag pattern is a great way to use up lots of fabric scraps at once.
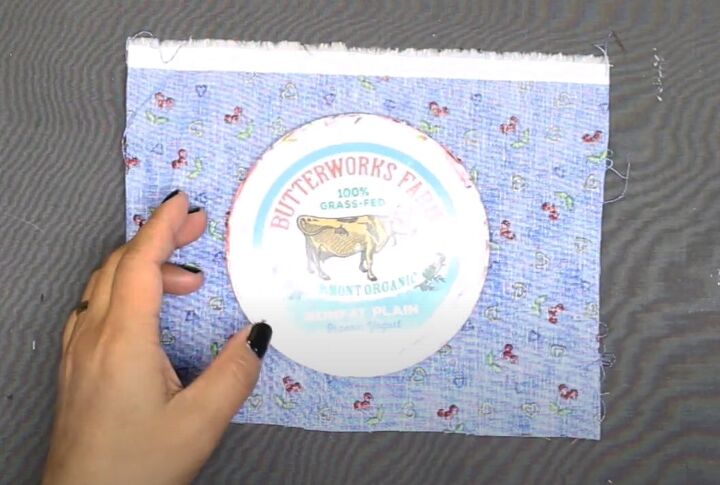
I used the top of a large yogurt pot as my template. You could use a jar lid or just draw a circle on cardboard. However you do it, your DIY denim tote bag will be unique!
Tools and materials:
- Denim fabric
- Lining fabric
- Fabric scraps
- Circle template 4.5 inch diameter
- Fabric marker
- Ruler
- Pins
- Scissors
- Pinking shears
- Iron
- Sewing machine
1. Make patchwork circles
Trace your circle template on to the wrong side of a fabric scrap.
Pin a second fabric scrap behind it with the right sides facing and sew around the marked circle through both layers.
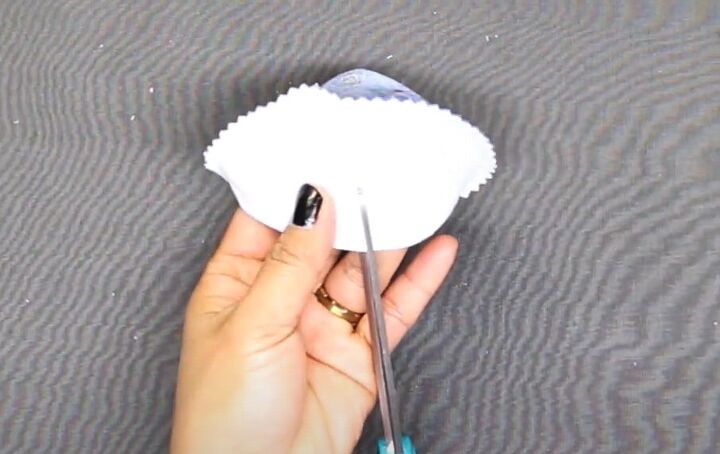
Cut out the circle with pinking shears.
Pull the two pieces apart and snip through the center of the backing layer.
Turn the circles right side out through the slit. Push out the seam around the circle, and press.
Make as many circles as you need. I used 39 in total.
2. Attach circles
Cut two pieces of denim, each 17 inches by 18 inches.
Arrange the circles on the right side of the denim, in any design you like.
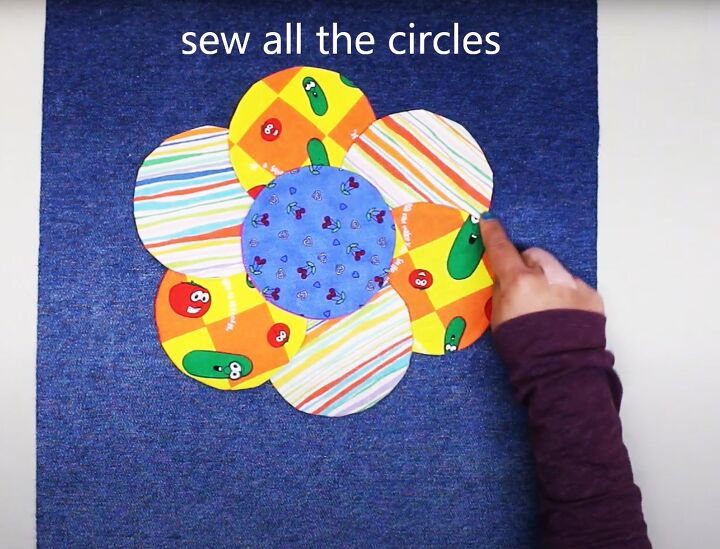
For example, I made a flower shape with seven circles on the center front of the bag.
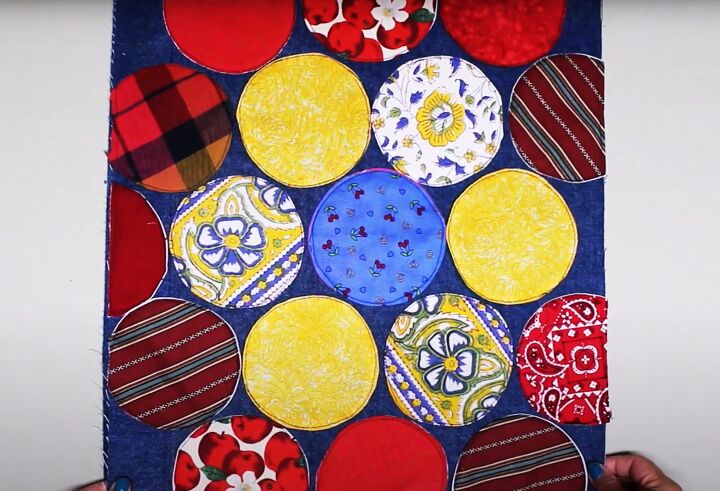
For the back of the bag, I arranged 18 circles over the whole piece of fabric and cut off the excess.
Sew around the visible edges of each circle.
3. Make handles
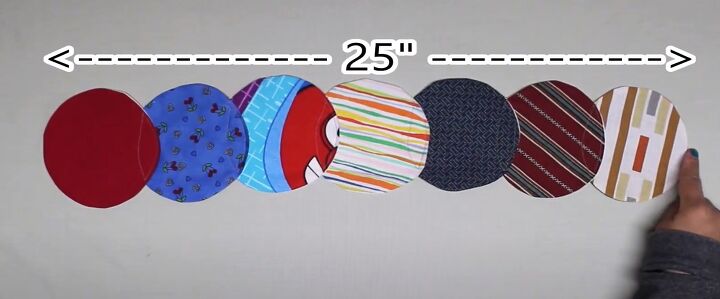
Use the same size circles for the handles. Arrange them in an overlapping line totalling 25 inches in length. Sew them together where they overlap.
Make a second handle in the same way.
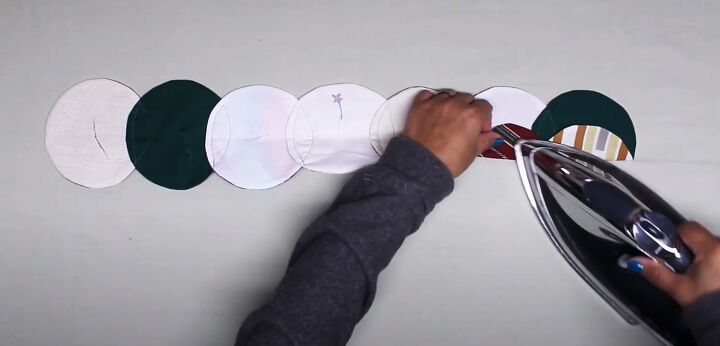
Fold up and press the lower third of each handle to the wrong side.
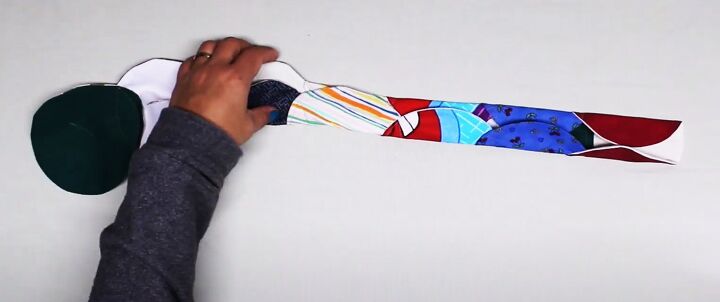
Repeat for the upper third, overlapping in the center, and pin in place. Your folded handles should be 1.5 inches wide.
Topstitch in place along both the long edges.
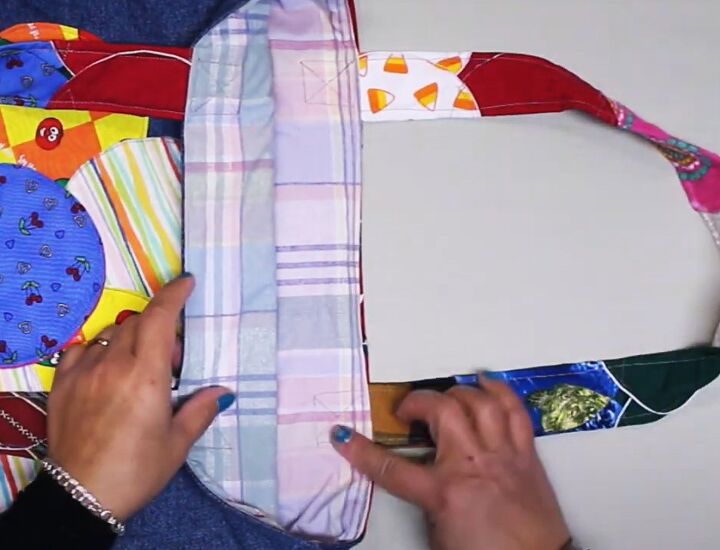
4. Attach handles
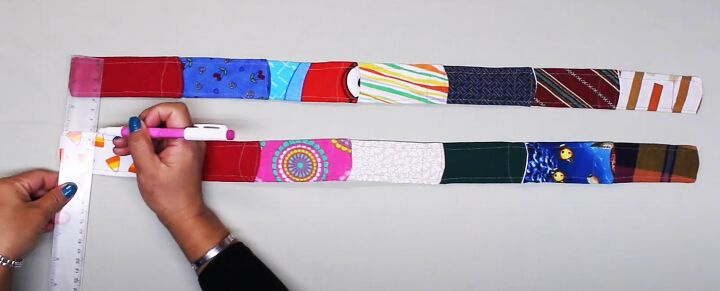
Draw lines across the handles, 1 inch from each end.
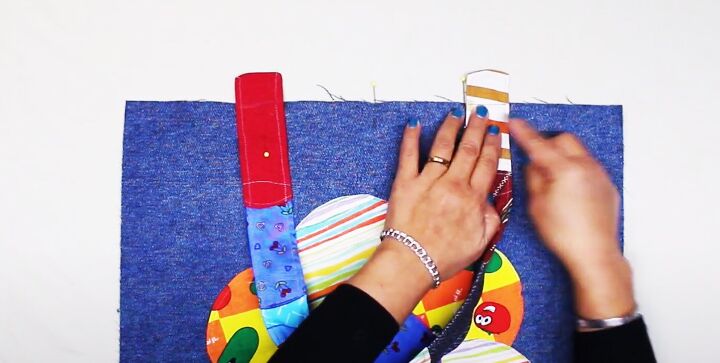
Find the center of the 17 inch side of the bag.
Attach both ends of one handle to the top edge of the bag, 3 inches either side of the center. Extend the open ends one inch above the top edge.
Sew the handle in place.
Repeat for the other handle on the other piece of the bag.
5. Assemble bag
Place the two pieces of the bag together with the right sides facing and the handles sandwiched between them.
Pin the side and bottom seams together.
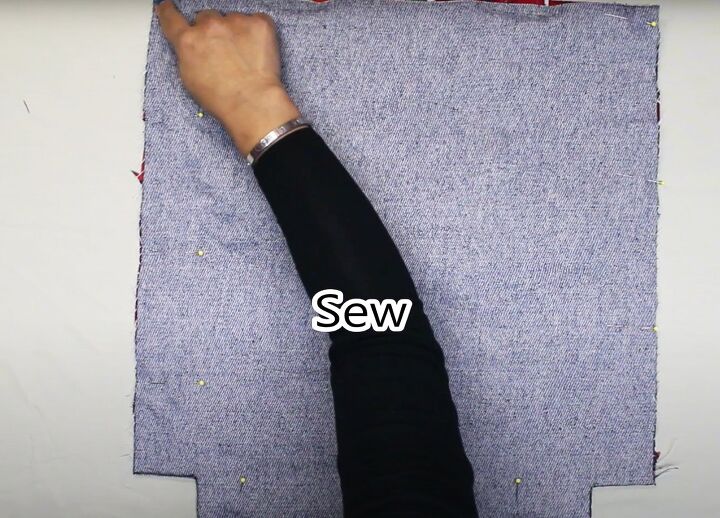
Cut out a 2 inch square from the bottom corners of the bag through both layers.
Sew the bottom and side seams, excluding the cut-outs.
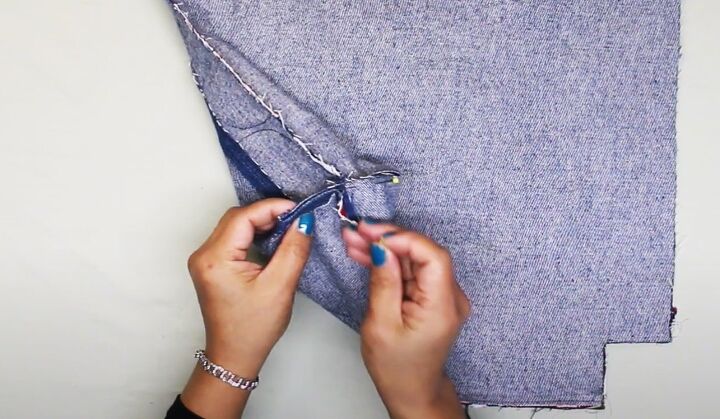
Pin and sew the edges of the cut-outs together, matching the side and bottom seams, to make a gusset.
Turn the bag right side out and push out the corners.
6. Inside pockets and lining
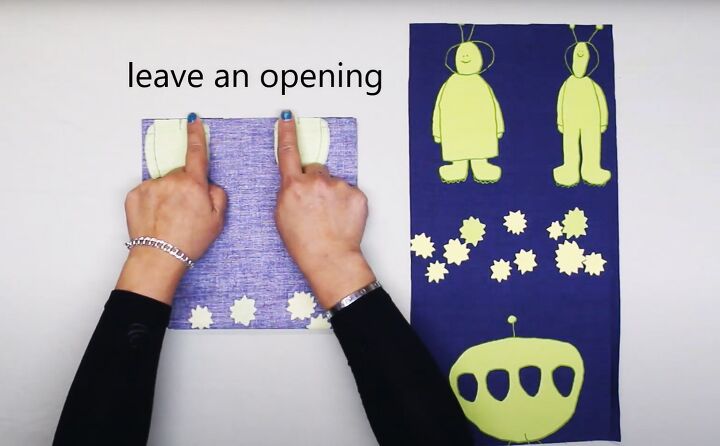
Cut two pieces of fabric each 8 inches by 16 inches for the inside pockets.
Fold in half widthways with the right sides together. Sew the top and side edges, leaving an opening in the top edges.
Snip the top corners and turn the pockets right side out through the opening.
Cut two pieces of lining fabric the same size as the bag.
Find the center of the 17 inch side of each.
Attach one pocket centrally to the right side of each lining 3 inches from the top edge, with the opening at the bottom.
Sew in place around the side and lower edges.
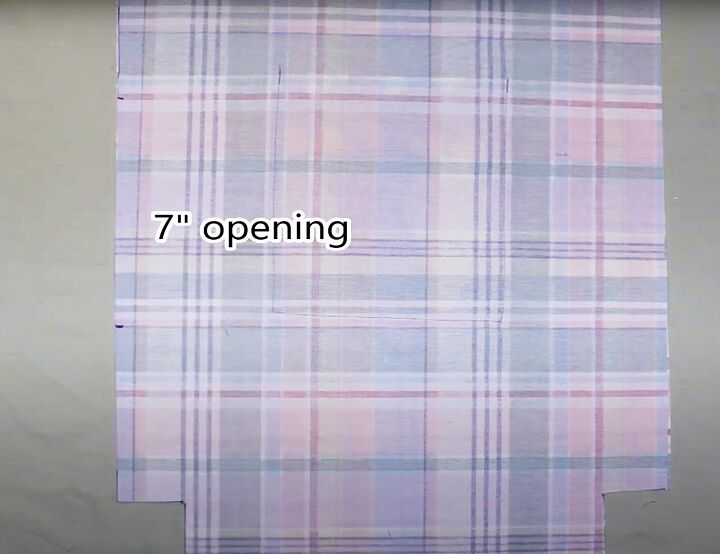
Assemble the lining and gusset in the same way as the outer bag, leaving a 7 inch opening in one side seam of the lining.
7. Attach lining
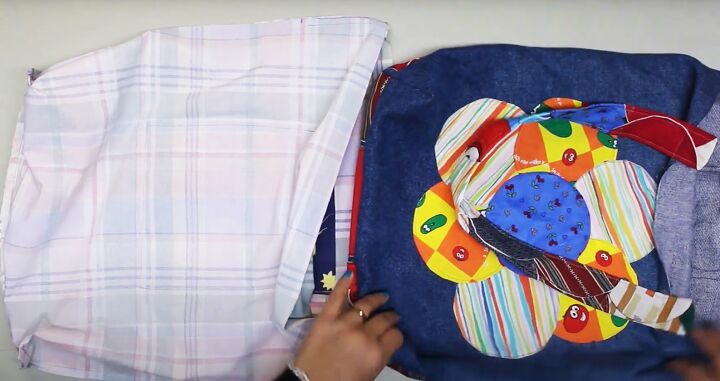
With the lining wrong side out, insert the bag into the lining so the right sides are touching and the handles are tucked between the bag and the lining.
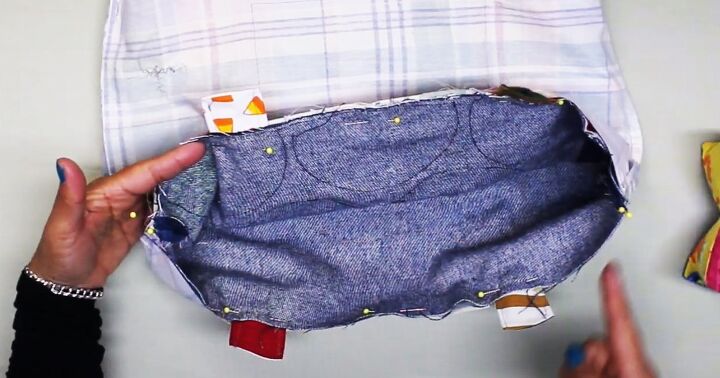
Pin and sew around the top edge, matching the side seams.
Pull the bag out through the opening in the lining. Sew the opening closed.
Push the lining inside the bag.
Topstitch around the top edge.
Stitch the ends of the handles securely to the bag, sewing around the one inch square and diagonally across it each time.
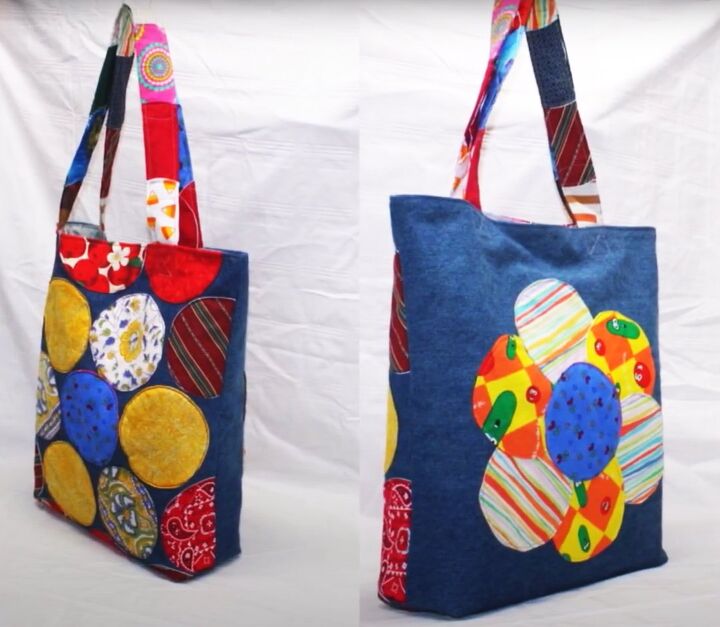
DIY denim tote bag
I like to make bags like this from scraps of garments and other items that I've made in the past. This way, every circle has a meaning and a memory attached to it.
You could use random scraps or a specific color scheme, it's entirely up to you.
Get creative and enjoy it! And please let me know what you think of this project and how easy you found it to make.
Next, check out my post on How to DIY a Tote Bag From a Shirt.
The author may collect a small share of sales from the links on this page.


Comments
Join the conversation
Great idea and they look fantastic!!!