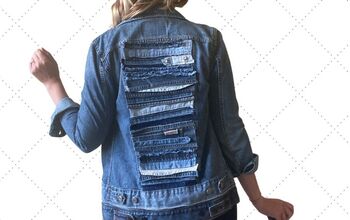
Old Jeans Need an Upcycle? Try This Cute Patchwork Denim Top DIY

This DIY denim top is a great way to upcycle worn denim and jeans. I’ll show you how to make a denim top using different pieces of jeans to make a patchwork top that’s super pretty! Let’s get started making your own patchwork denim top!
Tools and materials:
- Azania pattern
- Jeans
- Measuring tape/ruler
- Marker/pen/tailor’s chalk
- Seam ripper
- Scissors
- Long zipper
- Bias tape
- Pattern paper
- Matching thread
The Azania pattern is actually the same pattern I used to make the DIY sleeveless turtleneck in my previous tutorial. For this sleeveless top, we'll be using View L.

1. Make the pattern
Download the Azania pattern. You can use your own measurements to adjust the pattern to your size, if preferred.
Trace the front and back pattern, stopping at the hipline that will serve as the hemline.
Make adjustments to the neckline. Take the shoulders out by 1 inch and drop the front neckline by 2 inches. Drop the back neckline by 1 inch.
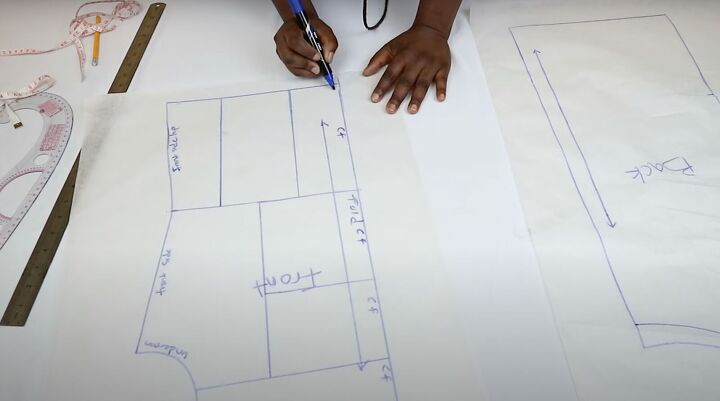
Now, divide the pattern into small sections to make the patchwork pattern. Your options are vast! Let your creativity flow and make squares, rectangles, or even triangles.
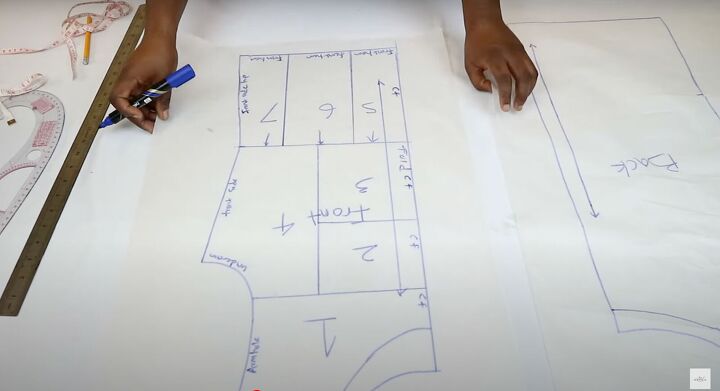
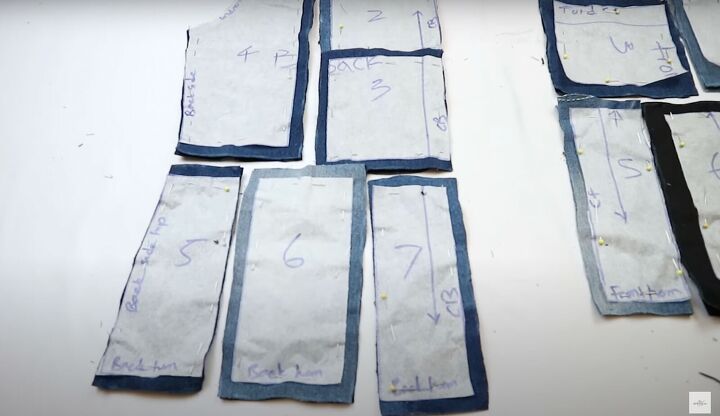
It’s important to label the pattern pieces so you can identify where they belong when it’s time to stitch them together.
Label the parts: center, shoulder, and so on. Then, number them so you know their position. Do the same for the back.
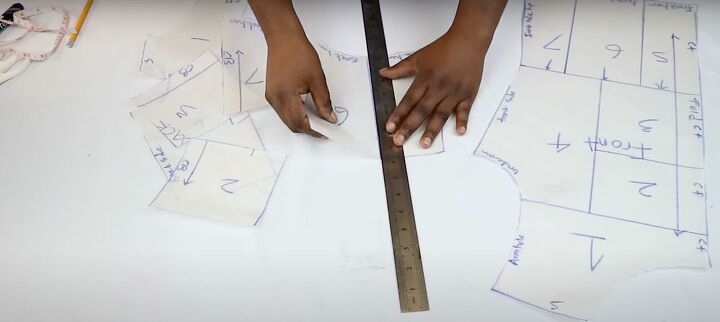
When you’re satisfied with your pattern, cut out the shapes.
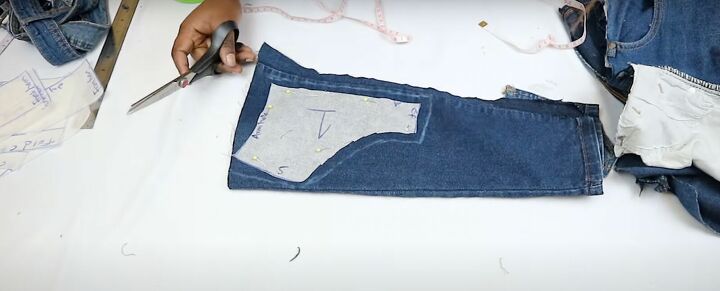
2. Cut the fabric
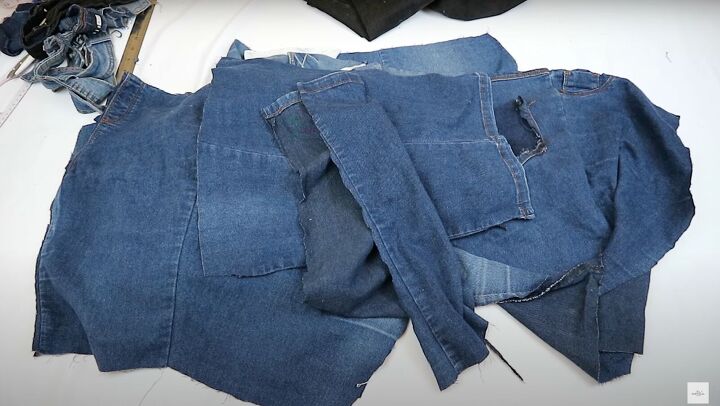
Warning: this is a long process! Denim fabric is heavy and removing seams takes time.
Cut the jeans at the crotch. Remove the thick waistband. Seam rip the pockets. Save the remnants for other projects so nothing goes to waste.
Use the fabric pieces that fit your pattern. Fold the fabric so you cut 2 pieces of each pattern piece.
Add a ½-inch seam allowance to any piece that is joined to another piece of fabric. The pattern will alert you to which pieces don’t need seam allowance.
Keep track of the pieces.
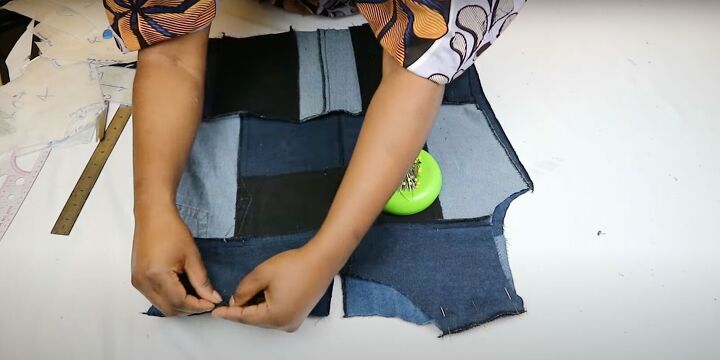
3. Sew the patchwork pieces
Study your pattern and determine which are the logical pieces to sew first. Mark the pattern number on the fabric with tailor’s chalk.
Sew the front first. Finish all the raw edges by serging (if you have a serger) or with a zigzag stitch to prevent fraying.

Sew the pieces together on one side. Give them a good press to flatten the seams. Alternate the direction to keep the bulkiness of the fabric to one side.
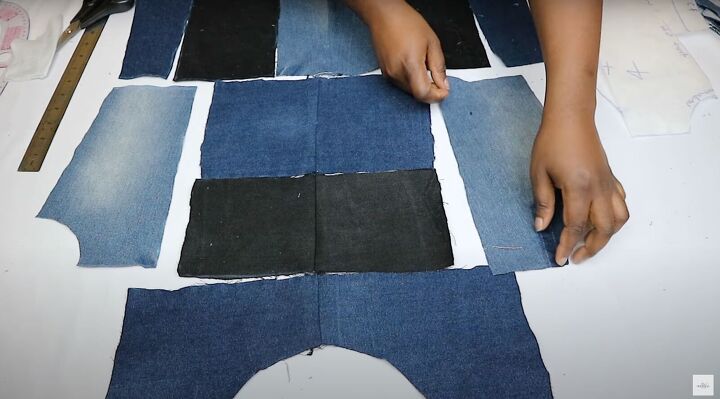
4. Connect the pieces
Lay out the pieces in the direction to sew. Pin the pieces in the order you decide to sew.
For example, in this tutorial, I’m sewing 2 and 3 first. Then I’ll sew 5, 6, and 7 together. Next, I’ll join the side pieces to these, leaving the neckline for last.
Sew your pieces in the order you’ve determined using a straight stitch. After you join the pieces, press them again on both sides for a smooth finish.
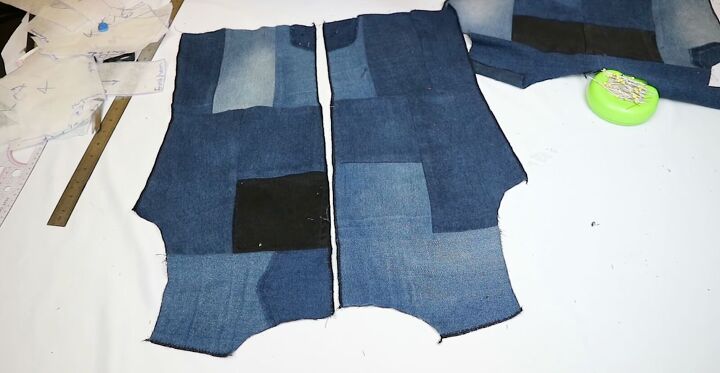
When you finish sewing the front, sew the back, following the same method but leaving the center unsewn for the zipper insertion.
Finish any raw edges with a zigzag stitch.
5. Sew the top
Lay the front and back pieces right sides together. Pin the shoulder and side seams. Sew them leaving a ½-inch seam allowance.
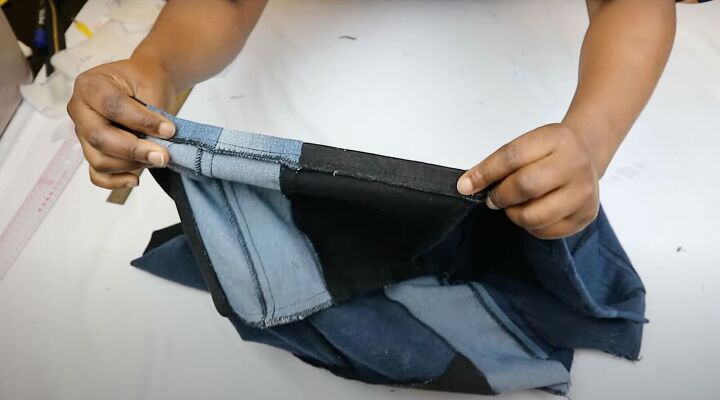
Hem the bottom by folding in ½ an inch and secure with a straight stitch.
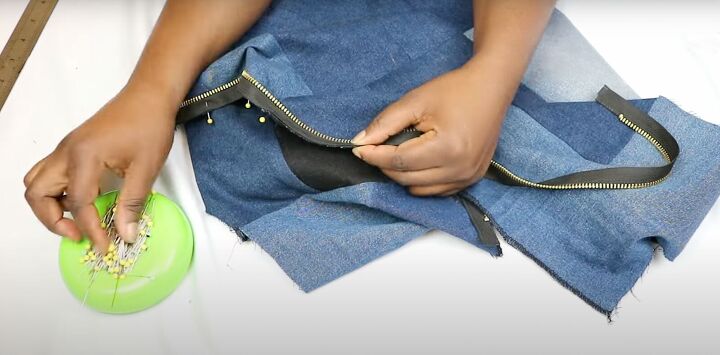
6. Insert the zipper
Denim is a stiffer fabric and isn’t easy to pull on or off over the head so you’ll need a zipper that is a bit longer than the length of your top.
Align the edge of the zipper to the center back. Pin in place on both sides.
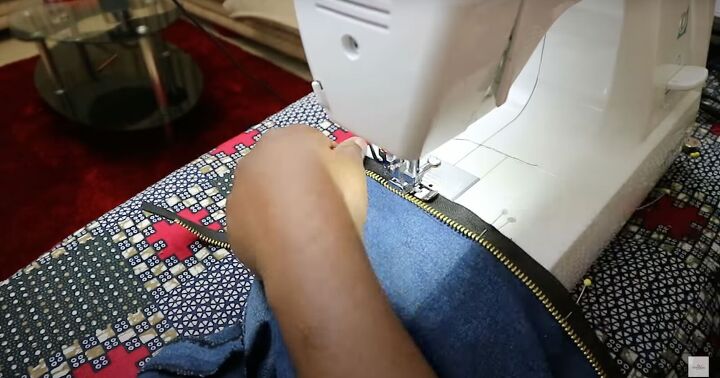
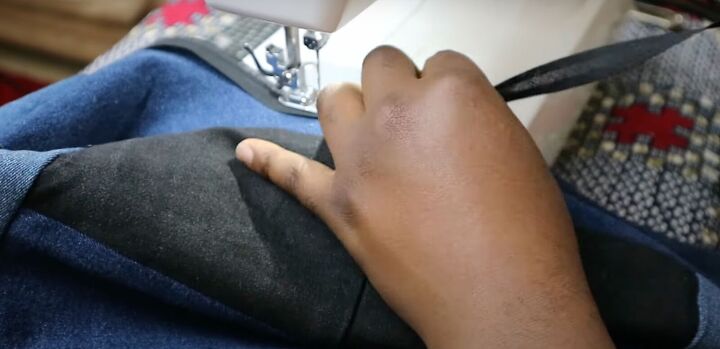
Install a zipper foot in your sewing machine and sew the zipper down.

7. Finish the top
Use the bias tape to finish the neckline and armholes.
Start the bias tape from one end of the center back. Place the right side of the bias tape on the right side of the top. Leave about 1 inch of the bias tape hanging out from the edge. Wrap the end around the zipper.
Pin the bias tape along the rest of the neckline.
Sew in place using the fold line of the tape as a guide. After sewing cut off the excess zipper from the top.
Then, flip the bias tape inside to the wrong side. Sew close to the edge of the tape to close it up. Use this technique to finish the armholes.
Once you’re done with the bias tape, give the entire piece a good press.
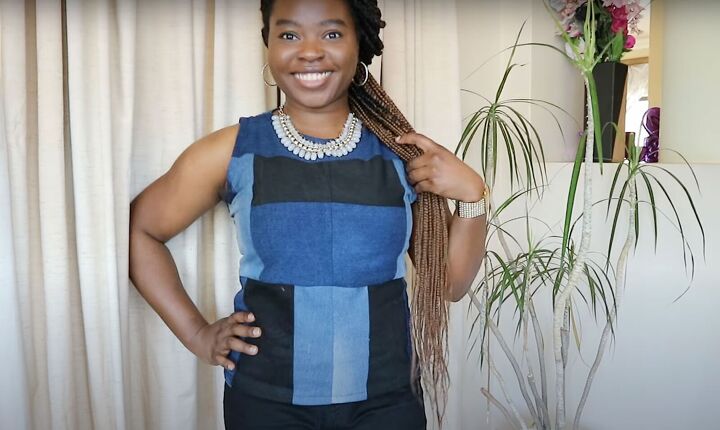
Patchwork denim top DIY tutorial
Congratulations on your DIY denim top that’s sure to turn heads! Please let me know in the comments if you made it or what you think of it! Thanks for joining me!
The author may collect a small share of sales from the links on this page.


Comments
Join the conversation
Super cute!
I Love the top, super cute on u!!!!!!!!🤩