How to Make a DIY Denim Tote Bag in 3 Simple Steps

Do you have 20 minutes and some old denim jeans to spare? Then check out this denim tote bag DIY tutorial for a quick and easy transformation. Turn your old jeans into a tote bag in no time, and then head out to do some shopping!
Tools and materials:
- 2 pairs of old denim jeans
- Scissors
- Fabric glue
- Ruler
- Sewing pins
- Sewing machine with a zig-zag stitch
- Clear nail polish
- Iron
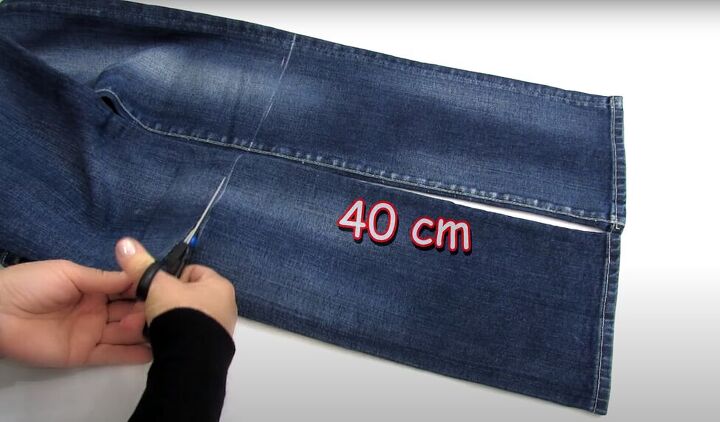
1. Cut up your old jeans
Lay your old denim jeans flat on your work surface. Measure and mark 40 centimeters (15.75 inches) from the bottom of each jeans leg and cut across each leg at that mark.
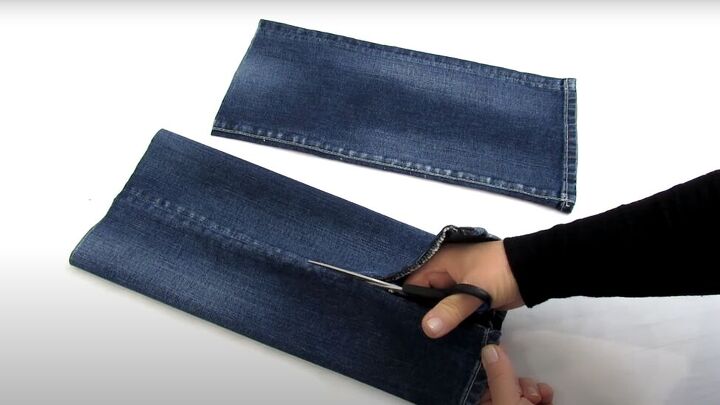
Cut open the inside seam on each pant leg.
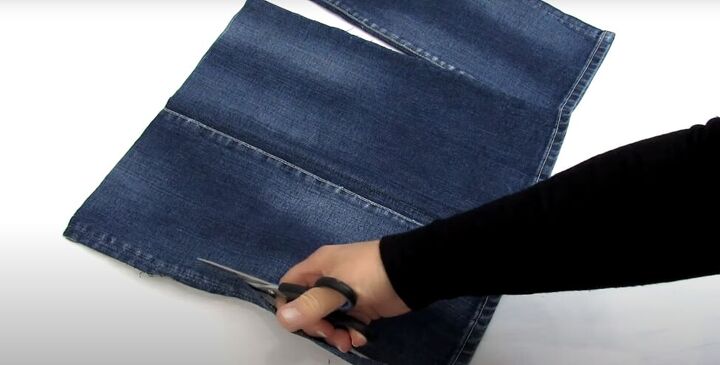
Open the legs and cut the seam off the side edge of each leg completely.
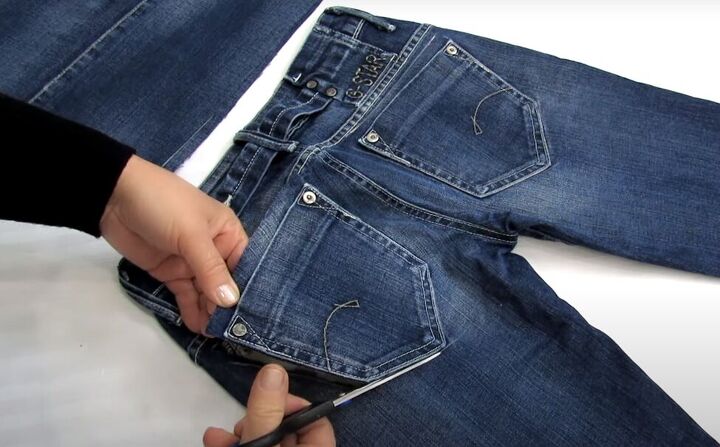
2. Add pockets
Cut both back pockets out of the jeans, leaving an extra 1 centimeter (0.4 inches) of denim above the pockets.
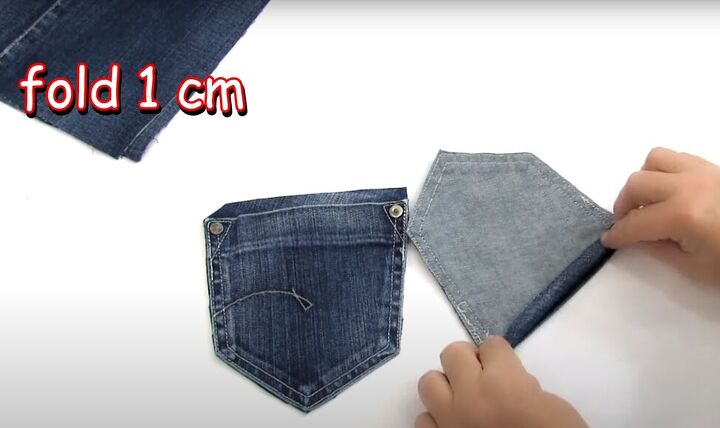
Fold the 1-centimeter top of each pocket to the inside and glue it down.

Position the pockets on the inner panels of each leg and sew or glue them in place along all edges except for the top.
Tip: make the hem of the pants the top of your bag. Now there’s one edge already finished for you!
3. Sew the bag
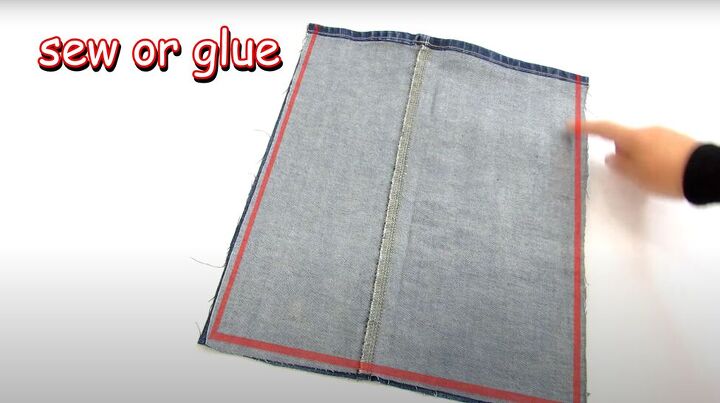
Put the two denim pieces, right sides facing in, and sew or glue on both sides and the bottom, using a straight stitch.
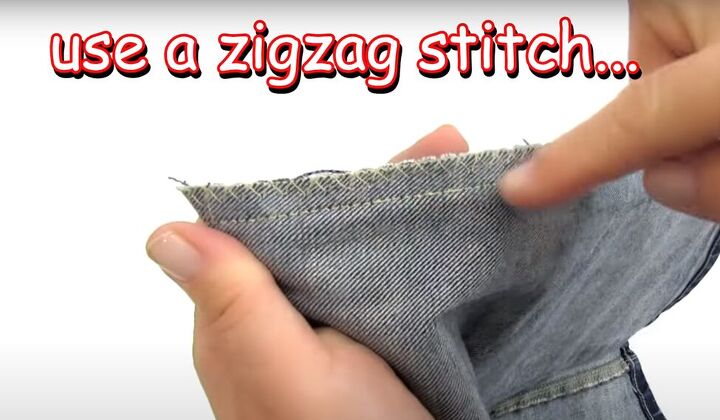
Then go over the side seams again with a zig-zag stitch in the seam allowance, at the edge of the seam.
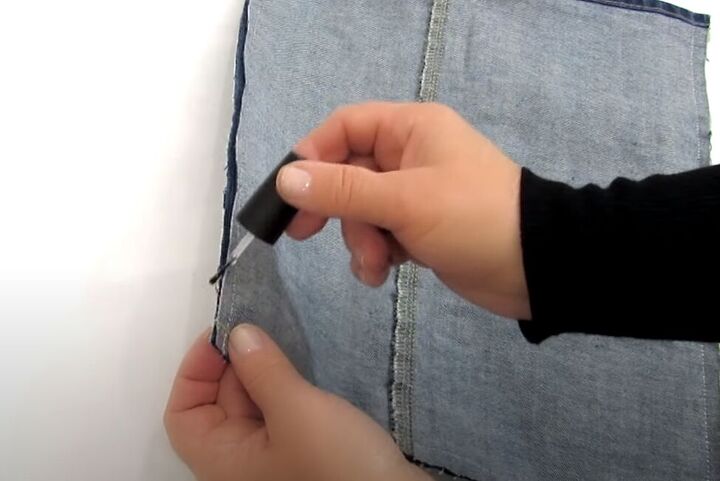
Paint over all sewn edges with clear nail polish to help keep them from fraying.

Using another pair of old jeans, cut two rectangles measuring 50 x 9 centimeters (19.37 x 3.5 inches) each.
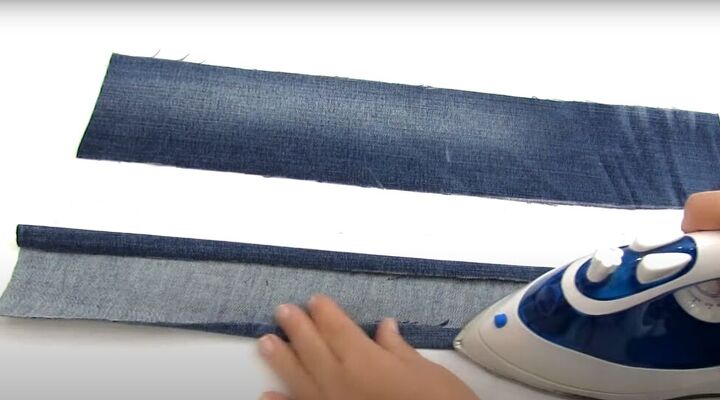
Fold in both long edges on each handle piece and iron flat.
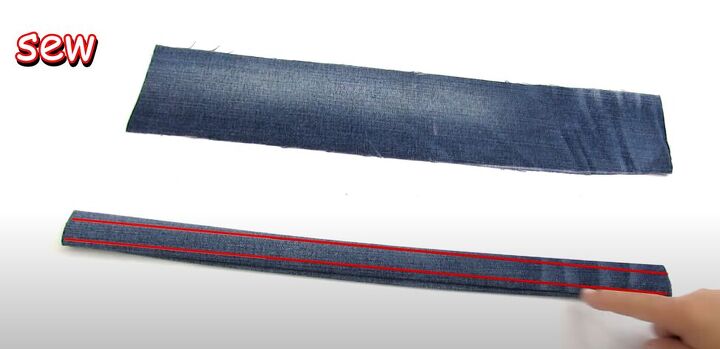
Fold each rectangle in half lengthwise, with the right side facing out, and sew along both long edges of each piece.
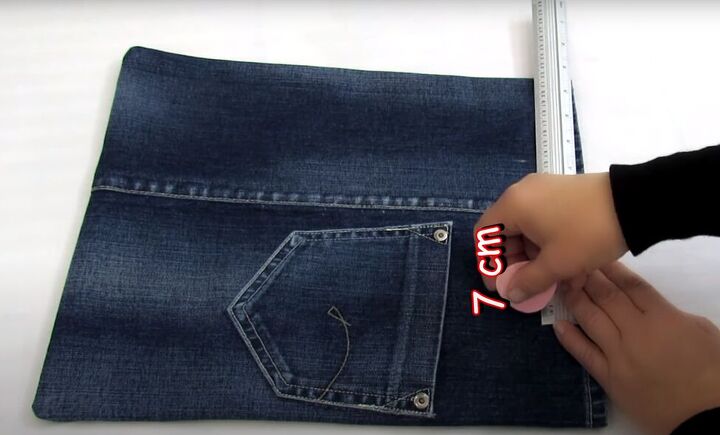
On each side of the tote bag, mark the middle of the bag widthwise at the top, and mark 7 centimeters (2.75 inches) on either side of the center mark.
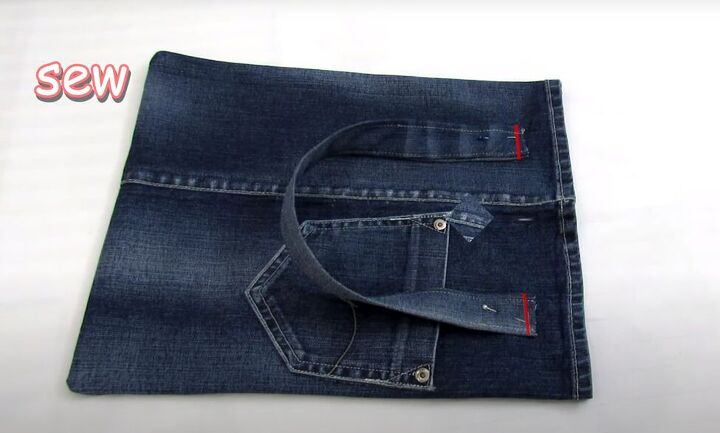
Position one end of the handle to the left of each outside mark at the top of the bag and pin in place. Then sew to attach the handle to the tote bag.
Repeat with the second handle on the other side of the tote bag.
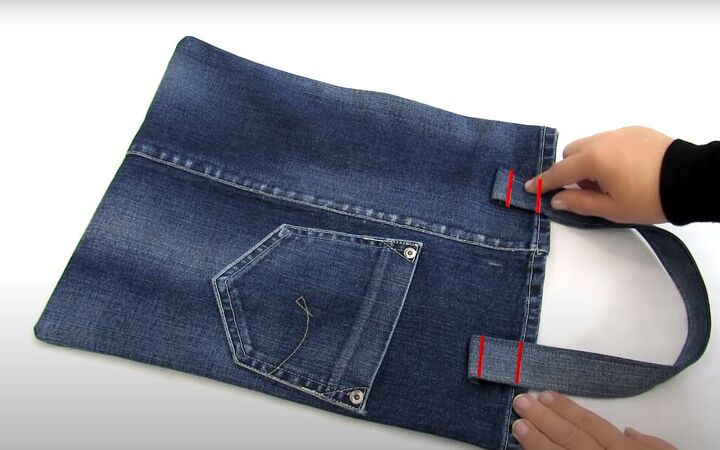
Flip the handles to their correct position, and top stitch them to the bag in two places: at the bottom of the handle and near the top of the bag. This will give extra strength to the handles.

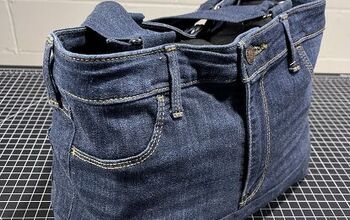
Denim tote bag DIY tutorial
With all that room inside the tote bag, plus two outside pockets, this DIY denim tote bag is going to be really useful!
You can use it for shopping, as a knitting or craft bag, or a book bag. Fill it up however you want. And because it’s denim it will be nice and strong, too.
Leave a comment to let me know how your DIY denim tote bag turned out and how you are using yours.
The author may collect a small share of sales from the links on this page.


Comments
Join the conversation
I LOVE THIS SWEET SIMPLE BAG!!!!!!! Thank you and I cannot wait to make a bunch for gifts as well as for myself. Personally I would not use glue, I would sew everything so it could be machine washable.
THANK YOU SO MUCH!!!👍🏼😊