How to Sew a DIY Origami Tote Bag in 5 Simple Steps

If you’re looking for a beginner-friendly origami tote bag pattern, this tutorial is for you! You’ll need minimal sewing skills and time to make this fun bag perfect for summer. Depending on the fabric you choose, you could make this origami bag for other seasons or even give as gifts. Let’s get started with making this origami tote bag.
Tools and materials:
- Fabric - outer, lining, and straps
- Ruler
- Measuring tape
- Tailor’s chalk
- Pins
- Sewing machine
- Scissors
- Iron

1. Make the pattern
Cut the outer fabric to be a 21 by 21-inch square.
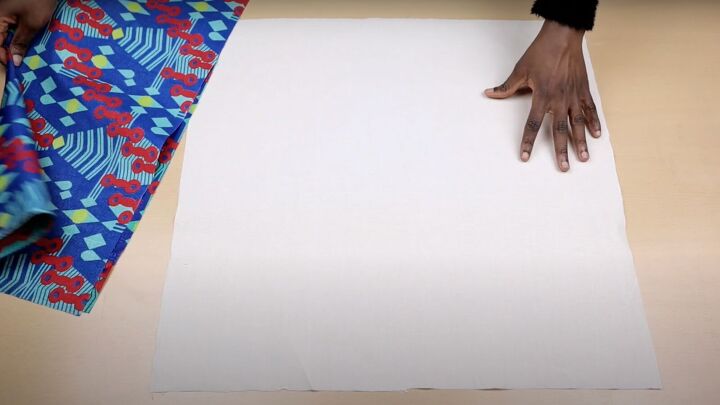
Cut the lining to match the size of the outer fabric.
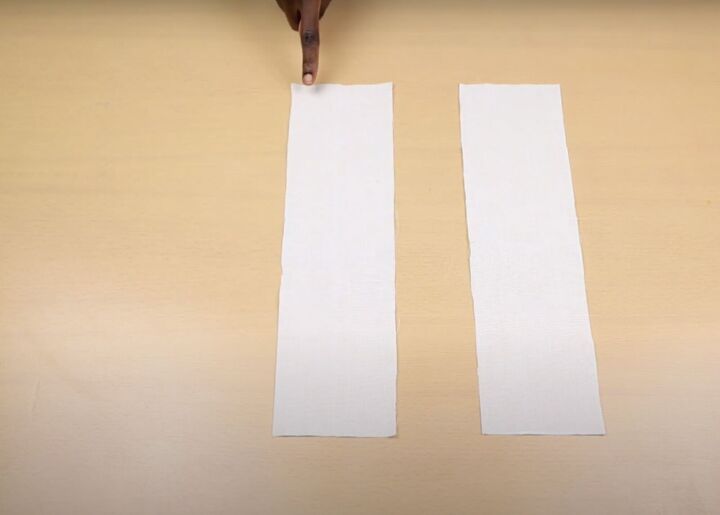
Cut the straps from the lining to measure 15 inches long by 4 inches wide.

2. Sew the square
Lay the outer fabric on top of the lining right sides together. Sew with a ¼-inch seam allowance, leaving about 1 ½ inches unsewn.
Once it’s sewn, trim all the 4 corners so you'll have nice pointy edges when you turn it inside out. Turn it right side out. Give the square a good press. Topstitch the opening closed.

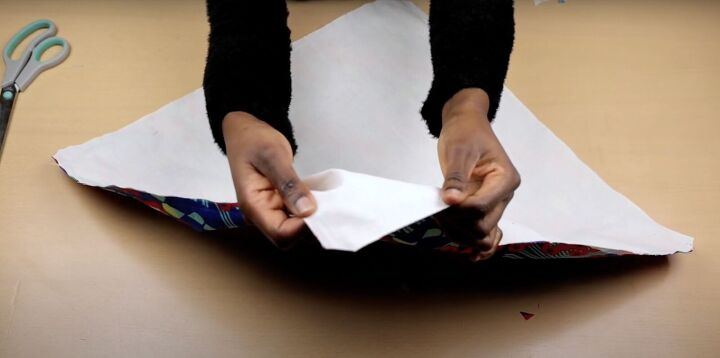
3. Sew the origami pleats
Fold the fabric in half so the lining faces you.

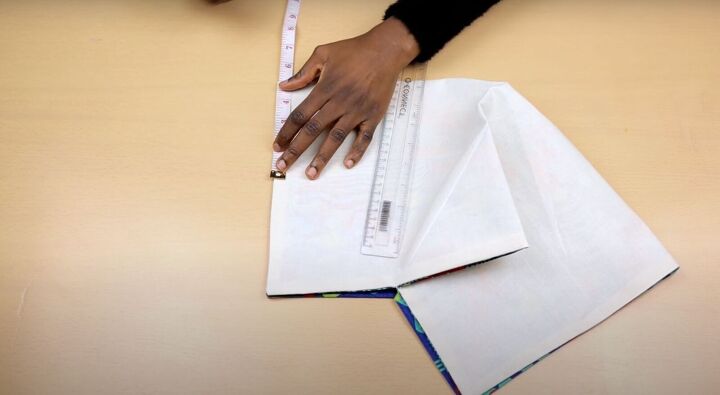
Measure along the length and divide by half. Mark that half measurement.

Then use that same measurement along the fold. In this tutorial, it is 5 inches.

Connect these two points using your ruler and chalk to make a diagonal line.

Repeat this for the other side. Because this project is a perfect square the measurements should be the same on all sides. Sew along these two diagonal lines.
Keeping the lining facing you, open and align the unsewn sides. Repeat the technique of measuring down along the length, marking the half measurement, and then marking the same measurement along the fold. Mark a diagonal line and pin.

Flip the fabric and repeat for the other side. Sew to secure.

Once the four diagonal lines are sewn, this is what it looks like.

Open a sewn triangle, press with an iron, or secure it with a pin. Sew the triangle down. Repeat for the other three triangles. Turn right side out.

This is what the inside should look like.

4. Make the straps
Fold in the short ends by ¼ inch. Then fold along the length so both sides meet at the center.
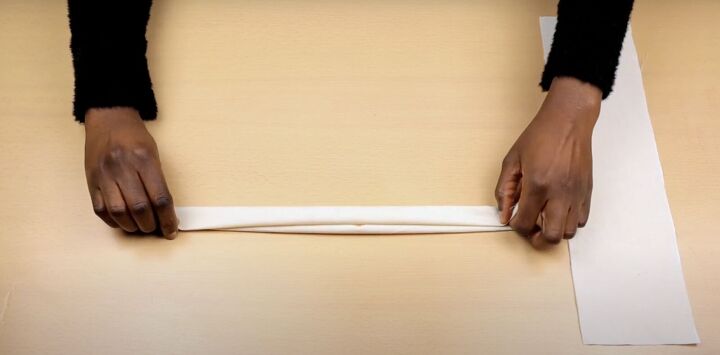
Fold the strap in half. Give it a good press. Topstitch along all four sides.

5. Attach the straps
Place the first strap on one of the corners. Pin to secure. Place and pin on the adjacent corner. Repeat the process for the second strap.
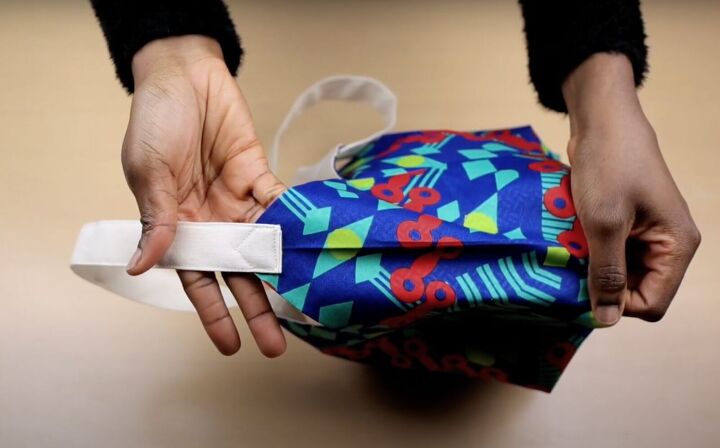
Sew into place following the triangular shape and flat bottom.

DIY origami tote bag
You did it! You made this beautiful origami tote bag. Please let me know in the comments how easy this was for you and where you wore your bag. Thanks for making this beginner-friendly project with me.
The author may collect a small share of sales from the links on this page.


Comments
Join the conversation
Very cute, but directions and video is vague.
Show the length and width in inches and in cetemeters
After outer triangles are sewn, next step iscto sew inner triangles down.
where do you sew them??
Show how it is being sewn on the video!
Show , with arrows , how it is done on photos.
How far down the folded triangle do you sew?
Show, with arrows, how it is done on photos
Show how it is being sewn on the video
Quick and easy!