Skinny Leg to Wide Leg Jeans Refashion
Each one of us probably has at least a pair of jeans/pants that do not fit anymore or just some skinny jeans that look a bit outdated.
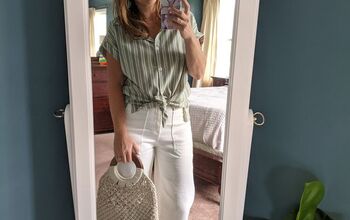
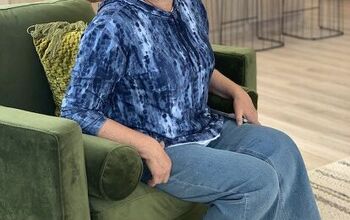
So, while being Instagram and Pinterest inspired, I turned my once favorite skinny jeans into wide-leg comfortable ones using side denim panels.

Below you will find my step-by-step advice on giving your tight jeans/pants a new life using denim/fabric scraps.
For the tutorial you’ll need the following:
• The skinny or too-tight jeans that you do not wear anymore
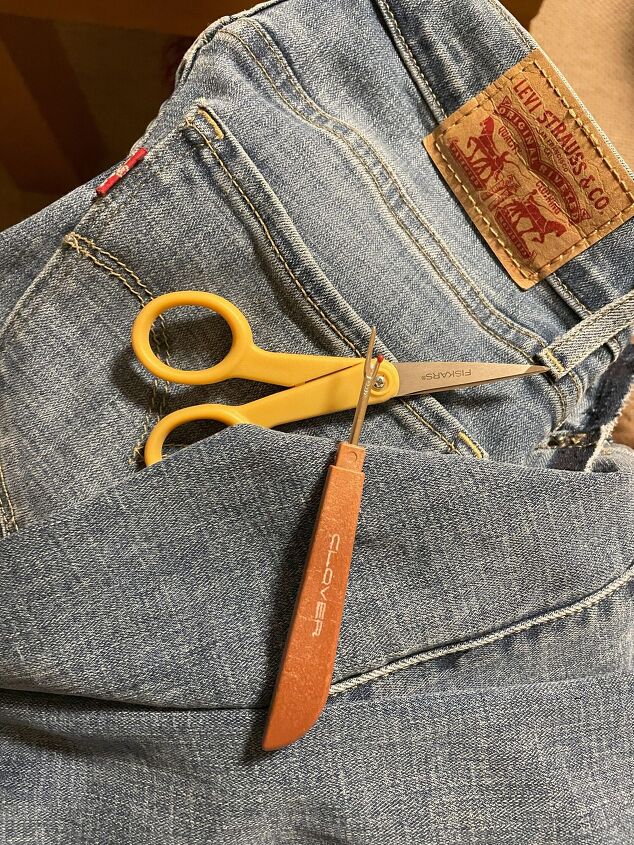
- Get comfortable to spend some time seam-ripping your jeans. Keep close a seam ripper and some scissors.
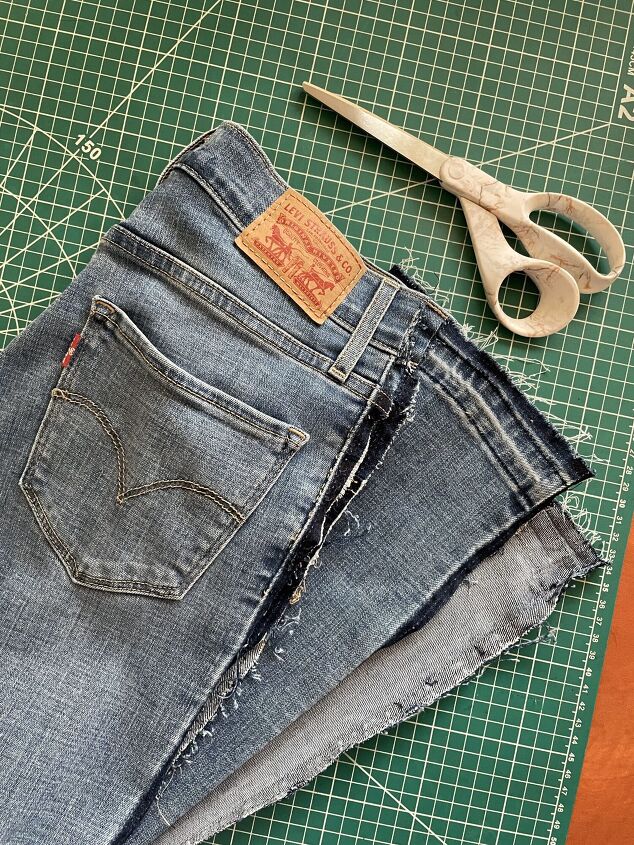
2. Start at the bottom of the leg and with a seam ripper open the hem of the jeans so it is easier to go through the side seam.
In my case, I opened the hem fully on both legs since I wanted jeans with a raw-edge hem.
3. Open the side seams of the jeans on each side up to the waistband and cut through it.
Tip If the jeans fit and feel great around your waist do not cut through the waistband. Keep the waistband in place and you can add the side panels only to turn the skinny leg into a wide leg without cutting the waistband area.
But this tutorial only explains the addition of the side panels starting from the waistband.
4. Clear out any threads on the edges of the side seams and iron if necessary.
5. Preparation of the side panels
This step is a bit tricky since it needs to be defined how much side panel is enough for your jeans. The easiest way to do this is to lay flat a pair of jeans/pants that fit you perfectly. Next lay on top the jeans you are working on and measure the difference on the waistband.
For example, if that difference is 6 cm then you know that you can add two panels with 3 cm width to each side. But you also need to add seam allowance on both sides of the panel. In this case, you end up with two panels each of them 5 cm wide (3 cm addition to the waist + 2 cm seam allowance). The length of the panels is the same as the length of the jeans + 2-3 cm extra.
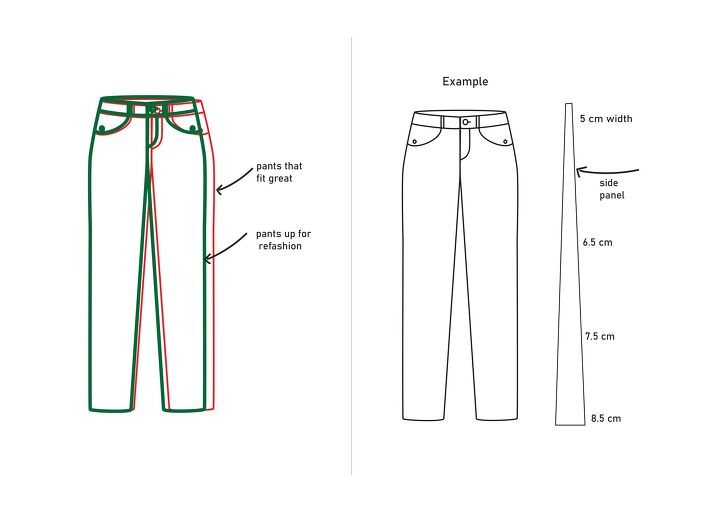
Also is up to you to define if you want that the width of the panels to be the same up to the hem of the leg, or if you want to increase the width starting from the hip area. I went with the second option and my panels looked similar to the sketch above.
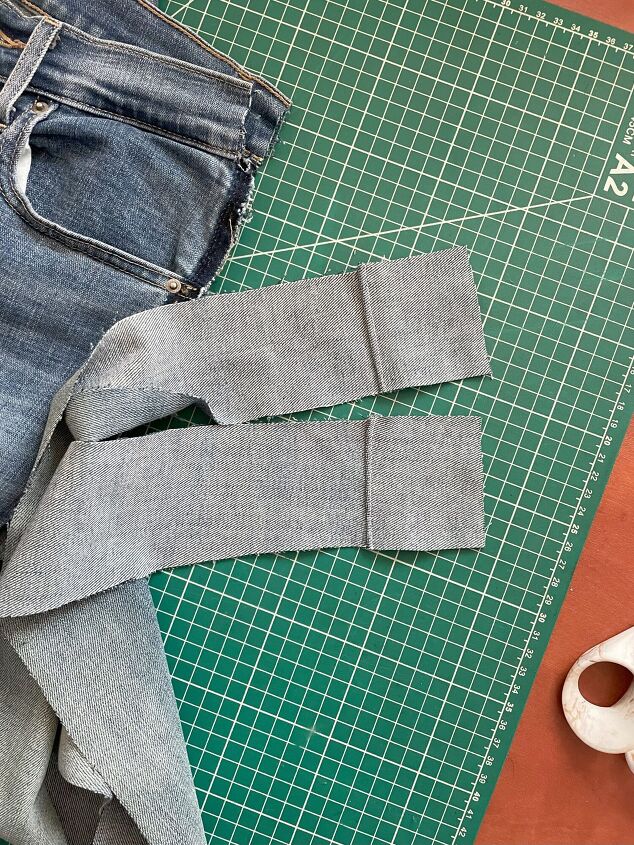
6. Cut the panels using fabric/denim scraps you may have. If you do not have panels that are not long enough you may sew extra pieces to your needed length. As you can see in the picture, I added some to my panels since they were not long enough.
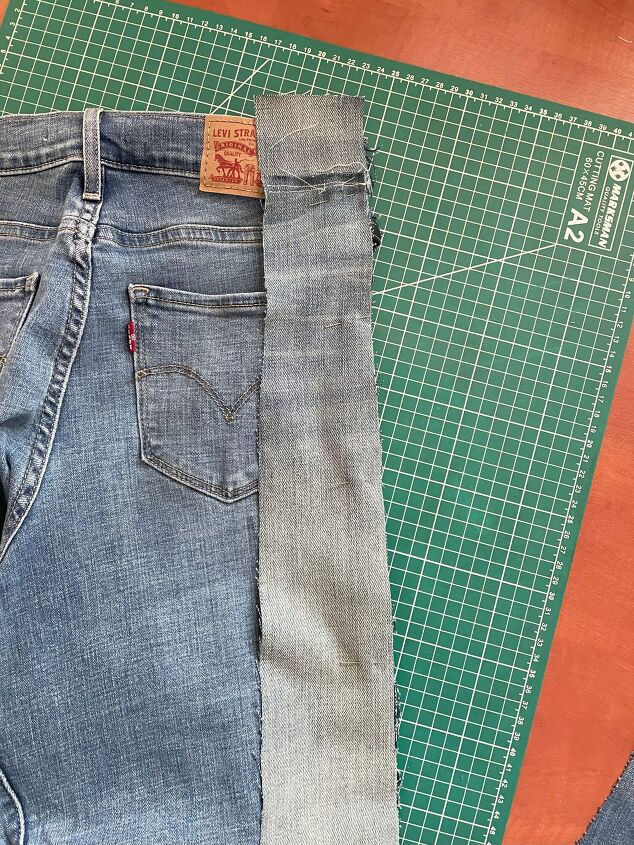
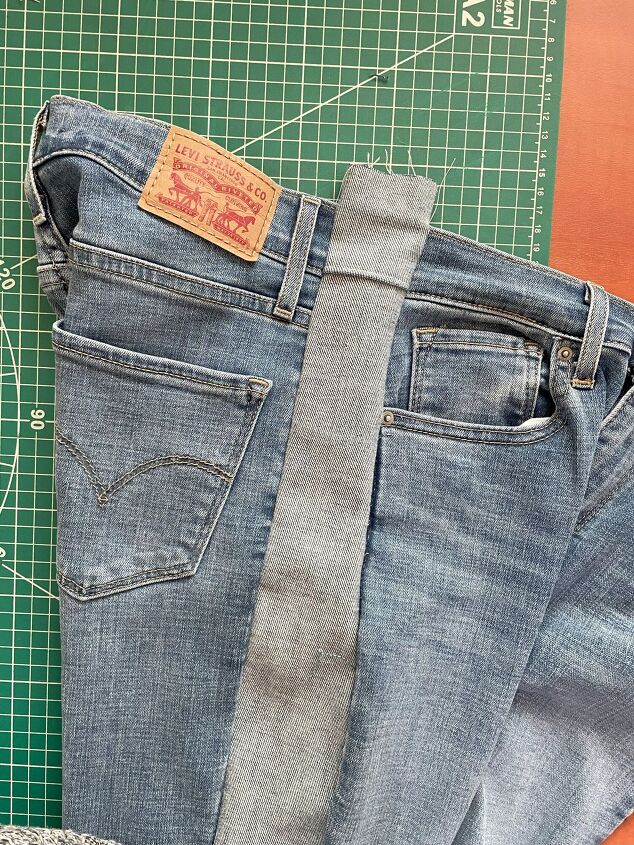
7. Lay flat the jeans with the right side facing up. Pick a leg and pin the panel on the front side edge of the jeans at least 3 cm above the waistband (this is to be folded in the final step for a clean finish of the panel). Stitch down to the end of the leg and repeat the same for the back jean side edge. The same steps are repeated for the other leg.

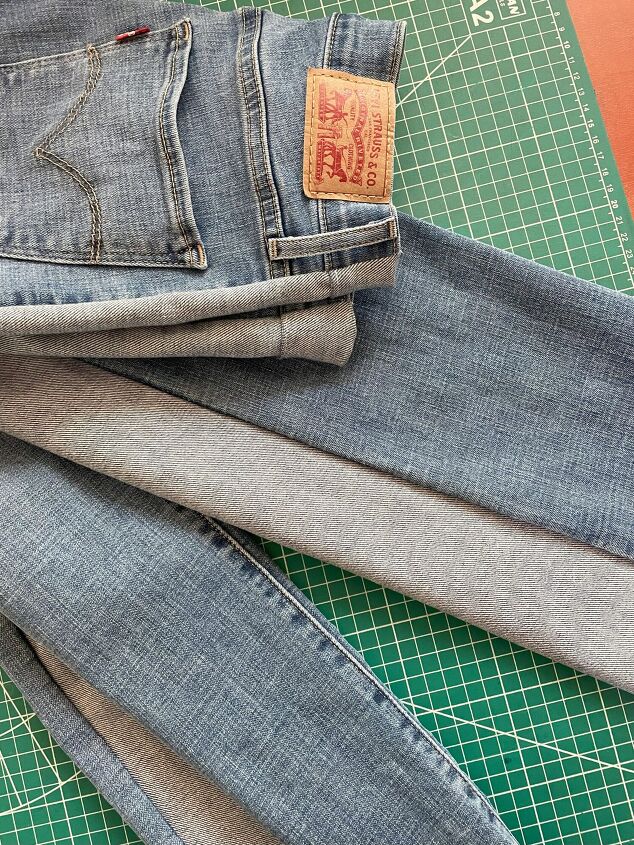
8. Zig-zag all of the seams on the wrong side of the jeans and roll the hem of the jeans if that is your preference and topstitch.
9. Fold that extra 3 cm that you left on the top of the waistband so you can have a clean waist edge. Topstitch around the edge.

Please do let me know if any of the steps are not clear or any questions you may have.
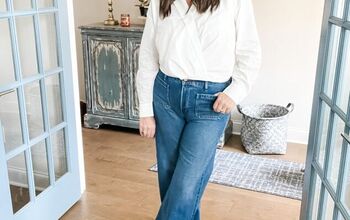
I would love to see some pictures of your jeans transformations.
Love,
Tringa
The author may collect a small share of sales from the links on this page.


Comments
Join the conversation
Very clever idea. I love your jeans!